Search and filter with KQL, Lucene, and filters in Discover's classic mode
If Discover returns more documents than you need, you can narrow them to the ones that matter. Classic mode is the Discover mode where you pick a data view and search it with Kibana Query Language (KQL) or Lucene, two syntaxes for writing search queries, and add filters from the interface. The chart and the results table then show only the matching documents.
- Open Discover in classic mode. If Discover opens in ES|QL mode, refer to Switch to Discover's classic mode.
- A data view for the data you want to search. It can point to one or more indices, data streams, or index aliases. Integrations sometimes create data views for you, and you can also create your own. If Discover asks you to add data or create a data view instead of opening, refer to Discover or Dashboards asks you to add data or create a data view.
- To follow the examples, add the ecommerce sample data and select its data view.
To explore data in classic mode, select a data view, then set the time range for the data you want to see.
Select the data view that contains the data you want to explore. If you're using sample data, data views are automatically created and are ready to use.
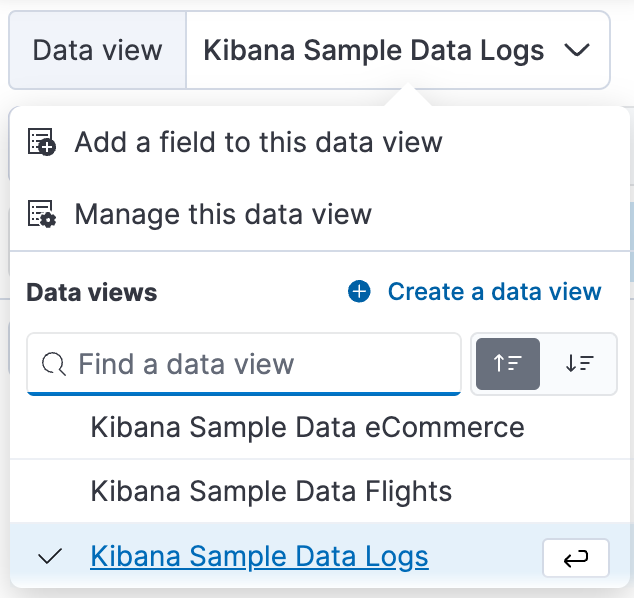
If needed, adjust the time range, for example by setting it to the Last 7 days. The range selection is based on the default time field in your data view. If you are using the sample data, this value was set when the data view was created. If you are using your own data view and it does not have a time field:
-
The time filter stays visible, shows All time, and you can't change it. -
The range selection is not available.
-
Select Update or Refresh.
Result: Discover shows your data. By default, the table includes a column for the time field and a Summary column with an overview of each result.
To search all fields, enter a text string in the search bar, the query input at the top of Discover.

If a free text search that doesn't name a field returns unexpected results, search a specific field instead. The results depend on the index.query.default_field index setting of the indices behind the current data view.
To search particular fields and build more complex queries, use KQL. As you enter text, KQL prompts you with the fields you can search and the operators you can use to build a structured query.
To use Lucene instead, open the query menu next to the search bar, select Language: KQL, and then select Lucene.
For example, search the ecommerce sample data for documents where the country matches US:
Enter
g, and then select geoip.country_iso_code.Select : for equals, and US for the value, and then select the refresh button or press Enter.
For a more complex search, try:
geoip.country_iso_code : US and products.taxless_price >= 75
Result: The chart and the table show only the documents that match your query.
Besides the search bar, you can build filters one by one with Add filter, or define them as Query DSL, the JSON query language of Elasticsearch. Filters appear as pills in the filter bar.
For example, exclude results from the ecommerce sample data view where the day of the week is Wednesday:
Select Add filter
 next to the search bar.
In the Add filter pop-up, set the field to day_of_week, the operator to is not, and the value to Wednesday.
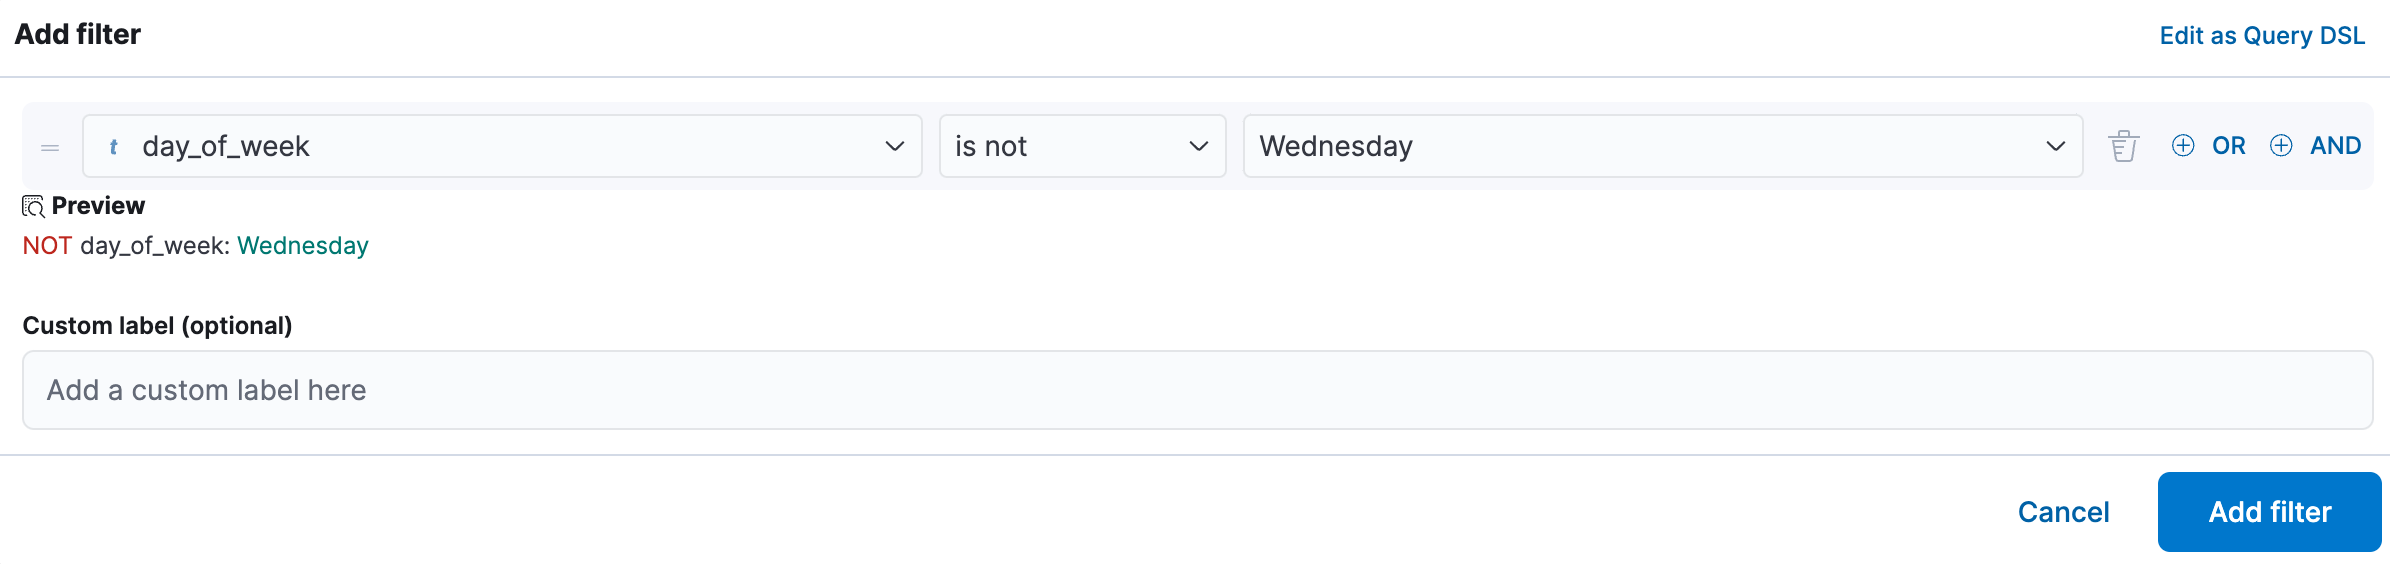
Select Add filter.
To remove a filter, select the close icon (x) next to its name in the filter bar.
Result: The filter appears in the filter bar, and the chart and the table exclude the documents that it matches.
You can interact with filter pills to edit them, temporarily alter their behavior without having to remove them, or make them available in other contexts. The following options are available when selecting a filter pill:
- Pin across all apps and Unpin
-
Adds this filter to available dashboards and to apps such as Discover, Lens, Maps, and Visualize. You remove the filter if you:
- Unpin it. In this case, the filter only remains on the currently open app, unpinned.
- Remove it from any place while it's still pinned.
- Refresh your session, for example by opening a dashboard in a new tab. Pinned filters are not saved along with the dashboard, visualization, or Discover session that you added them to.
TipWhen a pinned filter can't be applied, for example if a field specified in the filter doesn't exist in the current data view, the filter is ignored and shows in a different color.
- Edit filter
- Lets you edit and update the filter.
- Exclude results and Include results
- Reverses the filter behavior.
- Temporarily disable and Re-enable
- Lets you temporarily deactivate a filter instead of requiring you to remove it. This is particularly useful for testing different filter combinations.
- Delete
- Removes the filter.
You can perform most of these actions at once for all filters in your current view using the Query menu. From that menu, select Apply to all, then choose the action you'd like to perform.
When you cancel a running query in Discover, what you see afterward depends on your version.
Select the Cancel button that appears while the query runs. Discover stops the search and displays the partial results collected up to that point.
Select the Cancel button that appears while the query runs. Discover stops the search and shows an empty results table.
For long-running queries, you can also send the query to the background instead of canceling it, allowing it to complete while you continue working.
- To rank documents by how well they match, refer to Sort Discover results by relevance.
- To select which fields the table shows, refer to Explore fields in Discover.