Getting started with Elastic Workplace Search on Elastic Cloud
Chances are you already spent a big part of your day looking for a document, an email, or an answer that lies deep within a Google Slides presentation. Thankfully, you landed in the right place. With Workplace Search, finding the right information across all your cloud and on-premises data platforms is now easier than ever, and it’s a few clicks closer than you expect.
Workplace Search packs a punch from a feature perspective, but provides all the intuitive interfaces that helps you create a centralized source of truth for you and your team. Coupled with the ease and reliability of Elastic Cloud, Workplace Search turns your sprawling organizational data landscape into a goldmine for collaboration and decision making.
Getting started with Workplace Search
In just a few easy steps, you can be up, running, and searching. You’ll log in to Elastic Cloud, create your Enterprise Search deployment, access Workplace Search, synchronize data, and get searching.
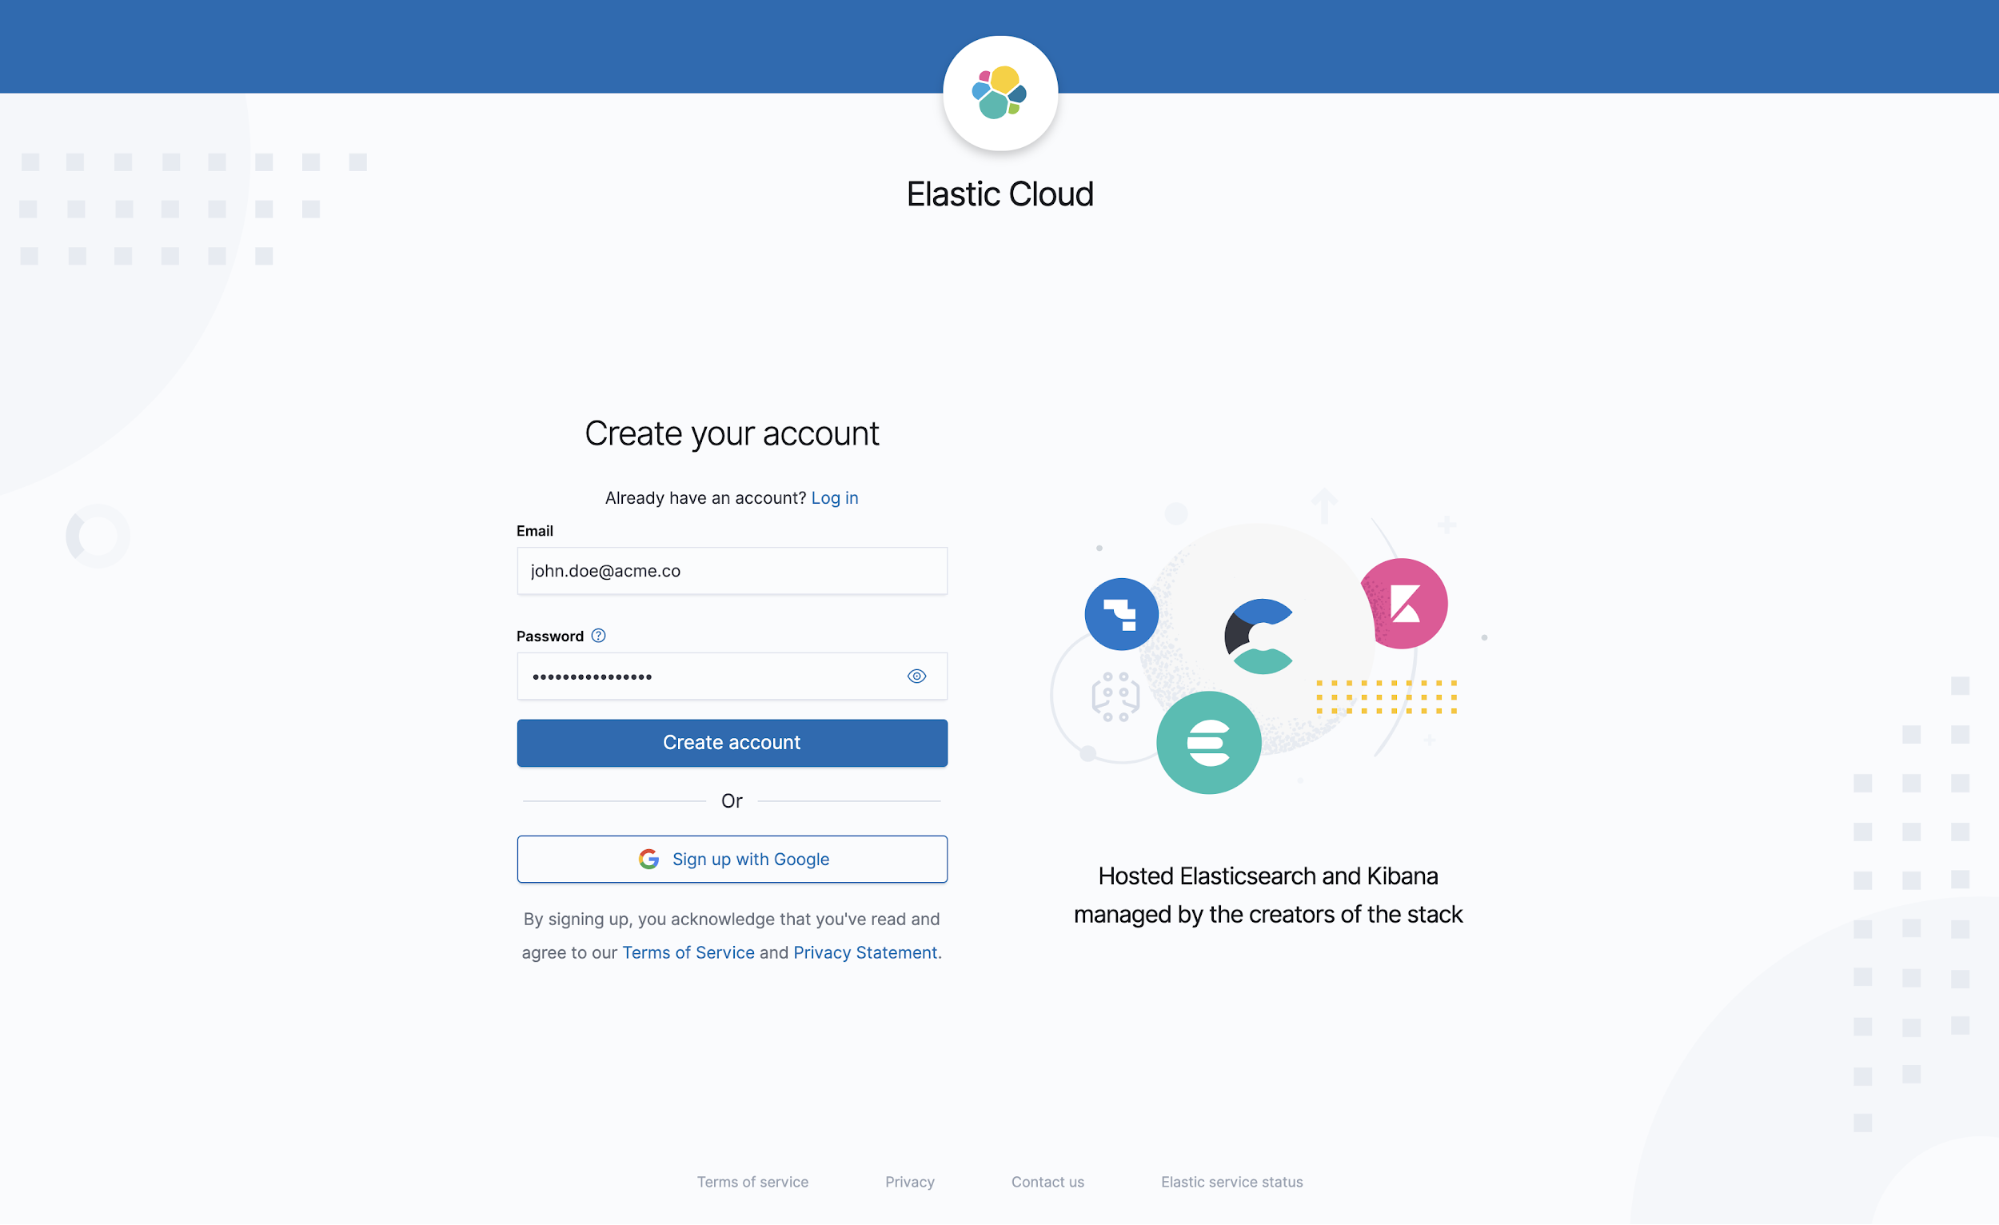
Step 1: Log in to Elastic Cloud
The very first step involves, as you would expect, logging in to Elastic Cloud. Not already an Elastic Cloud user? No problem. Creating an account is simple, and you can get started with a free 14-day trial. From here, you can start your trial with just an email address — no credit card required.
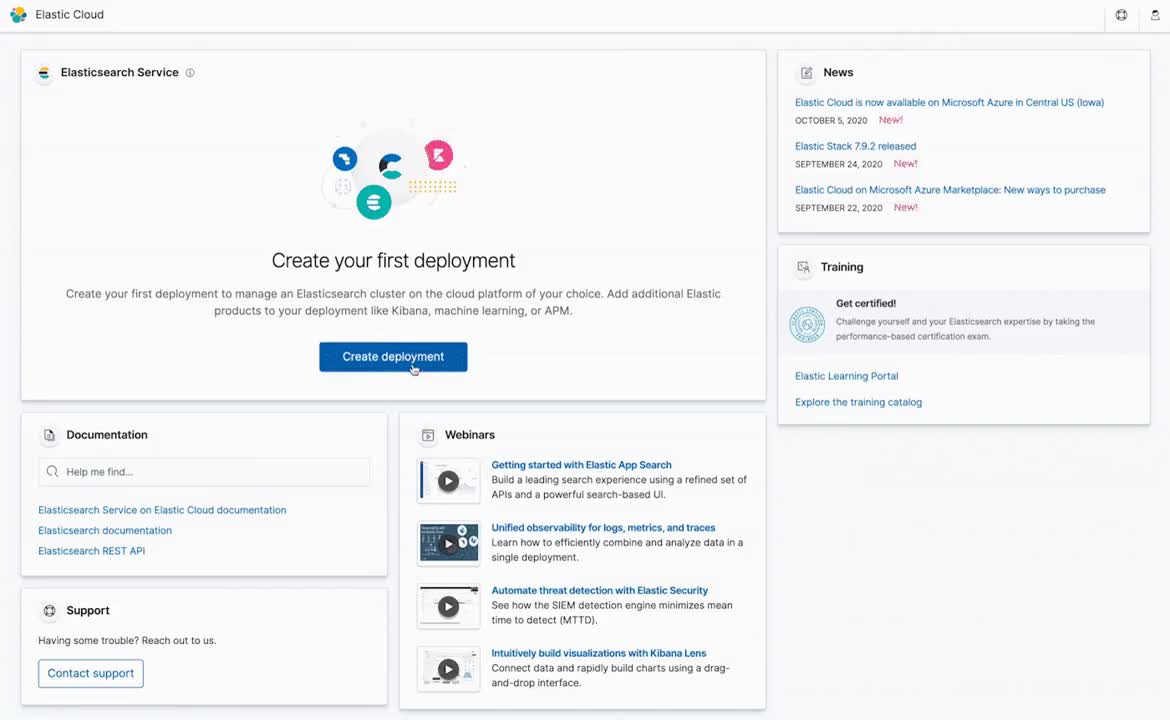
Step 2: Create an Enterprise Search deployment
Welcome to Elastic Cloud! No wasting time: Locate the Create deployment action on the Elastic Cloud home page and select the Enterprise Search deployment type. Workplace Search is available via the Enterprise Search solution, along with the App Search product (more on this later). The simplest option is to keep all configurations as is, simply name your deployment, and click Create deployment.
Should you feel more confident or adventurous, feel free to tweak the deployment options to your particular needs. Since Workplace Search runs on our Elastic Cloud, you can choose to deploy in any region or using the cloud provider that’s most familiar to you. Moreover, when your use case scales, Elastic Cloud makes it easy to adequately adjust your deployment’s configurations and profiles.
It is very important that you save the elastic username and password presented on the screen once you’ve created your deployment. Keep the credentials handy — we’ll need them in a minute.
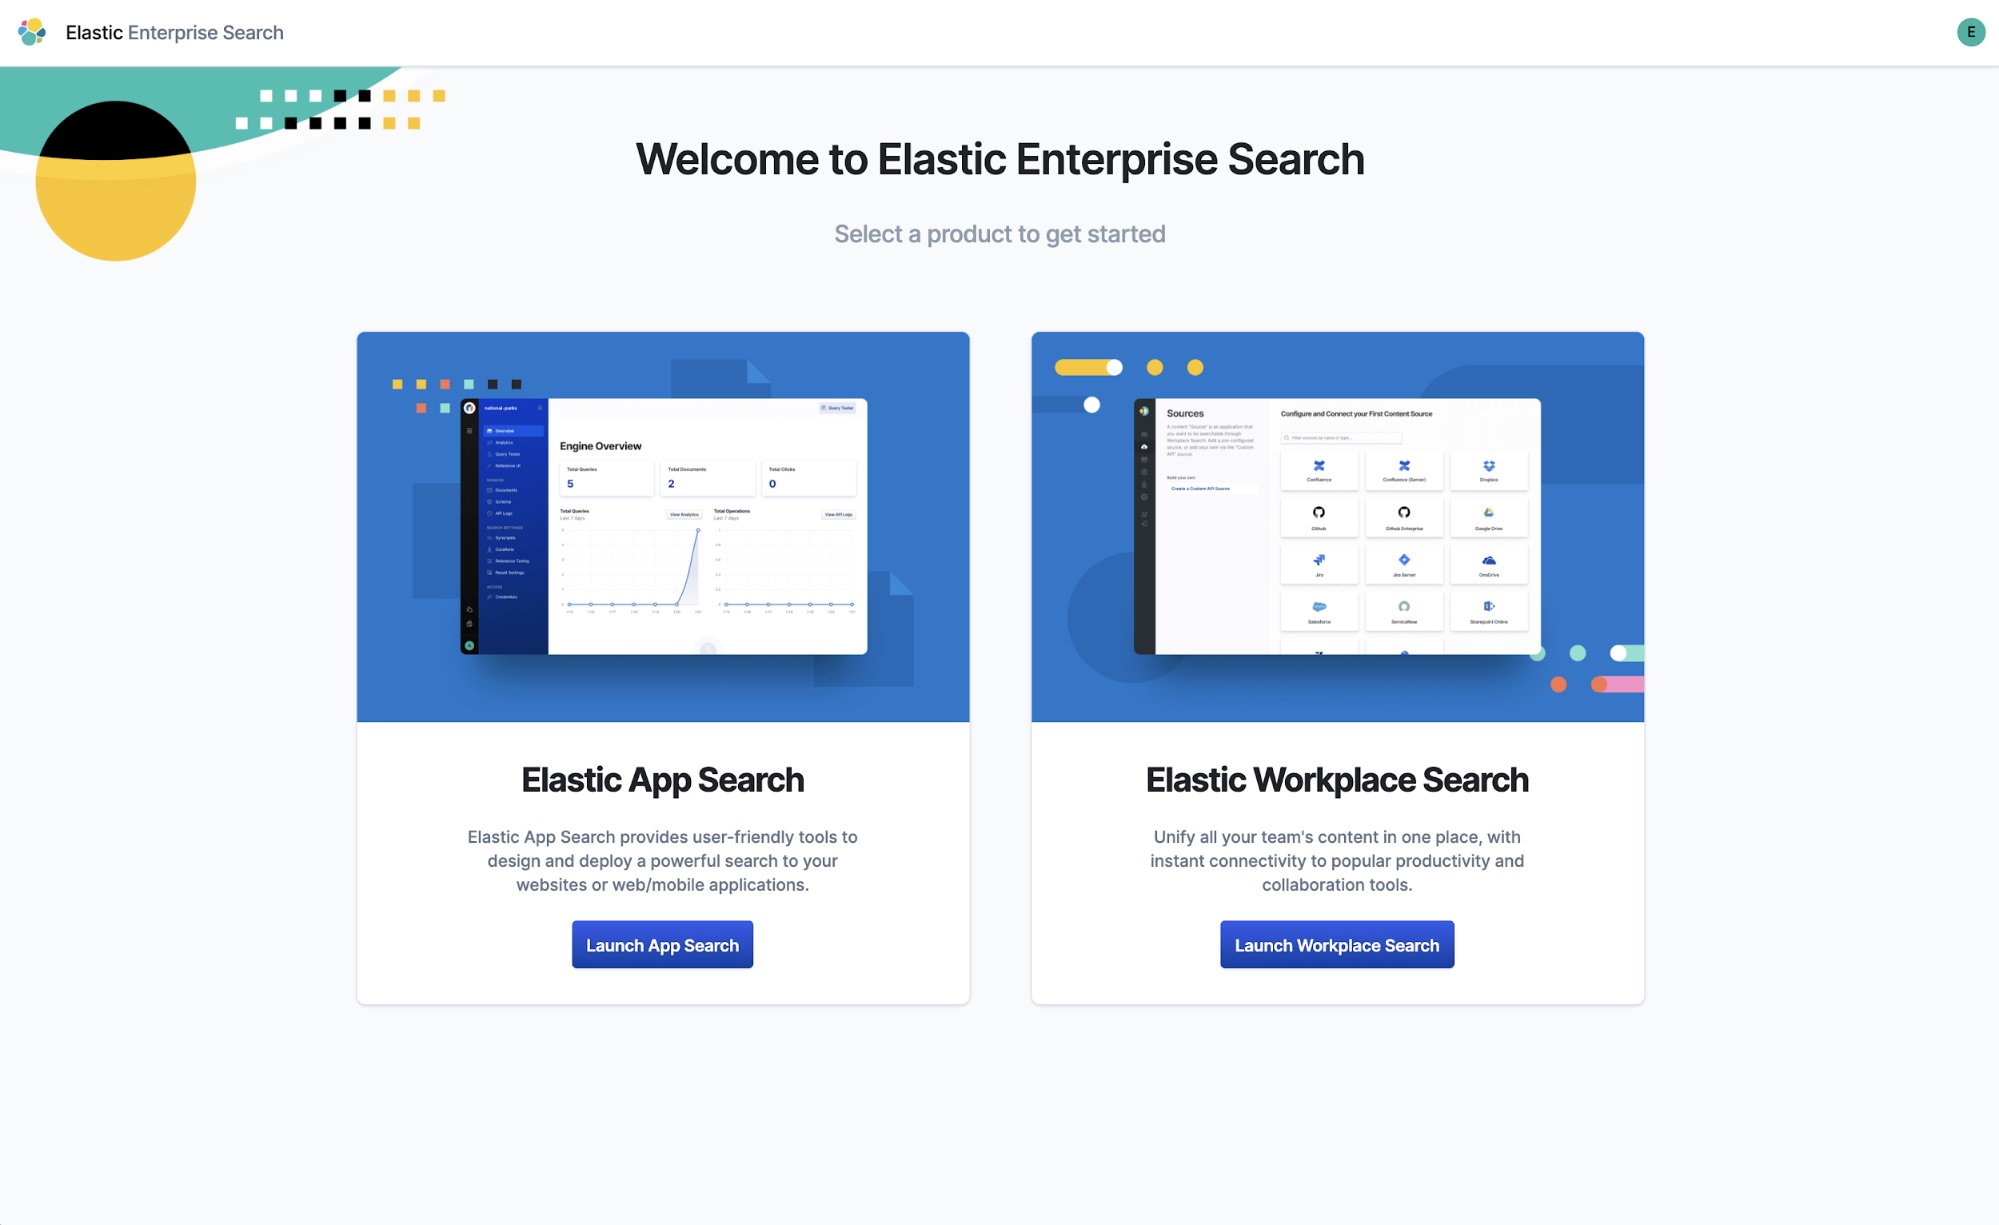
Step 3: Log in to Enterprise Search and select Workplace Search
Once your Enterprise Search deployment has been successfully created, locate the Launch Enterprise Search action on the deployment activity page. You will be presented with an Enterprise Search login screen. Use the elastic user and the associated password we kept handy in the previous step. Once signed in, you may select to access Workplace Search. The other option, App Search, is a powerful way to add search to any SaaS dashboard, ecommerce site, or web application in no time. Let’s stick to Workplace Search for the purpose of this guide.
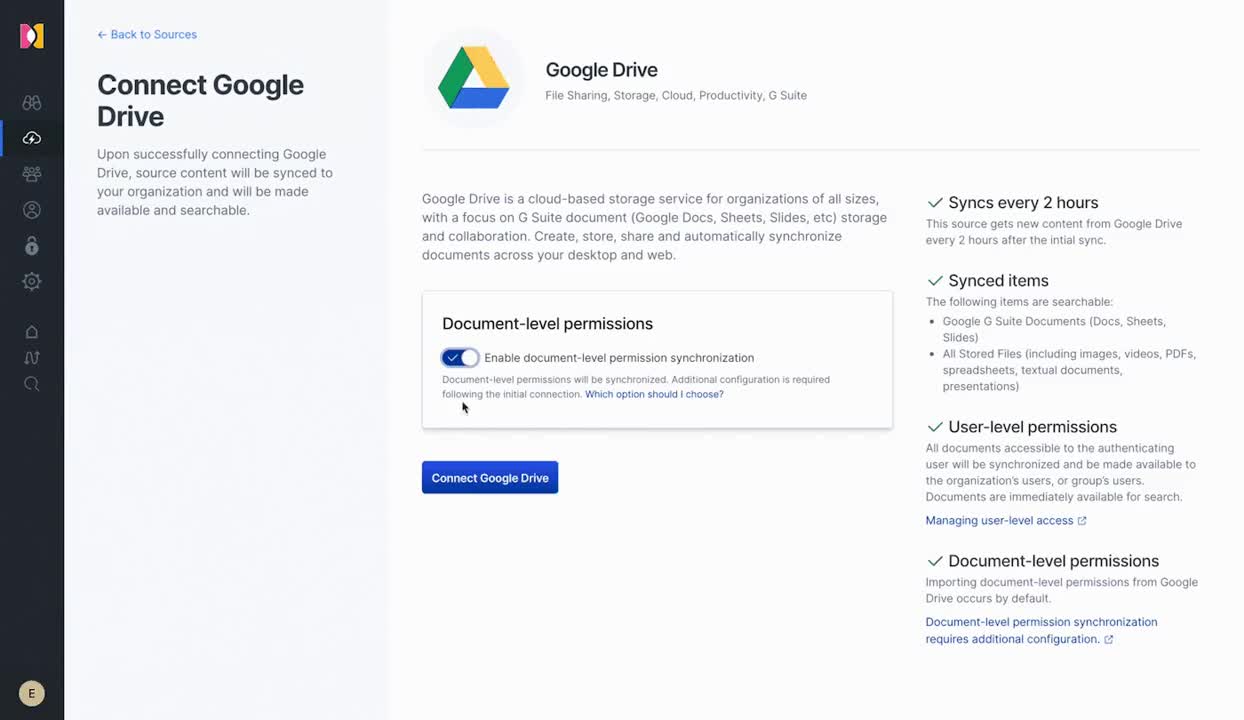
Step 4: Get syncing
Welcome to Workplace Search! Pretty effortless so far, yeah? The first step is to turn this empty house into a thriving content repository. We’ll start simple by connecting Google Drive. You’re welcome to select any source that suits your organizational environment best. From the sidebar, locate the Sources area and select the source you wish to connect. Follow the instructions as outlined by the configuration and connection flow for the source you have selected. These steps may differ based on the selected content source. Once you’ve connected your first source, you should get a success notice — feel free to add as many or as few sources as your heart desires. See the Content Sources Overview for additional detail, including how to connect any source of data with the Custom Source API.
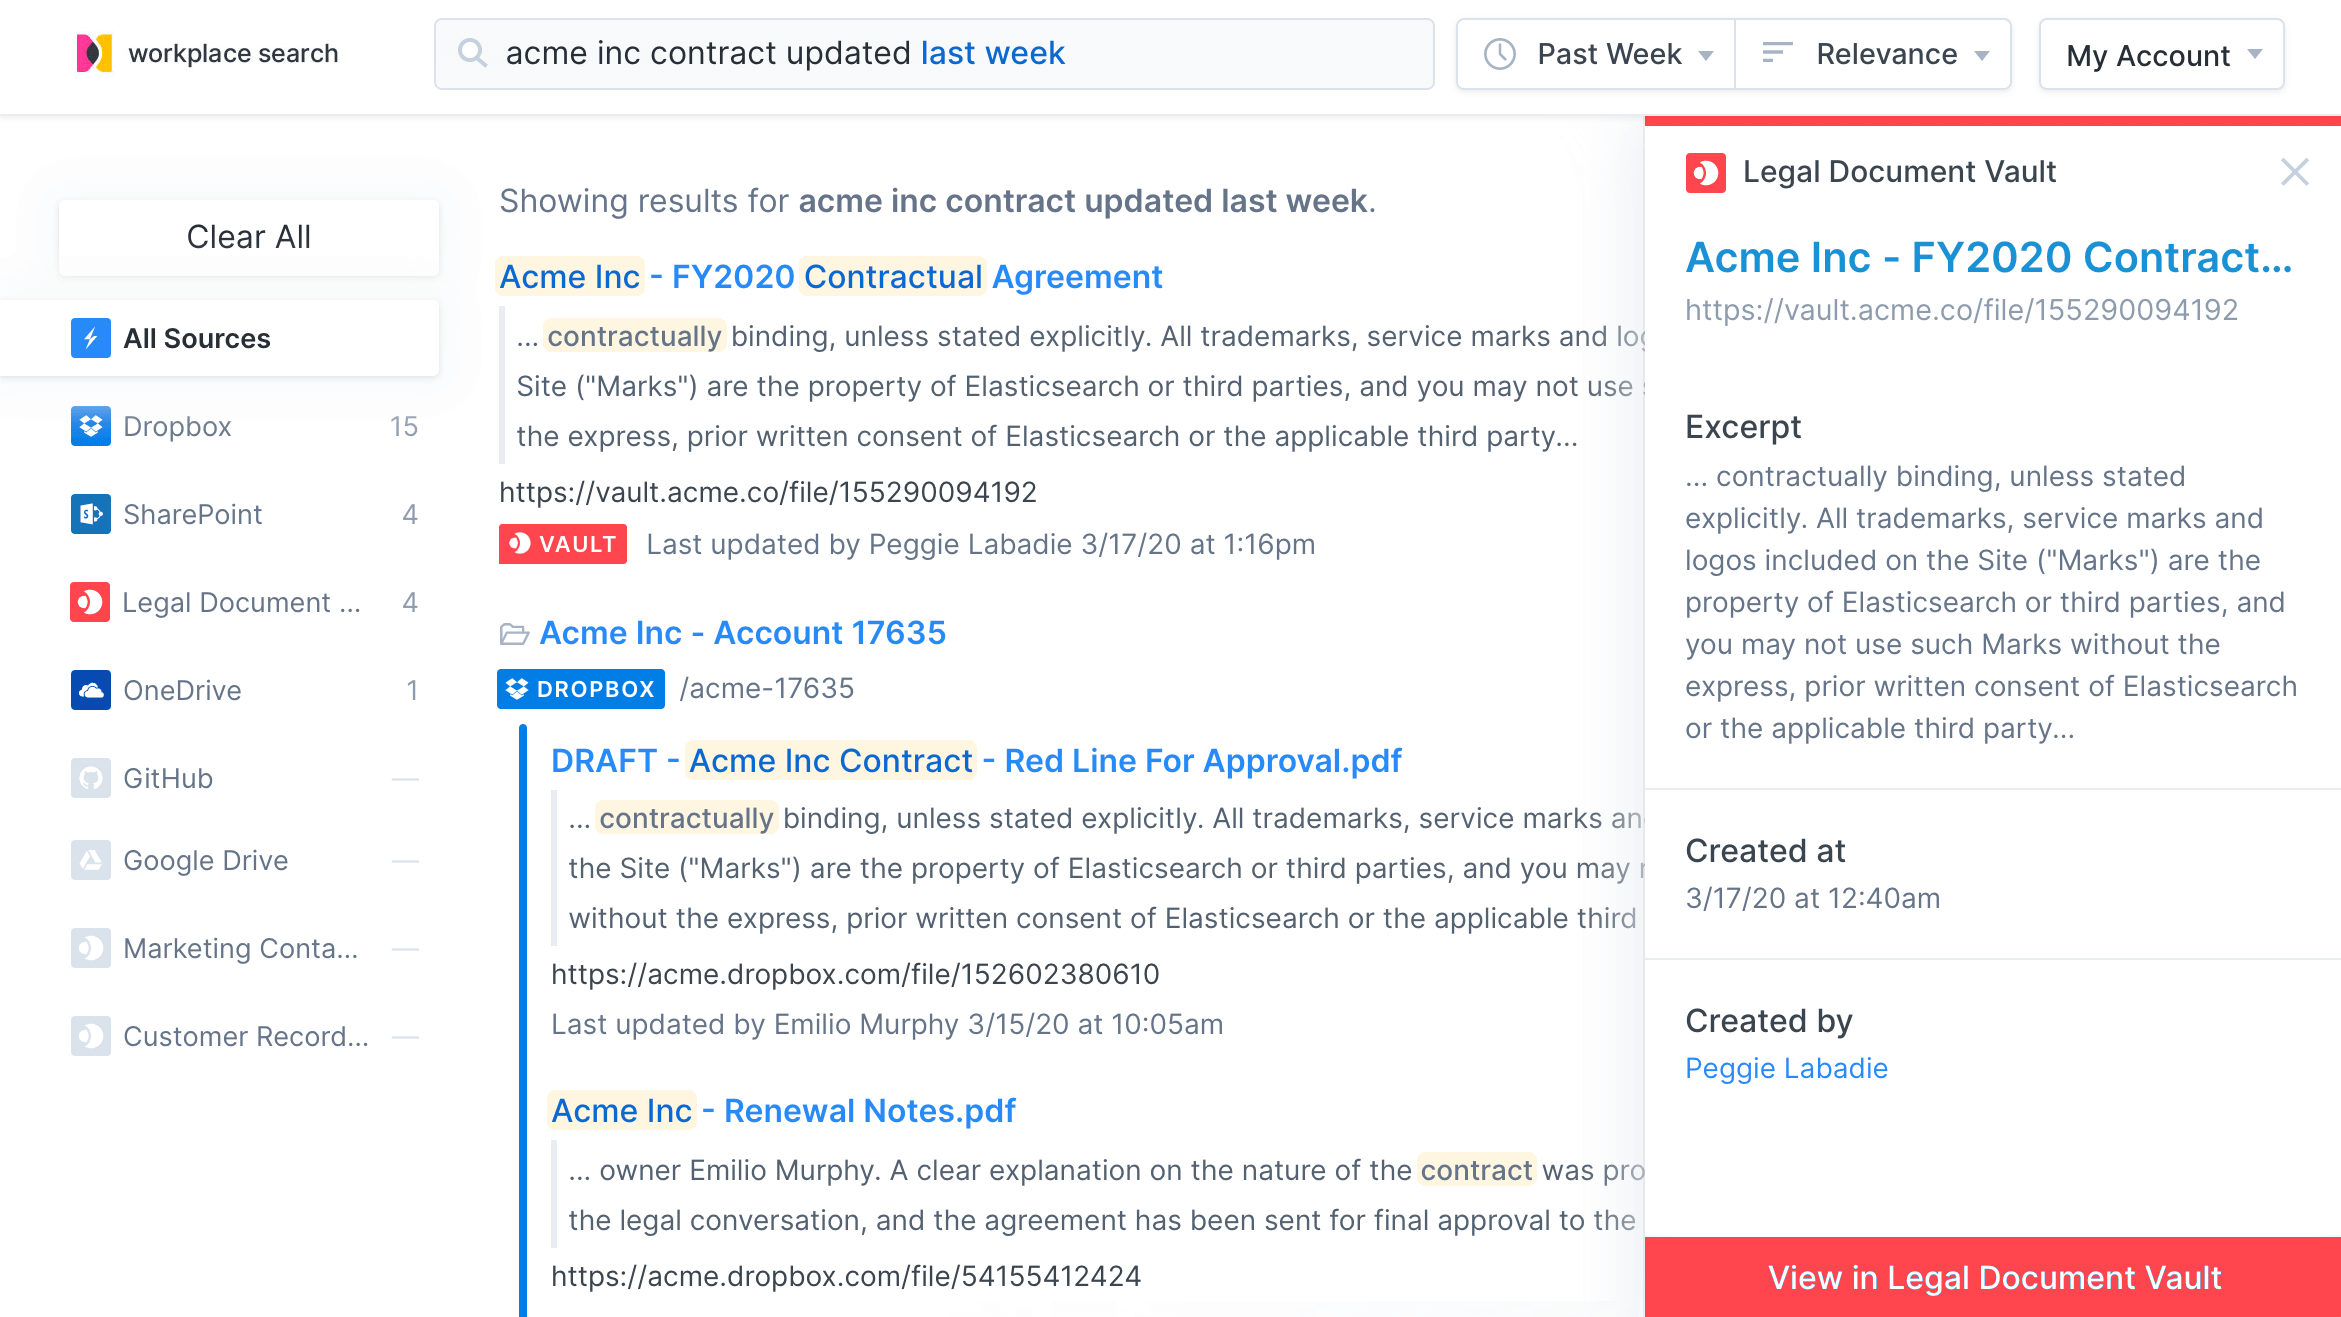
Step 5: Try out a search request
Now that data is flowing in, you are able to take Workplace Search for an (early) spin. Locate the Go to Search Application item in the administrative dashboard sidebar. From here, you can run queries against the actively syncing dataset. Keep in mind that the more sources you connect, the more value you get out of centralizing all your organizational data around a singular source of truth — the Workplace Search experience.
Users, groups, and beyond
With content streaming in and your data repository taking shape, you may start exploring Group assignments, which lets you create a logical assortment of users that share content, relevance needs, and other significant traits. Workplace Search packs a punch from a feature perspective, but provides all the intuitive interfaces that you need to organize, optimize, and secure the experience for all your teams.
Don’t forget: Existing Elastic Cloud customers can access Workplace Search directly from the Elastic Cloud console using the Enterprise Search deployment. New to the Elastic Cloud? Start a free 14-day trial of Workplace Search. Or download the self-managed version of Workplace Search via the Enterprise Search solution package.