Migrating from self-managed Elastic Stack to Elastic Cloud using snapshot and restore with Google Cloud Storage


 Share on Twitter
Share on Twitter

 Share on LinkedIn
Share on LinkedIn

 Share on Facebook
Share on Facebook

 Share by Email
Share by Email

 Print this page
Print
A great way to try out Elastic® for free is to create a self-managed deployment on your own local computer. Then when you're ready to take your usage of Elastic to the next level of scalability and global availability, you can migrate your self-managed Elastic deployment to Elastic Cloud.
This blog post presents a step-by-step guide to help you do that using a snapshot and restore process that leverages Google Cloud Storage as the reliable storage location for saving and accessing the snapshot files that are central to the migration process.
Prerequisites
This blog post assumes that you already have a deployment of a self-managed Elastic stack that includes a search index, ready for migration. If you’d like to see a detailed set of steps covering how to create a self-managed deployment running in Docker on your own local computer, please check out step 1 and step 2 of a recent blog post I wrote titled Migrating from self-managed Elastic Stack to Elastic Cloud using snapshot and restore with Amazon S3. Once you’ve got your self-managed Elastic stack running and ready for migration to Elastic Cloud, come back to this blog post for the specific instructions on how to perform a snapshot and restore migration using Google Cloud and Google Cloud Storage.
This blog post covers three main steps:
Create an Elastic Cloud Deployment.
Migrate a self-managed Elastic stack to Elastic Cloud using Google Cloud.
Update any Elastic data collectors to send data to the Elastic Cloud deployment.
Step 1: Create an Elastic Cloud Deployment
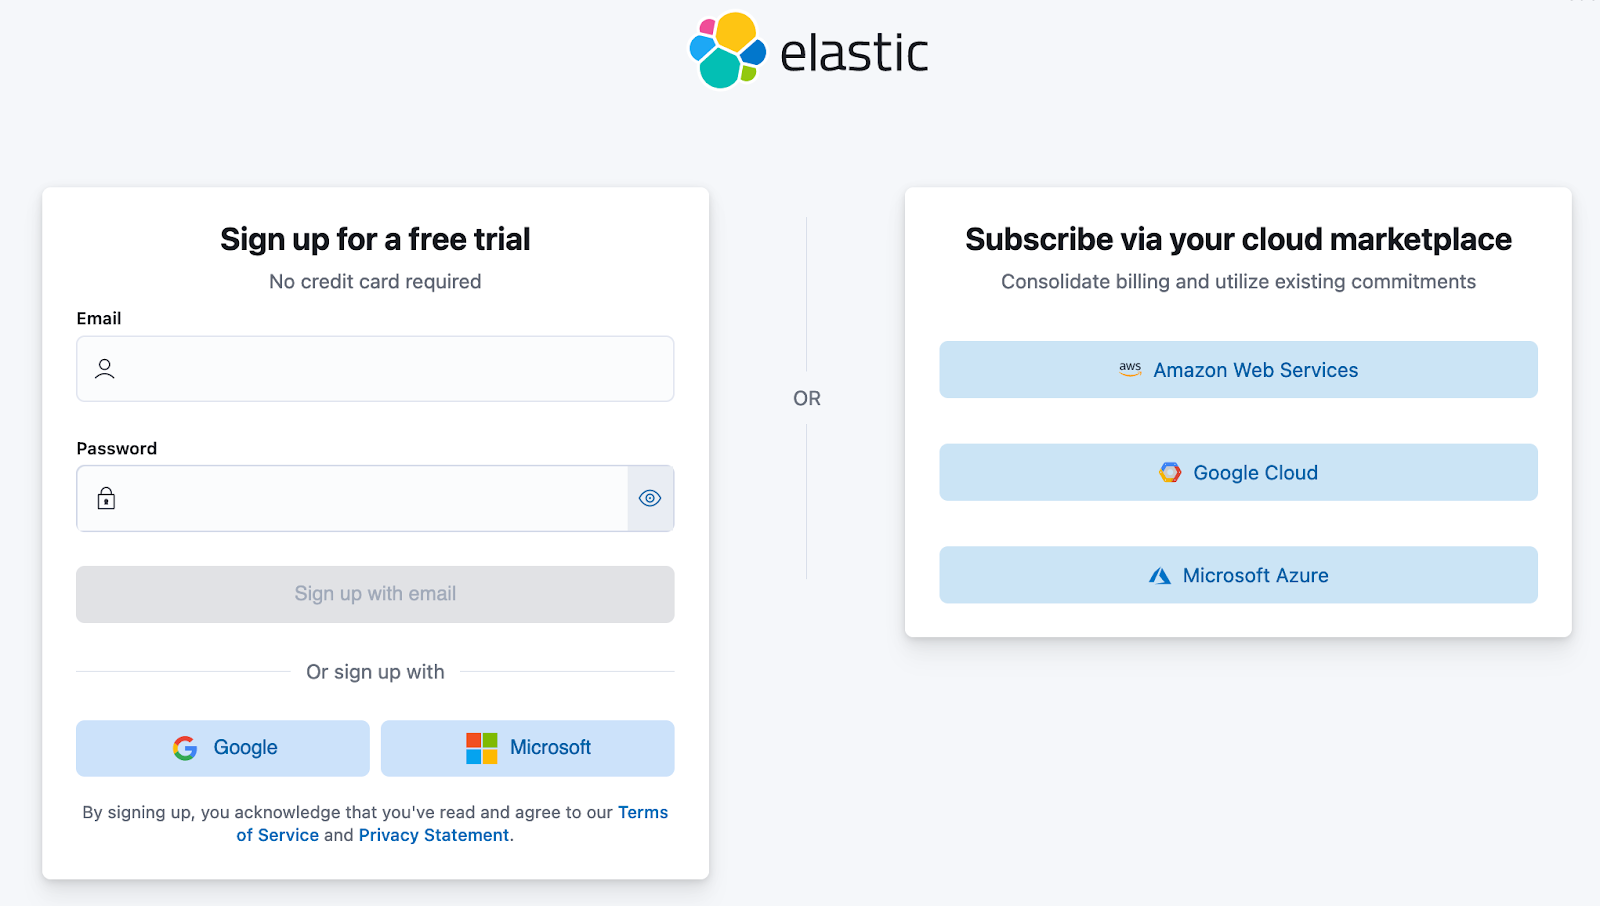
Sign in to Elastic Cloud to use an existing cloud deployment or to create a new deployment. There’s a 14-day free trial available if you’re a new user.
Step 2: Migrate a self-manage Elastic stack to Elastic Cloud using Google Cloud
The process of migration involves taking a snapshot of the data in the self-managed Elastic stack, saving that snapshot to a Google Cloud Storage Bucket, and then restoring the snapshot to your Elastic Cloud deployment. Here’s a guided tour that includes every step required to accomplish this right from the web browser you're using to read this blog post.
Step 3: Update any Elastic data collectors to send data to the Elastic Cloud deployment
This final step only applies if you’ve got existing data collectors like Elastic Agents or Elastic Integrations sending data to your self-managed Elastic stack. For any Elastic data collectors that you have deployed like Dataflow PubSub jobs or an Elastic Agent on a Google Compute Engine VM for example, you’ll need to update each data collector so that it points to your Elastic Cloud deployment.
Migrate to Elastic Cloud today
You’ve now seen the complete process to migrate a self-managed Elastic stack to Elastic Cloud, where you’ll benefit from having an Elastic deployment that is always running the latest version, can autoscale, and has access to the best new features for search, observability, and security like Elastic’s new AI Assistant. Migrate your self-managed Elastic stack to Elastic Cloud today and give yourself the peace of mind that comes with having Elastic manage your deployment. Running Elastic in the cloud will ensure that your precious time can be devoted to all the other important things you need to get done every day.
The release and timing of any features or functionality described in this post remain at Elastic's sole discretion. Any features or functionality not currently available may not be delivered on time or at all.
Share
- Share on Twitter
Share on Twitter
- Share on LinkedIn
Share on LinkedIn
- Share on Facebook
Share on Facebook
- Share by Email
Share by Email
- Print this page
Print