Streamline incident management with Elastic Observability and Atlassian Opsgenie


 Share on Twitter
Share on Twitter

 Share on LinkedIn
Share on LinkedIn

 Share on Facebook
Share on Facebook

 Share by Email
Share by Email

 Print this page
Print
Elastic Observability is excited to announce a new integration with Atlassian Opsgenie to automatically create and close alerts within Opsgenie. In addition to the automatic creation and closure of alerts, the integration with Opsgenie gives you granular control over alerts generated by Elastic alerting rules, by allowing customization of the individual fields within the Opsgenie alert. That granular control enables you to notify the right users, manage alerts better, and quickly resolve issues.
Configuring the Opsgenie integration
A new Opsgenie connector in Elastic enables you to configure the integration with Opsgenie. That connector leverages the Opsgenie Alert API for interacting with Opsgenie. Those alerting APIs provide extensive customization of the fields within the alerts, including control over alert visibility and over which users to notify.
Setting up the integration involves two main steps:
- Create an Opsgenie API token
- Define and use the Opsgenie connector in Elastic alerting rules
Let’s go through those steps in more detail.
Step 1: Create an Opsgenie API token
(If you don’t have an Opsgenie instance yet, you can create a free trial instance.)
An API token can be created through the Team Dashboard or through the Settings page as explained in the Opsgenie API token documentation. Note that if you are using a Free or Essential version of Opsgenie, you can only generate the API token using the Team Dashboard.
Generating API token through Team Dashboard
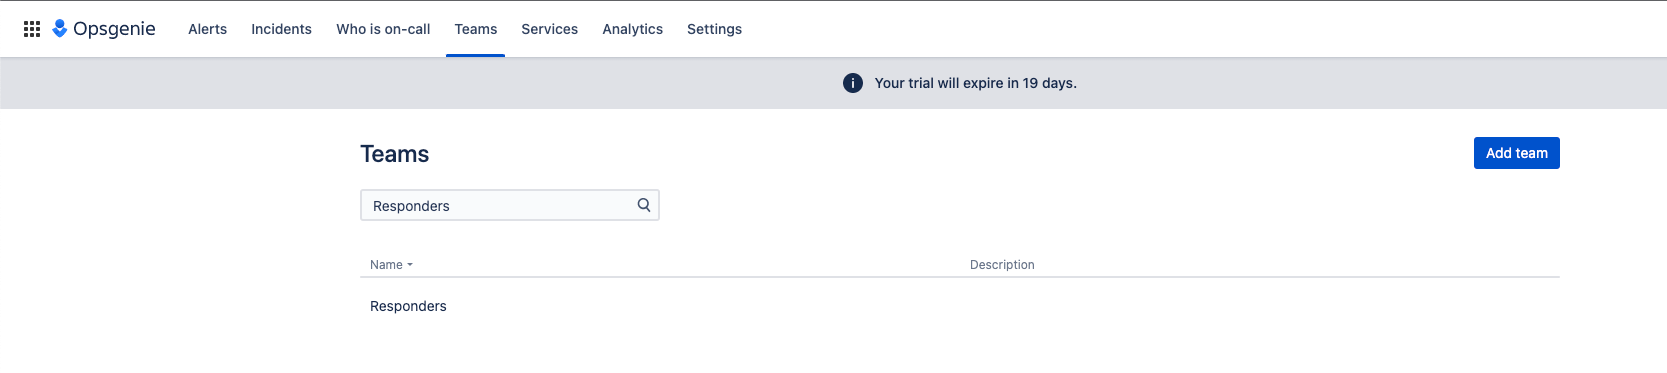
To generate an API token through the Team Dashboard, go to the Team tab and then click on the team you’d like to own the created alerts.
After selecting the team, click on Integrations in the left menu and Add integration.
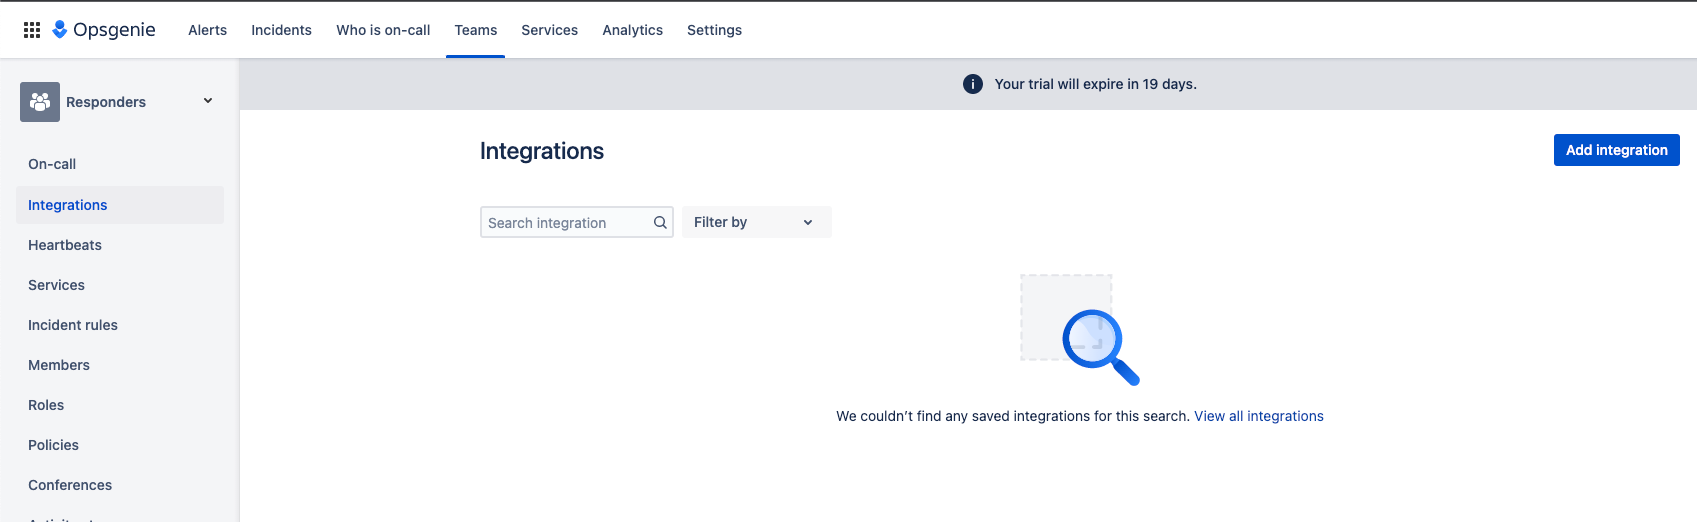
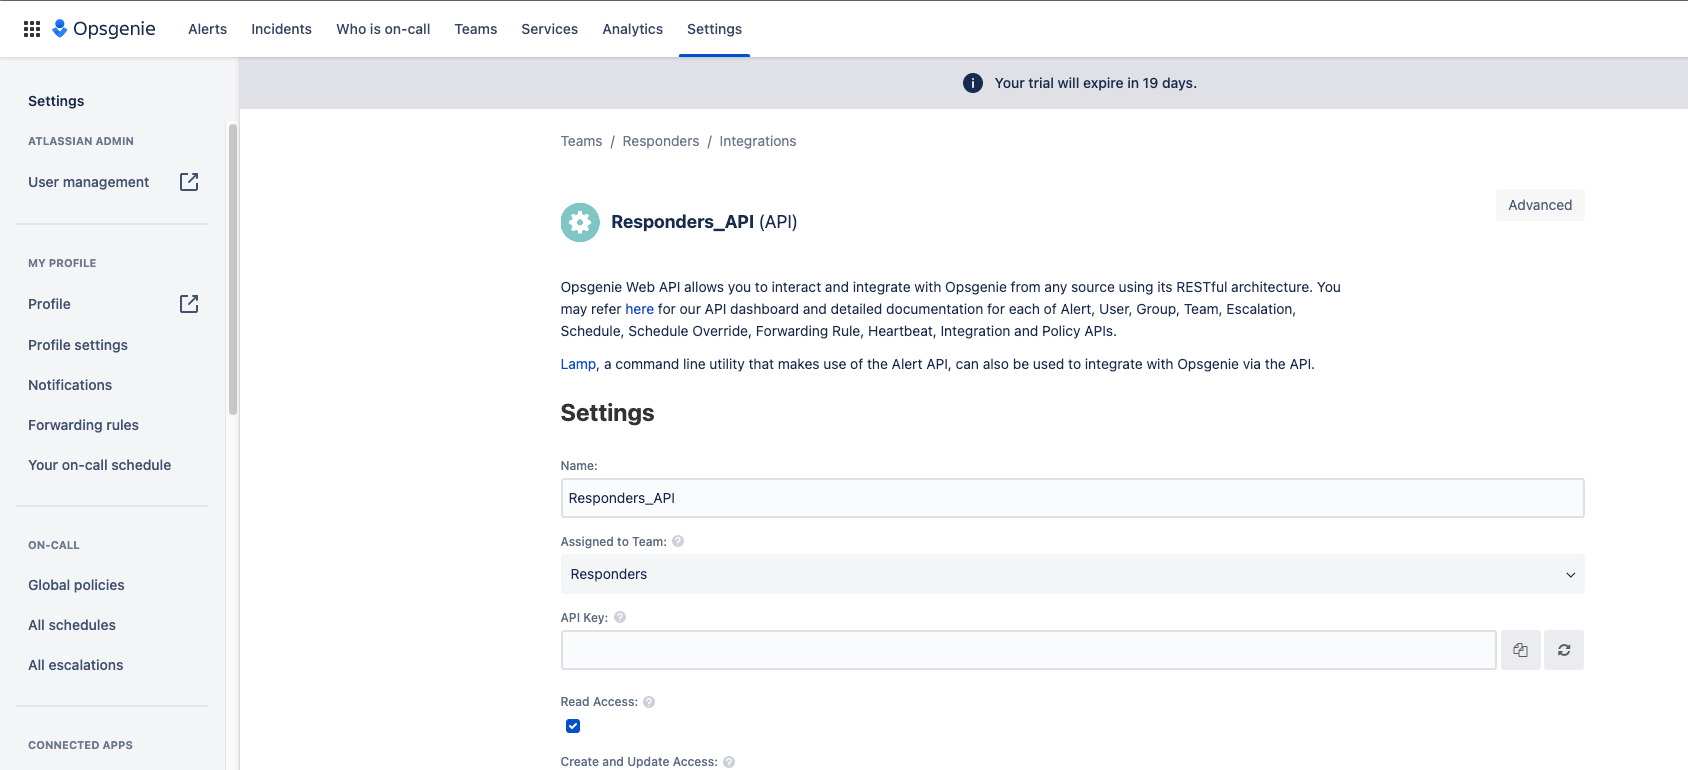
On the Integration page, search for API and select the integration with the text API.

Copy the generated API key and save the integration.
Generating API token through Settings page
To generate an API key through the Settings page, click on the Settings tab and the Integrations menu item on the left.
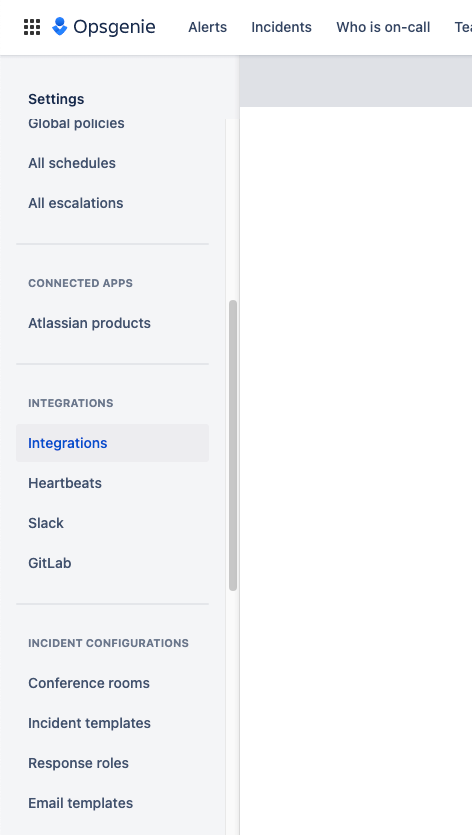
Click the Add integration button and search for API. Select the integration with the text API.
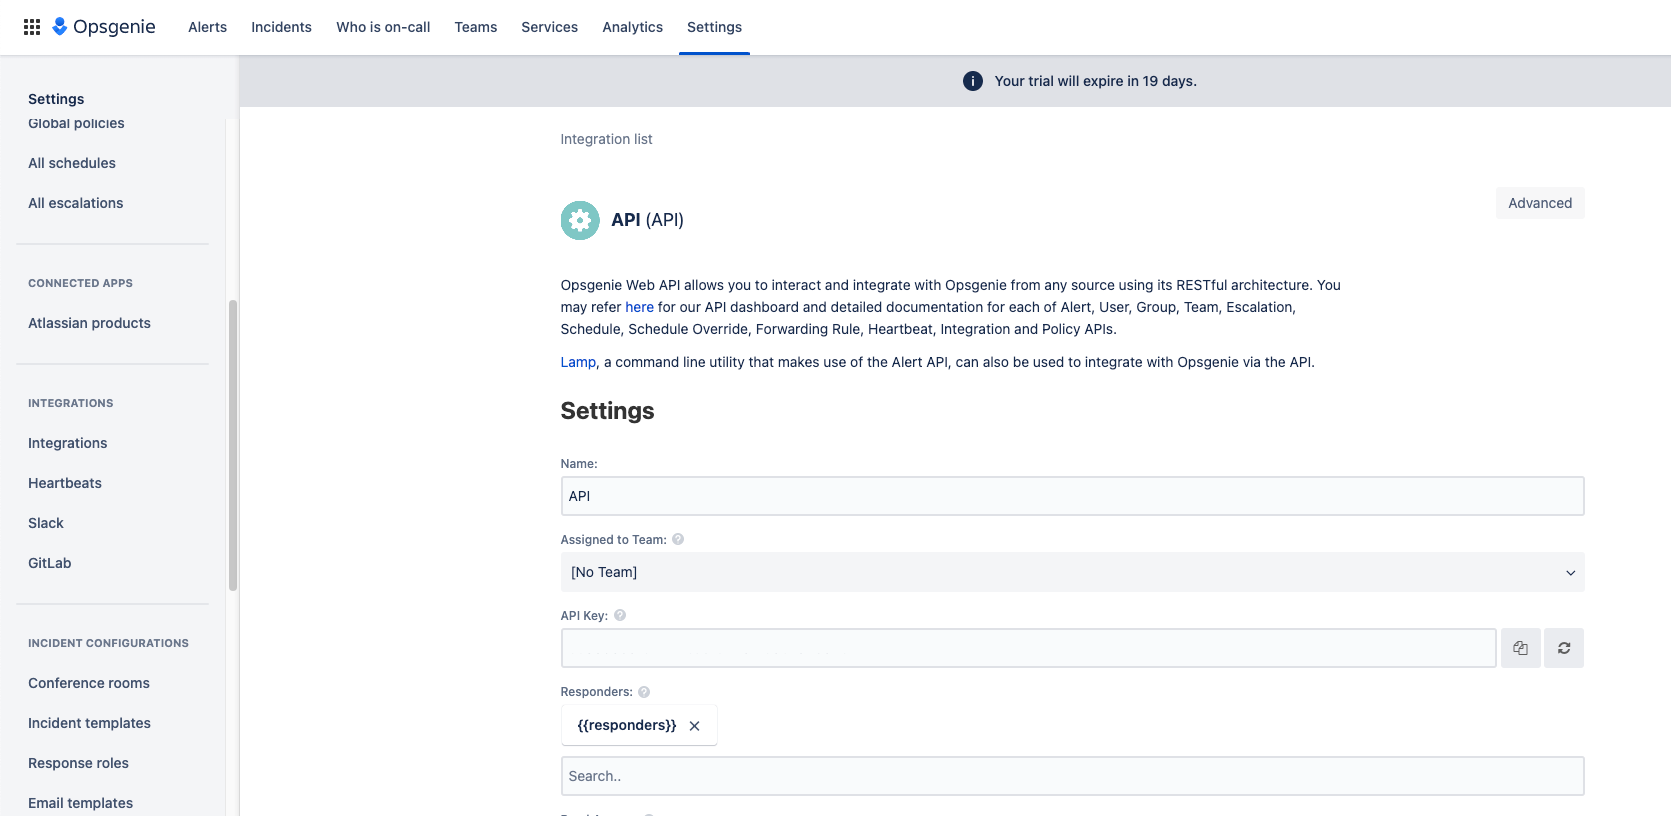
Copy the API token and save the integration.
Step 2: Define and use Opsgenie connector in Elastic
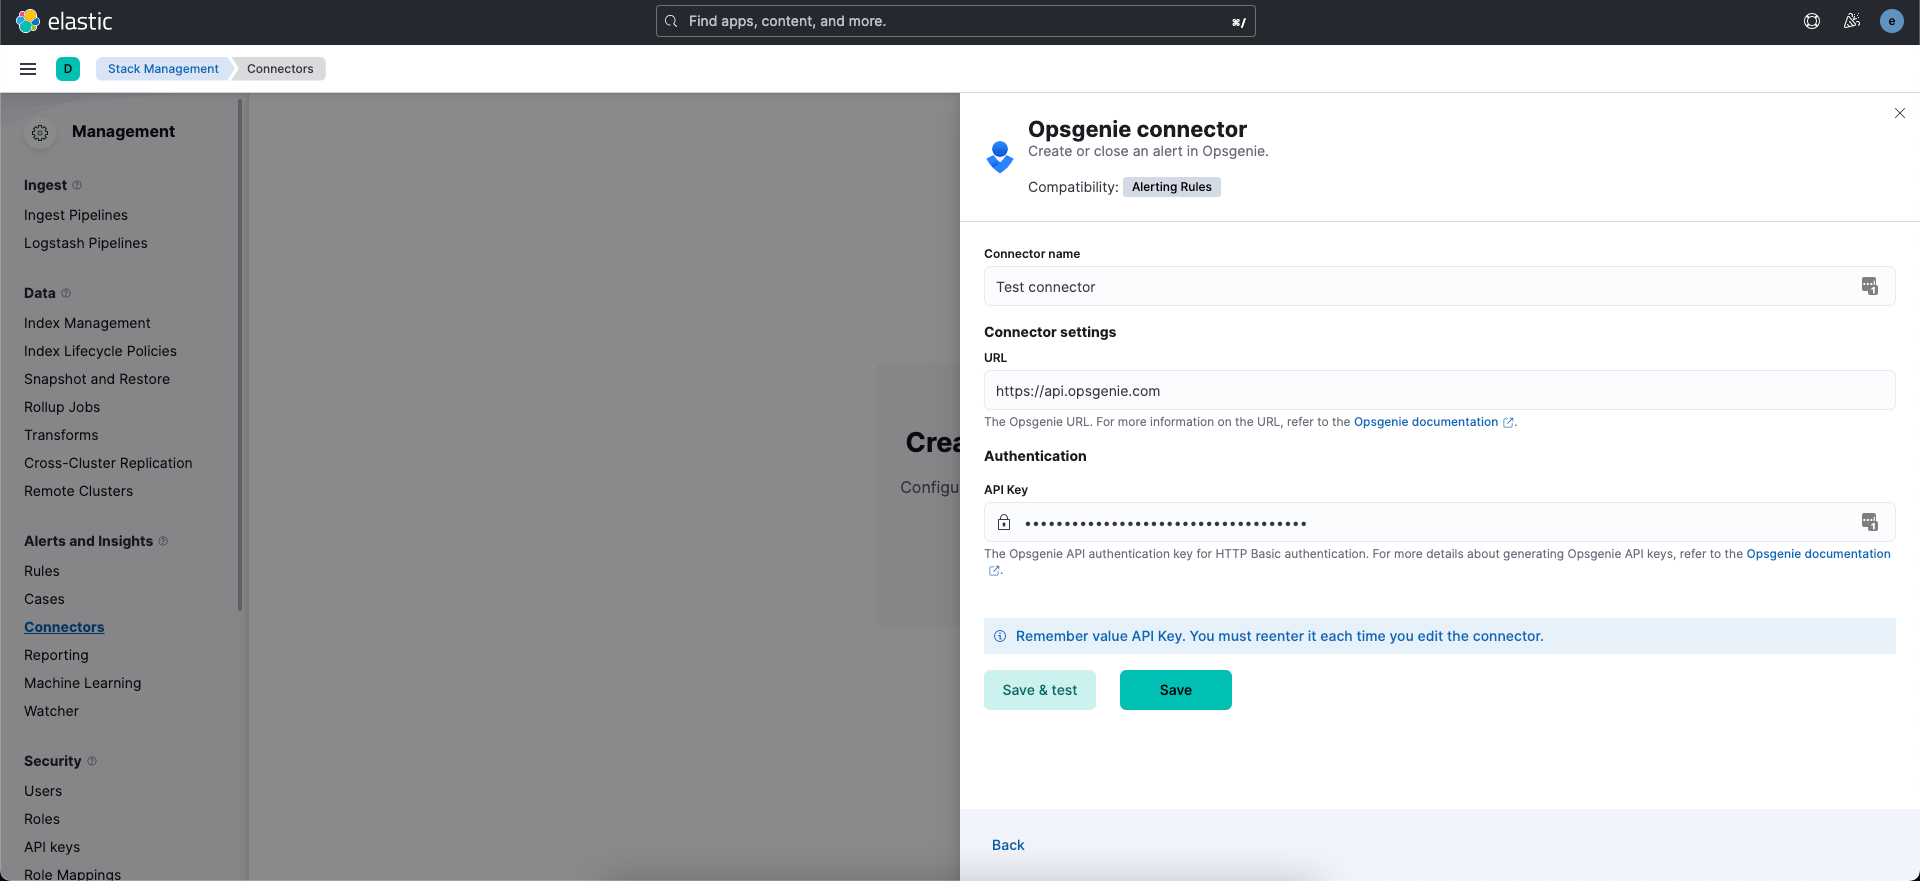
Create the Opsgenie integration by clicking the Create connector button and selecting Opsgenie. Enter the API key generated by Opsgenie.
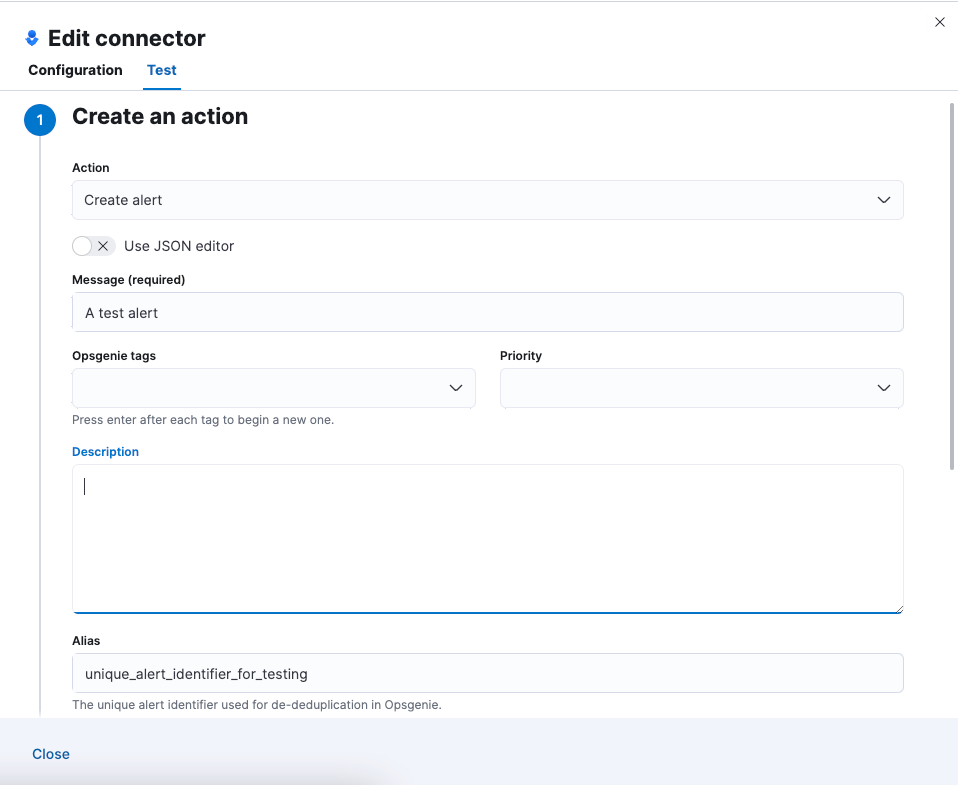
To ensure that the connector is configured correctly, click on the Save & test button. The test form’s Action dropdown allows testing both the creation and closing execution flows. To test creating an alert, enter a value in the Message and Alias text fields and click the Run button towards the bottom of the form.
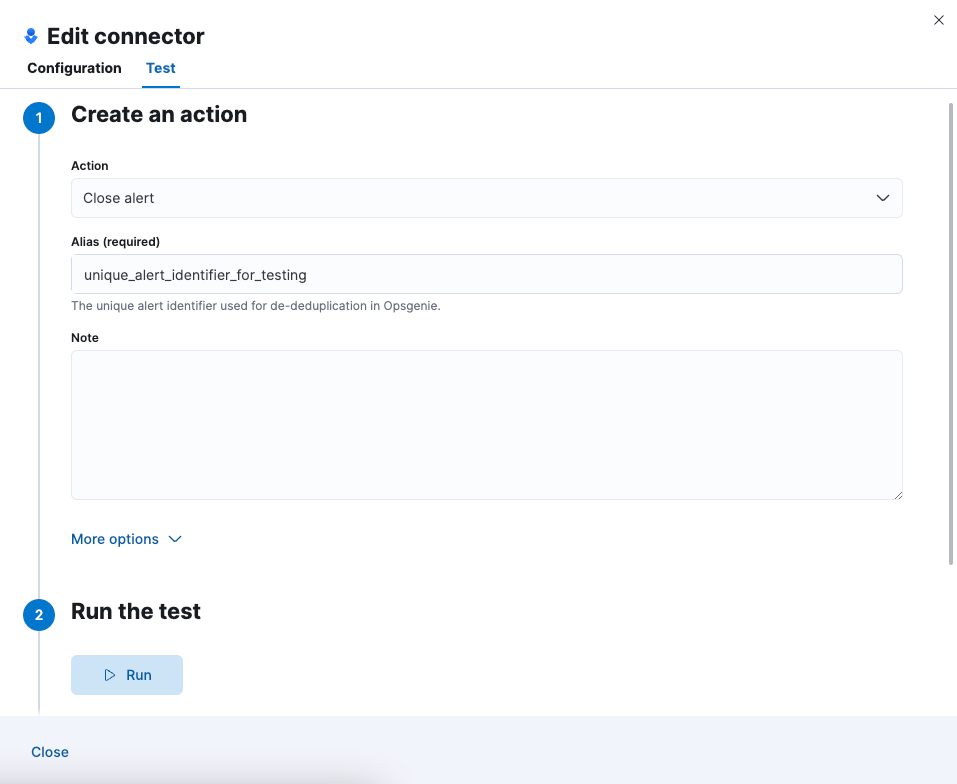
After clicking Run, check your Opsgenie instance to ensure that the alert was created. If the alert does not appear, check that the API key was generated correctly. To test closing the alert, select the Close alert option within the Action dropdown. The Alias should be the same value used when creating the alert. Click the Run button and check Opsgenie to see if the alert was closed.
If the alert was successfully created and closed in Opsgenie, the connector is configured correctly and a rule can now be configured to use Opsgenie as an action. Create a rule or edit an existing rule and select Opsgenie for the action.
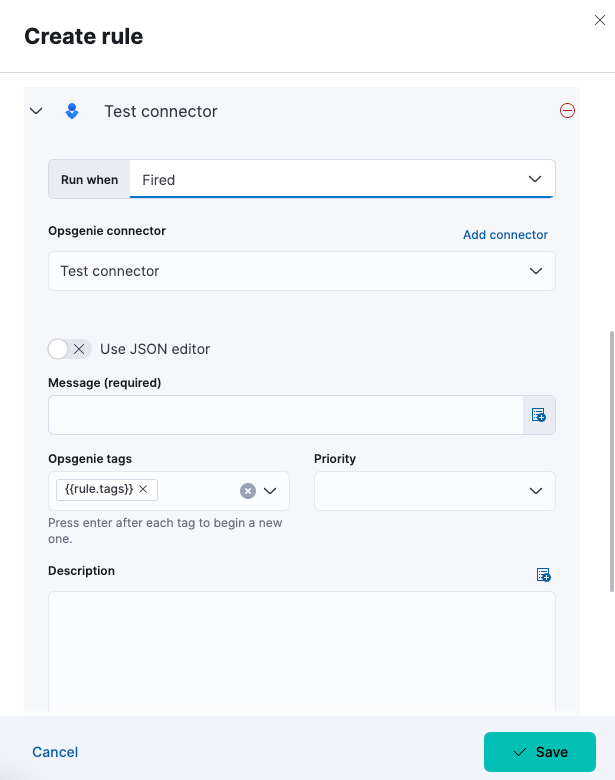
Opsgenie actions support execution for a rule firing an alert or recovering an alert. The exact term shown within the Run when component will differ based on the rule type chosen. If the Run when component is set to Fired or an equivalent type, an Opsgenie alert will be created. If it is set to Recovered or similar, an Opsgenie alert will be closed.
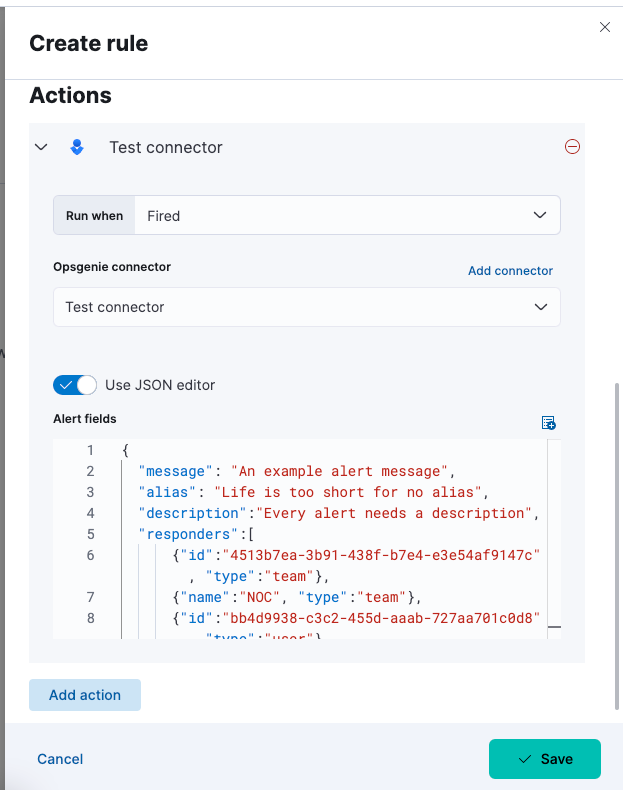
Opsgenie actions provide a form and JSON editor view for configuration. The form view provides easy access to setting a subset of the available fields in an Opsgenie alert. The form view fields are detailed in the Elastic Opsgenie integration documentation. The JSON editor supports all the fields provided in the form view and additional ones described in Elastic documentation.
To ensure that the Opsgenie alert is closed when an alert recovers in Elastic, two Opsgenie actions must be configured. The first action should define the Opsgenie alert’s content when it is created. It should be set to the Run when Fired or equivalent. The second action should be set to Run when Recovered or similar. The alias field must be set to the same value for both actions. This is provided by default because it is prepopulated with the template {{rule.id}}:{{alert.id}}. This default ensures that the correct alert within Opsgenie will be closed when the alert recovers within Elastic.
After you finish configuring the Opsgenie actions, click the Save button. Once an alert is generated in Elastic, you will see a corresponding alert within Opsgenie, and when it is recovered, the Opsgenie alert will be closed automatically.
Make your alerts work for you
The Elastic integration with Opsgenie provides you with more options for automating incident management and response. Take control of your alerts by using the integration with Opsgenie to dictate how they are grouped, who gets notified, and how they fit into your incident response process.
If you’re ready to take control of your alerts, start a free trial of Elastic Cloud and set up the Opsgenie integration.
Share
- Share on Twitter
Share on Twitter
- Share on LinkedIn
Share on LinkedIn
- Share on Facebook
Share on Facebook
- Share by Email
Share by Email
- Print this page
Print