Getting started with Elastic on Microsoft Azure
UPDATE: This article refers to our old getting started experience for Elastic on Microsoft Azure. You can now take advantage of a more streamlined way to get started with Elastic on Microsoft Azure. Check out our latest blog to learn more.
Elastic on Microsoft Azure gives you the power of Elastic Enterprise Search, Elastic Observability, Elastic Security as well as the Elastic Stack. You can quickly and easily search your environment for information, analyze data to observe insights, and protect your technology investment. Elastic Cloud lets you deploy your way, whether as a managed service, or with orchestration tools you manage in Azure.
You can easily get started with Elastic on Azure through our listing page on the Azure Marketplace. From there you can sign up using your existing Azure account, which provides integrated billing. Or if you're starting from the Azure Marketplace search page, simply search for “Elastic Cloud (Elasticsearch managed service).”
From our Azure Marketplace listing page, click Get it now and then agree to the authentication request to continue. You’ll be redirected to the Azure portal. Click Set up + subscribe.

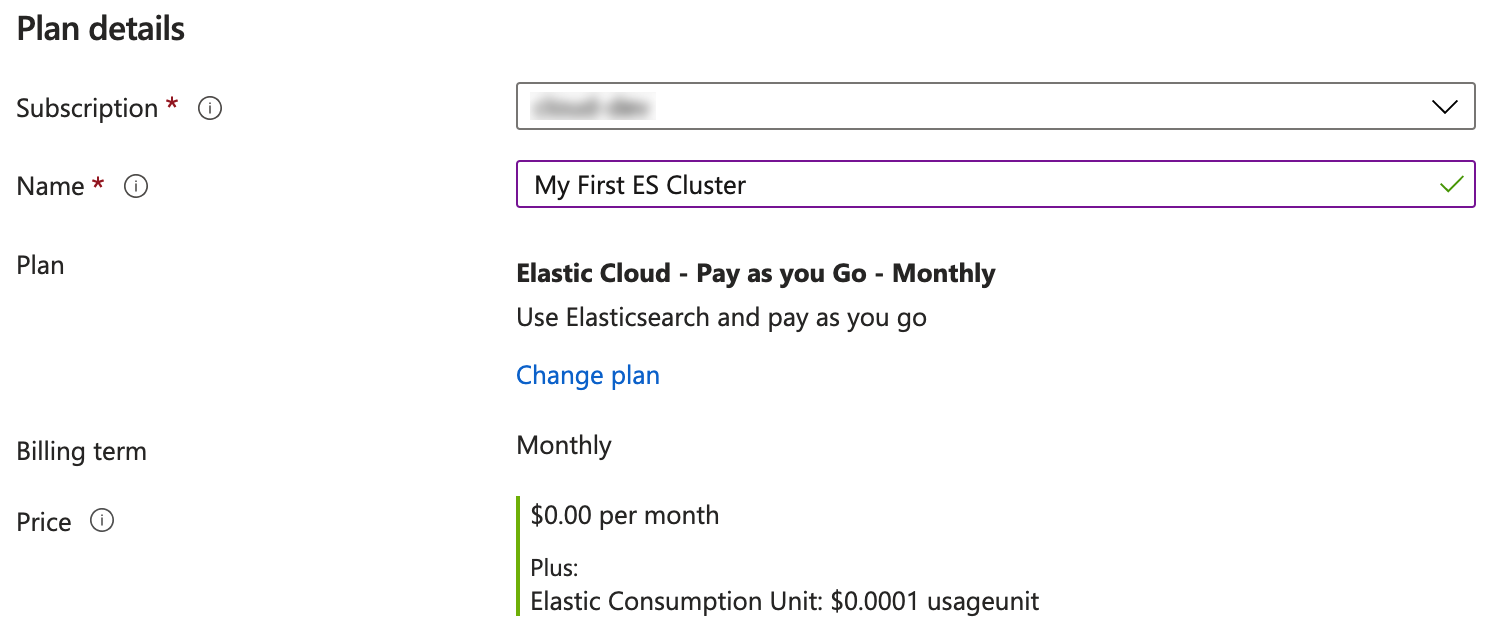
Select the Azure Subscription, provide a Name, such as My First ES Cluster and review. Then click Subscribe.
Once the SaaS configuration is complete, click Configure account now. This directs you to an Elastic signup form, where you will create a new account. If you've previously signed up with an Elastic Cloud account, you must create a new account in order to receive integrated billing.
Once you’ve confirmed your account through an email notification, log in and click Create deployment.

Deployment choices
Now you can choose one of the preconfigured solutions that best fits your needs. To better understand your options, read more about how to create your deployment. We’ll highlight each to help you make a decision.
Elastic Cloud brings the power of Elastic Enterprise Search, Observability, and Security to your Azure environment. Here’s how:
- Elastic Observability: Unify logs, metrics, traces, and more from your ecosystem in a scalable stack that's open and built for speed. Monitor, search, and analyze all of your operational data in a rich UI to quickly resolve issues and consistently deliver exceptional digital experiences.
- Elastic Enterprise Search: Search everything, anywhere. Elastic App Search provides all the tools you need to design and deploy powerful search experiences for your websites and mobile apps. Elastic Workplace Search gives your teams a unified search experience across all their collaboration, productivity, and storage tools, helping them find whatever they need, wherever it may be.
- Elastic Security: Effective cybersecurity requires data at scale — Elastic Security solves for core data and scale problems. Leading security teams use the free and open solution for SIEM, endpoint security, threat hunting, cloud monitoring, and more. An intuitive UI and vast ecosystem of integrations help arm every analyst to succeed.
- Elastic Stack: Choose this option if you’re looking to do something unique or if one of the other preconfigured solutions doesn’t quite fit. Choose from different hardware profile templates, such as the hot-warm architecture profile template, which makes it easy to get started and offers lots of flexibility.
In this scenario, we’ll select Elastic Observability, a very versatile solution that offers enough flexibility to support most use cases.

Deployment settings
Now that you have chosen the Elastic Observability solution, you must confirm the cloud provider, region, and version.
If you came from the Microsoft Azure Marketplace and are taking full advantage of integrated billing, the Azure provider is already selected.
The region is important when needing to coordinate with other Azure resources, should they need to be in the same region. Azure regions are different: Some have more availability zones, support different compliance requirements, and offer lower pricing. And some services are only available in certain regions.
A big benefit of spinning up an Elastic Cloud deployment is that if you do need to change zones down the road, it’s just a matter of spending another five minutes spinning up a new Elastic Cloud deployment and then running through a simple migration process.
If you need to make a change, simply click Expand.

Elastic Stack versions
The latest version will always be selected, enabling you to take full advantage of the latest features and security updates. And if you need to deploy a version that’s compatible with existing environments, for example, you can make the change with a simple click or two.
Once deployed, upgrades are just as simple to execute, making it easy to take advantage of newer features — as well as the latest security patches — the day they are released. You should receive email notifications as new releases are made available.
The upgrades are designed to be automated while helping mitigate unplanned downtime. Be sure and validate version upgrade changes by visiting our change reference guide.
To learn more about upgrading to newer versions of the Elastic Stack on our managed service, see how to upgrade versions.
Complete deployment settings
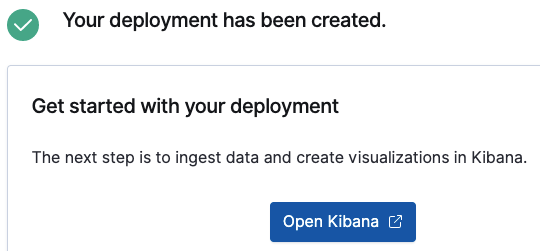
Simply assign a unique name to the deployment, if you’d like, and click Create deployment. That’s it!
Customizing a deployment is not necessary at this point and can be done as needed at any time. Feel free to check out the different options, such as enabling machine learning, but again, nothing needs to be done at this point. The default deployment options are perfect to get started with Elasticsearch and Kibana.

Launch Kibana
During the deployment creation, you’re provided with an elastic user password that you’ll need to securely save. Take note of this, but if you don’t remember your password in the future, don’t worry. You can easily reset it at any time. You can just reset the elastic user password.
Click Open Kibana.
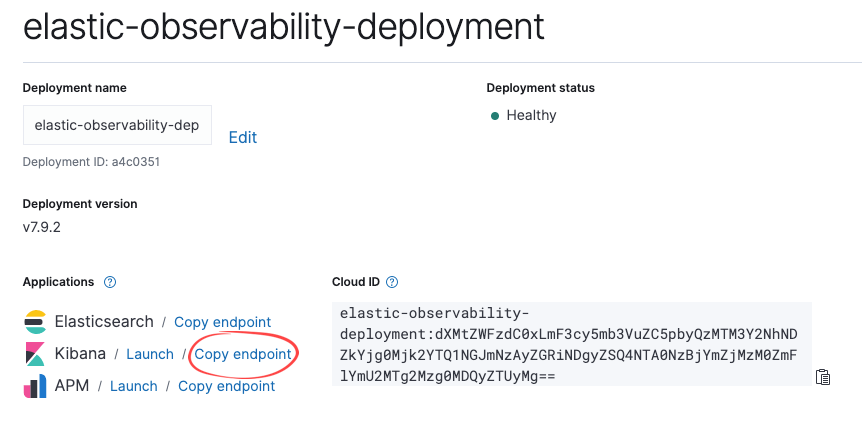
Launching Kibana from the Elastic Cloud console will seamlessly log you on as the user who created the deployment. However, additional users will want to use the Kibana Copy endpoint link provided within the console once configured.
Once you create other end users, such as someone who may be tasked with running reports, they’ll click Log in with Elasticsearch after following the Kibana endpoint link.
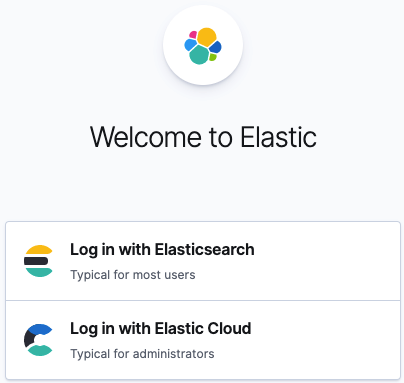
As the administrator, you can also utilize this link by choosing to Log in with Elastic Cloud and entering the same credentials you used to log in to the Elastic Cloud console when creating the deployment. This provides the highest administrative privilege.
Ingesting sample data
We know you’re eager to look at real-world data in Kibana. Elastic provides sample data you can add, which is a wonderful way to get familiar with visualizing real-world data without spending too much time on configuring data ingestion.
| Tip: Check out our getting started with Kibana webinar to gain some insight into Kibana, your window into the Elastic Stack. You can also take a free Kibana fundamentals course! |
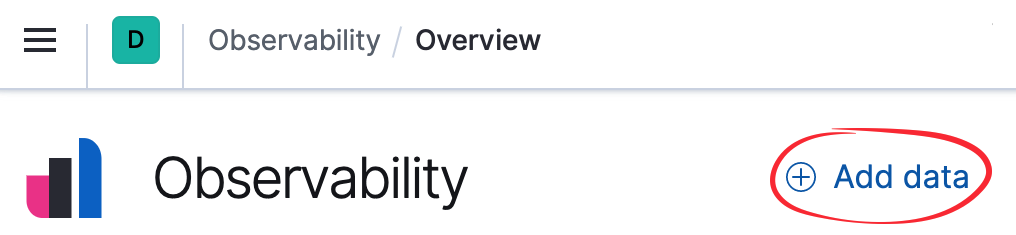
As of deployment version 7.10, when you log into Kibana for the first time, you’ll see the Observability Overview page, since we’re using the Elastic Observability solution for this example.

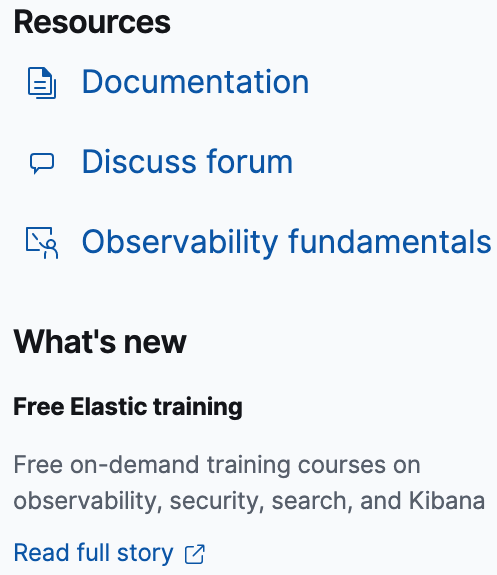
There are also helpful links to get you started in the Resources section.
From the Observability page, click Add data.
Then click Sample data.
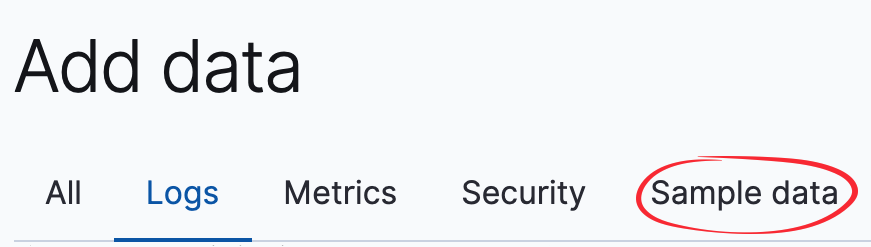
Whichever sample you wish to choose, simply click Add data and then wait for the data to load.
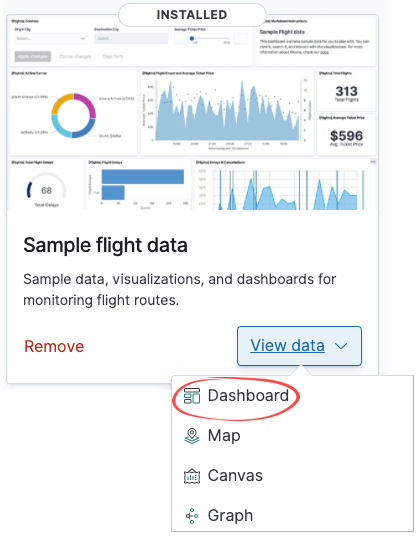
Once loaded, click View data and then select Dashboard to see the power of Kibana firsthand.
Customizable settings
Preconfigured solutions, along with deployment templates, help get you up and running quickly. You don’t need to worry about sizing the cluster, and you have the ability to customize deployments at any time. For example, you can increase memory, which automatically adjusts for capacity and performance. You can also change the level of fault tolerance and add features such as machine learning.
Feel free to read more about customizing your deployment.
Get started with Elastic on Azure
We hope you found this to be a helpful resource for getting started with Elastic on Azure through the Azure Marketplace. Read more about Azure Marketplace billing in our documentation. You can also create an Elastic Cloud account directly billed to Elastic with a free 14-day trial.
Have questions or feedback? Please reach out to us at azuremarketplace@elastic.co.