Culture
Learn more about what makes us who we are and meet Elasticians along the way.
.png)
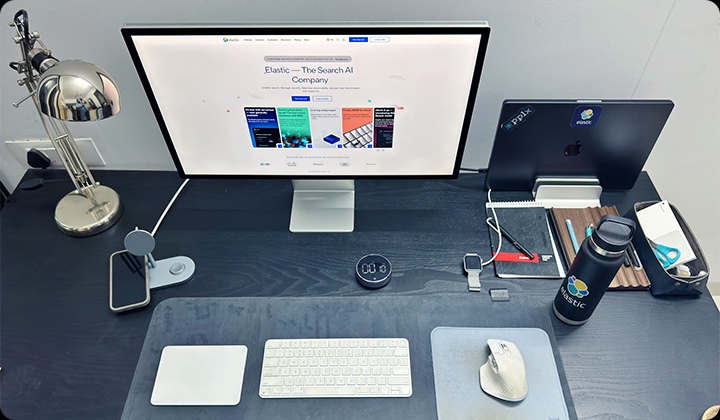
LLMs, LEGO, and LED lights: How an Elastic engineer stays energized and leads with curiosity
Sean Handley, senior engineering manager on the Search team, spends his days working with his team on machine learning and large language models (LLMs), shaping the future of search as we know it. Learn how Sean gets ready to build.
More on culture


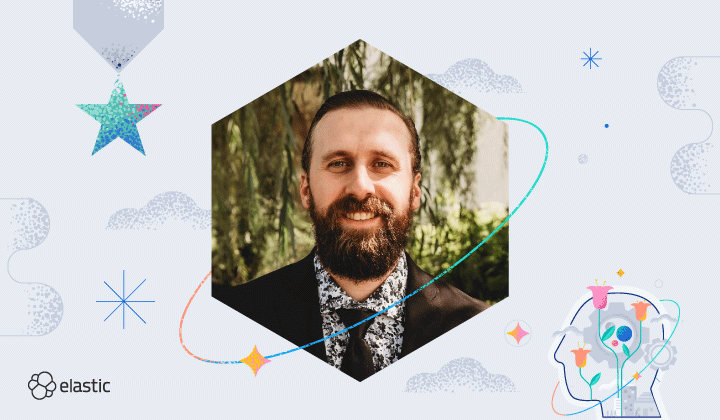
Community, consulting, and chili sauce: Top Down with Dominik Toepfer
In this installment of the Top Down developer interview series, we meet Dom Toepfer, principal software engineer at Elastic. Learn about his journey in consulting, sales, and engineering at Elastic, giving him a unique, holistic view of the company.