Enrich your Elasticsearch documents from the edge


 Share on Twitter
Share on Twitter

 Share on LinkedIn
Share on LinkedIn

 Share on Facebook
Share on Facebook

 Share by Email
Share by Email

 Print this page
Print
We have seen in the previous posts how we can enrich our data in Elasticsearch itself and in Logstash. But what if we could do that from the edge? That would reduce the work to be performed by Elasticsearch. Let's see how to do that from an Elastic Agent with agent processors.
The Elastic Agent documentation says:
Elastic Agent processors are lightweight processing components that you can use to parse, filter, transform, and enrich data at the source. For example, you can use processors to:
Reduce the number of exported fields
Enhance events with additional metadata
Perform additional processing and decoding
Sanitize data
That's exactly what we want to do, but one of the limitations of the Elastic Agent processors is that it can not enrich events with data from Elasticsearch or other custom data sources.
That means we will need to be very static here. We will need to know in advance what we want to enrich our data with. That's not a big deal as we can always change the configuration of our agent to add new enrichments later. For example, we can add an ingest pipeline into Elasticsearch or send the data from the Elastic Agent to Logstash to enrich it.
Starting the Elastic agent
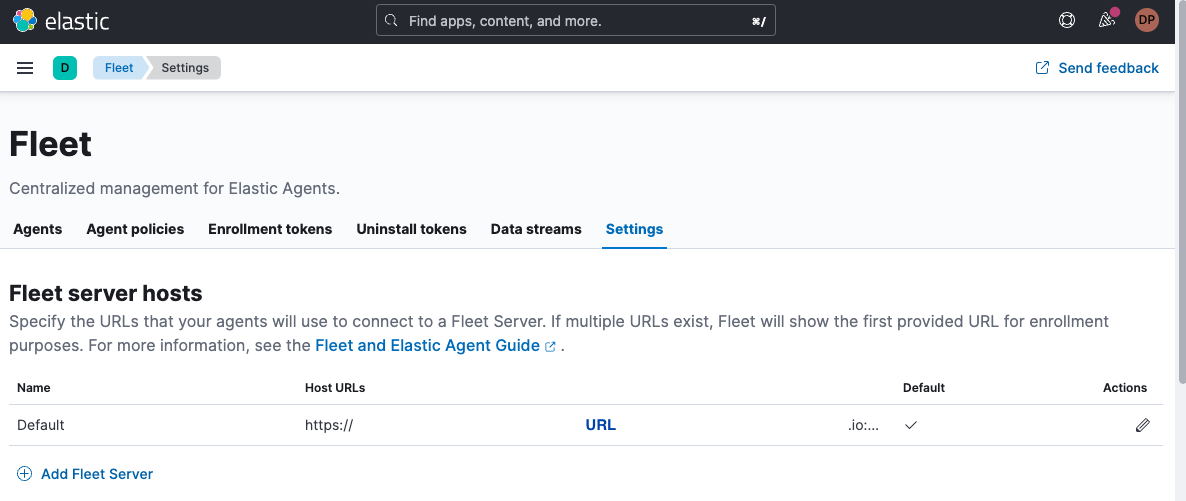
When running from Elastic Cloud, you just have to follow the instructions to enroll your agent or go to the Fleet console and get the URL from the Settings tab:
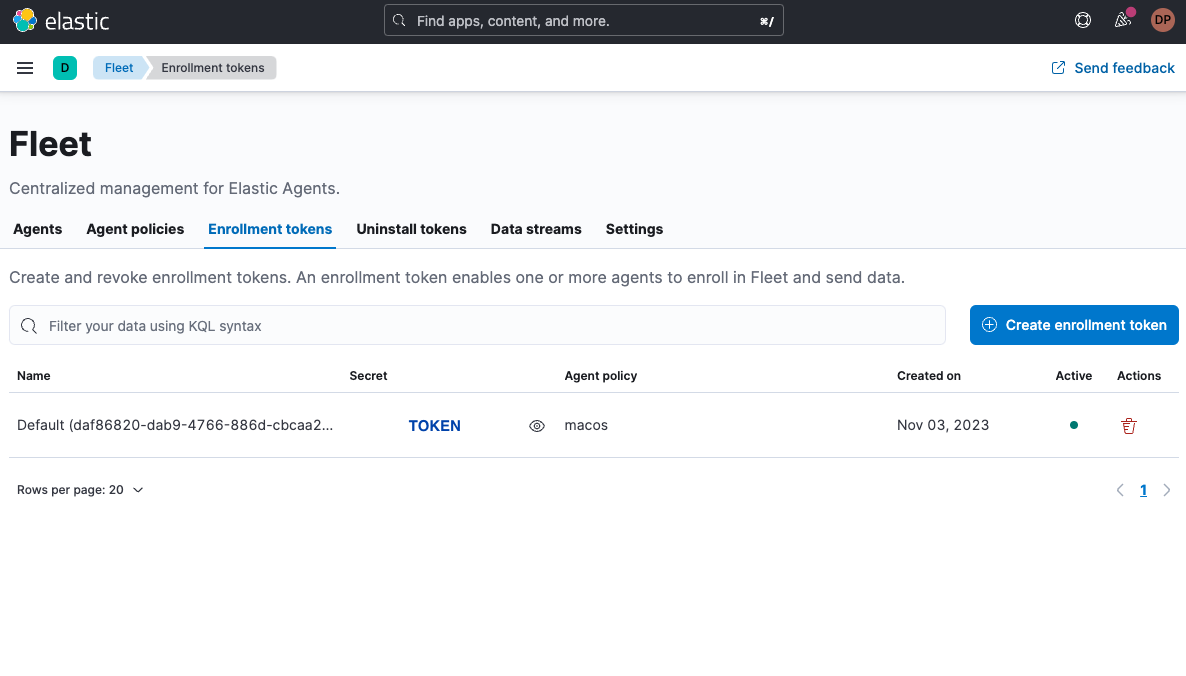
And the secret TOKEN from the Enrollment tokens tab:
As I would like to run the agent locally with Docker, I will use the following command and replace the URL and TOKEN values with what I have in my Fleet console:
docker run \
  --env FLEET_ENROLL=1 \
  --env FLEET_URL=URL \
  --env FLEET_ENROLLMENT_TOKEN=TOKEN \
  -v $(pwd)/datadir:/usr/share/elastic-agent/db \
--rm docker.elastic.co/beats/elastic-agent:8.12.0Note that I'm mounting a local directory to /usr/share/elastic-agent/db so I can share some content later in this post. After few seconds, you should see your agent available in the Fleet console:

Adding a field
We can use the add_fields processor to add a field to our documents. For example, we can add a vip and a name fields to our documents:
processors:
  - add_fields:
      fields:
        vip: true
name: 'David P'Using conditions
The previous example will add to every single document the vip and name fields. Obviously we want to add a field only if a condition is met. For example, we can add a vip and name fields only if the clientip field is 30.156.16.164:
processors:
  - add_fields:
      when:
        equals:
          clientip: '30.156.16.164'
      fields:
        vip: true
name: 'David P'As we have here a network IP address, we can also use a CIDR notation, which does not compare "strings" but "network addresses." We are using the. network processor condition:
processors:
  - add_fields:
      when:
        network:
          clientip: '30.156.16.164'
      fields:
        vip: true
name: 'David P'Using more conditions
As we have a finite number of conditions, we can use multiple add_fields processor to add fields based on conditions:
processors:
  - add_fields:
      when:
        network:
          clientip: '30.156.16.164'
      fields:
        vip: true
        name: 'David P'
  - add_fields:
      when:
        network:
          clientip: '164.85.94.243'
      fields:
        vip: true
name: 'Philipp K'Using a script to add fields
We can also use a script processor to add fields using JavaScript. For example, we can add a vip field based on the value of the clientip field:
processors:
  - script:
      lang: javascript
      source: >
        function process(event) {
          var clientip = event.Get('network.clientip');
          if (clientip == '30.156.16.164') {
            event.Put('vip', true);
            event.Put('name', 'David P');
          }
}Here we have inlined the script, but we can also use a file, which contains the script:
processors:
  - script:
      lang: javascript
file: /usr/share/elastic-agent/db/enrich.jsAnd the content of enrich.js is:
function process(event) {
  var clientip = event.Get('network.clientip');
  if (clientip == '30.156.16.164') {
    event.Put('vip', true);
    event.Put('name', 'David P');
  }
}There's another interesting option that allows us to load multiple scripts from a directory:
processors:
  - script:
      lang: javascript
      files:
        - /usr/share/elastic-agent/db/dataset.js
- /usr/share/elastic-agent/db/enrich.jsWe could build a mapping between IP addresses and names in dataset.js:
var dataset = {
  '30.156.16.164': {'vip': true, 'name': 'David P'},
  '164.85.94.243': {'vip': true, 'name': 'Philipp K' },
  '50.184.59.162': {'vip': true, 'name': 'Adrienne V' },
  '236.212.255.77': {'vip': true, 'name': 'Carly R' },
  '16.241.165.21': {'vip': true, 'name': 'Naoise R' },
  '246.106.125.113': {'vip': true, 'name': 'Iulia F' },
  '81.194.200.150': {'vip': true, 'name': 'Jelena Z' },
  '111.237.144.54': {'vip': true, 'name': 'Matt R' }
}We can now modify our enrich.js script to use this data set:
function process(event) {
  var clientip = event.Get('network.clientip');
  if (dataset[clientip]) {
    event.Put('vip', dataset[clientip].vip);
    event.Put('name', dataset[clientip].name);
  }
}Conclusion
We now have a set of three solutions to enrich our data:
Enriching data from the edge with agent processors
The first solution is the most flexible one but it requires to have a cluster with enough resources to handle the load. The second solution is a good compromise as it allows you to reduce the load on Elasticsearch but it requires you to have a Logstash cluster. The third solution is the easiest one to implement but it's also the most static one.
I hope you enjoyed this series of posts. If you have any questions, feel free to ask them on the Elastic community forum.
Share
- Share on Twitter
Share on Twitter
- Share on LinkedIn
Share on LinkedIn
- Share on Facebook
Share on Facebook
- Share by Email
Share by Email
- Print this page
Print