How I added a search bar to my website in 20 minutes with Elastic Site Search
An important part of any great website experience is a powerful search box, as anyone who’s struggled to find something on a site knows. As the owner of a personal website, I want to make sure my site isn’t causing any search-related headaches. But as a non-technical person with a lot on my plate, I don’t have time for complicated solutions that are over my head and require technical expertise or coding
I still needed a top-notch search box, though. Not the generic kind that come with most site builders, but the kind that gives me full control over both the appearance (frontend) and result tuning (backend). I wanted search that looked great and always returned the best results. So the question was: Would my limited technical knowledge be enough to set up a robust and powerful search box on a website?
Yes, yes it would.
If you want to install a search box on your website, but you don’t have the time or expertise for complicated solutions, Elastic Site Search is perfect for you. I’ll show you step by step (and screenshot by screenshot) how I set up Elastic Site Search, customized the settings for my search results to my heart’s content, and added functional search to my website with ease.
For more experienced folks, this might not be the right blog for you. If you care about things like crawler optimization, search engine schema design, and search analytics, Elastic Site Search is a perfect solution, but this blog won’t be getting into advanced stuff like that. Our documentation does, though, so hop over there and explore.
Note to WordPress users
Before reading any further, if you use WordPress for your website, stop reading this blog, and starting reading our Site Search WordPress Plugin blog. The WP plugin we offer makes implementing Site Search even easier.
1. Ladies and gentlemen, start your (search) engines
To create a better website search experience, start by signing up for free 14-day trial of Elastic Site Search.
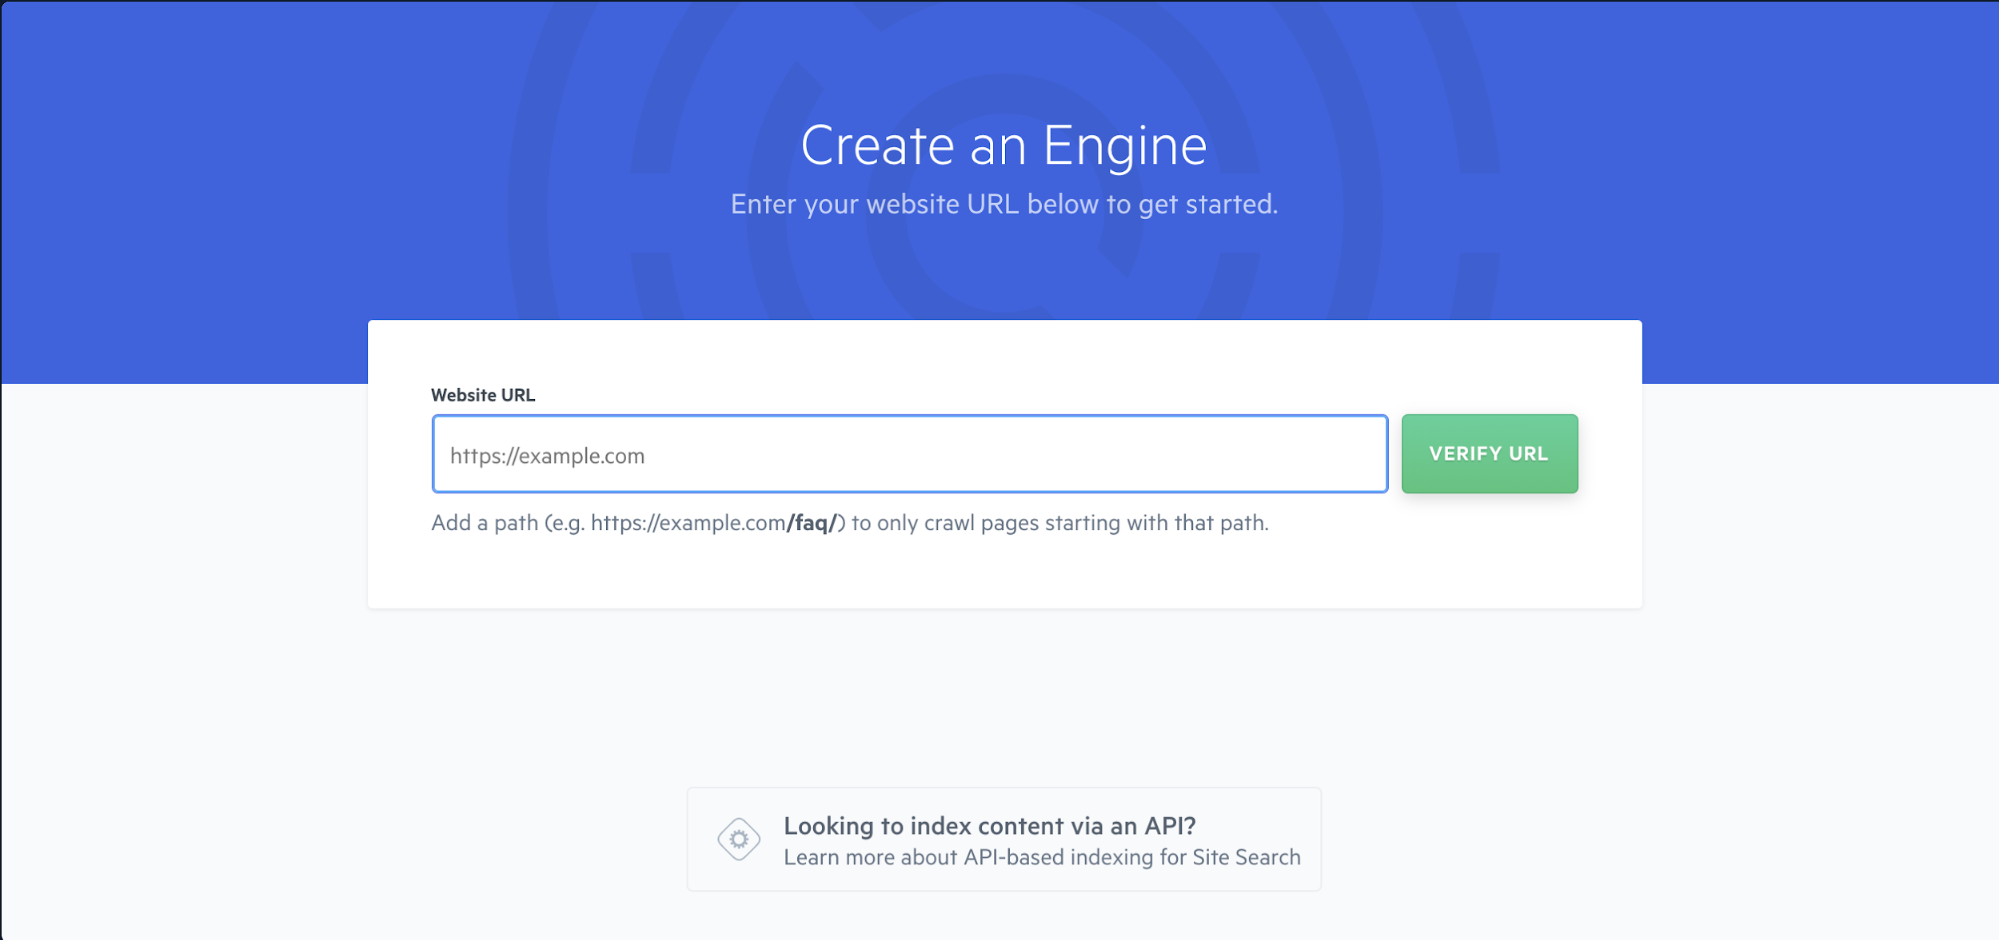
After that, you’ll be able to create an Engine. An Engine is what powers your website’s search box. Just specify the URL to your website, and Site Search will take take care of the heavy lifting.
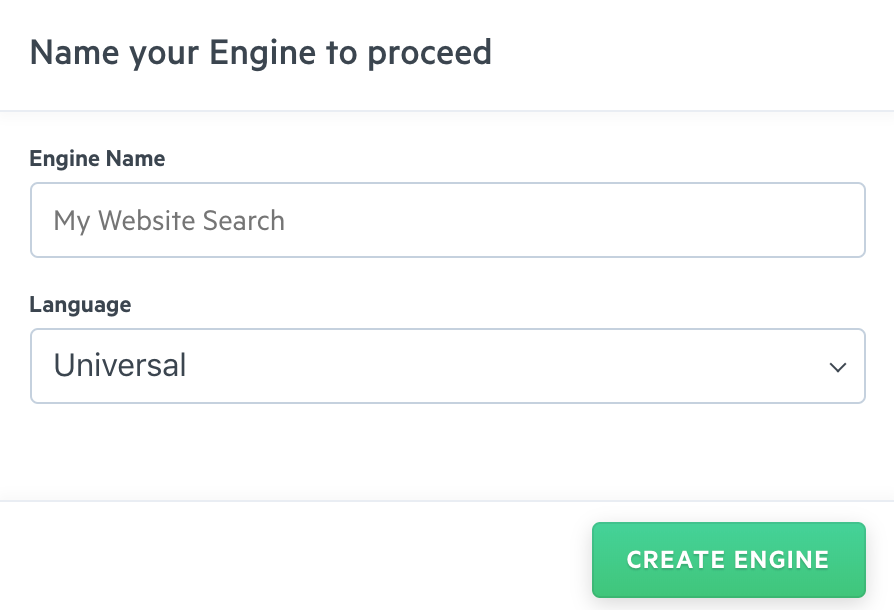
You’ll then name your Engine and pick a language. For general usage, you can just pick Universal. But if you’d like language-specific search optimization, choose the language that best suits your site and its visitors.
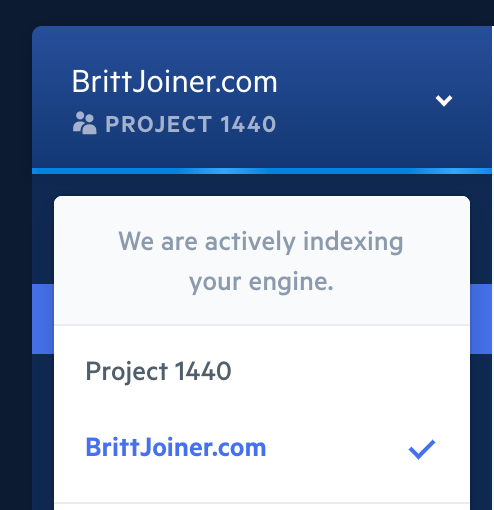
After clicking Create Engine, Elastic Site Search launches a crawler that looks through all the pages on the website and saves them into the Engine as documents (packets of info about a page). Each document contains key details about each page, like title, author, body, images, timestamps, and more. It’s easy to monitor the progress by watching this screen in the Overview tab on my dashboard, or clicking on the Engine name in the top left.
Boom!
Site Search just crawled 54 documents, which are mostly my blog posts.
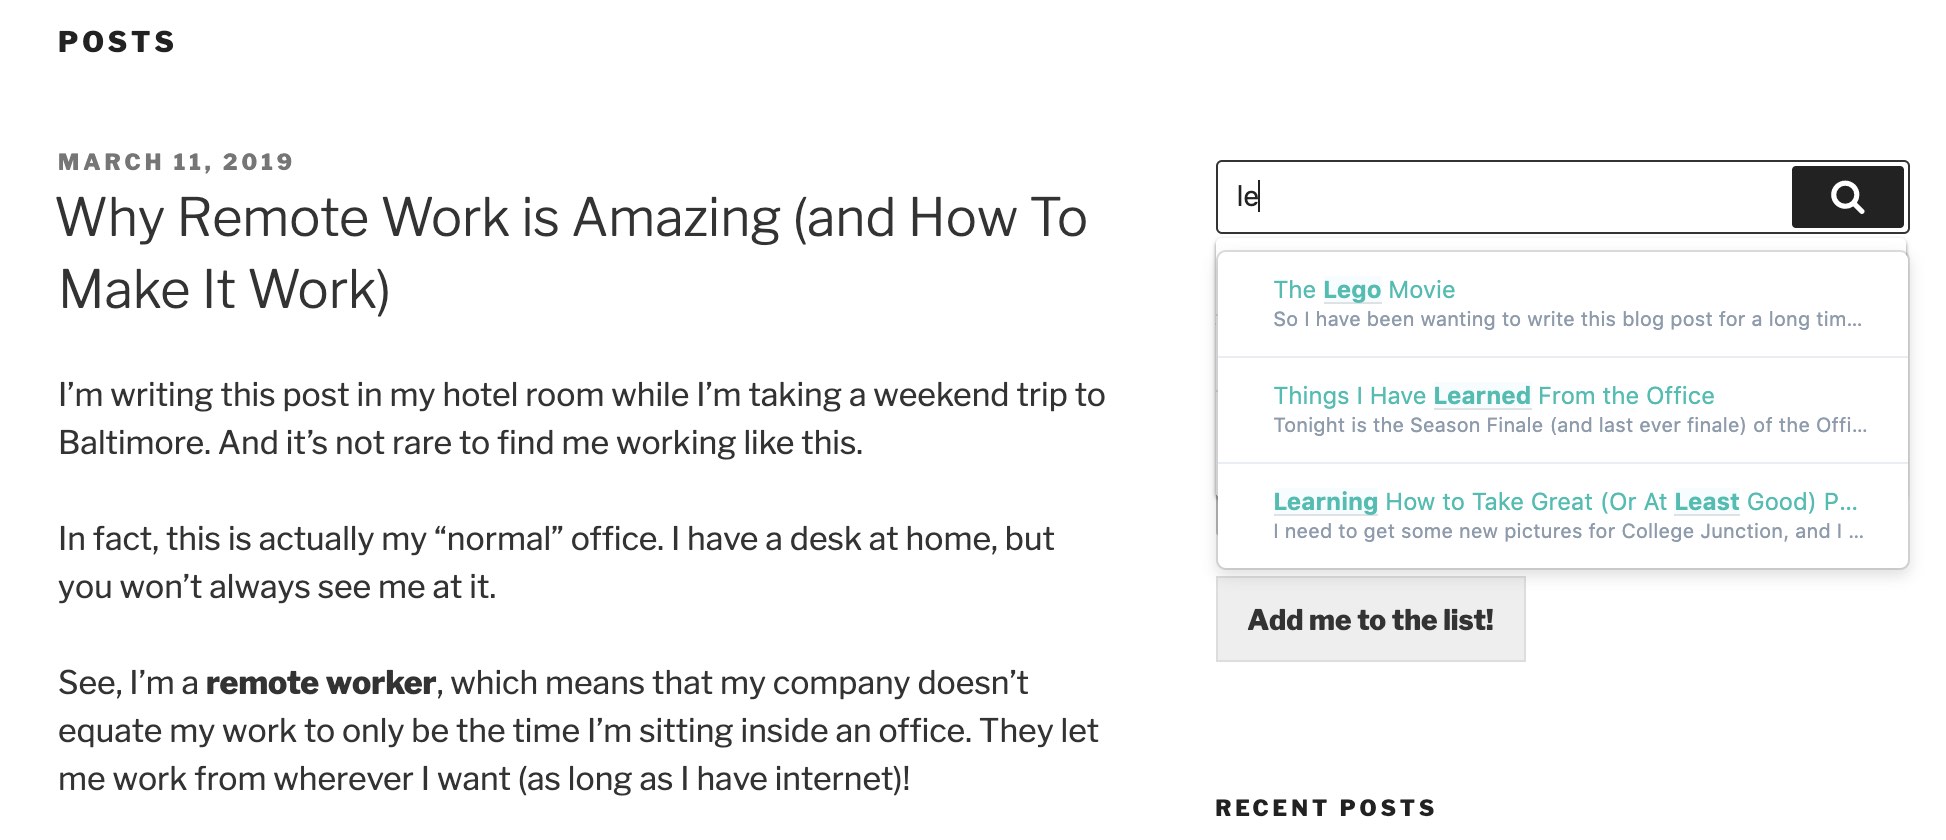
Now, just to make sure it’s working, I can preview the results from within the Site Search dashboard. I have a popular blog post about my opinions on The Lego Movie so let’s see what happens if I search “lego”...

There it is! It even highlighted my search term in the result. This is already looking fancy.
Now, I just need to get this search bar onto my site and customize my results.
2. Adding a search box to your site
Now that the search engine is created, it’s time to put the search box on the site. To do this, navigate to Install Search on the left side of the navigation.
Simply copy the script (highlighted in light blue) and place it between the <body> tags on every page that you want to a search box on. I know you see code! But don’t panic, all you have to do is copy and paste it! You don’t have to make a single edit to it.
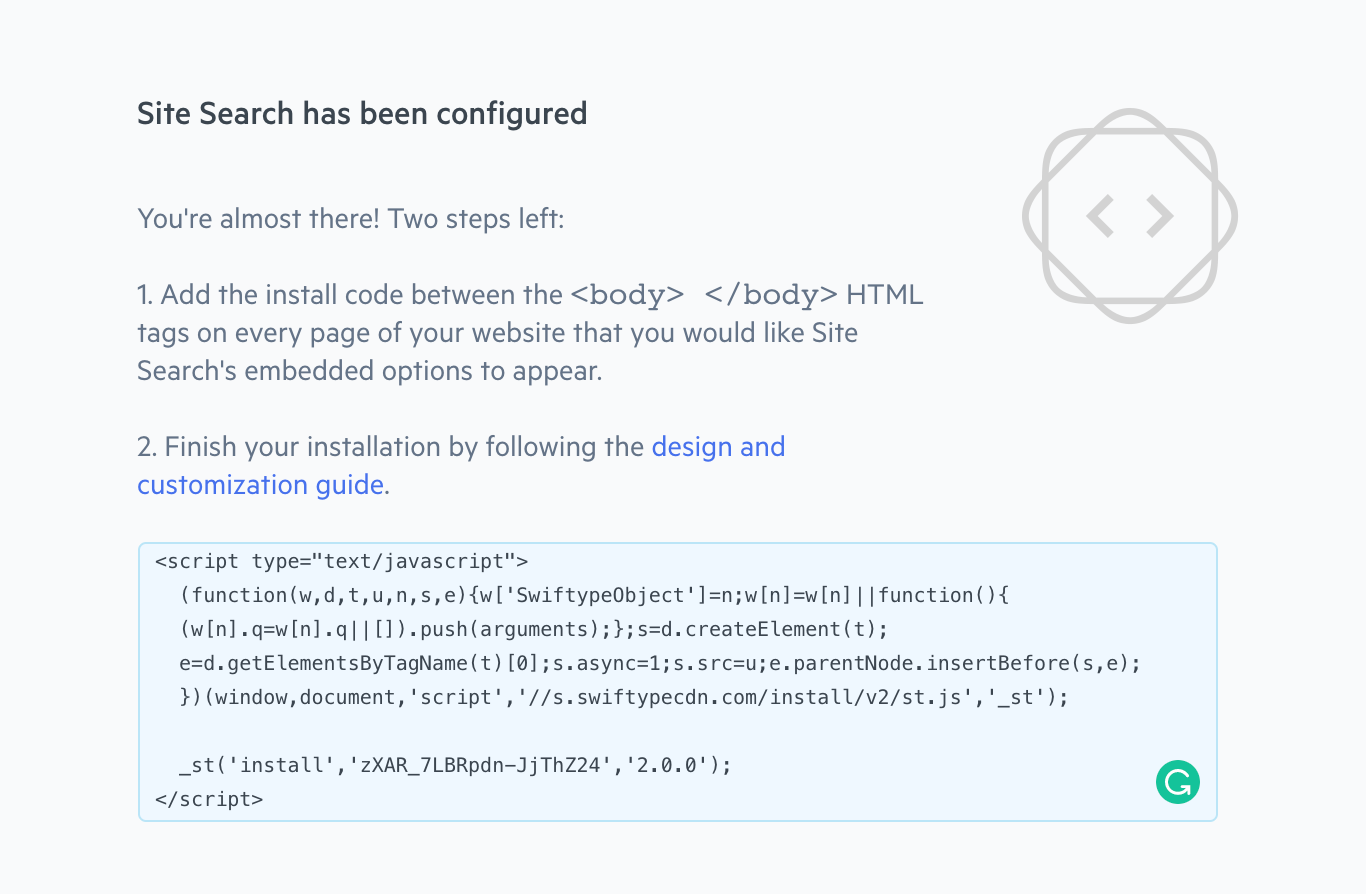
And voila!! We’re all connected!
3. Adding the search box
Whether you want to add a new search box to a website, or reuse an existing widget,
Elastic Site Search makes it easy.
Reusing an existing search box
My site already had a generic search box on it, so all I needed to do was add this small snippet to the code I already had on my site for my search box.
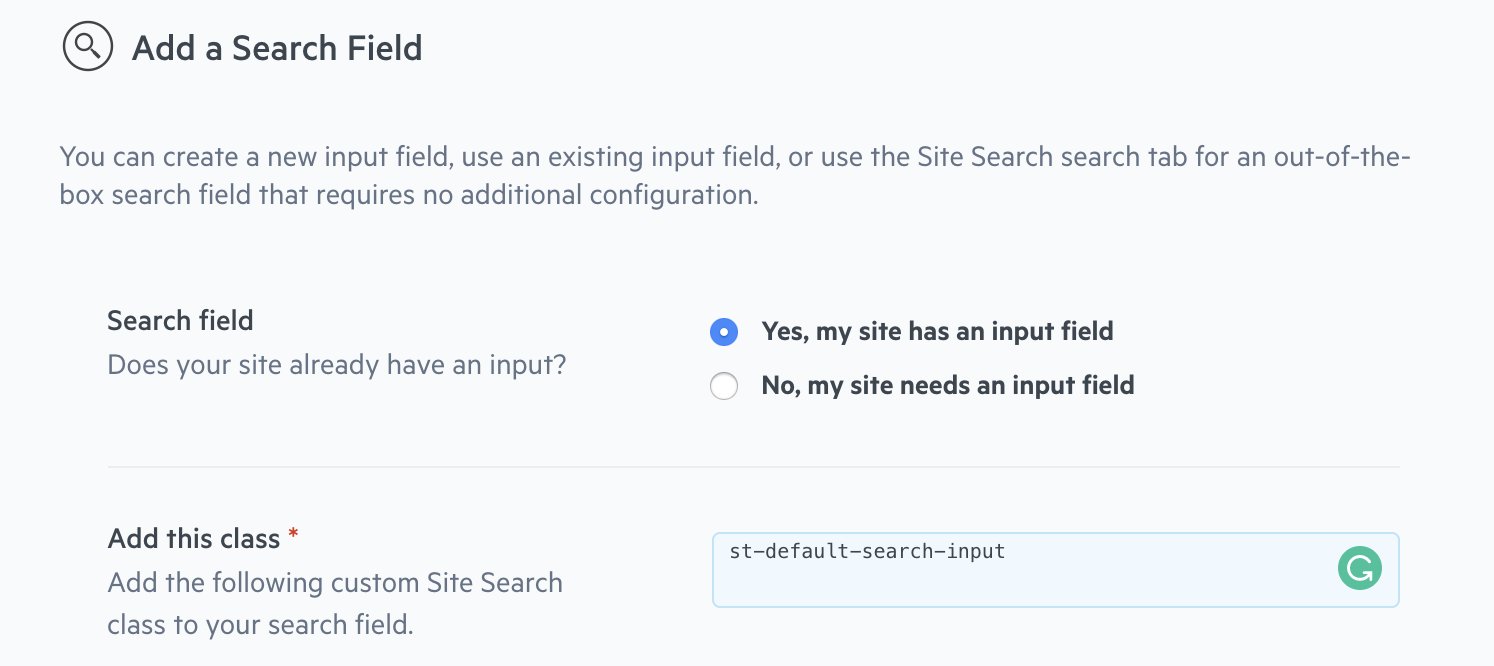
Tada!
Adding a new search box (with no technical skills required)
So that’s all nice and fun if you’ve already got a search box on your site, but what if you don’t?
Not to worry! Elastic Site Search has you covered.
Under configuration, go to the Search Field section and select “My site needs a search input field” and then select “Use the Site Search search tab.
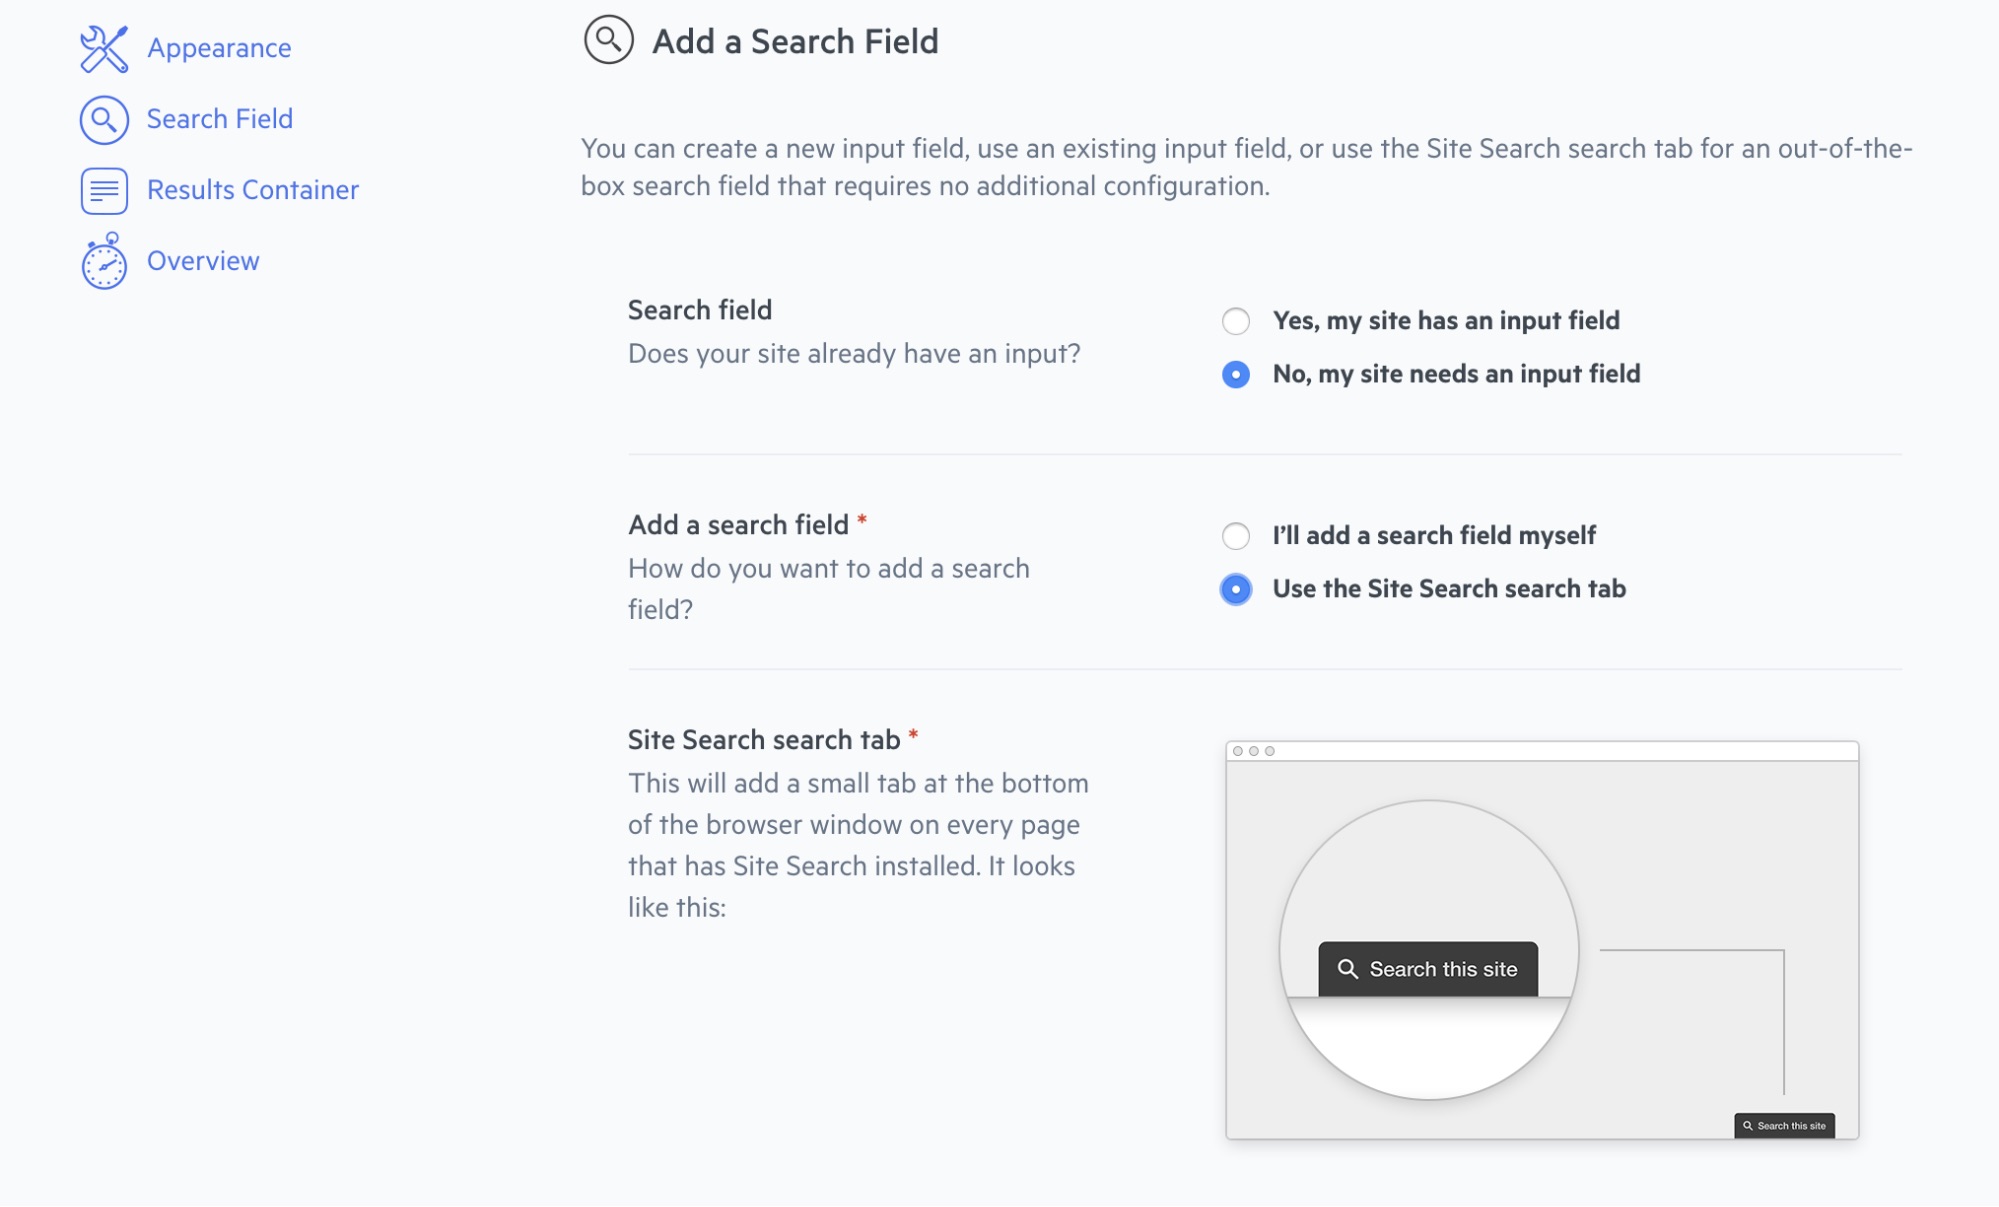
And once I save and activate my configuration, Site Search will automatically add a search box to the bottom of your site.

Look at that! Search is now available on a once searchless website. And like I said, no technical skills required.
4. Styling and customizing your search box
Now time to customize the way the search form and results to look the way you want.
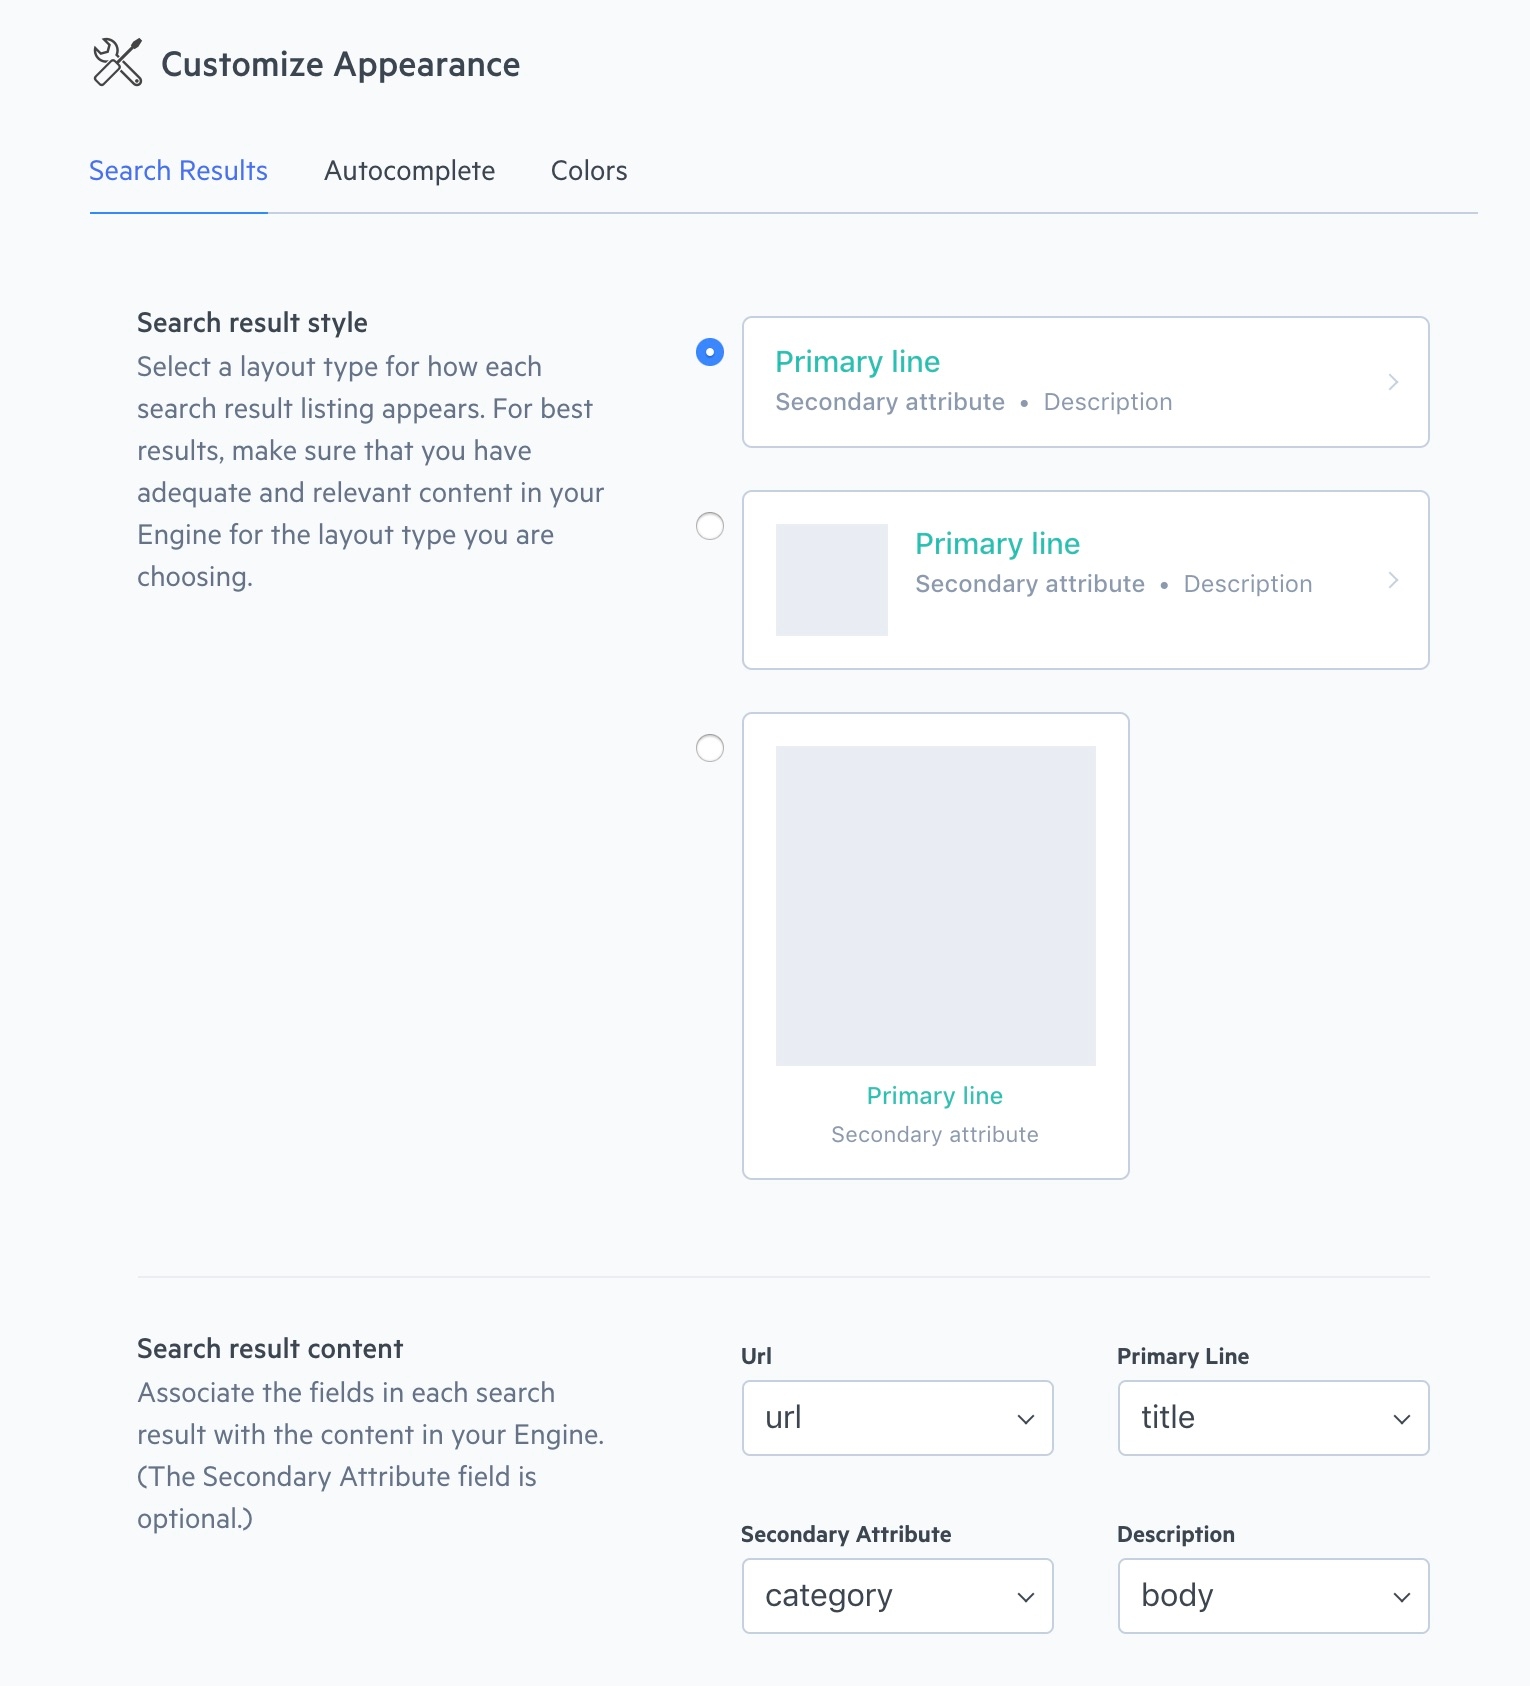
What fields show up when people search?
You can show timestamp, category, excerpts, body text, author, or whatever fields you want. I’ve decided to just show the title in the Primary Line and a category and snippet of the body in the second line.
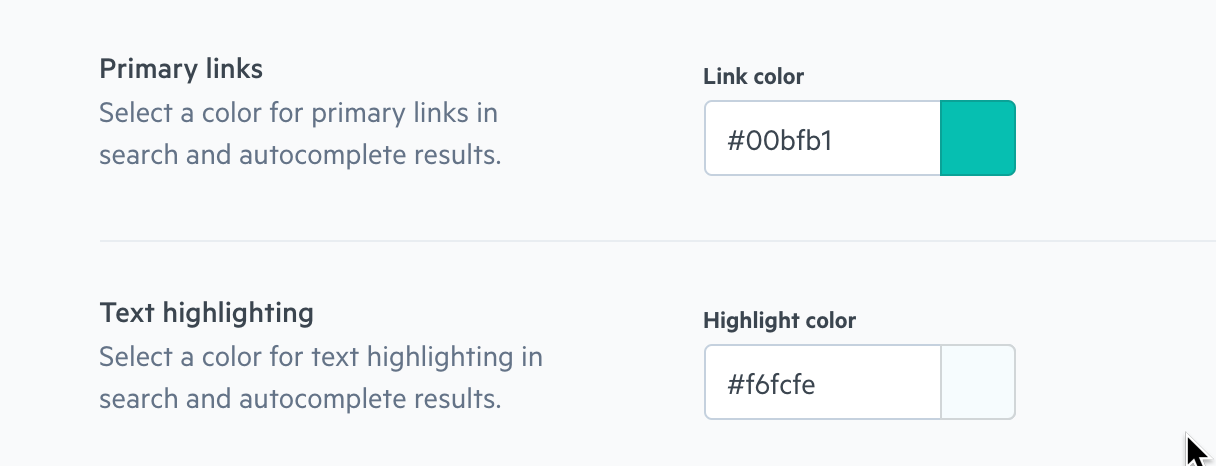
What’s the color scheme?
No more wonky, off-brand colors on my website! Now everything fits the color palette I’ve already created for my site.
Now just preview everything within the app to make sure it’s just the way it should be before pushing it live on the site.
5. Customizing Search Results On My Website
Thankfully the customization doesn’t end there… My website search bar looks great, but I want to make sure my site visitors find exactly what they’re looking for when they type in it.
I started with Results Ranking, a setting you can access on the left toolbar in your Elastic Site Search dashboard. This lets you preview what comes up for any given term, and you can drag and drop to reorder results so that the right items show up first. Yet again, no coding required!

If I want to make certain fields more important than others (page title > body), I can do so under the Weights settings. It’s easy to adjust a certain field to carry more weight (ie. importance) in a search than other fields — making them a higher priority. You can also add other fields for the engine to look at, or take away fields.
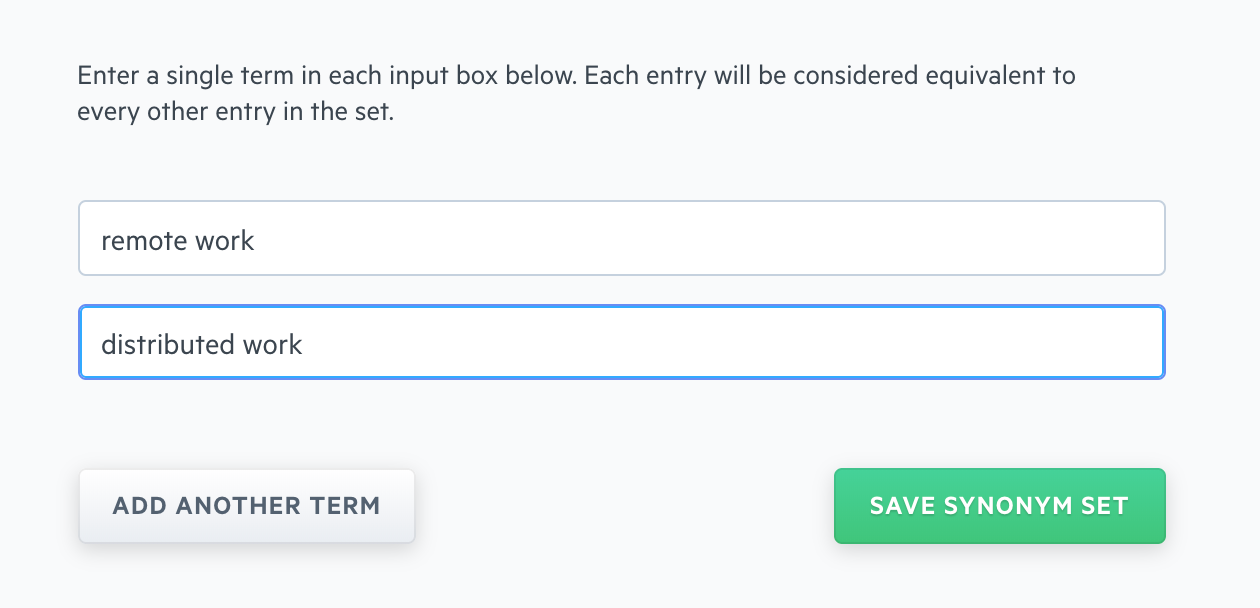
Lastly, I created custom Synonyms. I have a popular blog post about remote work, but people might come to my site and search for “distributed work” or “work from home” while looking for that post. It’s easy to clarify Synonyms so that my search engine knows two words or phrases are the same.
Tada! Search Is Live
And that’s it! Now I have a search bar all set up on my website.
Phew! I did it. And you can, too, without needing too much technical knowledge. which is a great relief if you’re like me and not very technical but need to create a great search experience on your website. Ready to give it a try yourself? Start a trial and follow along with me as you set up your site just like I did mine.