How to build a facial recognition system using Elasticsearch and Python
Have you ever tried to search for objects in images? Elasticsearch can help you store, analyze, and search for objects in images or videos.
In this quick tutorial, we’ll show you how to build a system for facial recognition with Python. Learn more about how to detect and encode facial information — and find matches in search.
A quick walkthrough of the basics
Need a refresher? Let's briefly review some fundamentals about a few basic concepts.
Facial recognition
Facial recognition is the process of identifying a person using their face — for example, for the purpose of implementing an authentication mechanism (like unlocking your smartphone). It captures, analyzes, and compares patterns based on the person's facial details. This process can be divided into three phases:
- Face detection: Identify human faces in digital images
- Face data encoding: Convert facial features into digital representation
- Face match: Search and compare facial features
We’ll walk you through each phase in our example.
128-dimension vector
Facial features can be transformed into a set of digital information in order to be stored and analysed.
Vector data type
Elasticsearch offers the dense_vector data type to store dense vectors of float values. The maximum number of dimensions in a vector shouldn’t exceed 2048, which is enough to store the face features representation.
Now, let's implement all these concepts.
Everything you need
To detect faces and encode the information, you’ll need the following:
- Python: We’ll be using Python 3 in this example, which you can find here. Installation and download steps will depend on your operating system.
- An Elasticsearch cluster: You can spin up a cluster in a free trial of Elastic Cloud.
- Face-recognition library: A simple face recognition Python library.
- Python Elasticsearch client: The official Python client for Elasticsearch.
Please note we’ve tested the following instructions on Ubuntu 20.04 LTS and Ubuntu 18.04 LTS. Some changes may need to be made depending on your operating system.
Install Python and Python libraries
Ubuntu 20 and other versions of Debian Linux are delivered with the installation of Python 3. If this isn’t the case with your system, you can download and install Python using this link.
To confirm that your version is the latest, you can run the following command:
sudo apt update
sudo apt upgrade
Confirm the Python version is 3.x:
python3 -V
Install pip3 to manage the Python libraries:
sudo apt install -y python3-pip
Install cmake needed for the face_recognition library:
pip3 install CMake
Add the cmake bin folder to your $PATH directory:
export PATH=$CMake_bin_folder:$PATH
At the end, install the following libraries before starting scripting our main program:
pip3 install dlib
pip3 install numpy
pip3 install face_recognition
pip3 install elasticsearch
Detect and encode facial information from an image
Using the face_recognition library, we can detect the faces from an image and transform the facial features into a 128-dimension vector.

Create a getVectorFromPicture.py file:
touch getVectorFromPicture.py
Append the file with following script:
import face_recognition
import numpy as np
import sys
image = face_recognition.load_image_file("$PATH_TO_IMAGE")
# detect the faces from the images
face_locations = face_recognition.face_locations(image)
# encode the 128-dimension face encoding for each face in the image
face_encodings = face_recognition.face_encodings(image, face_locations)
# Display the 128-dimension for each face detected
for face_encoding in face_encodings:
      print("Face found ==>  ", face_encoding.tolist())
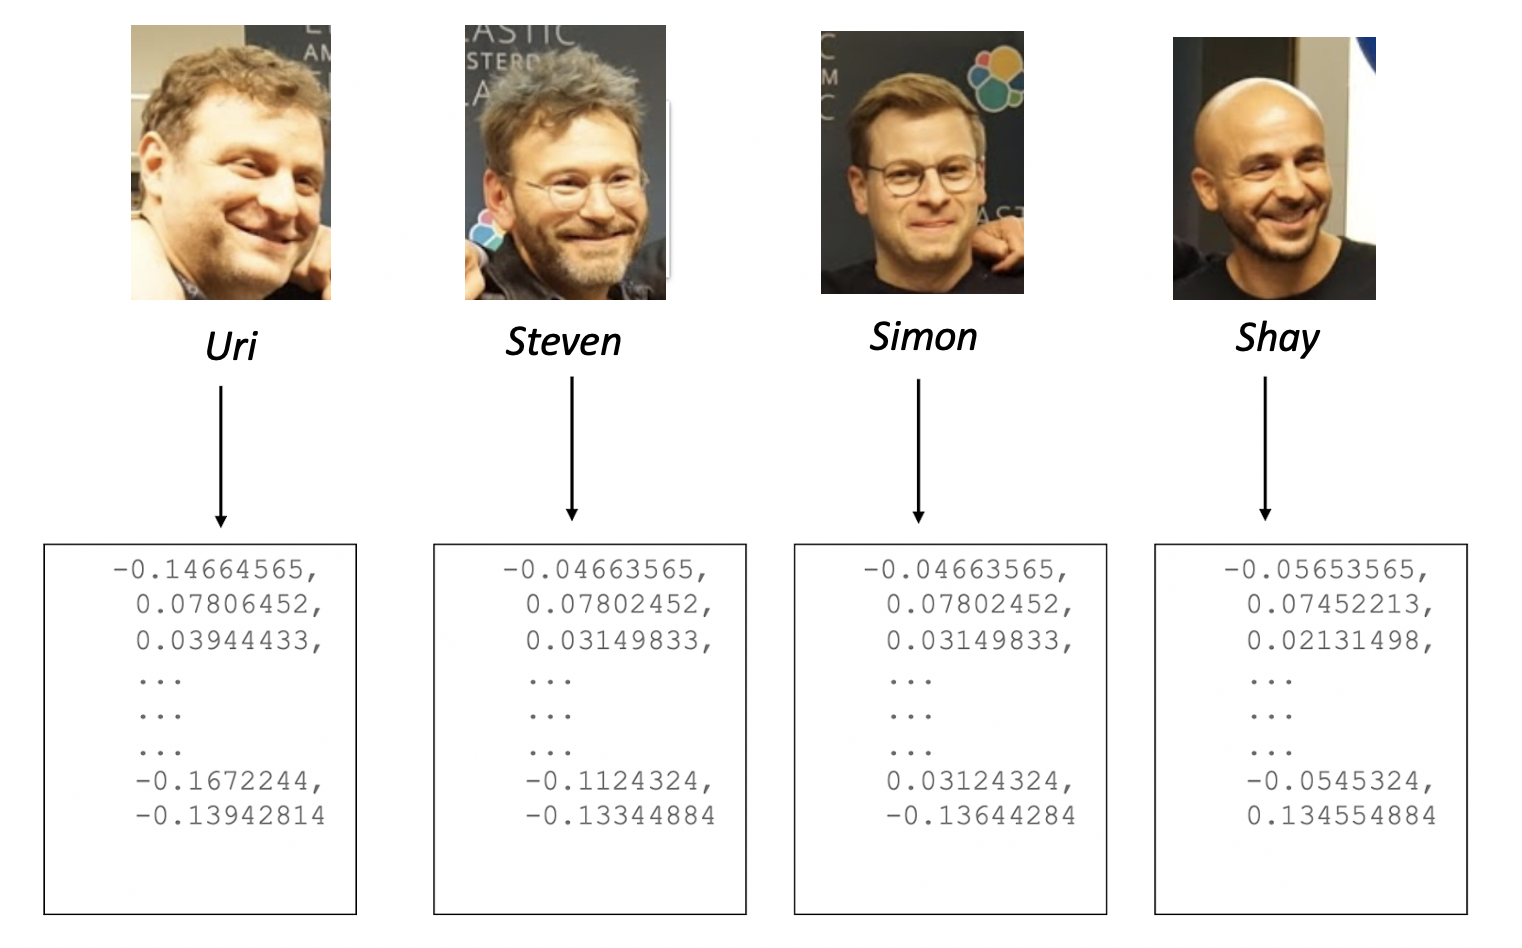
Let’s execute getVectorFromPicture.py to get the facial features representation for images of Elastic’s founders. The $PATH_TO_IMAGE variable needs to be changed in the script to set the image file name.
We can now store the facial features representation into Elasticsearch.
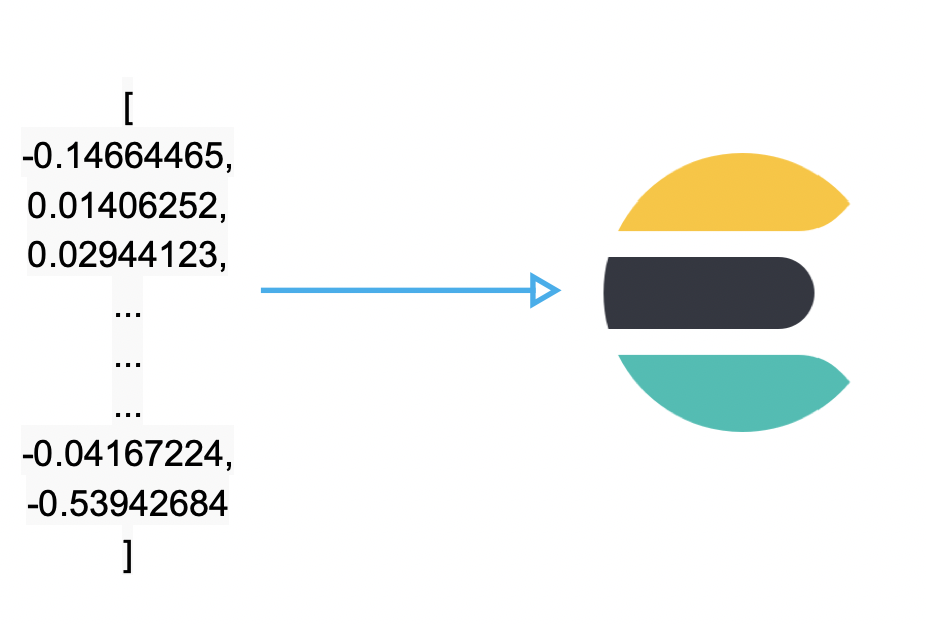
Let’s first create the index with mapping that contains a field with dense_vector type:
# Store the face 128-dimension in Elasticsearch
## Create the mapping
curl -XPUT "http://localhost:9200/faces" -H 'Content-Type: application/json' -d'
{
  "mappings" : {
      "properties" : {
        "face_name" : {
          "type" : "keyword"
        },
        "face_encoding" : {
          "type" : "dense_vector",
          "dims" : 128
        }
      }
    }
}'
We need to create one document for each face representation, which can be done using the Index API:
## Index the face feature representation
curl -XPOST "http://localhost:9200/faces/_doc" -H 'Content-Type: application/json' -d'
{
  "face_name": "name",
  "face_encoding": [
     -0.14664565,
     0.07806452,
     0.03944433,
     ...
     ...
     ...
     -0.03167224,
     -0.13942884
  ]
}'
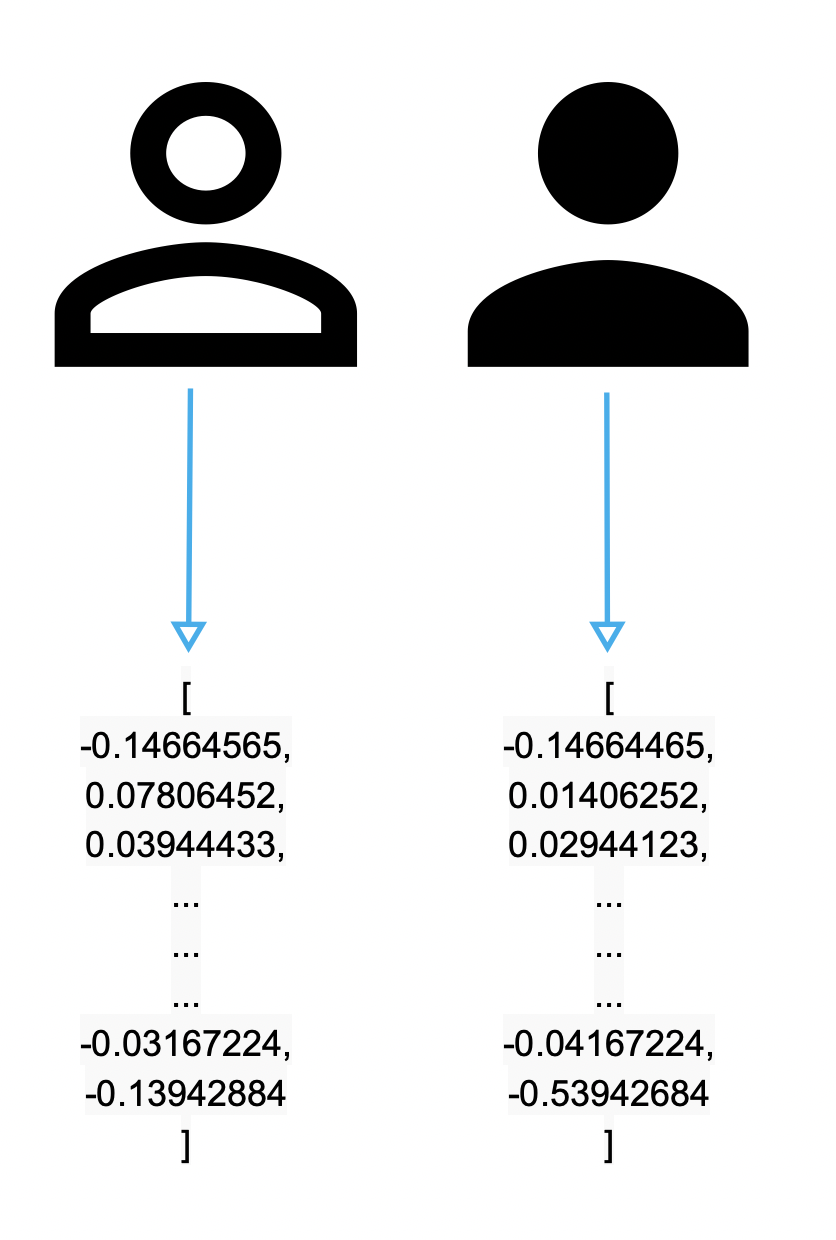
Match the faces
Let's say we have indexed four documents in Elasticsearch that contain each facial representation of Elastic’s founders. We can now use another image of our founders to match the individual images.

Create a recognizeFaces.py file:
touch recognizeFaces.py
In this script, we’ll extract the vectors for each face detected from the input image, and we use the vectors for each face to build the query to send to Elasticsearch:
Import the libraries:
import face_recognition
import numpy as np
from elasticsearch import Elasticsearch
import sys
Add the following section to connect to Elasticsearch:
# Connect to Elasticsearch cluster
from elasticsearch import Elasticsearch
es = Elasticsearch(
cloud_id="cluster-1:dXMa5Fx...",
     http_auth=("elastic", "<password>"),
)
We will use the cosineSimilarity function to calculate the measure of cosine similarity between a given query vectors and document vectors stored into Elasticsearch.
i=0
for face_encoding in face_encodings:
        i += 1
        print("Face",i)
        response = es.search(
        index="faces",
        body={
         "size": 1,
         "_source": "face_name",
        "query": {
        "script_score": {
                 "query" : {
                     "match_all": {}
                 },
         "script": {
                "source": "cosineSimilarity(params.query_vector, 'face_encoding')",
                 "params": {
                 "query_vector":face_encoding.tolist()
                }
           }
          }
         }
        }
        )
Let’s assume the score under 0.93 is considered an unknown face:
 for hit in response['hits']['hits']:
                #double score=float(hit['_score'])
                if (float(hit['_score']) > 0.93):
                    print("==> This face  match with ", hit['_source']['face_name'], ",the score is" ,hit['_score'])
                else:
                        print("==> Unknown face")
Let's execute our script:

The script was able to detect all faces with score match higher than 0.93.
Go a step further with advanced search
Facial recognition and search can be combined for advanced use cases. You can use Elasticsearch to build more sophisticated queries like geo-queries, query-dsl-bool-query, and search-aggregations.
As an example, the following query applies cosineSimilarity search on a specific location within a 200-km radius:
GET /_search
{
  "query": {
    "script_score": {
      "query": {
    "bool": {
      "must": {
        "match_all": {}
      },
      "filter": {
        "geo_distance": {
          "distance": "200km",
          "pin.location": {
            "lat": 40,
            "lon": -70
          }
        }
      }
    }
  },
       "script": {
                "source": "cosineSimilarity(params.query_vector, 'face_encoding')",
                 "params": {
                 "query_vector":[
                        -0.14664565,
                       0.07806452,
                       0.03944433,
                       ...
                       ...
                       ...
                       -0.03167224,
                       -0.13942884
                    ]
                }
           }
    }
  }
}
Combining cosineSimilarity with other Elasticsearch queries give you unlimited possibilities to implement more complex use cases.
Conclusion
Facial recognition can be relevant in many use cases, and you may already use it in your daily life. The concepts described above can be generalized to any object detection in images or videos, so you may extend your use case to a very large utilization.
Elasticsearch can help simplify your advanced requirements. Try it out with a free 14-day trial of Elastic Cloud, our official managed Elasticsearch offering, and let us know what you think in our Discuss forums.