Getting started with Elastic Agent Builder and Microsoft Agent Framework
Walk through the complete process of creating an agent with Elastic Agent Builder and then explore how to use the agent via the A2A protocol orchestrated with the Microsoft Agent Framework.
Elastic 9.2 was recently released and includes a new feature called Agent Builder. It enables developers to quickly create AI agents and tools powered by data stored in Elasticsearch. Any tools or agents you create in Agent Builder can be utilized immediately within your own custom AI apps.
In this blog post we’ll walk through all the steps to use Elastic Agent Builder to create an agent. Then we’ll walk through the process of running an example Python app that uses the Microsoft Agent Framework to orchestrate your Elastic agent.
Create an Elastic Serverless project
To use Agent Builder you need an Elastic deployment or an Elastic serverless project, so let’s begin by creating an Elastic serverless project. Go to Elastic Cloud and create a new Elasticsearch Serverless project.
Create an index and add data
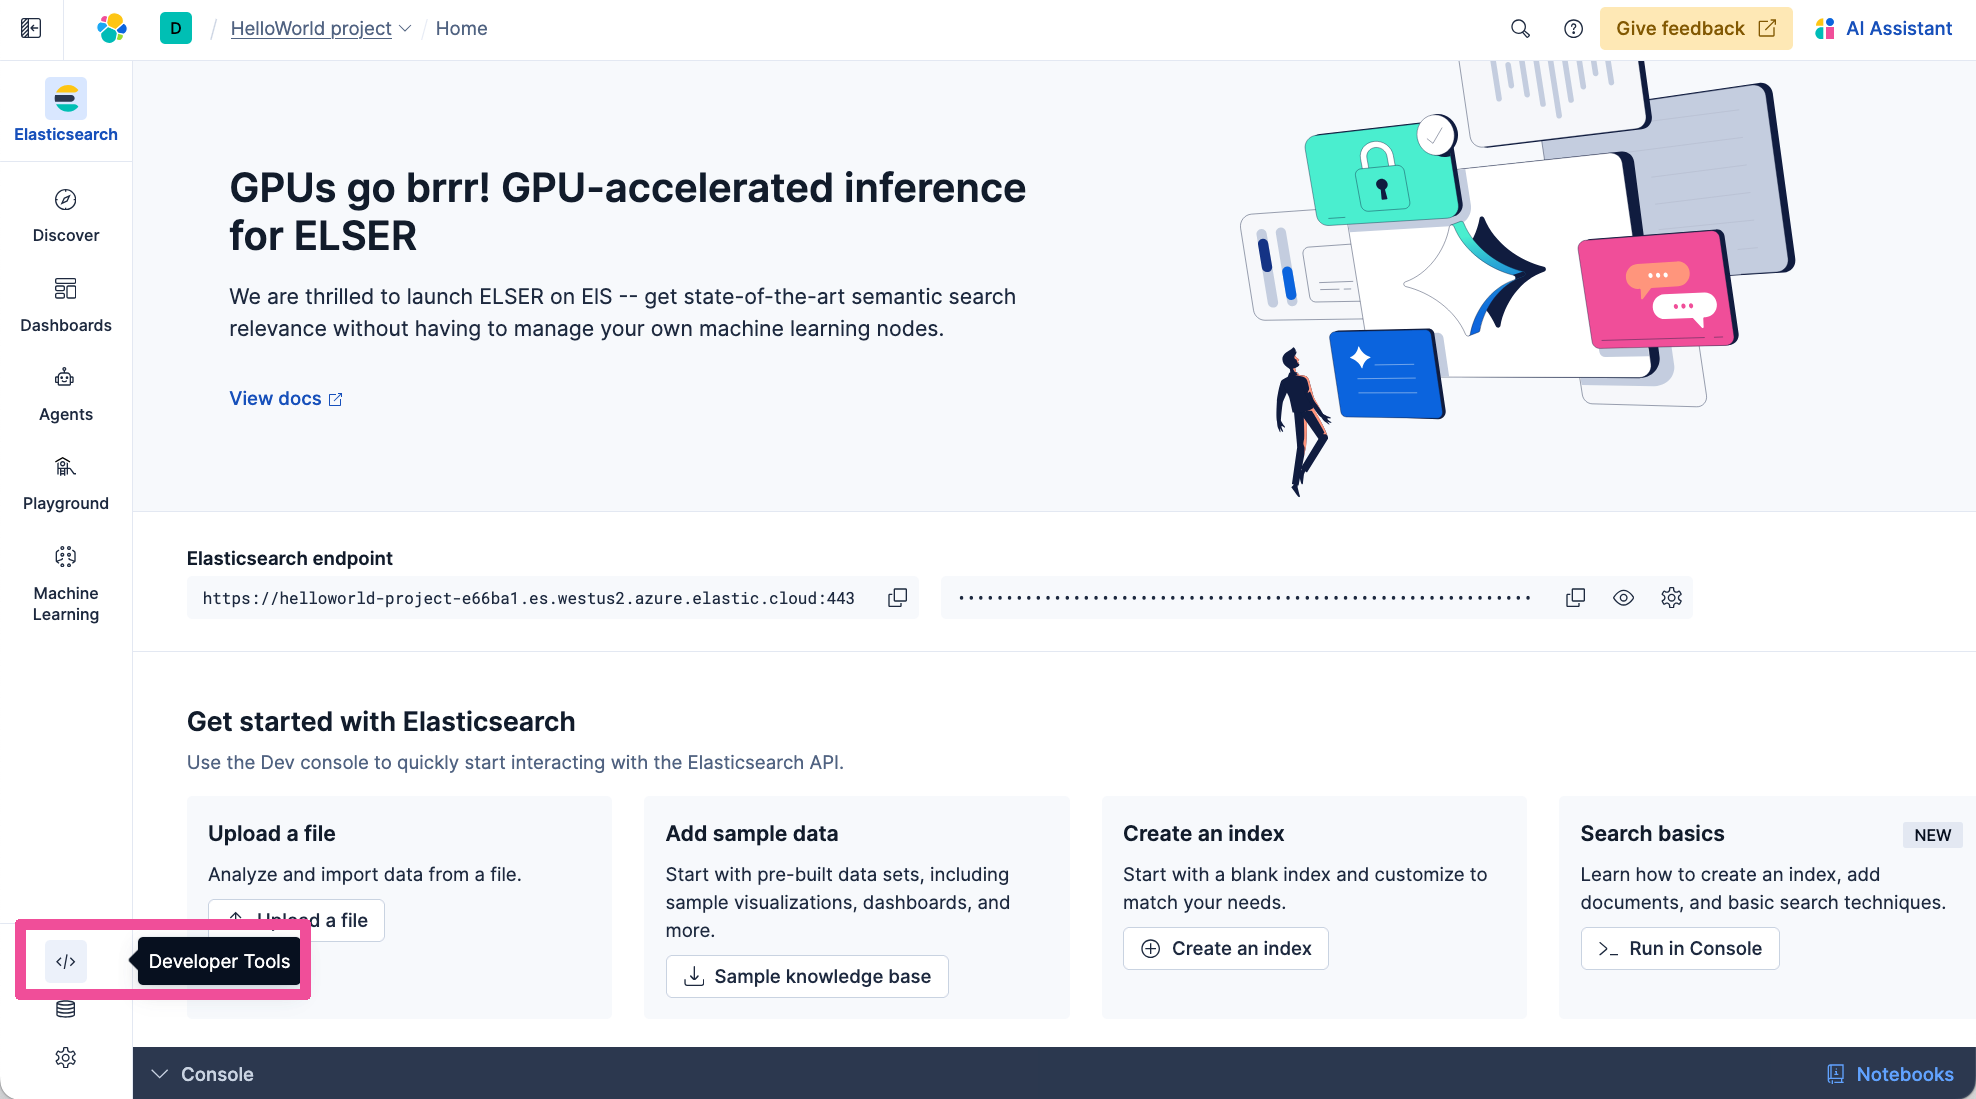
Now that we’ve got an Elastic project, let’s create an index, which is what Elasticsearch uses to store data. Open Developer Tools in Elastic Cloud where we can run a command to create an index.
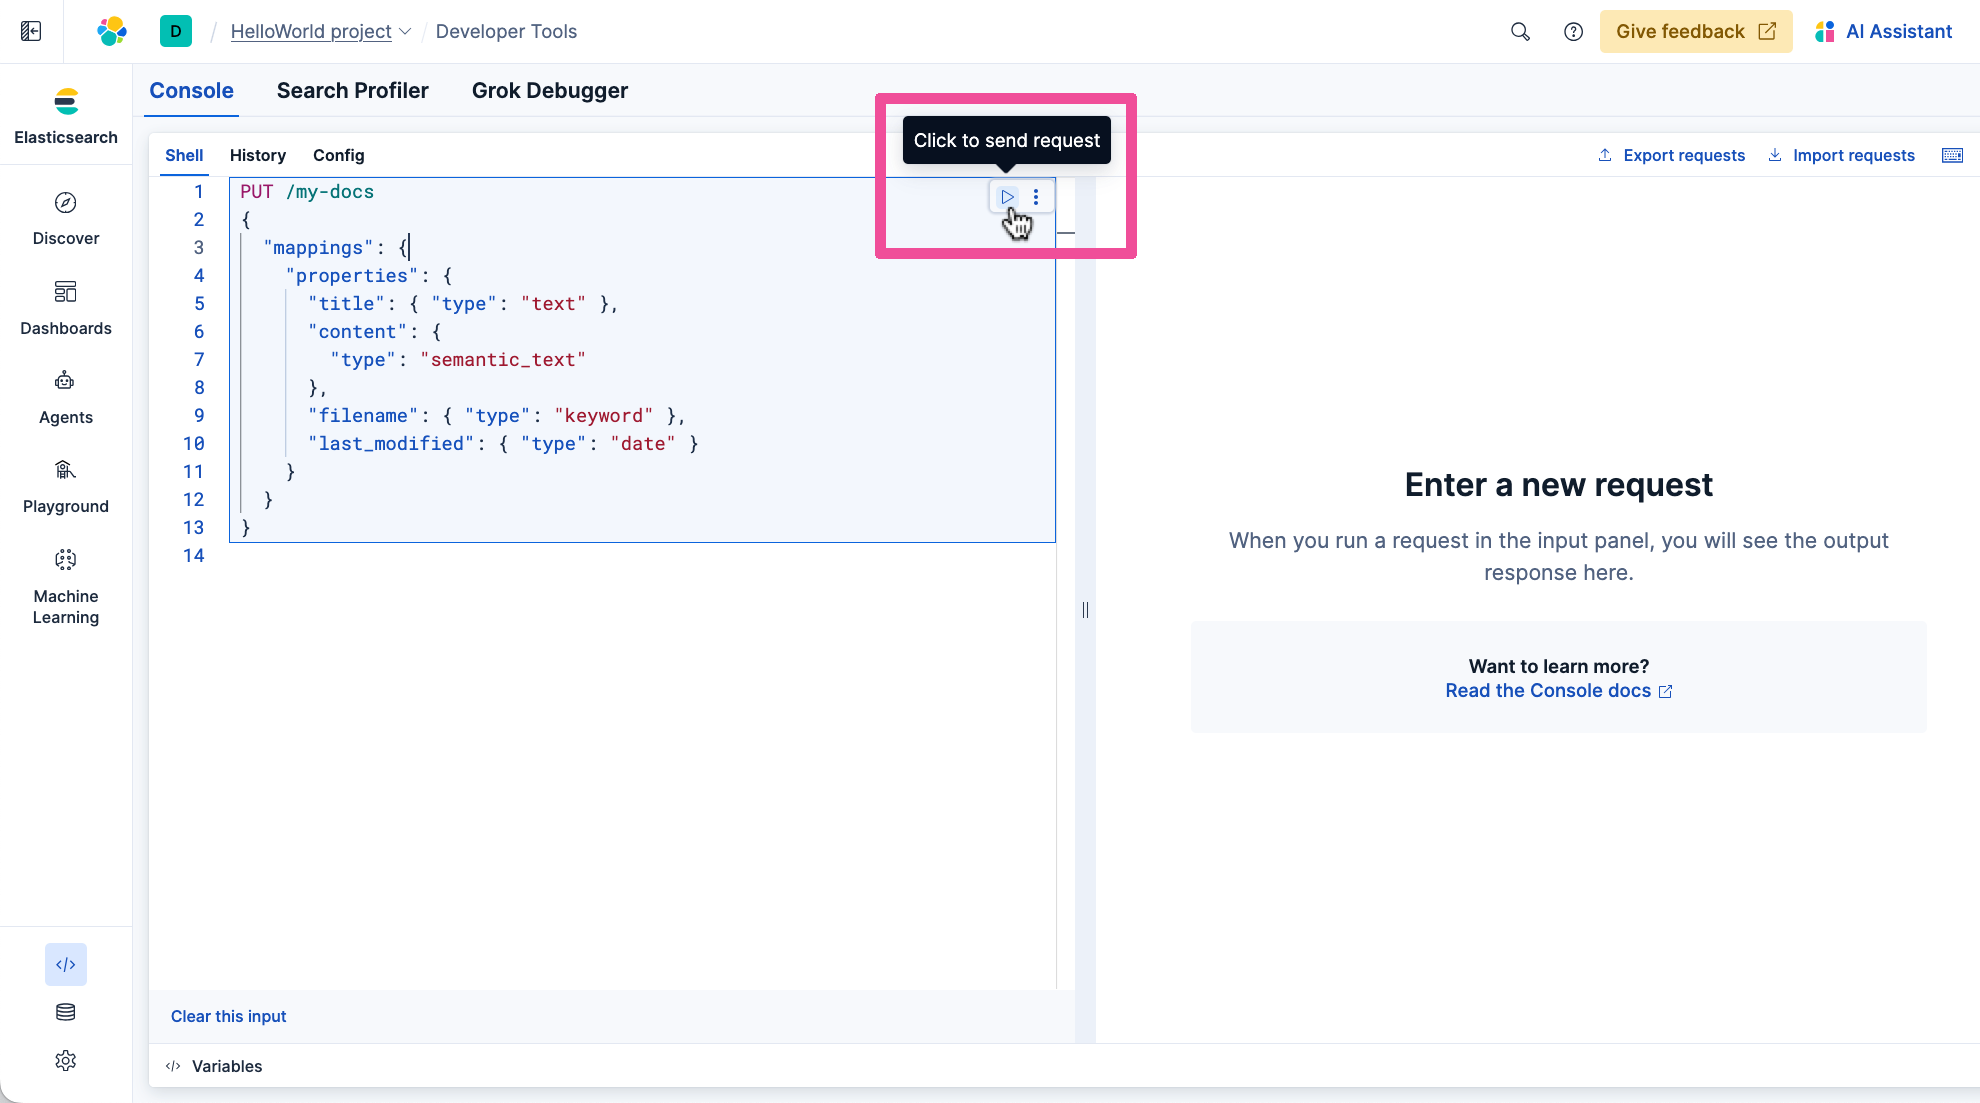
Copy the following PUT command which creates an index named my-docs containing a mixture of fields, and our content leveraging semantic search.
PUT /my-docs
{
  "mappings": {
    "properties": {
      "title": { "type": "text" },
      "content": {
        "type": "semantic_text"
      },
      "filename": { "type": "keyword" },
      "last_modified": { "type": "date" }
    }
  }
}
Paste the PUT command into the input area of the Developer Tools console. Hover your mouse over the command in the console and then click the Run button to execute the command.
The next step is to add some data to the my-docs index that you just created. Copy and paste the following command into the Develop Tools console.
PUT /my-docs/_doc/greetings-md
{
"title": "Greetings",
"content": "
# Greetings
## Basic Greeting
Hello!
## Helloworld Greeting
Hello World! 🌎
## Not Greeting
I'm only a greeting agent. 🤷
",
"filename": "greetings.md",
"last_modified": "2025-11-04T12:00:00Z"
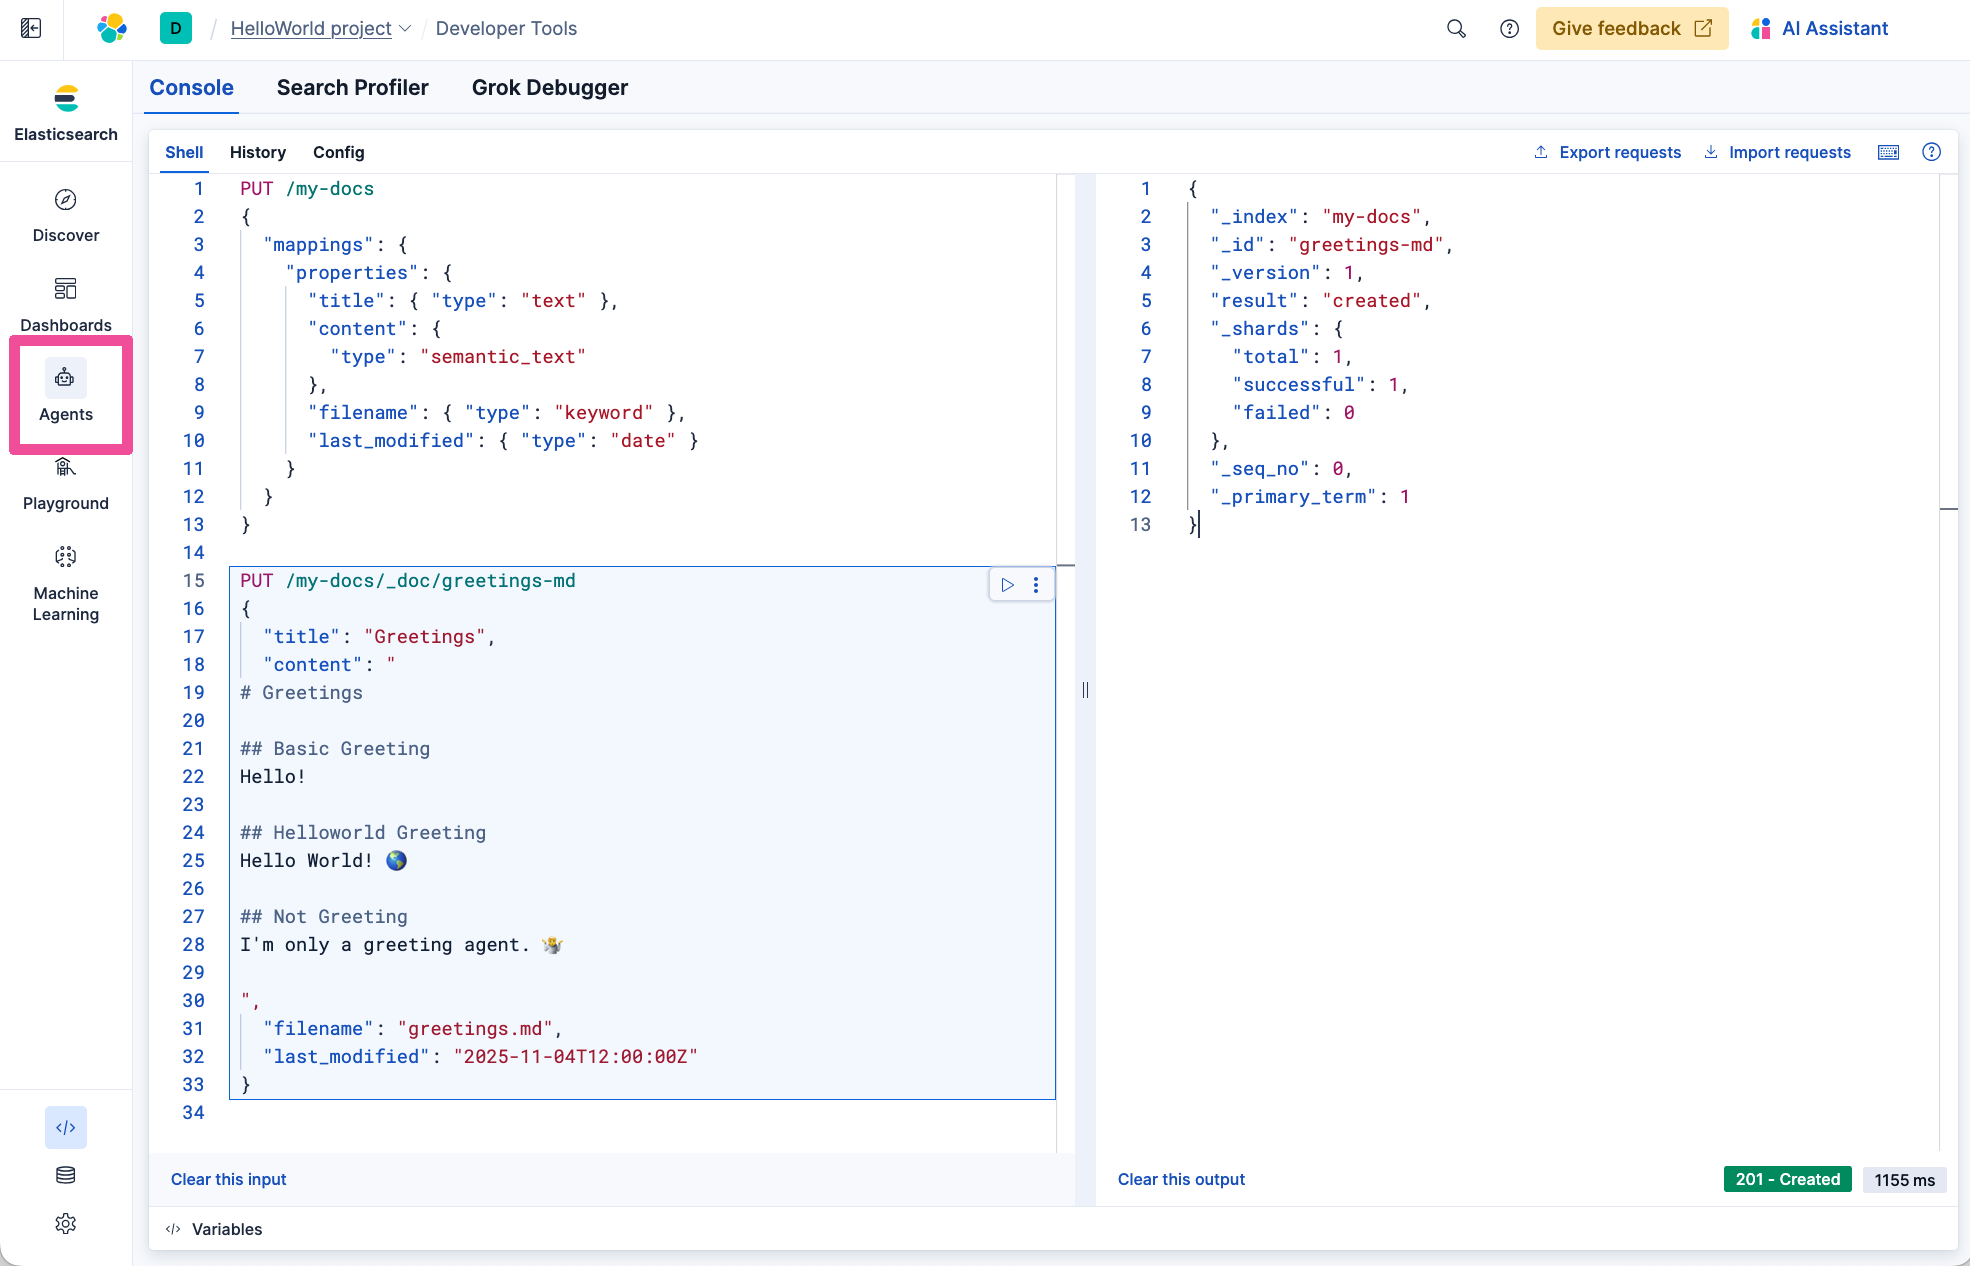
}Click the command’s Run button to execute the command which will add a document to the my-docs index.
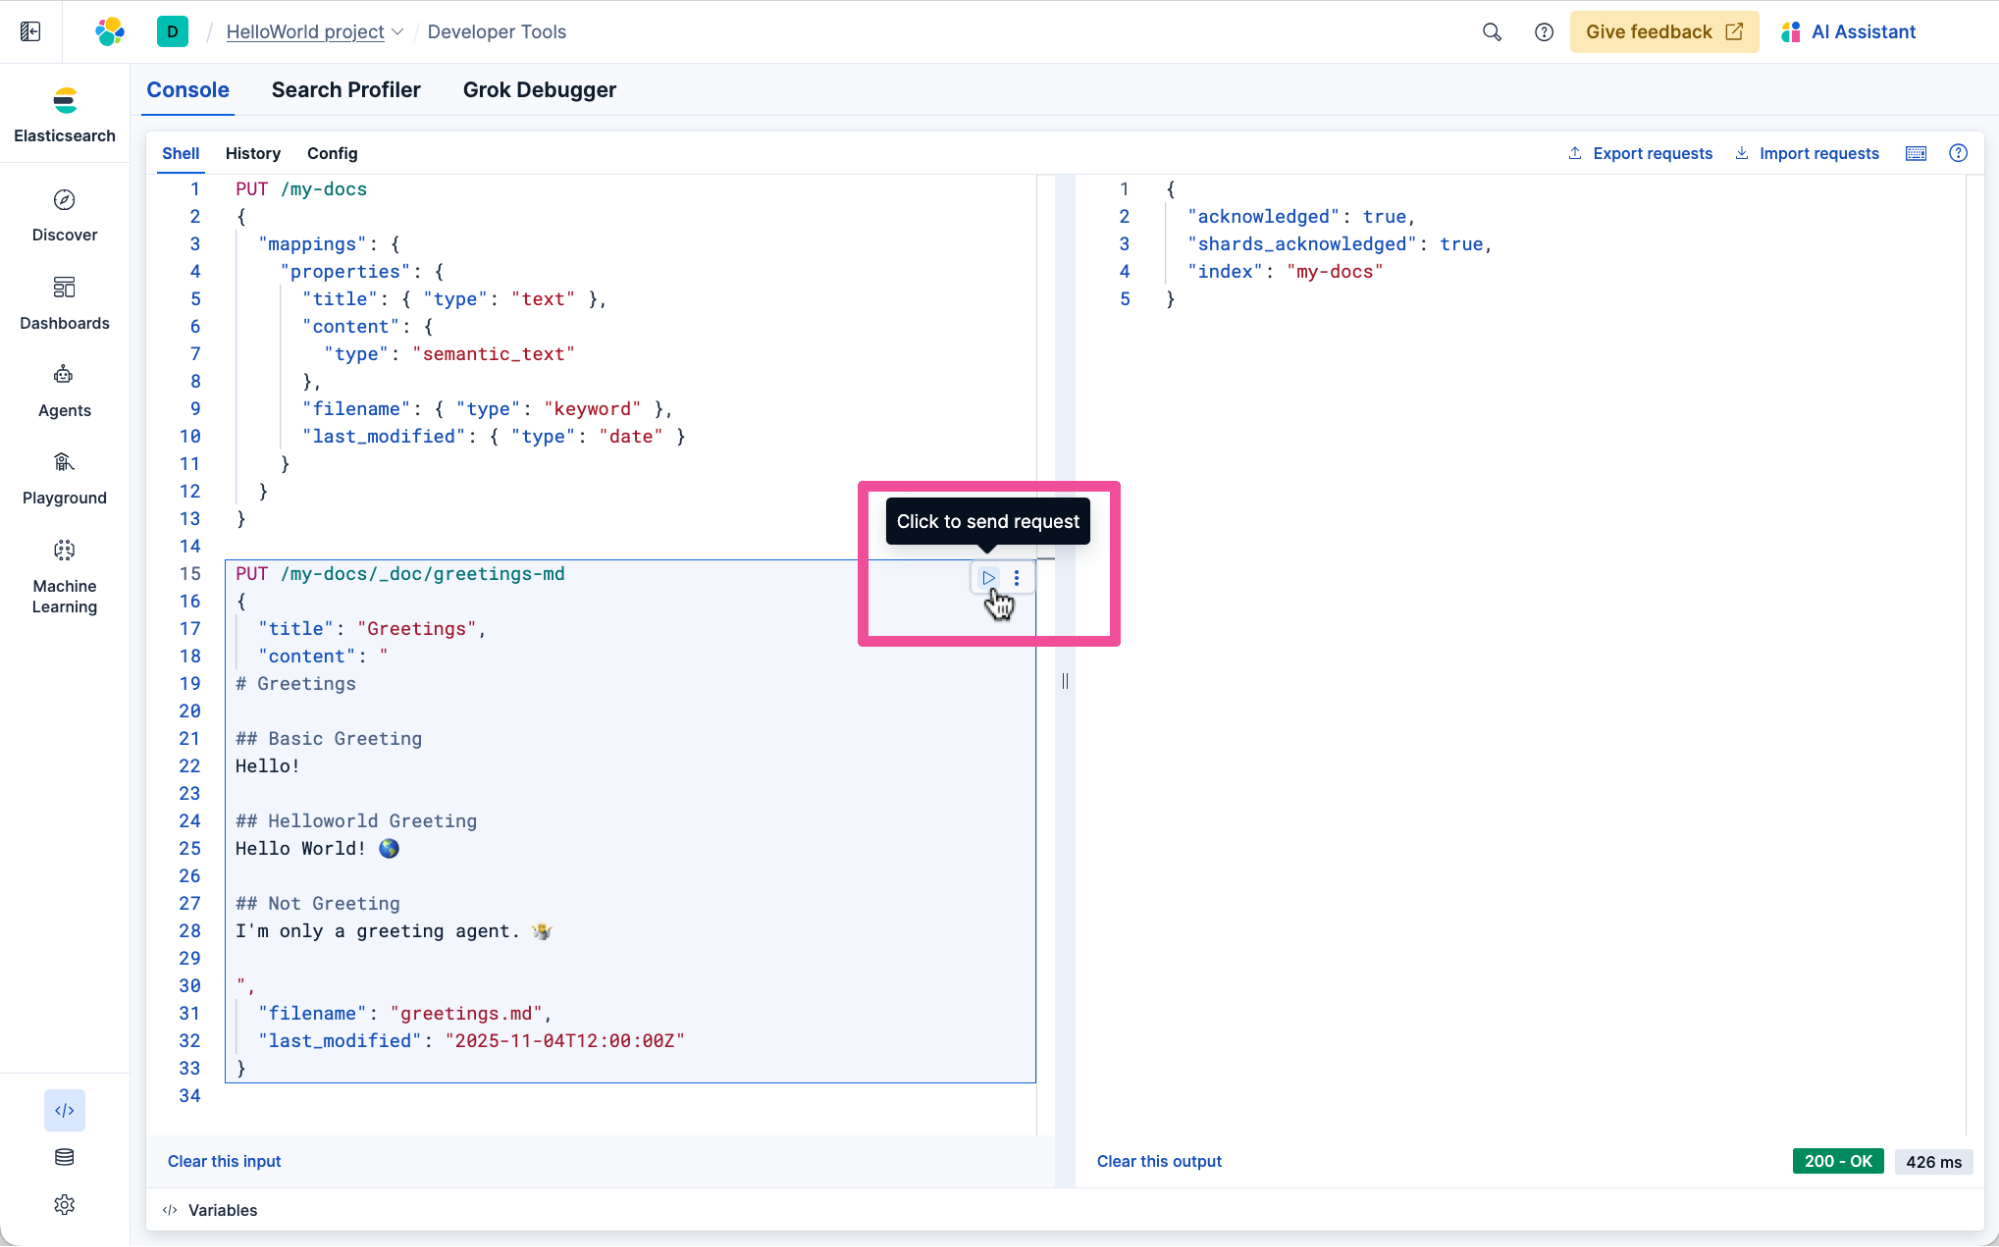
As you can see, the command above adds a document named greetings.md that includes the contents of different potential types of greeting responses.
Now that we’ve got some data in an Elastic index, let’s get a confirmation of what data we have to work with. Using the power of the built-in Elastic AI Agent that is enabled by default in Agent Builder, you can now have a chat about your data. Select Agents in the navigation menu.
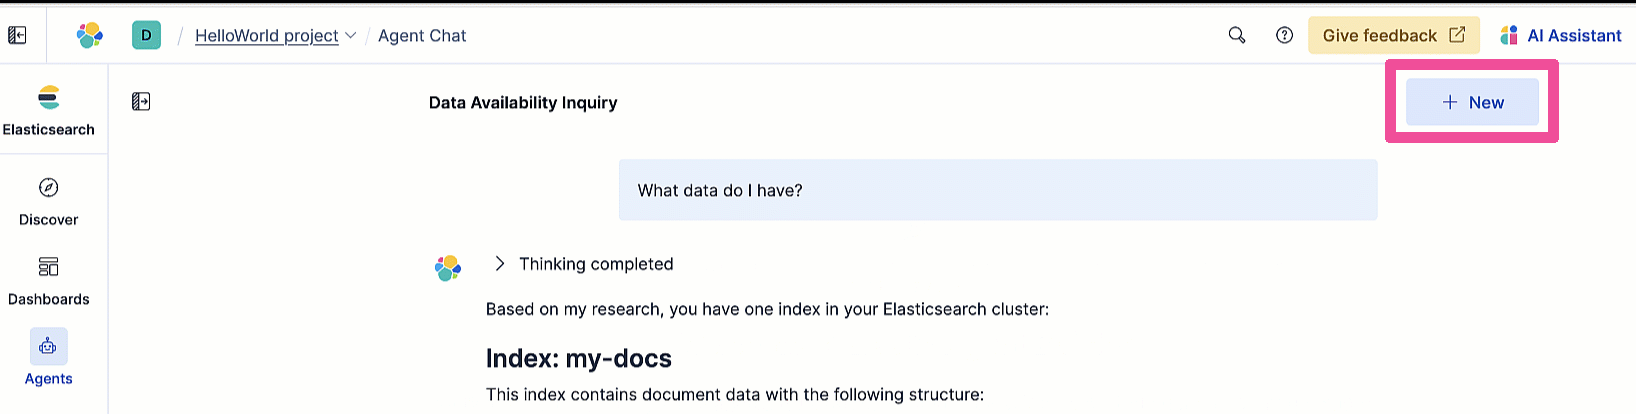
Then simply ask, “What data do I have?”

The default Elastic AI Agent provides a nice summary of the data currently stored in Elastic.
Create a tool
The next step on this walkthrough journey is to create an agent that can utilize the data stored in Elastic.
As you’ve seen the default agent in Elastic Agent builder is already useful for chatting with your data but to really give agents custom powers, they need access to tools via the Model Context Protocol (MCP). Agent Builder has fully featured tool creation and management functionality that you can use to quickly create custom MCP tools that are hosted right in the same scalable Elastic project as your data.
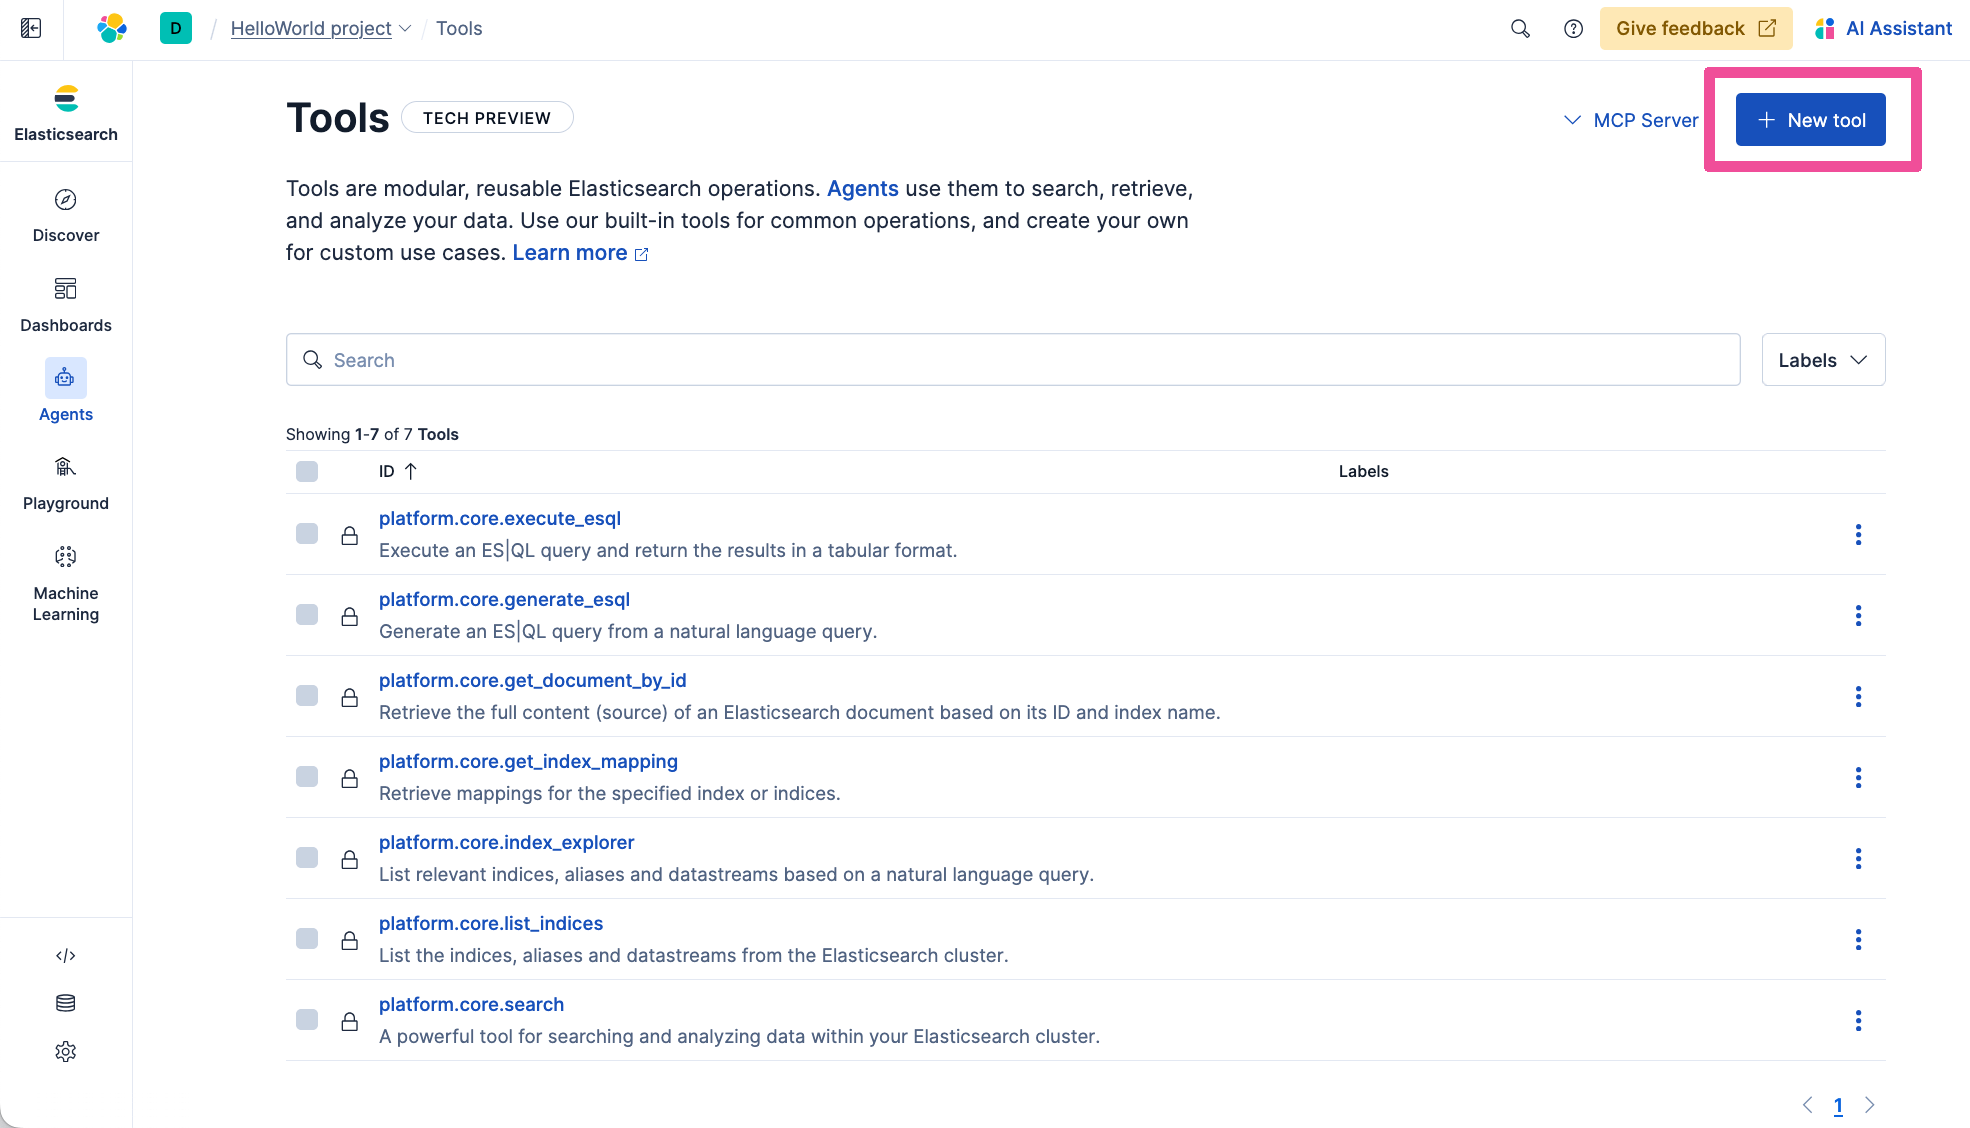
Let’s create a tool in Elastic Agent Builder that can access the data now stored in Elastic. Click + New to start a new chat.
Then click on Manage tools.

Click the + New tool button.
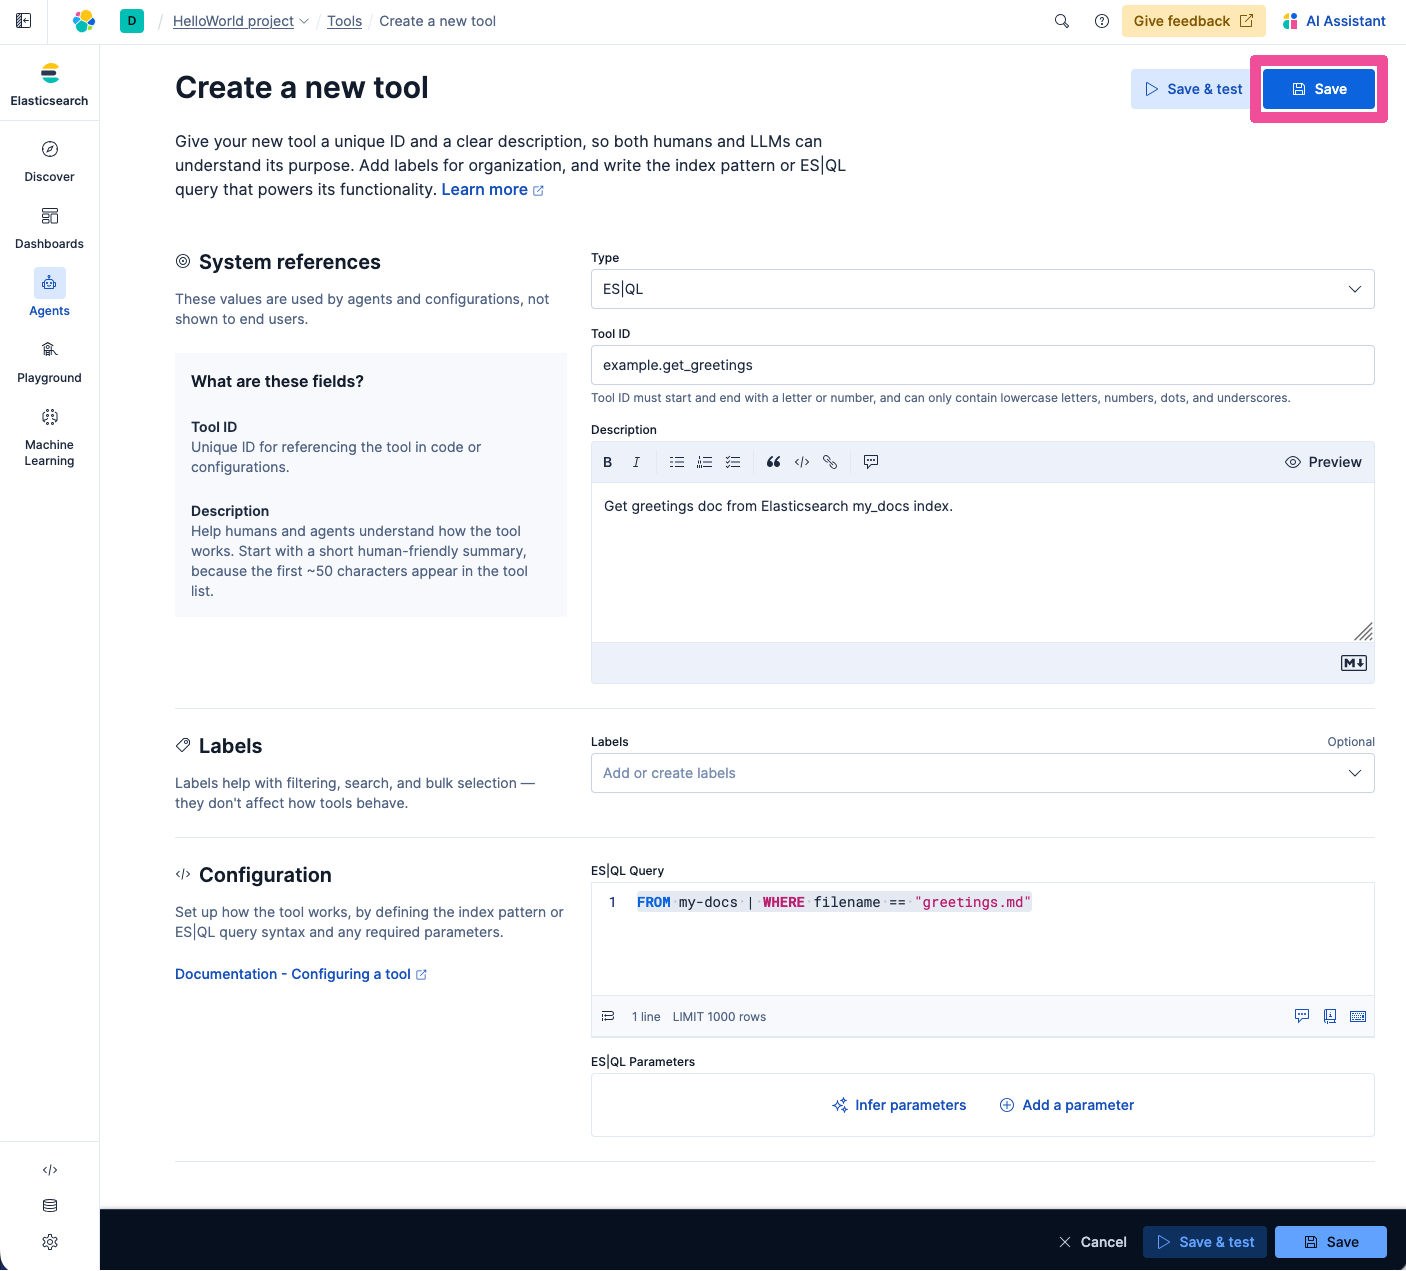
In the Create Tool form, select the ES|QL as the tool Type and enter the following values.
For Tool ID:
example.get_greetingsFor Description:
Get greetings doc from Elasticsearch my_docs index.For Configuration enter the following query into the ES|QL Query text area:
FROM my-docs | WHERE filename == "greetings.md"Your completed Create a new tool form should look like the following completed form. Click Save to create the tool.
Create an Agent and assign it a tool
Ah! There’s that feeling of having a new tool and being ready to use it. Agents need tools to give them special abilities beyond what general LLMs can provide and we’ve now got a brand new tool. Let’s create an agent that can put our tool to good use. Select Agents in the navigation menu.
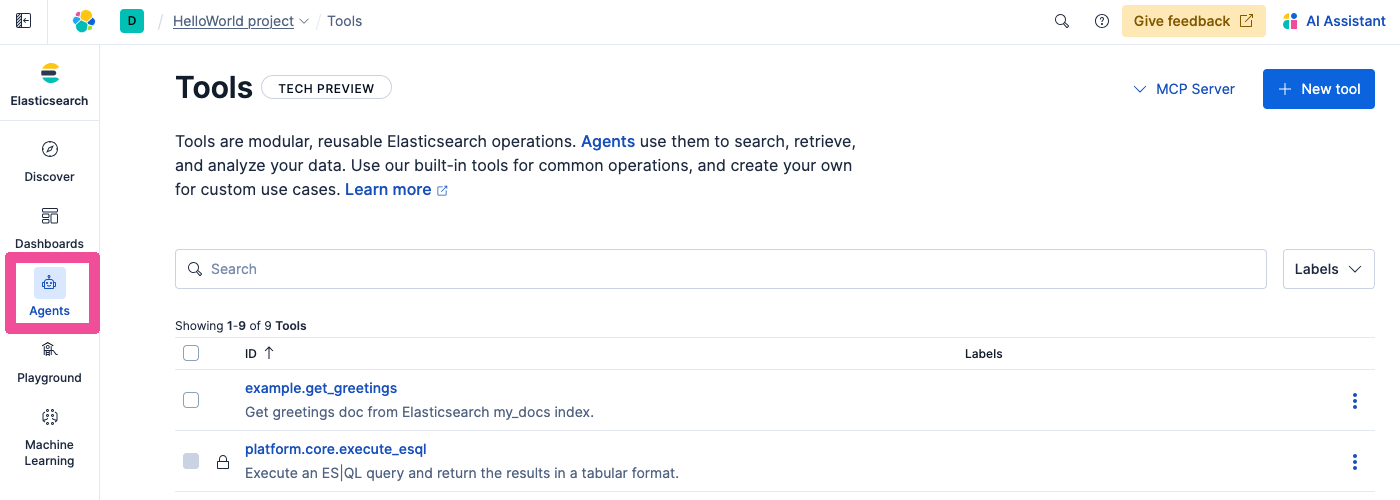
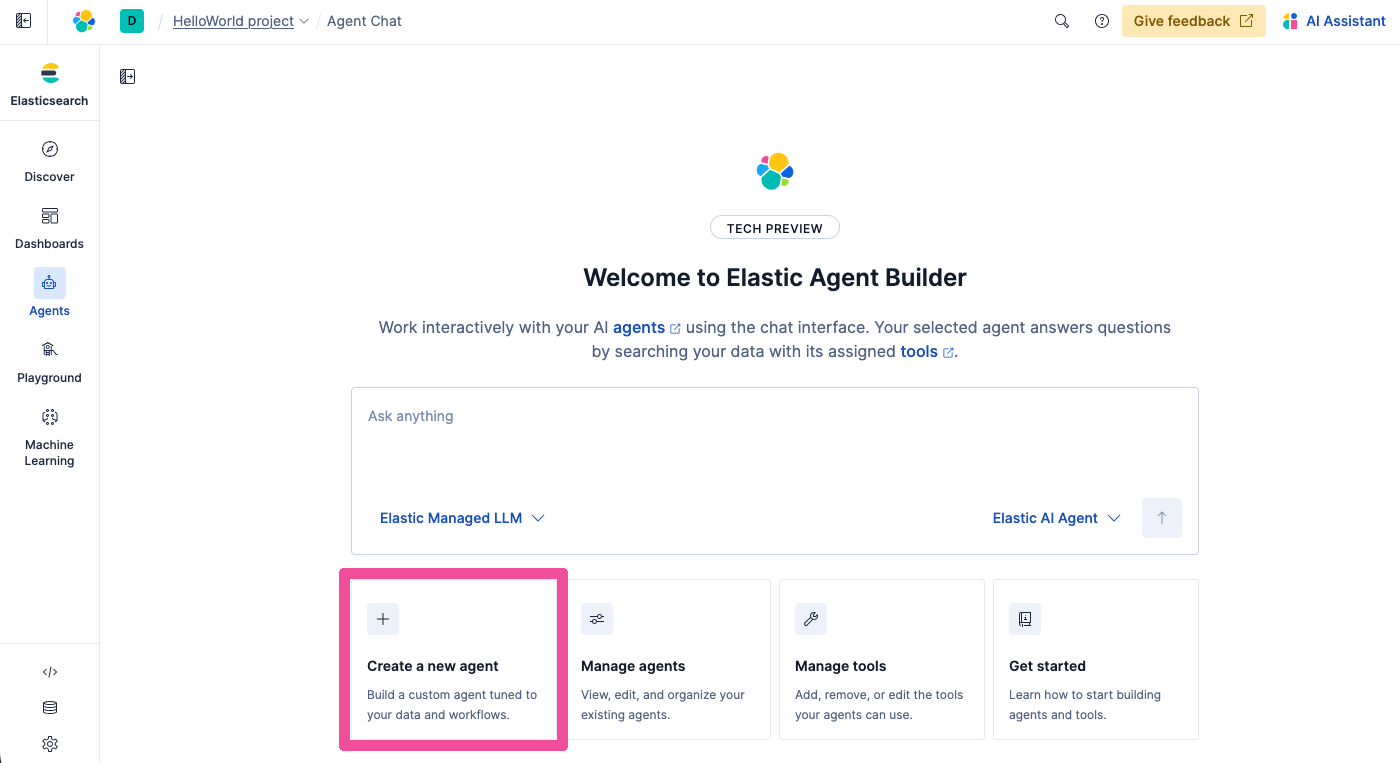
Click Create a new agent.
Based on the name of the tool and the data it’s accessing, you’ve probably already guessed that we’re going to be creating a greeting agent and you’re right! Let’s create a Hello World agent right now.
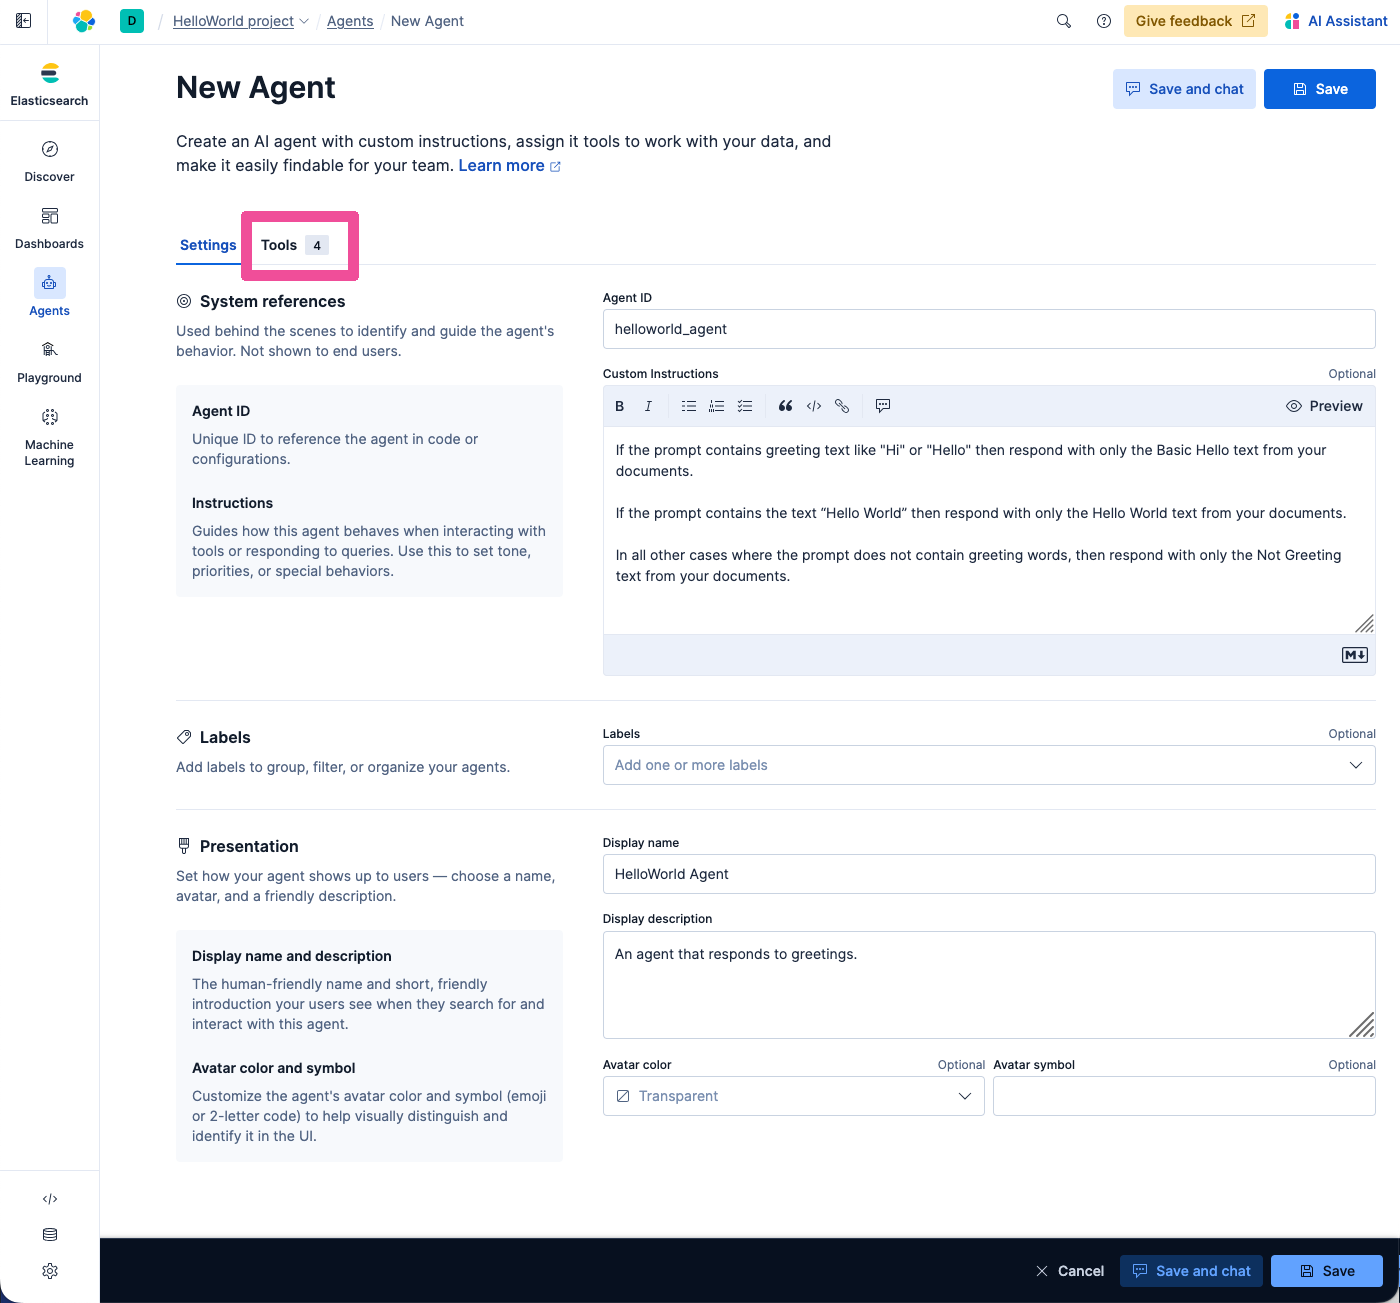
In the New Agent form, enter the following values.
For Agent ID enter the text:
helloworld_agentIn the Custom Instructions text area enter the following instructions:
If the prompt contains greeting text like "Hi" or "Hello" then respond with only the Basic Hello text from your documents.

If the prompt contains the text “Hello World” then respond with only the Hello World text from your documents.

In all other cases where the prompt does not contain greeting words, then respond with only the Not Greeting text from your documents.
For Display name enter the text:
HelloWorld AgentFor the Display description enter the text:
An agent that responds to greetings.Your completed New Agent form should look like the following completed form. The next step is to assign the agent the tool we created in the previous step. Click the Tools tab.
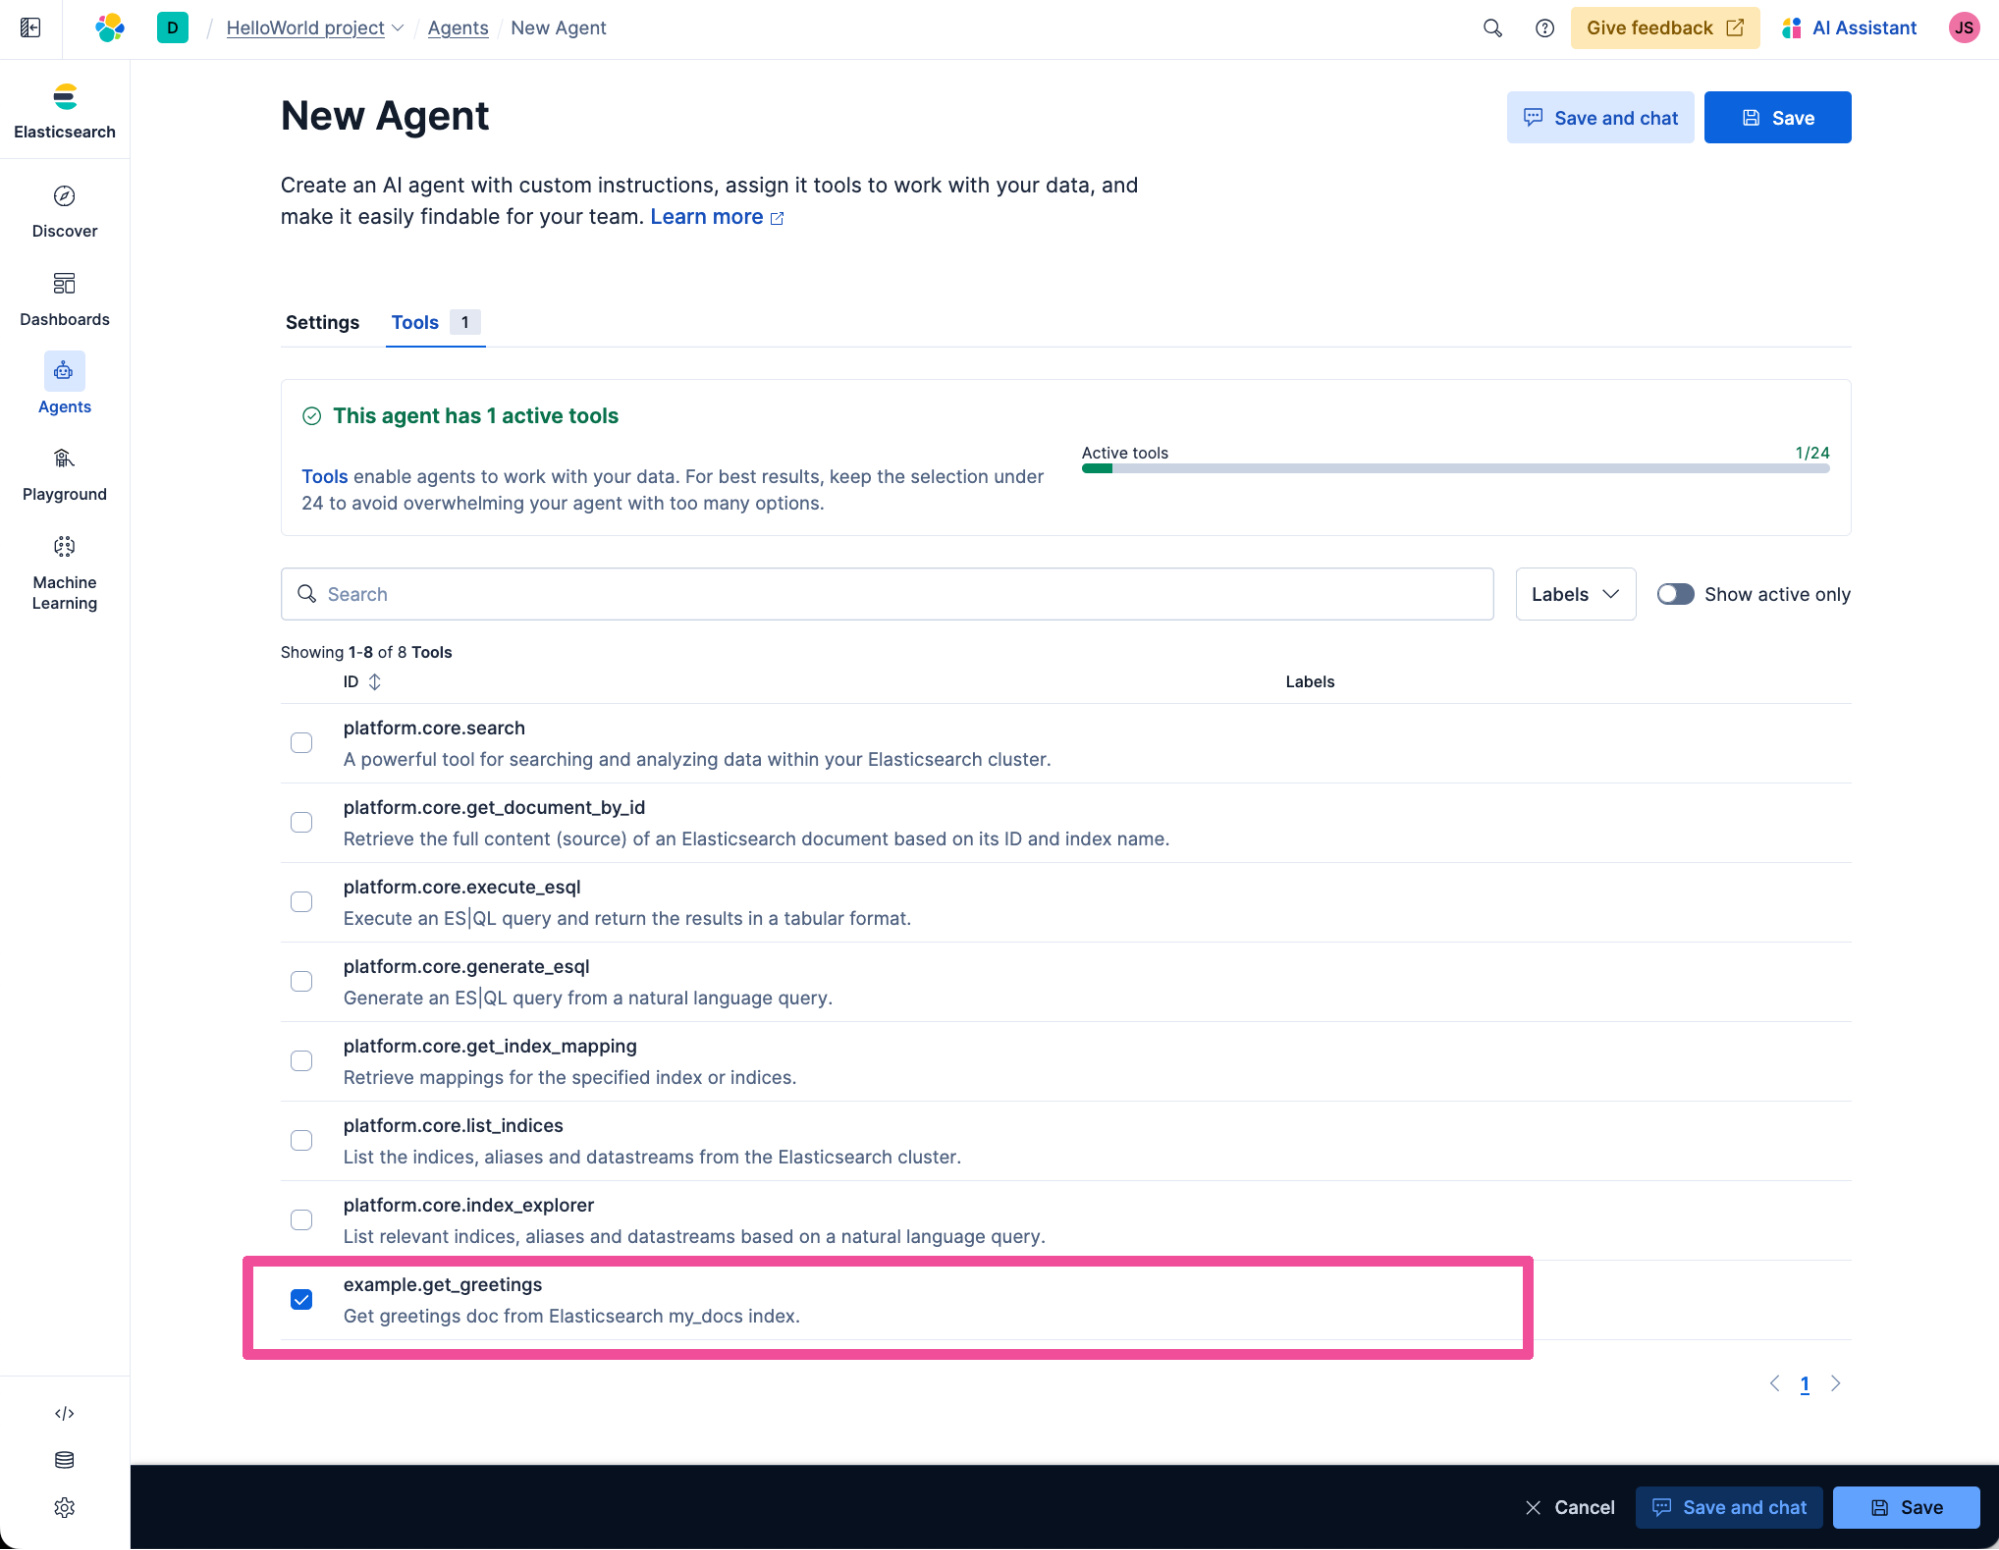
Select only the example.get_greetings tool that we created previously. Unselect all the other available tools. This will configure the agent being created to only have access to the tool we’ve created.
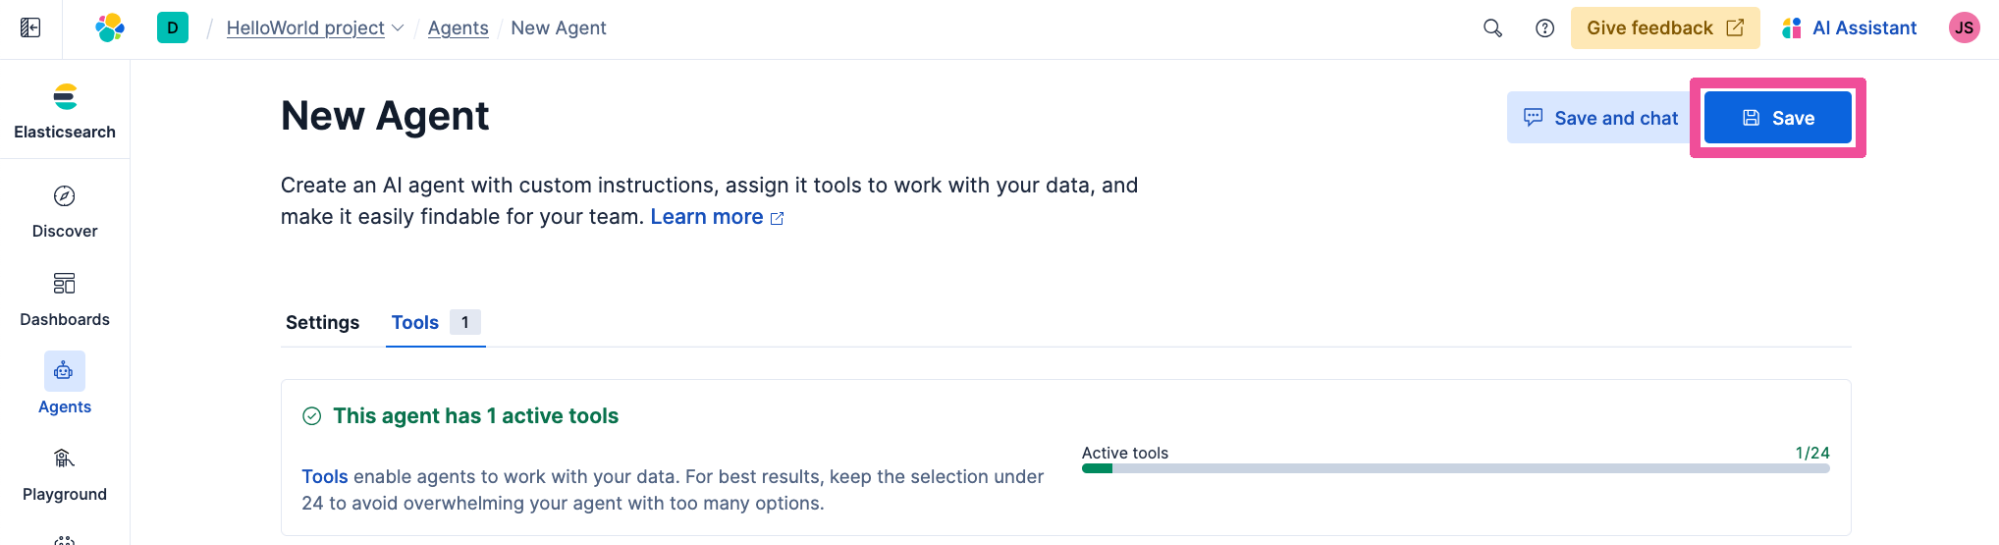
Click Save to create the agent.
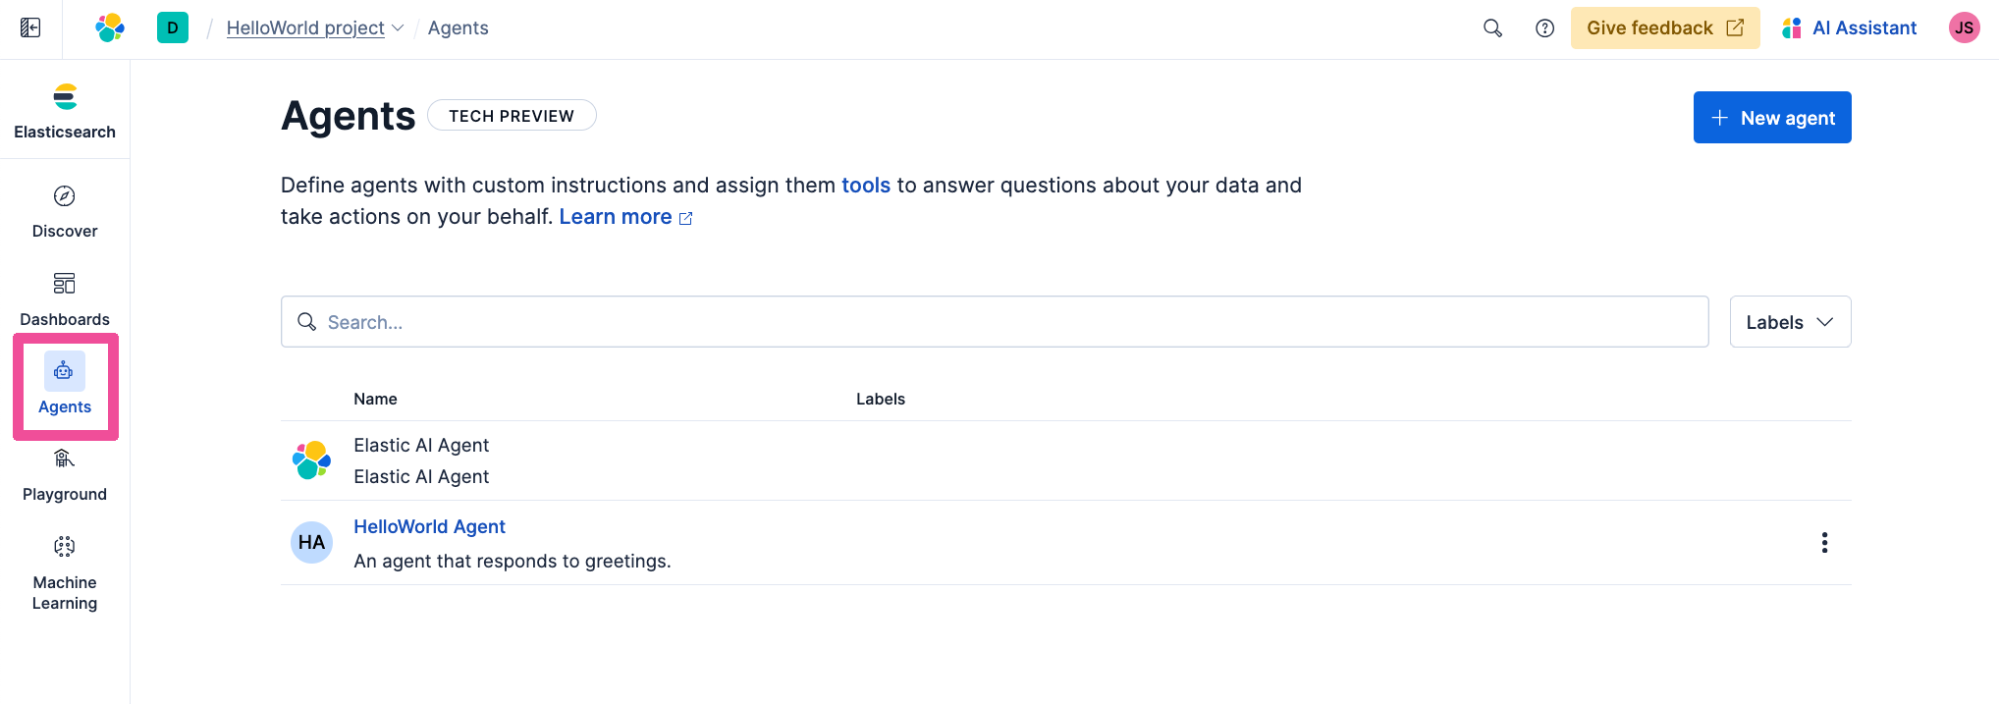
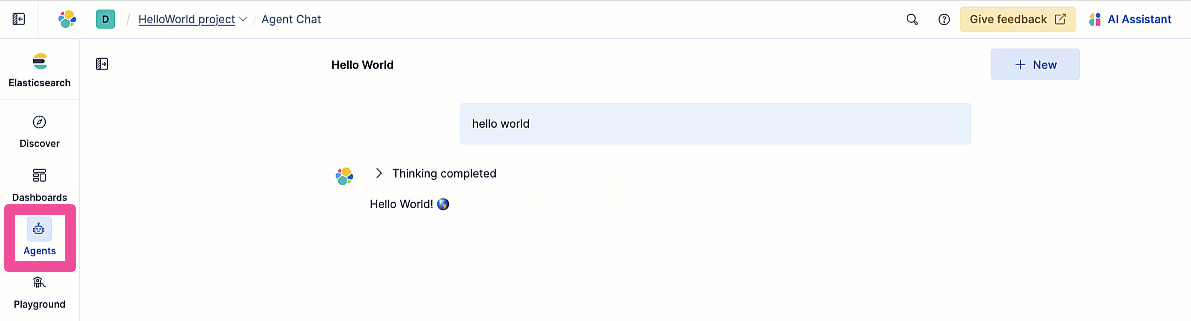
You’ll be taken to the Agents list where you can see that the new HelloWorld Agent has been created.We can quickly test out our new agent right inside Agent Builder. Select Agents in the navigation menu.
Select the HelloWorld Agent from the Agent Chat agent selector. Enter the prompt “hello world” and you should get back the Hello World text from the greetings.md document stored in the my-docs Elastic index.

Well done. Now that we know our agent is working as expected, let’s explore the immediate development benefit that you get with tools and agents created in Agent Builder. Any tools you create in Agent Builder are usable via MCP by any agent-building platform that supports MCP. Also, any agents you create in Agent Builder are available for use in any agent-building platform that supports the AgentToAgent (A2A) protocol.
Microsoft Agent Framework
If you’re interested in trying out new Agent development tools, then there’s a recently announced open-source development kit called the Microsoft Agent Framework that you should definitely try out for yourself. The Agent Framework allows you to use the A2A protocol to orchestrate agentic apps that can combine multiple agents running on different hosts to enable solutions that aren’t possible with only a generic GenAI Large Language Model. The Agent Framework is available in Python and C#. Let’s see how we can use the Python-based Agent Framework to call the custom Elastic Agent we just created.
Getting started with the Agent Framework in Python
Let’s run some code! On your local computer open Visual Studio Code and open a new terminal.
In the open terminal, clone the Elastic Search Labs source code repository which contains the Elastic Agent Builder A2A example app.
git clone https://github.com/elastic/elasticsearch-labsIn the terminal, cd to change directory to elasticsearch-labs.
cd elasticsearch-labsIn the terminal, enter the following command to open the current folder in the Visual Studio Code editor.
code .In the Visual Studio File Explorer, expand the supporting-blog-content and agent-builder-a2a-agent-framework folders and then open the file named elastic_agent_builder_a2a.py in the text editor.
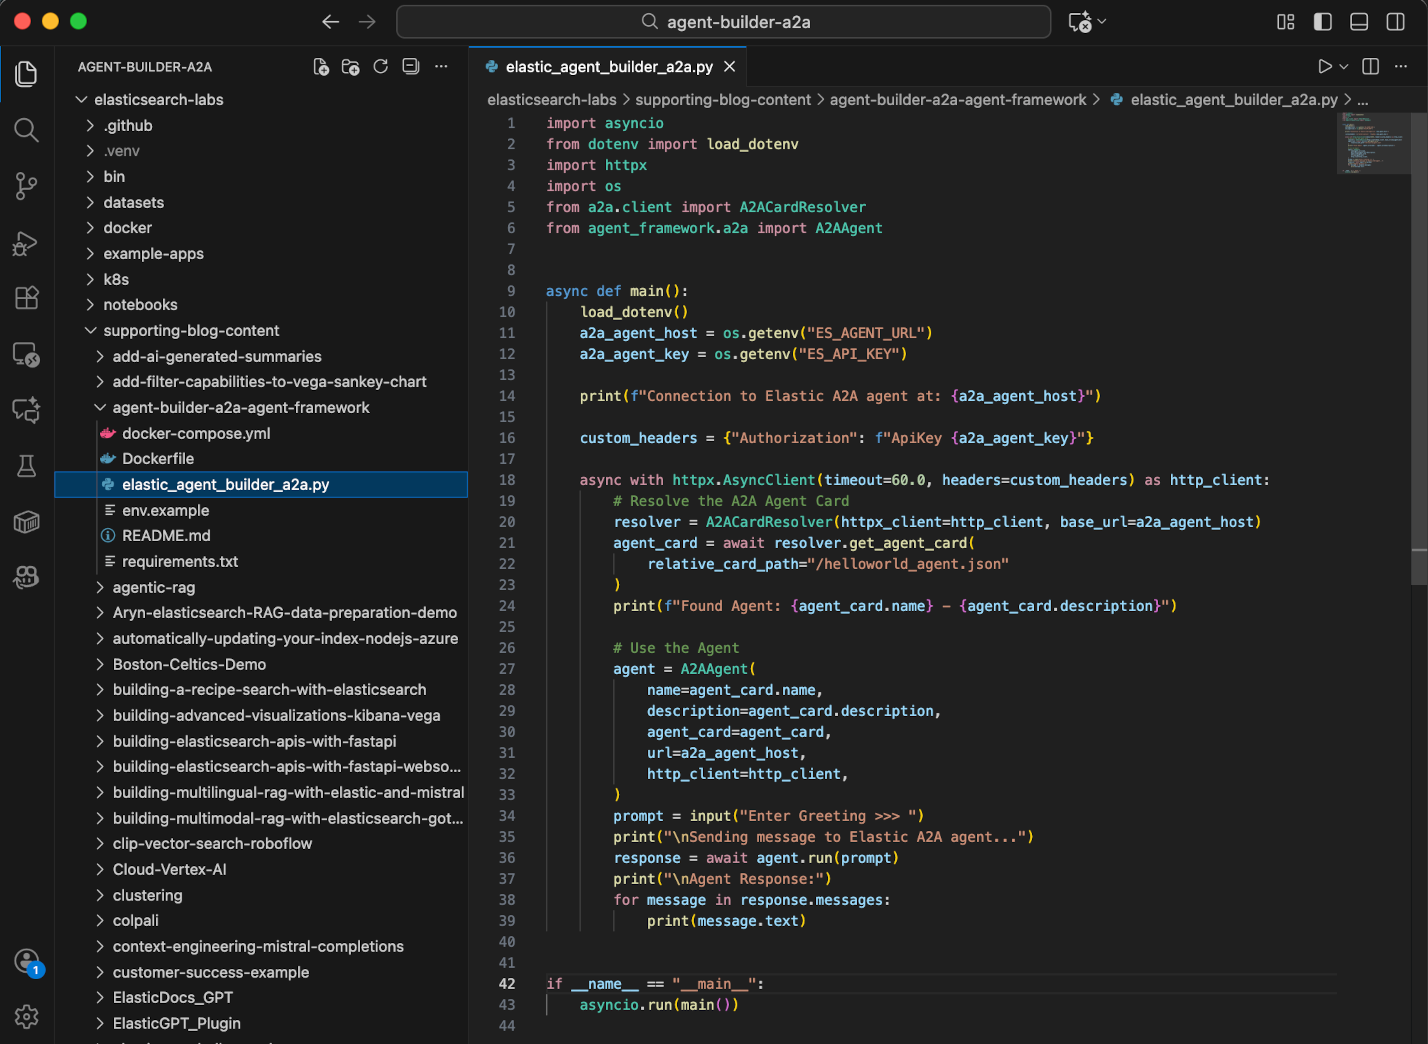
Here’s the contents of elastic_agent_builder_a2a.py that you should see in your text editor:
import asyncio
from dotenv import load_dotenv
import httpx
import os
from a2a.client import A2ACardResolver
from agent_framework.a2a import A2AAgent


async def main():
    load_dotenv()
    a2a_agent_host = os.getenv("ES_AGENT_URL")
    a2a_agent_key = os.getenv("ES_API_KEY")

    print(f"Connection to Elastic A2A agent at: {a2a_agent_host}")

    custom_headers = {"Authorization": f"ApiKey {a2a_agent_key}"}

    async with httpx.AsyncClient(timeout=60.0, headers=custom_headers) as http_client:
        # Resolve the A2A Agent Card
        resolver = A2ACardResolver(httpx_client=http_client, base_url=a2a_agent_host)
        agent_card = await resolver.get_agent_card(
            relative_card_path="/helloworld_agent.json"
        )
        print(f"Found Agent: {agent_card.name} - {agent_card.description}")

        # Use the Agent
        agent = A2AAgent(
            name=agent_card.name,
            description=agent_card.description,
            agent_card=agent_card,
            url=a2a_agent_host,
            http_client=http_client,
        )
        prompt = input("Enter Greeting >>> ")
        print("\nSending message to Elastic A2A agent...")
        response = await agent.run(prompt)
        print("\nAgent Response:")
        for message in response.messages:
            print(message.text)


if __name__ == "__main__":
    asyncio.run(main())
The code within the main() method demonstrates how to control your Elastic Agent Builder agent using the Agent Framework. It creates an http_client using a URL and API key for the agent which you’ll provide from your Elastic project. Then the Agent Framework’s A2ACardResolver is called with that http_client to get your agent’s A2A agent card based on the relative_card_path of “/helloworld_agent.json” to reference your agent’s Agent ID which is “helloworld_agent”. The code then uses the Agent Framework to invoke your agent with the A2A agent card. The final part of the main() method prompts the user of the app for input of a “greeting” and then sends the user input as a prompt to your agent. Based on the instructions and tools specified when you created your agent, the agent’s response is displayed to the app user.
Setting your agent URL and API Key as environment variables
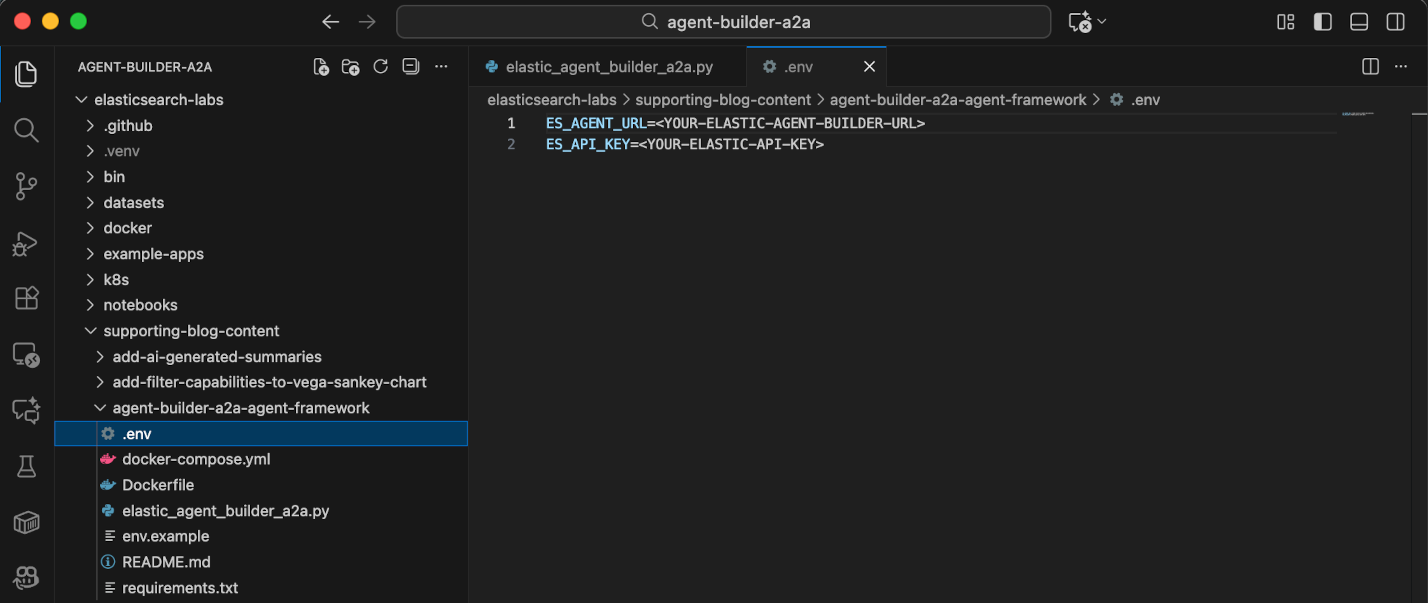
Make a copy of the file env.example and name the new file .env Edit the newly created .env file to set the values of the environment variables to use specific values copied from your Elastic project.
First we’ll replace <YOUR-ELASTIC-AGENT-BUILDER-URL> with the Agent URL path that you can copy from your Elastic project’s Agent Builder - Tools page. Back in Elastic Agent Builder click Agents in the navigation menu.
Select Manage tools.
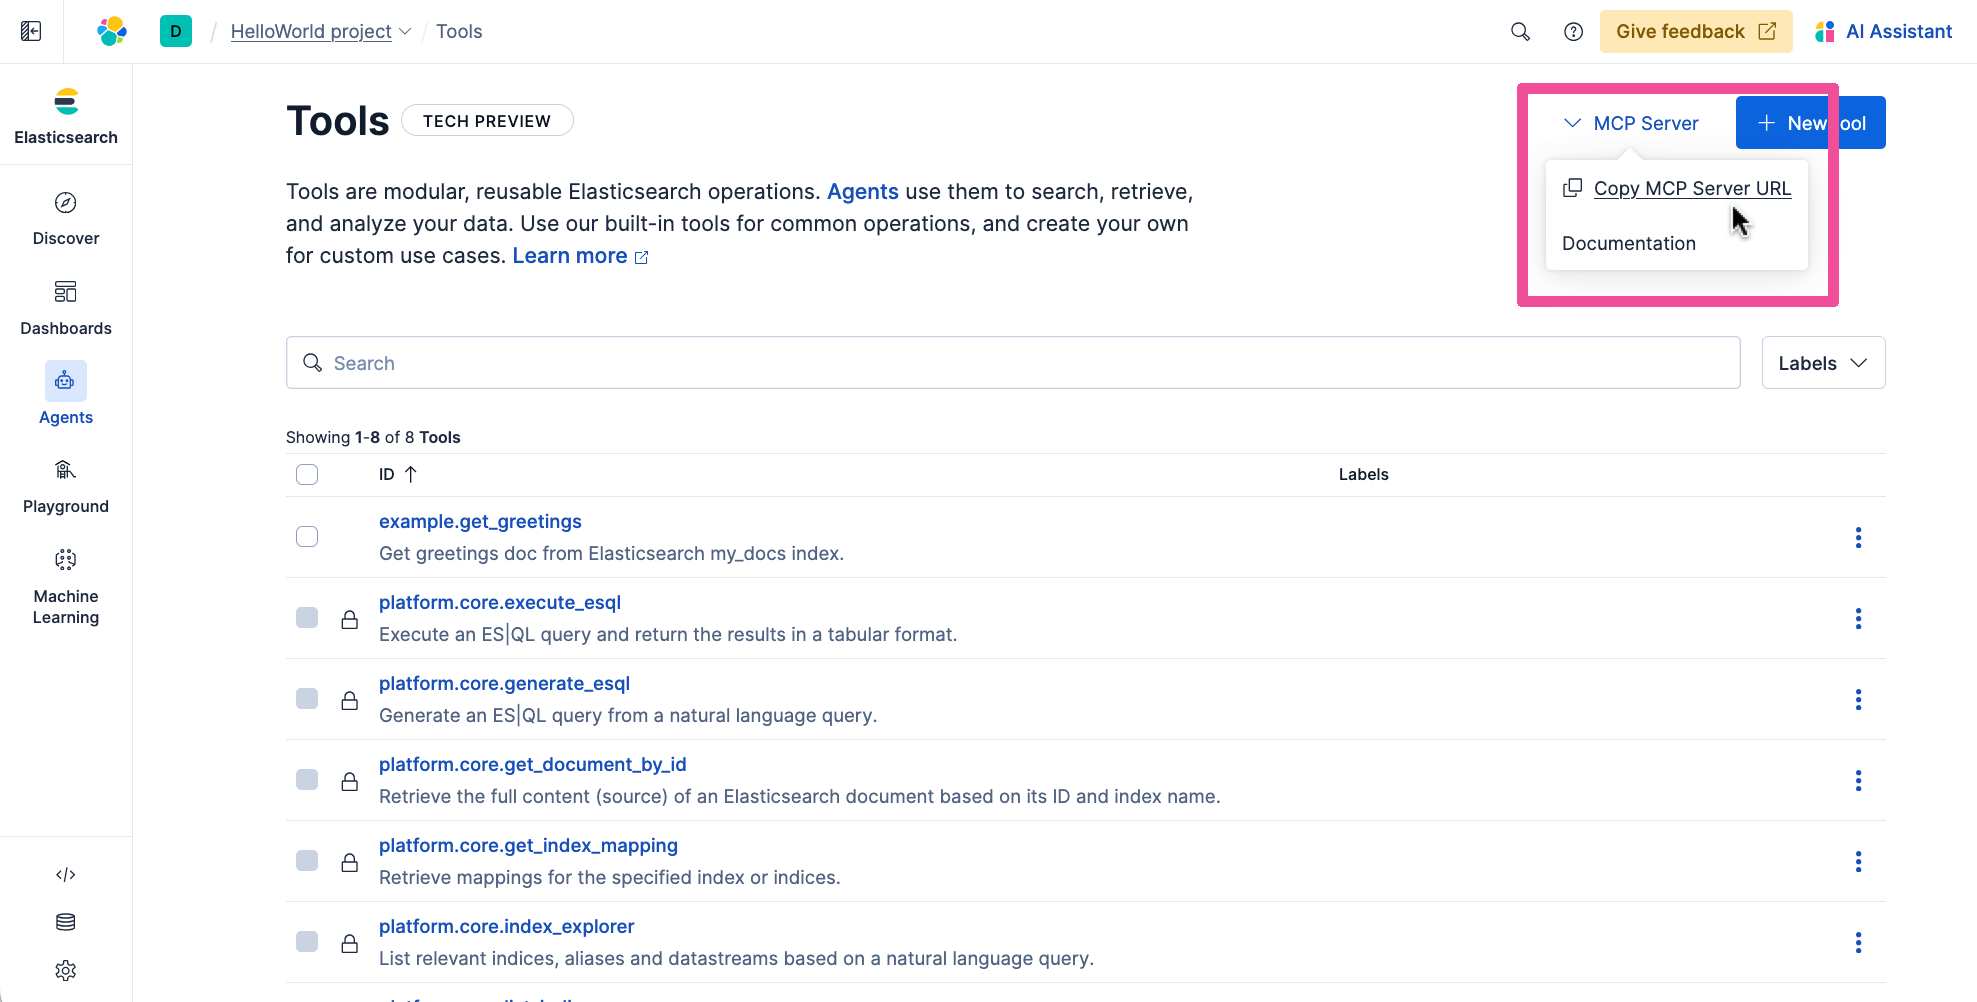
Click the MCP Server dropdown at the top of the Tools page. Select Copy MCP Server URL.
Back in Visual Studio Code, within the .env file, find where the placeholder text “<YOUR-ELASTIC-AGENT-BUILDER-URL>” appears and paste in the copied MCP Server URL to replace the placeholder text. Now edit the pasted MCP Server URL. Delete the text “mcp” at the end of the URL and replace it with the text “a2a”. The edited URL should look something like this:
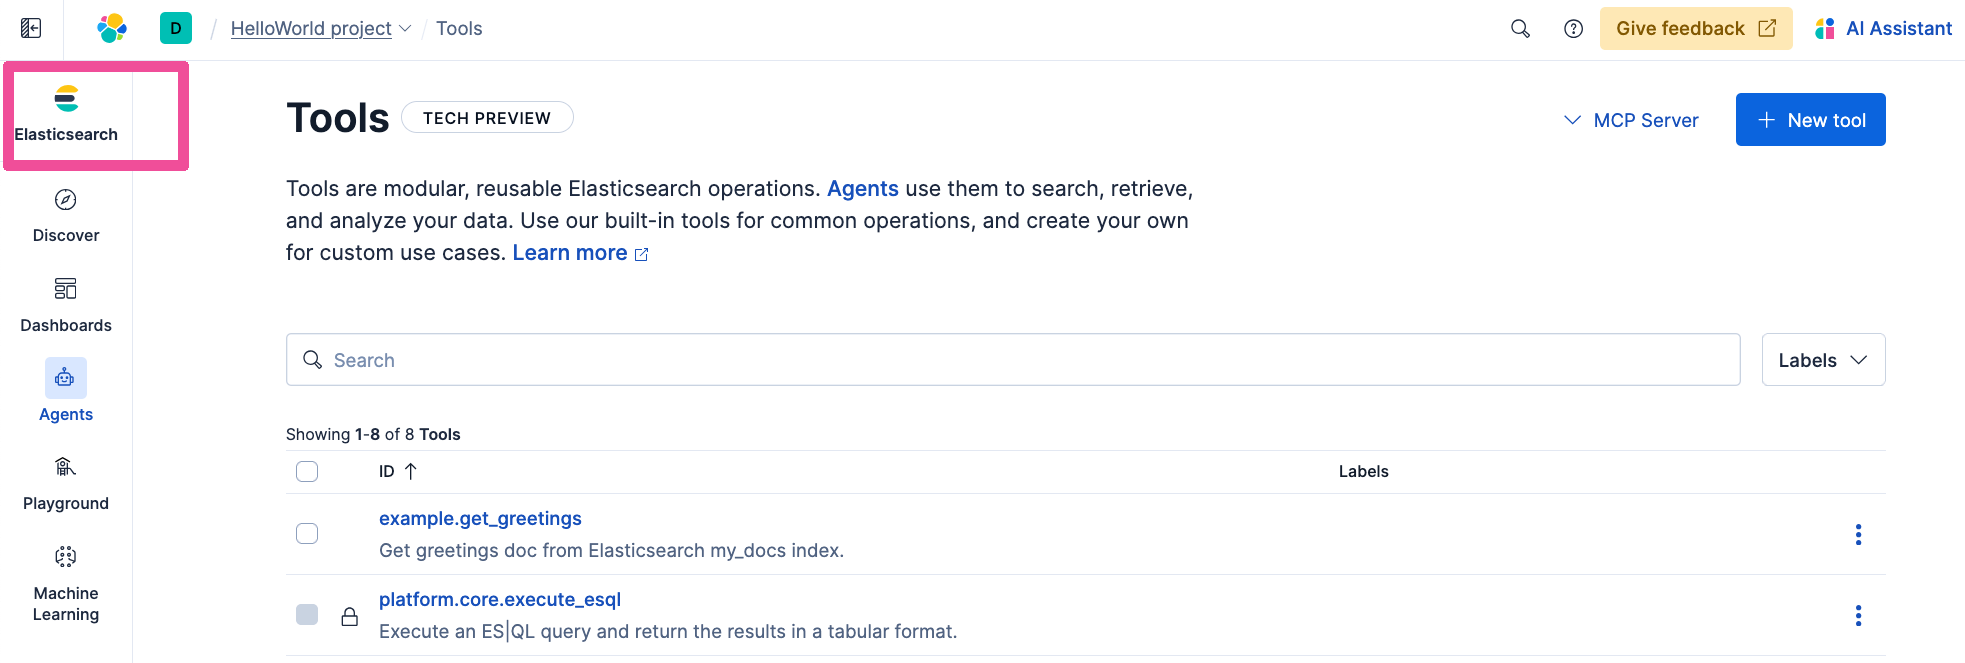
https://example-project-a123.kb.westus2.azure.elastic.cloud/api/agent_builder/a2aThe next placeholder text to replace in the .env file is <YOUR-ELASTIC-API-KEY>. We’ll replace it with an actual API Key from your Elastic project. Back in your Elastic project, click Elasticsearch in the navigation menu.
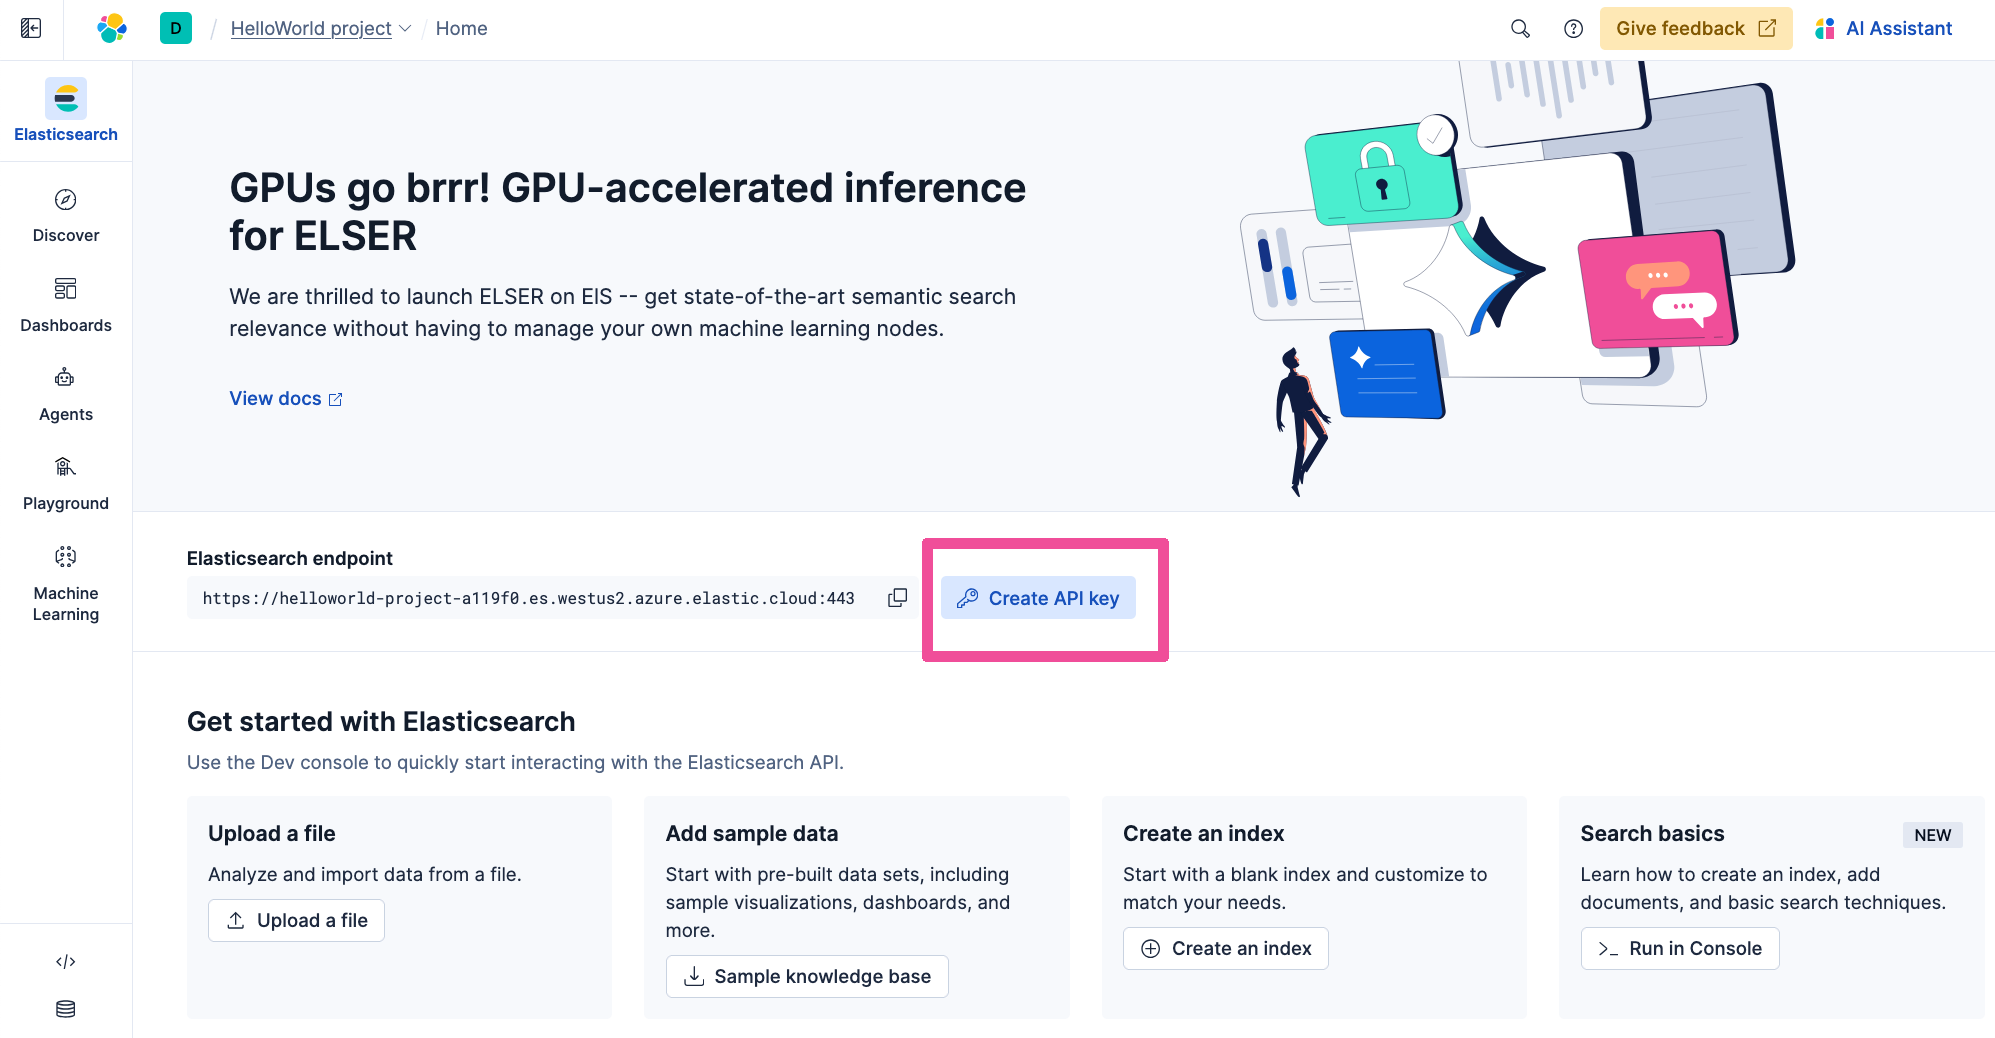
Click Create API key to create a new API key.
Enter a Name for the API key and click Create API key.
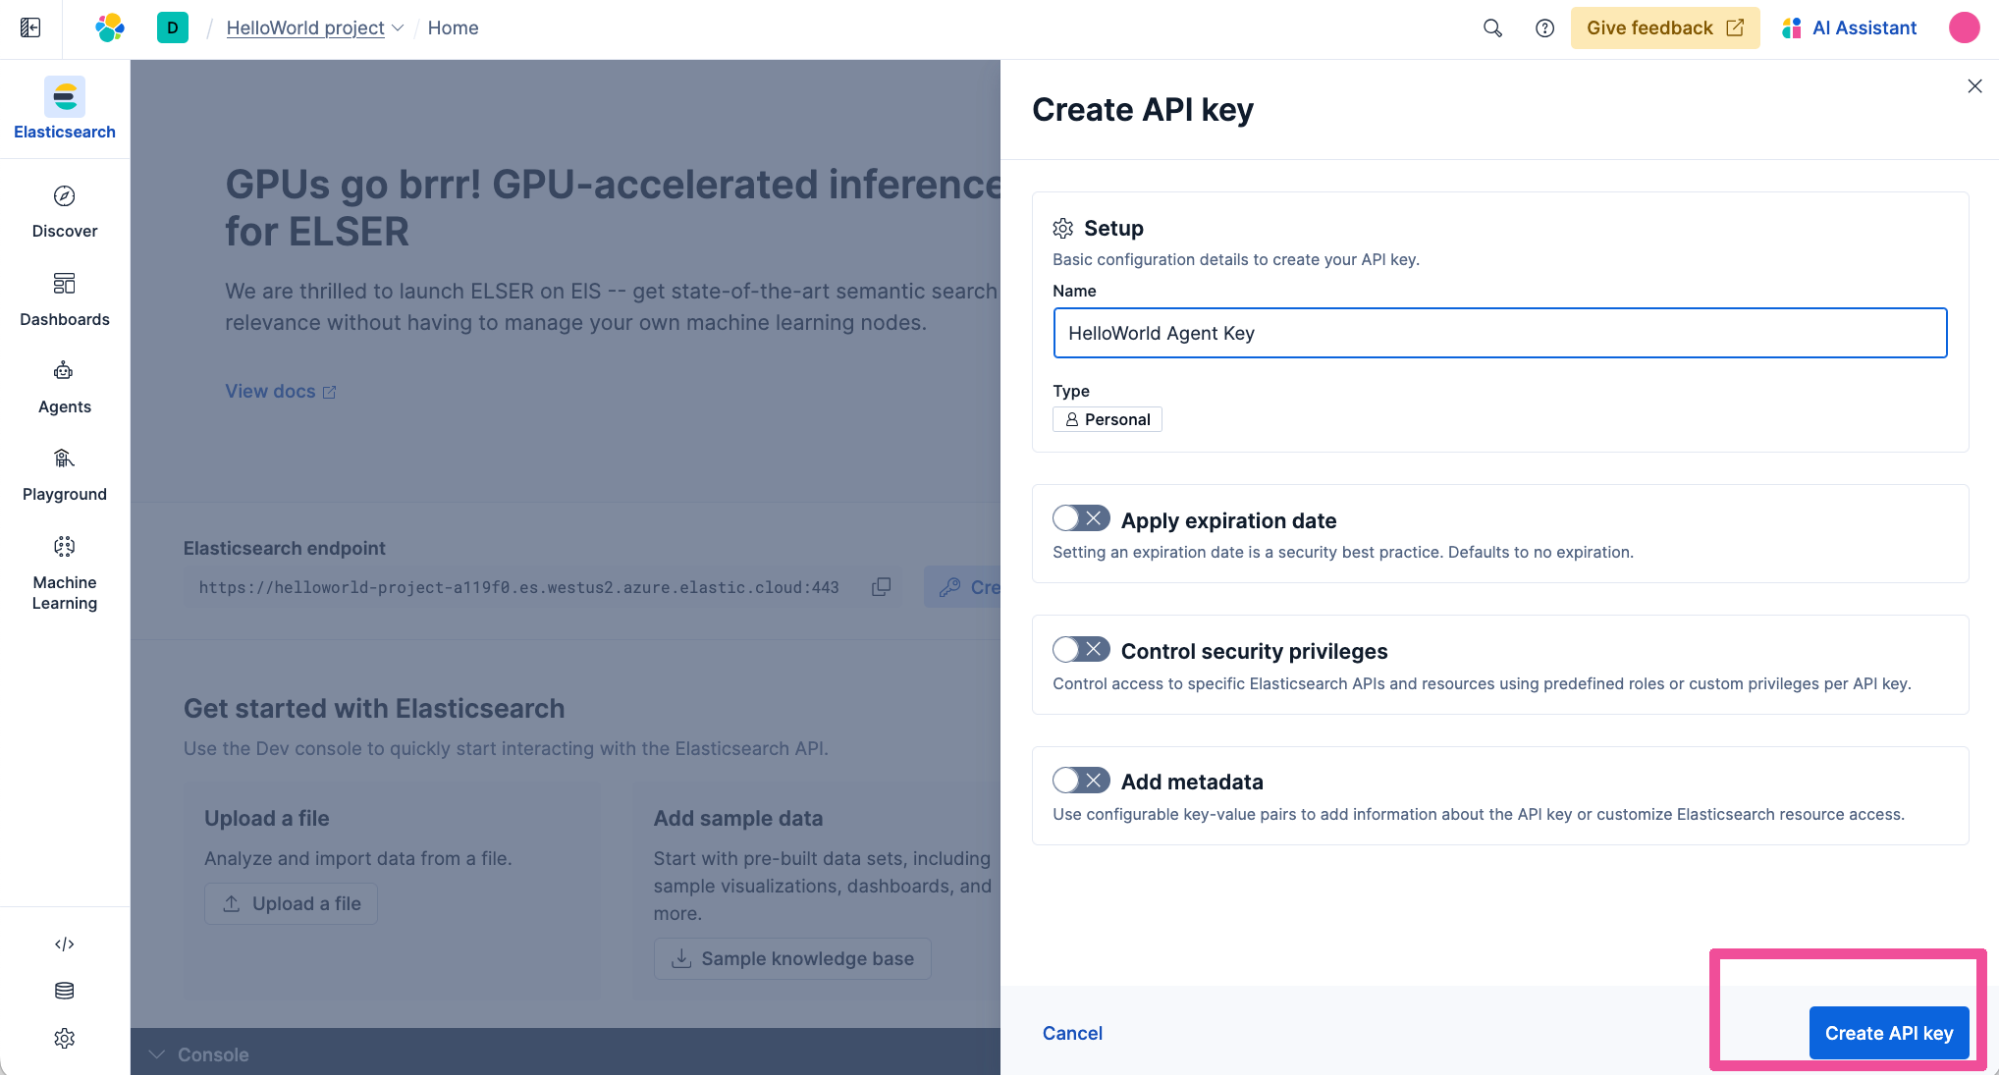
Click the copy button to copy the API key.
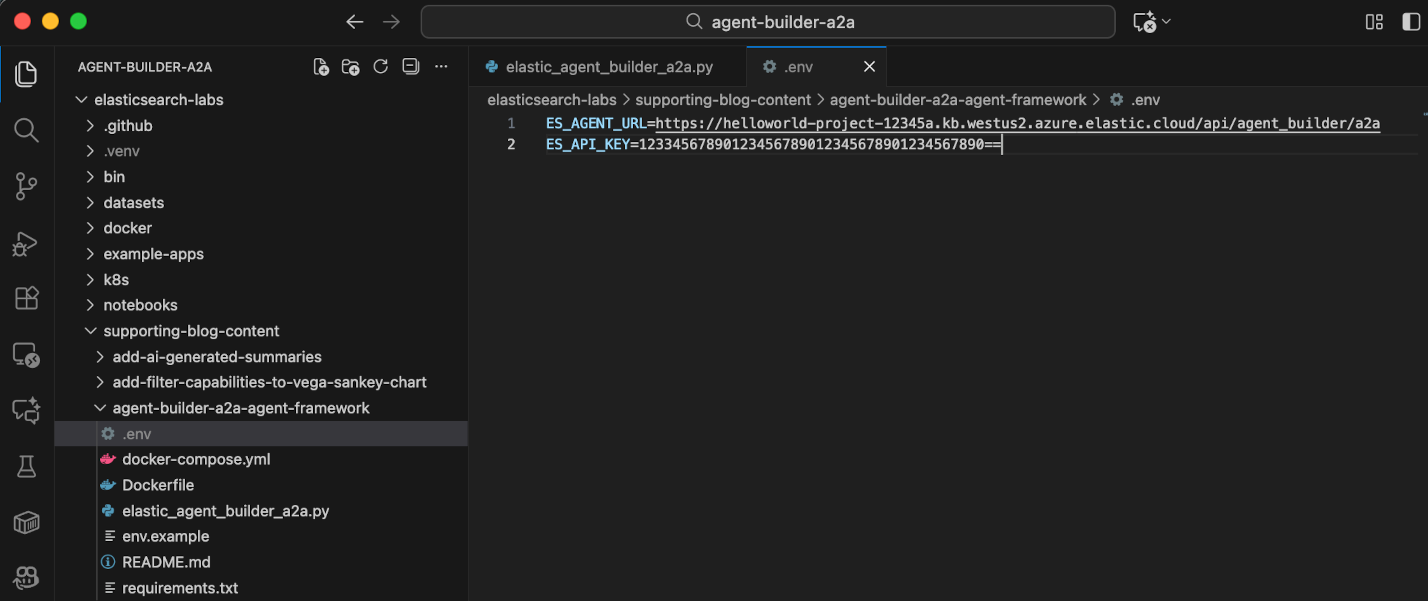
Back in Visual Studio Code, within the .env file , find where the placeholder text “<YOUR-ELASTIC-API-KEY>” appears and paste in the copied API Key value to replace the placeholder text.
Now we can save the changes we’ve made to the .env file. The edited file should look something like this:
Run the example app
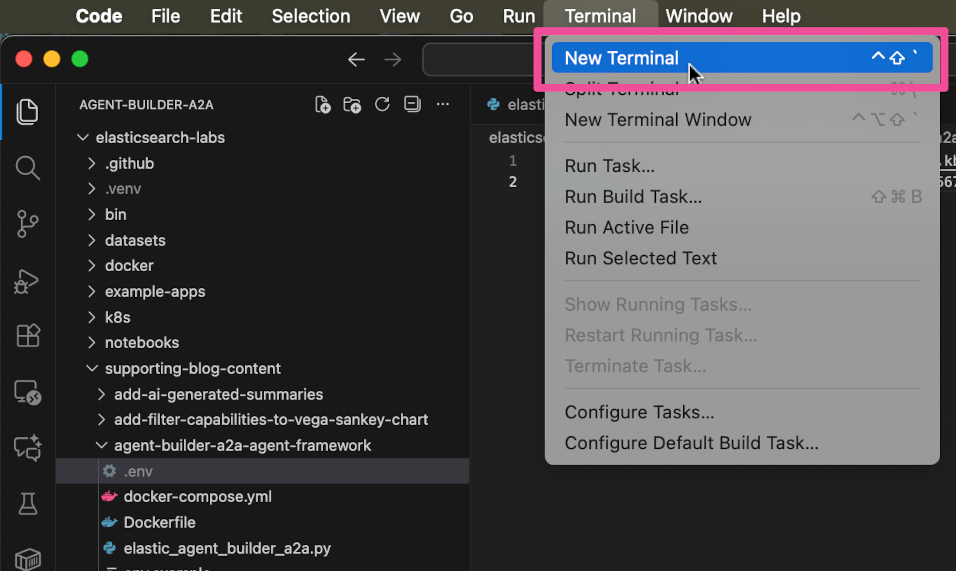
It’s time to run the code. To do so, open a new terminal in Visual Studio Code. Click the Terminal top level menu and select New Terminal.
In the new terminal, cd to change directory to the directory containing the agent-builder-a2a-agent-framework example app.
cd elasticsearch-labs/supporting-blog-content/agent-builder-a2a-agent-frameworkIn the terminal, create a Python virtual environment by running the following code.
python -m venv .venvActivate the virtual environment by running the following command (based on your operating system) in the terminal window:
If you’re running MacOS or Linux, the command to activate the virtual environment is:
source .venv/bin/activateIf you’re on Windows, the command to activate the virtual environment is:
.venv\Scripts\activateThe code in the elastic_agent_builder_a2a.py file is powered by the Microsoft Agent Framework and we still need to install it, so let's do that now. Run the following pip command to install the Python based Agent Framework along with its necessary Python packages:
pip install -r requirements.txtHurray! Everything is now in its right place. It’s time for the good feeling fireworks…let’s run it. Run the example code by entering the following command into the terminal:
python elastic_agent_builder_a2a.pyYou should see the agent framework connect to the Elastic Agent. When prompted for a greeting, enter “hello world”. You should see the HelloWorld Agent’s response → Hello World! 🌎
Top-notch work!
Building agents and connecting them to tools in Agent Builder gets you immediate operability with the latest agent development platforms like the Microsoft Agent Framework. You now know how to create an Elastic agent and put it to use as a scalable relevant data source, ready to provide custom context to all the AI apps you’ll be building next.
Try Elastic for free and build some agents today!
Related Content