How to Build a Site Search UI
You need a powerful search backend + a well-designed UI
Depending on the purpose and scale of your website, search can be a critical feature that enables your users to quickly find the information they need. Elasticsearch makes it significantly easier to architect a search engine that delivers relevant results, but building your search backend is only part of the work of implementing a search experience. Without an intuitive search interface, your users may not get the full value of your search engine.
What we’ve learned as search providers
Elastic Site Search (formerly Swiftype Site Search) provides search as a service to completely handle the backend of your search engine, and we also help you build well-designed search UIs. Site Search is built upon the Elastic Stack which has enabled us to support over 10,000 production search engines and serve over 5 billion queries a month. It’s safe to say that we’ve learned a thing or two about search over the years as we’ve helped small and large companies like Lyft, AT&T, Twilio, Asana, and Samsung provide top-notch search experiences. If you’d like to learn more about Swiftype’s architecture and use of the Elastic Stack, check out this webinar.
In our experience helping these organizations and many others with search, we’ve been able to see what works well when it comes to search UIs and apply those learnings to both our out-of-the-box search interface as well as our jQuery libraries that we support for creating fully custom UIs. While building a great search interface can take some effort, we’ve consistently seen companies reap the rewards of implementing well-designed search UIs which include revenue growth and better user engagement.
Step 1 — Create an Elastic Site Search account and index your data into Swiftype
You can sign up by starting a free 14 day trial. During set-up, Site Search will ask you to input your web domain. Your domain will be crawled and your documents will be indexed.
Step 2 — Customize your search results
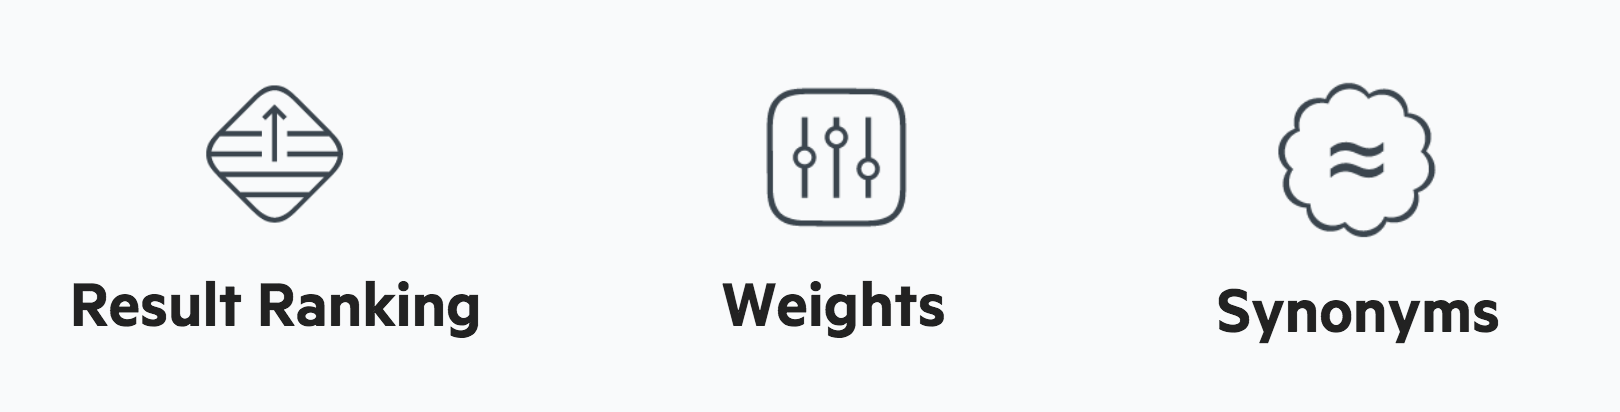
Elastic Site Search enables you to customize search results on a query-by-query basis (result ranking), adjust the weights placed on your data types (weights), and create synonym groups through a dashboard (synonyms). For full programmatic control of your search engine’s relevancy, you can leverage the Swiftype API.
Step 3 — Implement your search bar
How you preform step 3 is determined by whether you used the crawler or API to index your data.
How to implement your search bar if you indexed your data with the crawler:
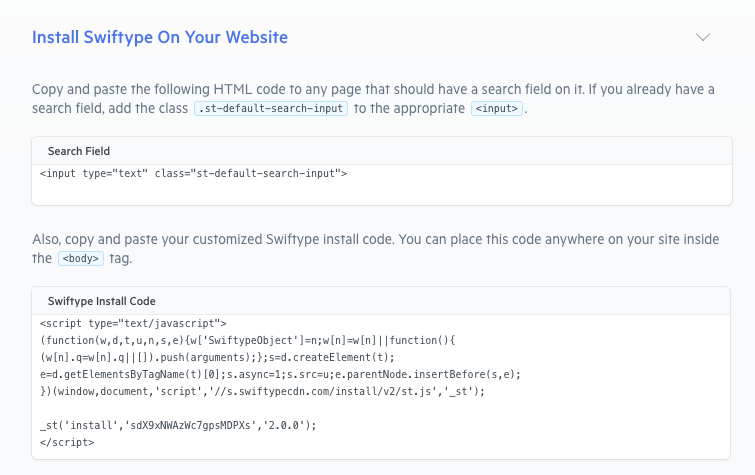
If you used the Swiftype crawler to index your data, then you can copy the code given to in your dashboard and paste it onto your web pages where you want a search bar to appear. As noted in your dashboard, if you already have a search bar on your website, you will need to add the class ‘st-default-search-input’ to that input field.
Since you’ll likely want your search UI to match the design of the rest of your website, Elastic Site Search makes it easy to customize the appearance of your search bar and results container. To customize your search installation, simply click the “Edit Install Setup” or “Edit Appearance” cards under the “Customize Your Installation” portion of the onboarding flow. You can also access the customization features by clicking the “Install Search” tab on the dark blue side bar.
As you experiment with the look and feel of your search, you can preview your changes in the dashboard (before pushing your changes live). Note that you can also customize your search bar installation through CSS directly on your web page. Here’s a tutorial that introduces you to customizing visual styles with CSS.
How to implement your search bar if you indexed your data with the API:
Let’s walk through implementing your search UI using the autocomplete library.
Step 1 — Add the Swiftype library code to your codebase. Note that you need to add a Javascript and CSS file (unless you want to write all of your own CSS).
Step 2 — Include the following code in the header of your web pages where you want your search bar to appear. Note that you need to include a reference to the latest version of jQuery.
    <script type="text/javascript" src="https://ajax.googleapis.com/ajax/libs/jquery/1.7.1/jquery.min.js">
    </script>
<script type="text/javascript" src="jquery.swiftype.autocomplete.js"</script>
<link type="text/css"  href="autocomplete.css" media="all" />
Step 3 — Add a search input field to your website. If you already have a search input, then add the id ‘st-search-input’ as the input’s id. Your code would look something like this:
<input type='text' id='st-search-input' placeholder='Search' style="width: 300px;"/>
Step 4 — Include a Javascript snippet on pages where you want your Swiftype search engine to work. Keep in mind you will have to use your own Swiftype engine key which you can find on the right side of on the “Overview” tab of the Swiftype Dashboard.
<script>
$('#st-search-input').swiftype({
  engineKey: 'your_engine_key'
});
</script>
Step 5 — Optional: Customize your search queries and how your results are displayed. For example, you can specify a result limit for search queries and explicitly list the fields you want returned for each document type.
Specify a result limit:
<script>
$('#st-search-input').swiftype({;
  engineKey: 'your_engine_key',
  resultLimit: 20
});
</script>
Fetching only the fields you specify:
<script>
$('#st-search-input').swiftype({
  fetchFields: {'books': ['title','genre','published_on']},
  engineKey: 'your_engine_key'
  });
</script>
For more information on customizing your search UI with the Swiftype jQuery libraries, see this tutorial.
In Review: Getting your search UI to production
How is your search implementation going? Hopefully, you were able to get up and running with Elastic Site Search and implement a beautiful search bar on your website. If you’re struggling to get your search bar set up, feel free to reach out at support@elastic.co. Happy building!