Agent Builder is available now GA. Get started with an Elastic Cloud Trial, and check out the documentation for Agent Builder here.
Elastic Agent Builder exposes a native Agent2Agent (A2A) endpoint: any A2A-compliant framework can orchestrate your Elastic agents without writing a single custom REST route. To prove it, we built Lucky Planet: a multiplayer game where Google's Agent Development Kit (ADK) drives a remote Elastic agent over A2A to pick random exoplanets from a live NASA dataset and declare the winner. The Elastic agent owns all the data retrieval and game logic. The ADK and Flask front-end never touch a custom API. Here's how to build the whole thing from scratch.
Prerequisites
To follow along with the steps in this blog post, here’s what you’ll need:
- A text editor running on your local computer.
- Visual Studio Code is what we used for the example instructions in this blog post.
- Python 3.10 or greater running on your local computer.
Create an Elasticsearch Serverless project
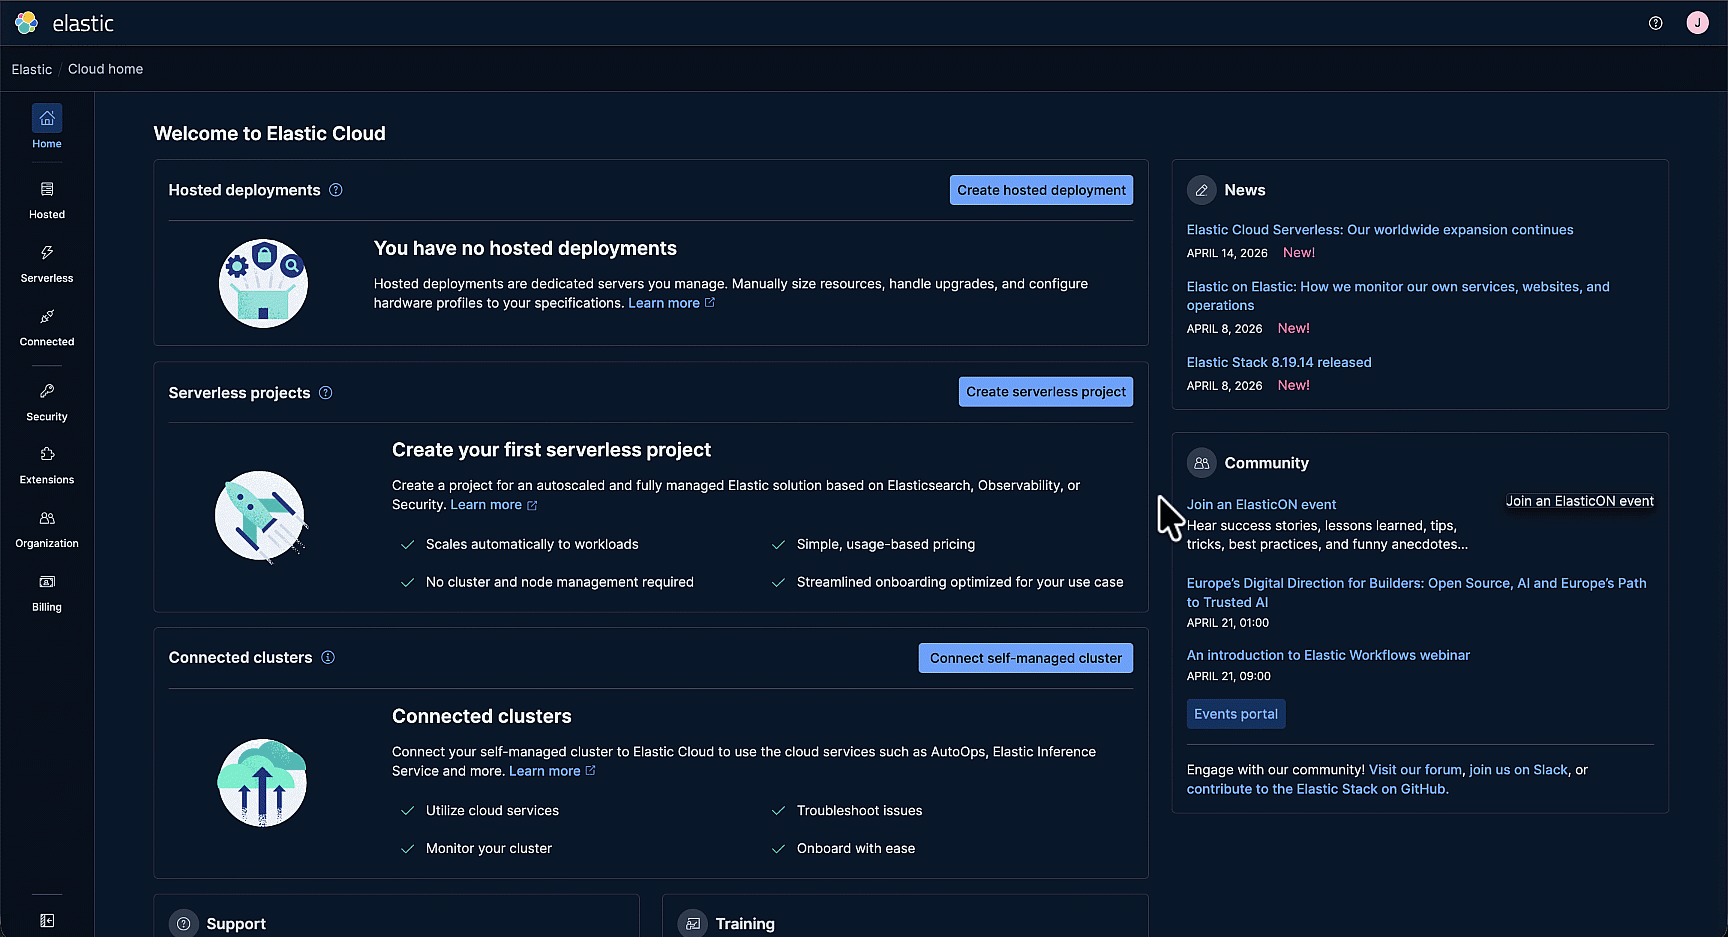
To build an agent with Agent Builder, we need an Elastic deployment or project to use, so let’s create one. Elastic Serverless is the easiest way to get started. Simply visit Elastic Cloud and sign up. Then create an Elasticsearch project.
Import a CSV file to create an Elasticsearch index
To begin, we need some data about planets. The NASA Exoplanet Archive is the ideal source for data about planets that have been discovered outside of our solar system within the Milky Way galaxy. View the NASA planets data in a browser. Save the planet data with the file name planets.csv on your local computer.
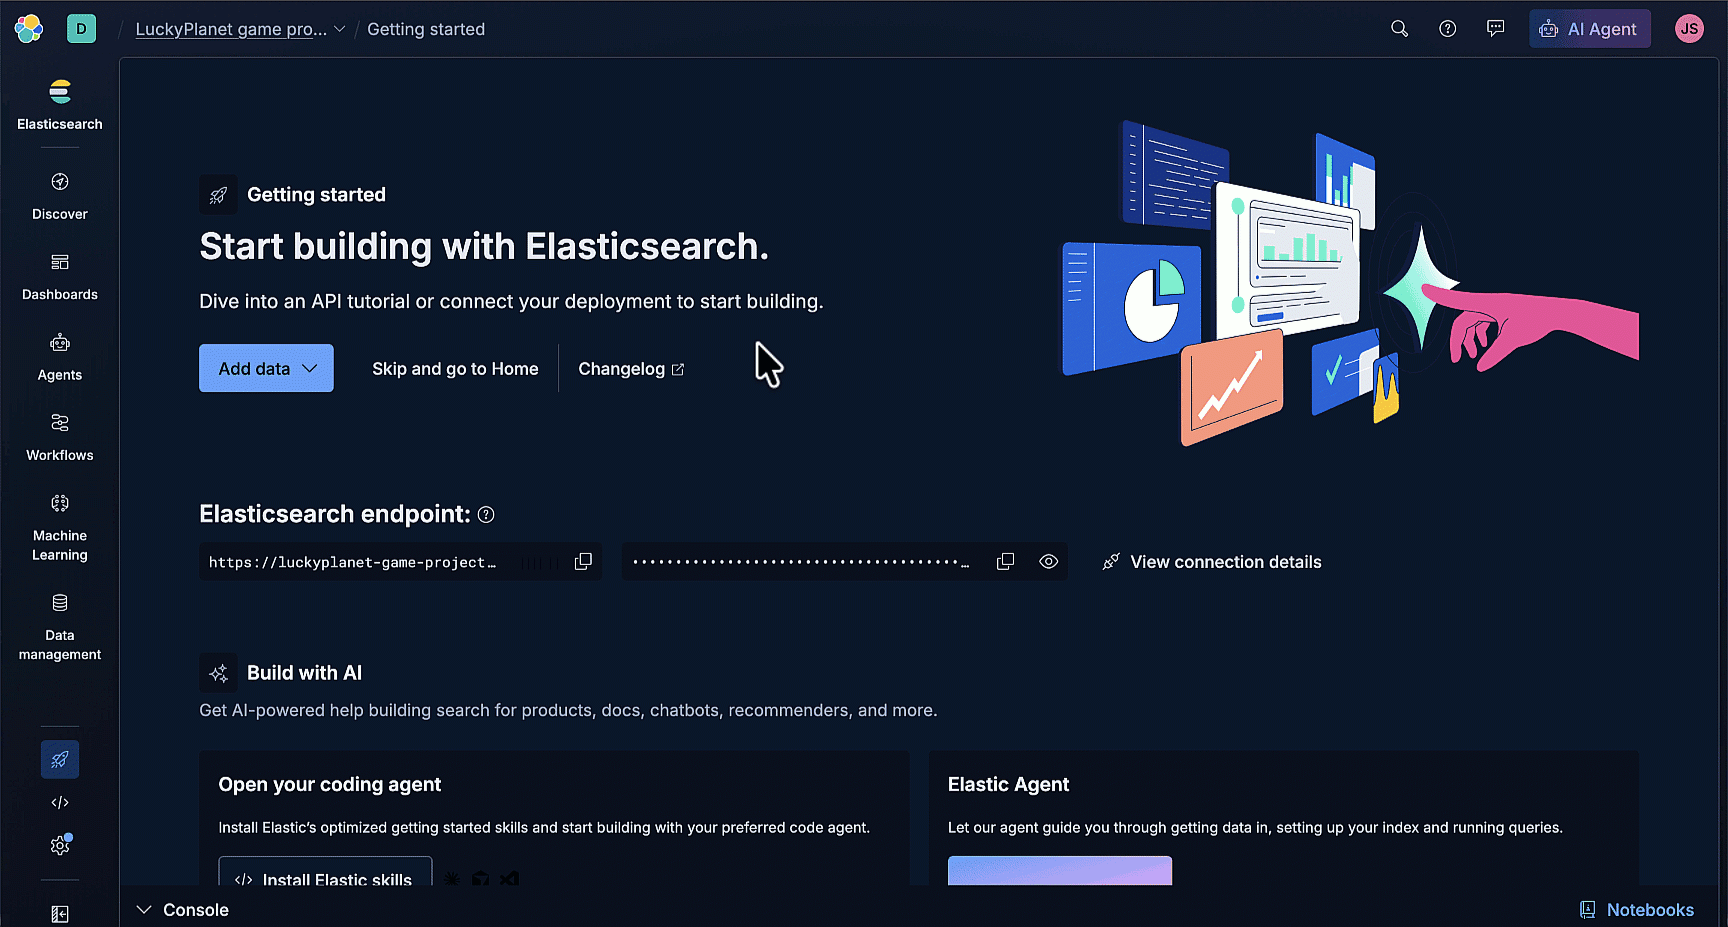
Back in Elastic Cloud, on the Getting Started page, click Add data and select Upload a file.
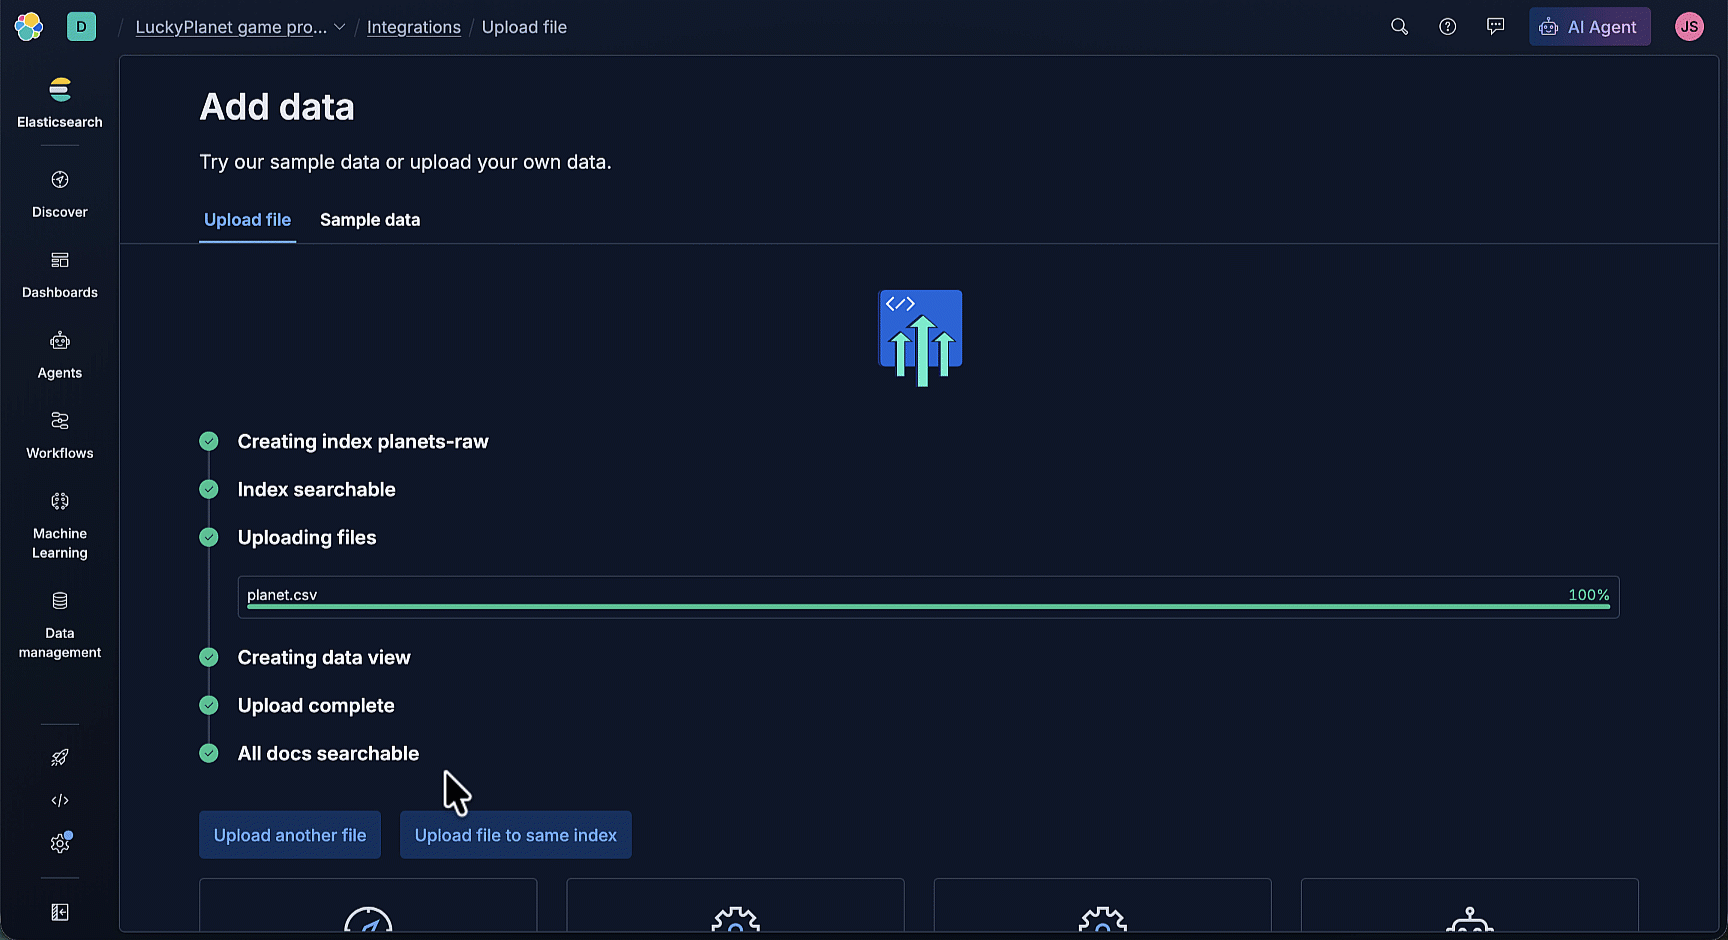
Specify the Index name as ‘planets-raw’. Click the Select or drag and drop files link, and then select the previously saved planet.csv file. Click Import.
Agent Builder chat with your data
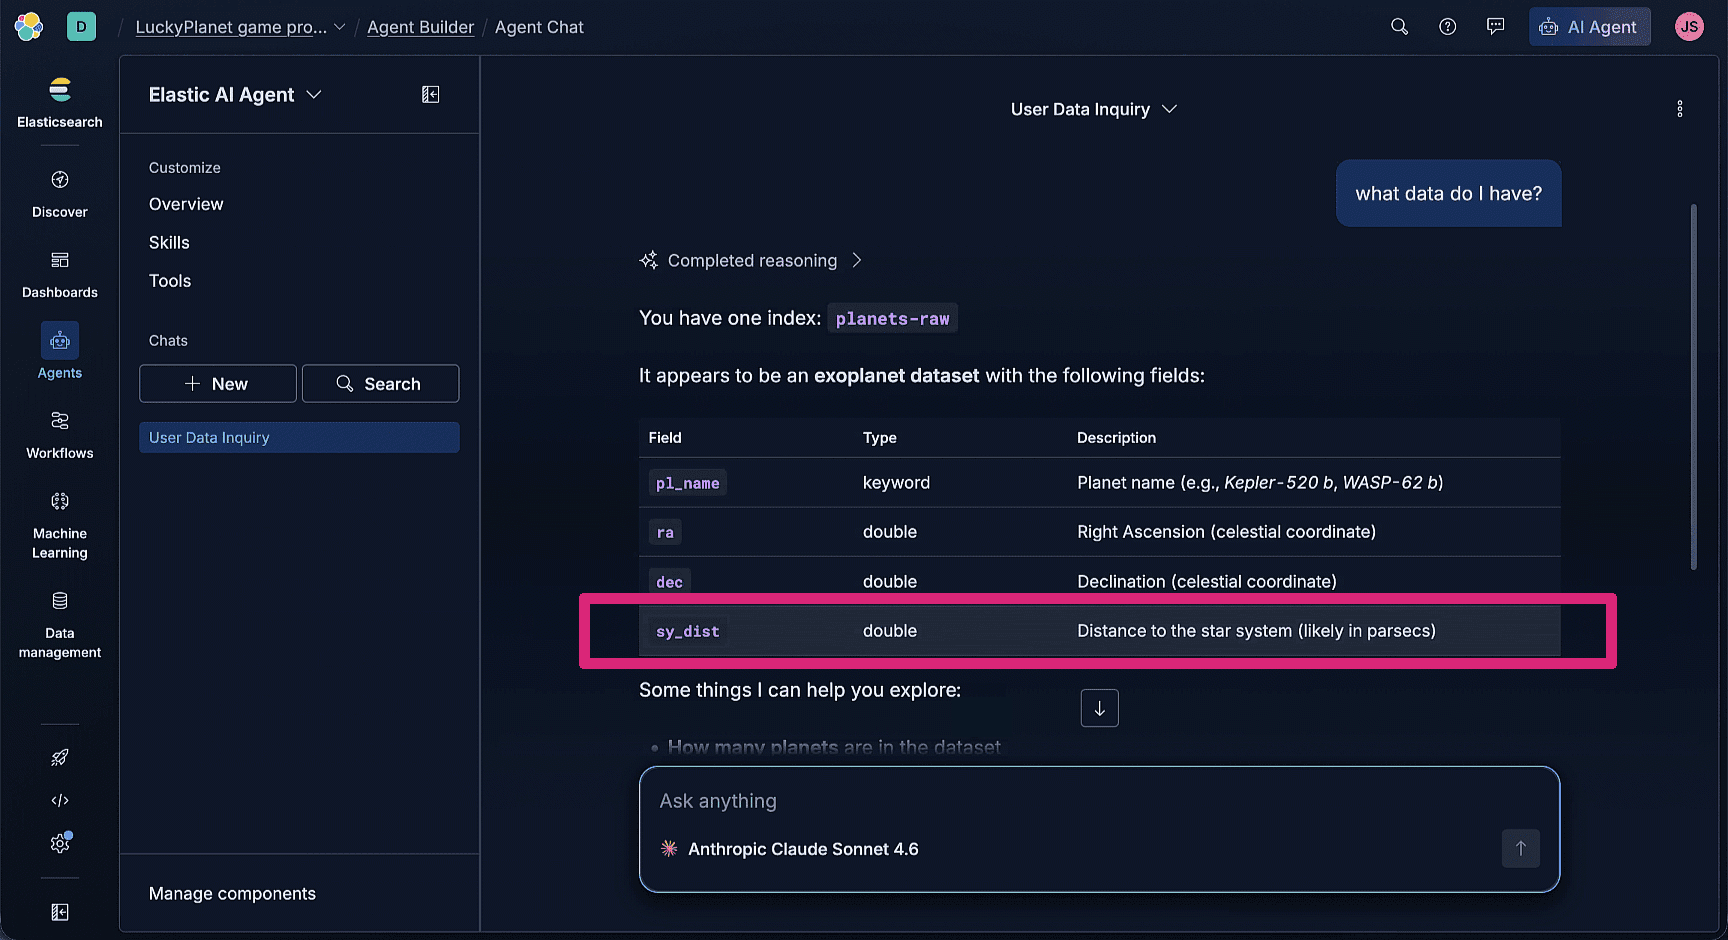
Select Agents from the top level navigation menu. Agent Builder has a default agent named “Elastic AI Agent” that you can use to chat with your data. Enter the prompt, like “What data do I have? Provide details.” You should see that you have an index named ‘planets-raw’, along with a list of field names, including their data type and description.
Notice that the sy_dist field description is “Distance to the star system (likely in parsecs)”.
We want our game’s planet distances to be in light-years instead of parsecs. Using light-years as the unit for planet’s distance data is preferable because it’s the easiest way to comprehend the massive distances involved, since it’s based on the length of a year and the speed of light. For a planet 4.2 light-years away, it would take 4.2 years to fly there, if you could travel at the speed of light.
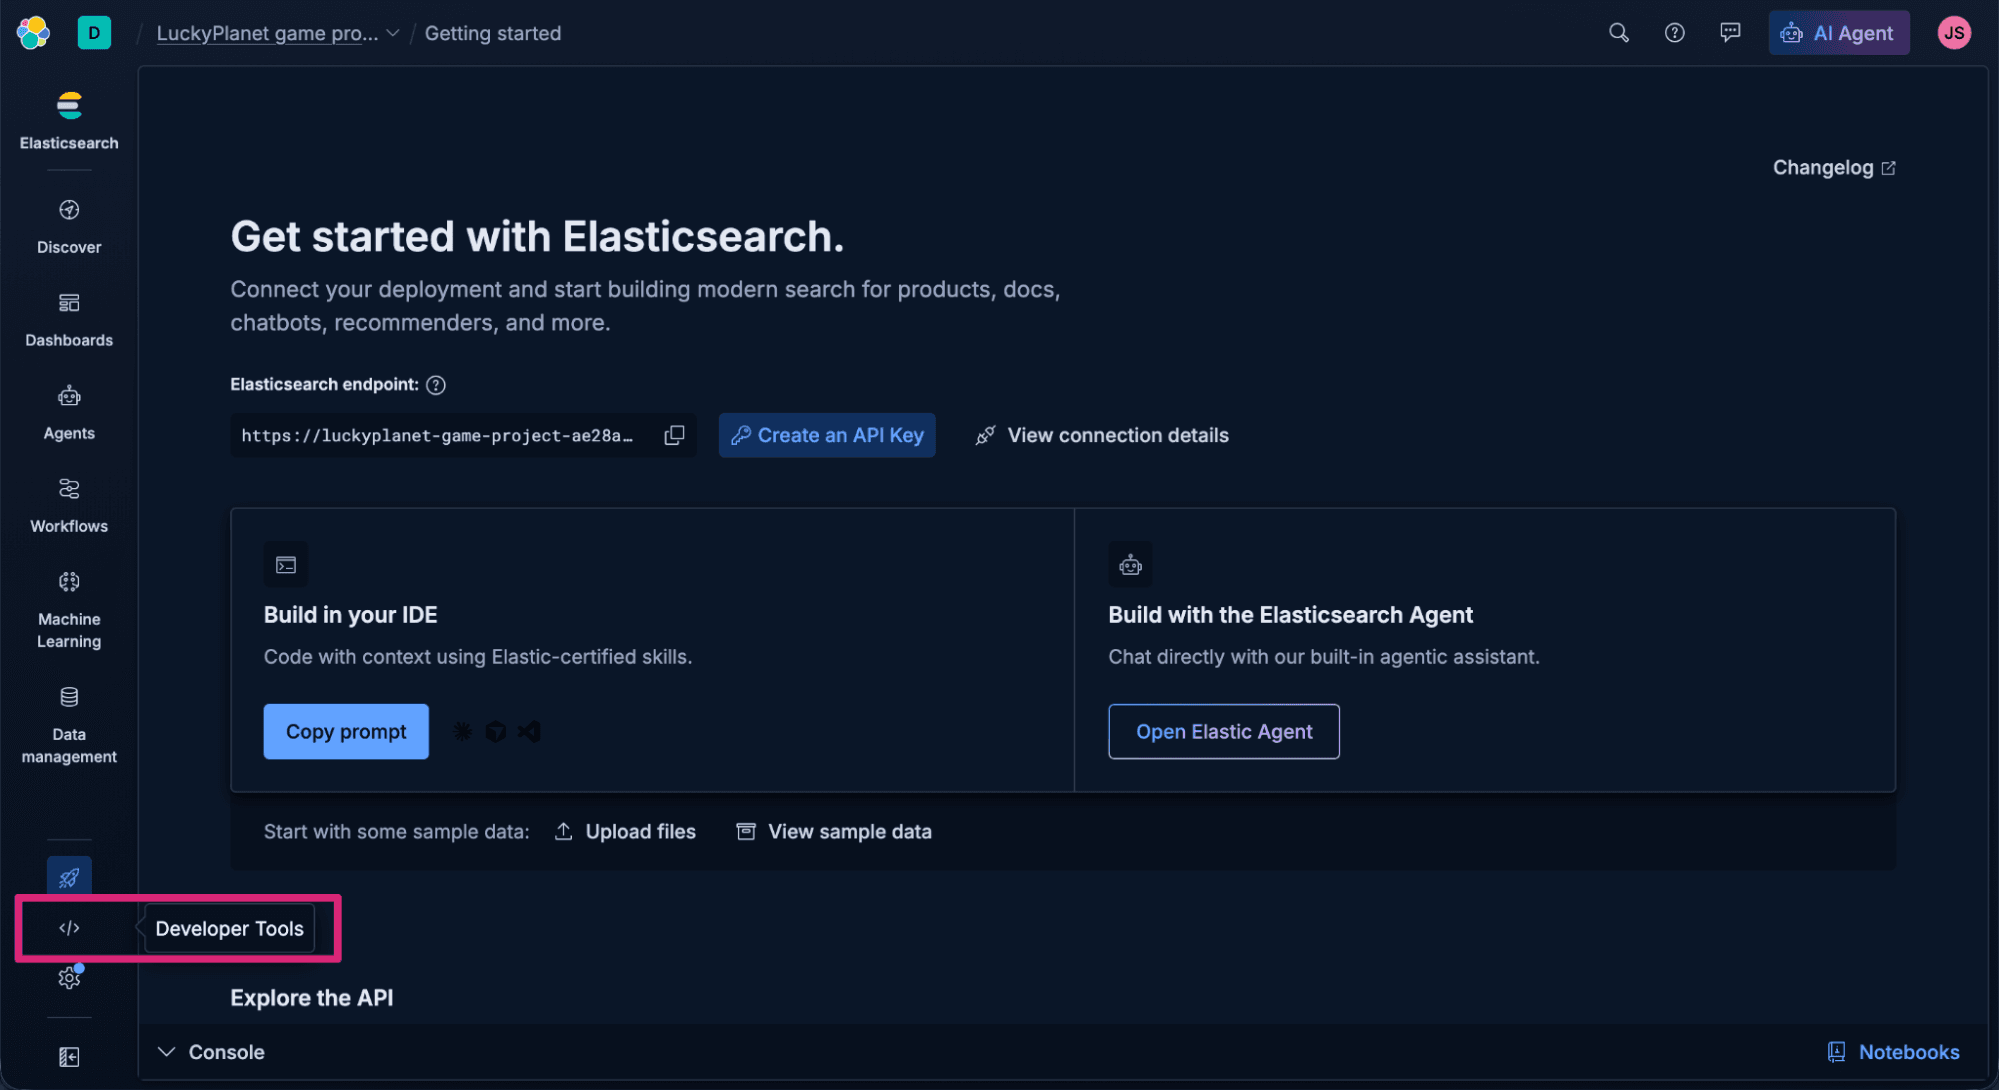
Additionally, more descriptive field names would be better. We can do that by creating a new index. Click Developer Tools from the top-level navigation menu.
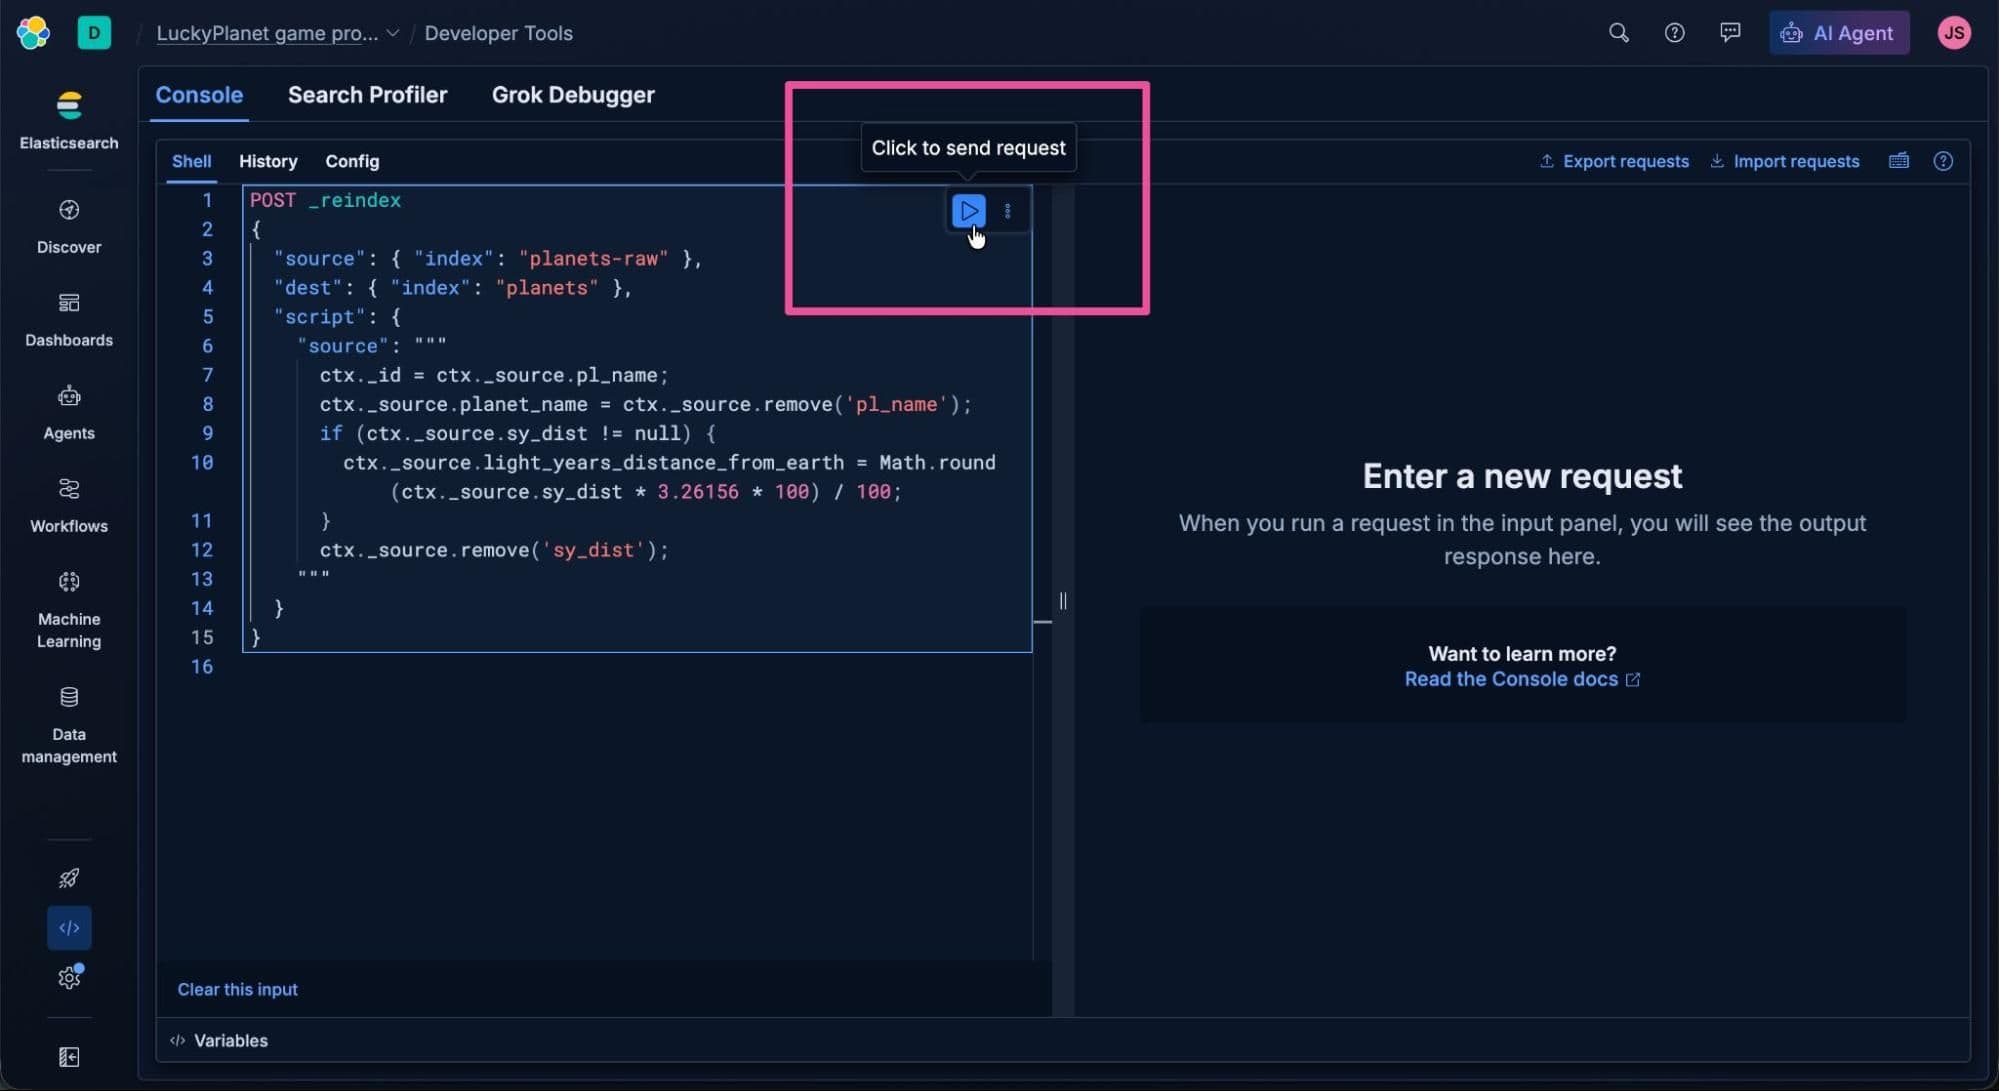
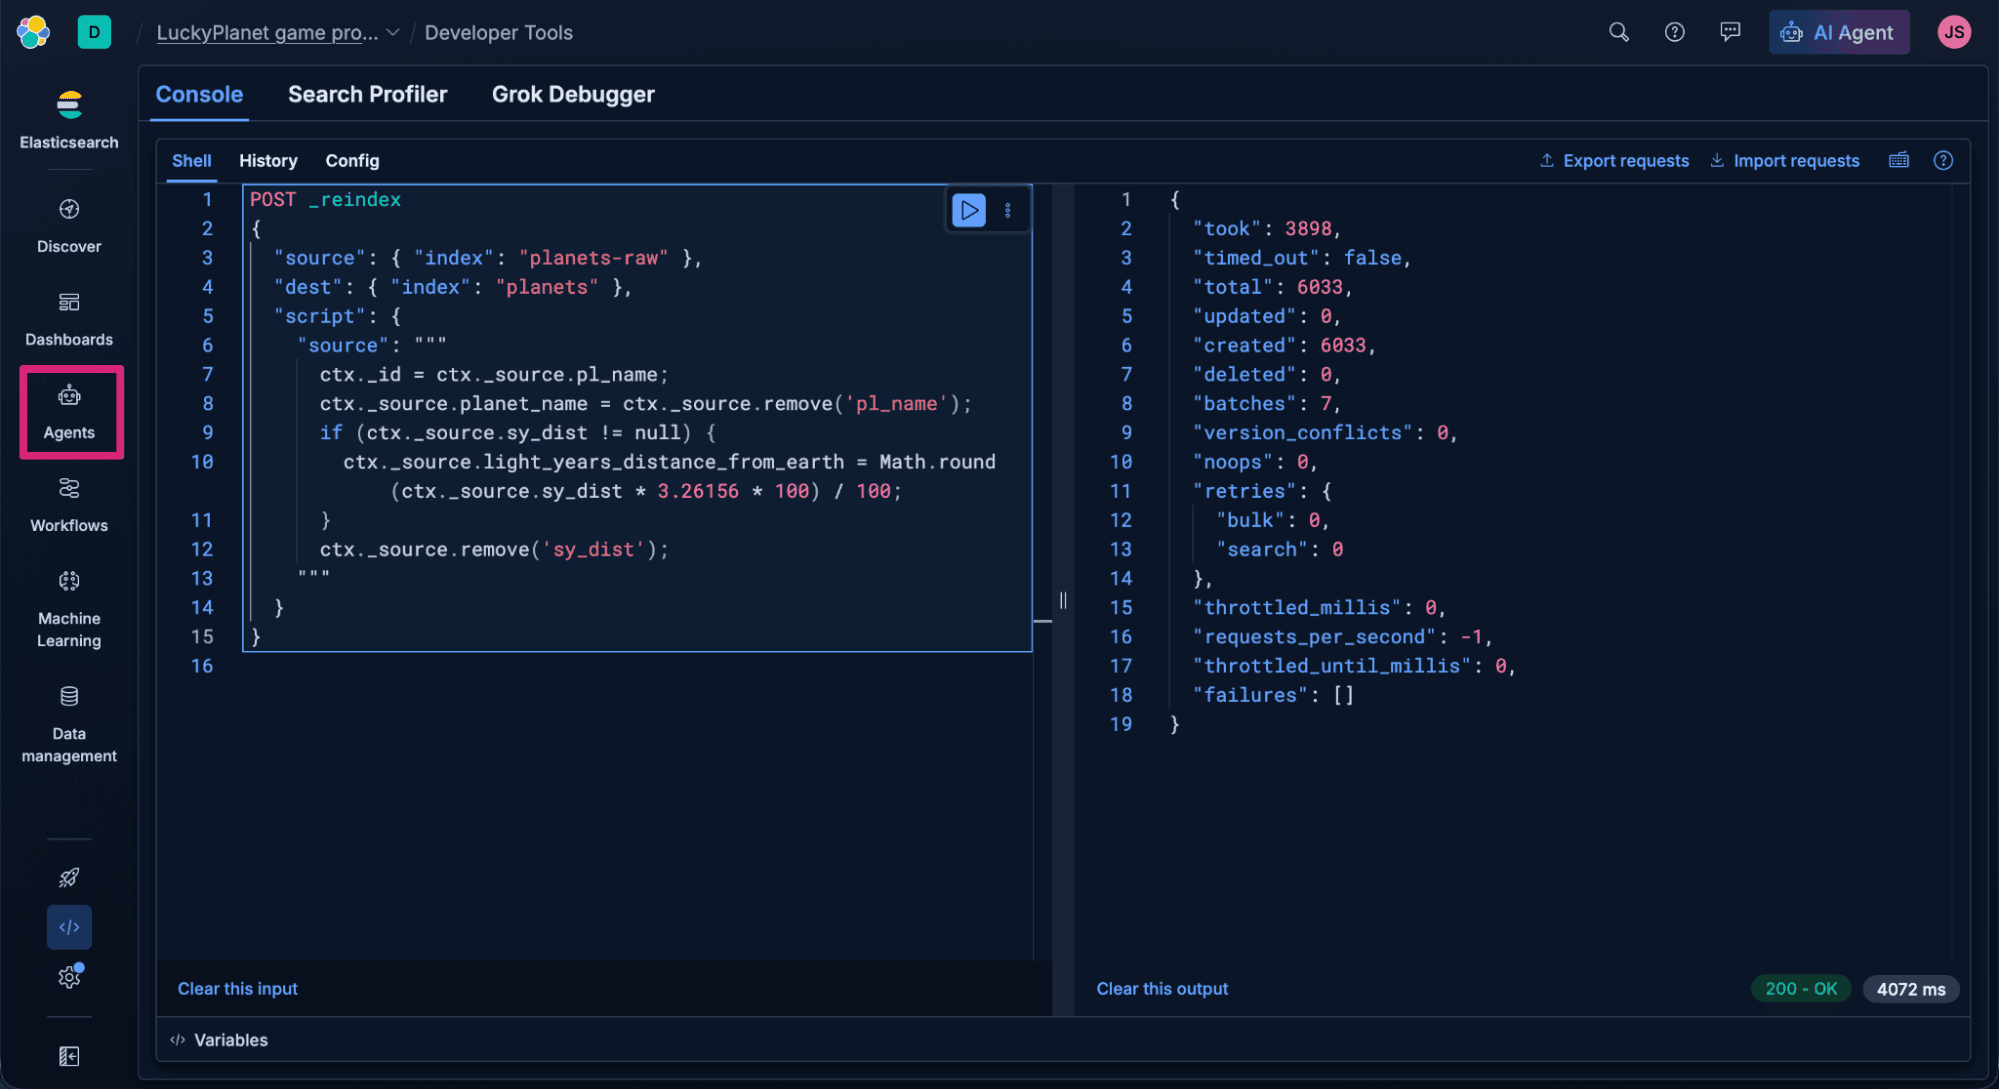
Copy the following _reindex request, which populates the planets index with updated field names and a new field for 'light years distance from Earth'. Since the index doesn't exist, one will be auto-created.
Paste the request into Developer Tools, and click the Click to send request button to send the POST _reindex request. You should see a 200 OK confirmation message to confirm that the new planets index has been created.
Alright! We’ve got some data in Elastic ready to be put to use. Now let’s build an agent that can use it. Select Agents from the top-level navigation to open Agent Builder.
Create a tool in Elastic Agent Builder
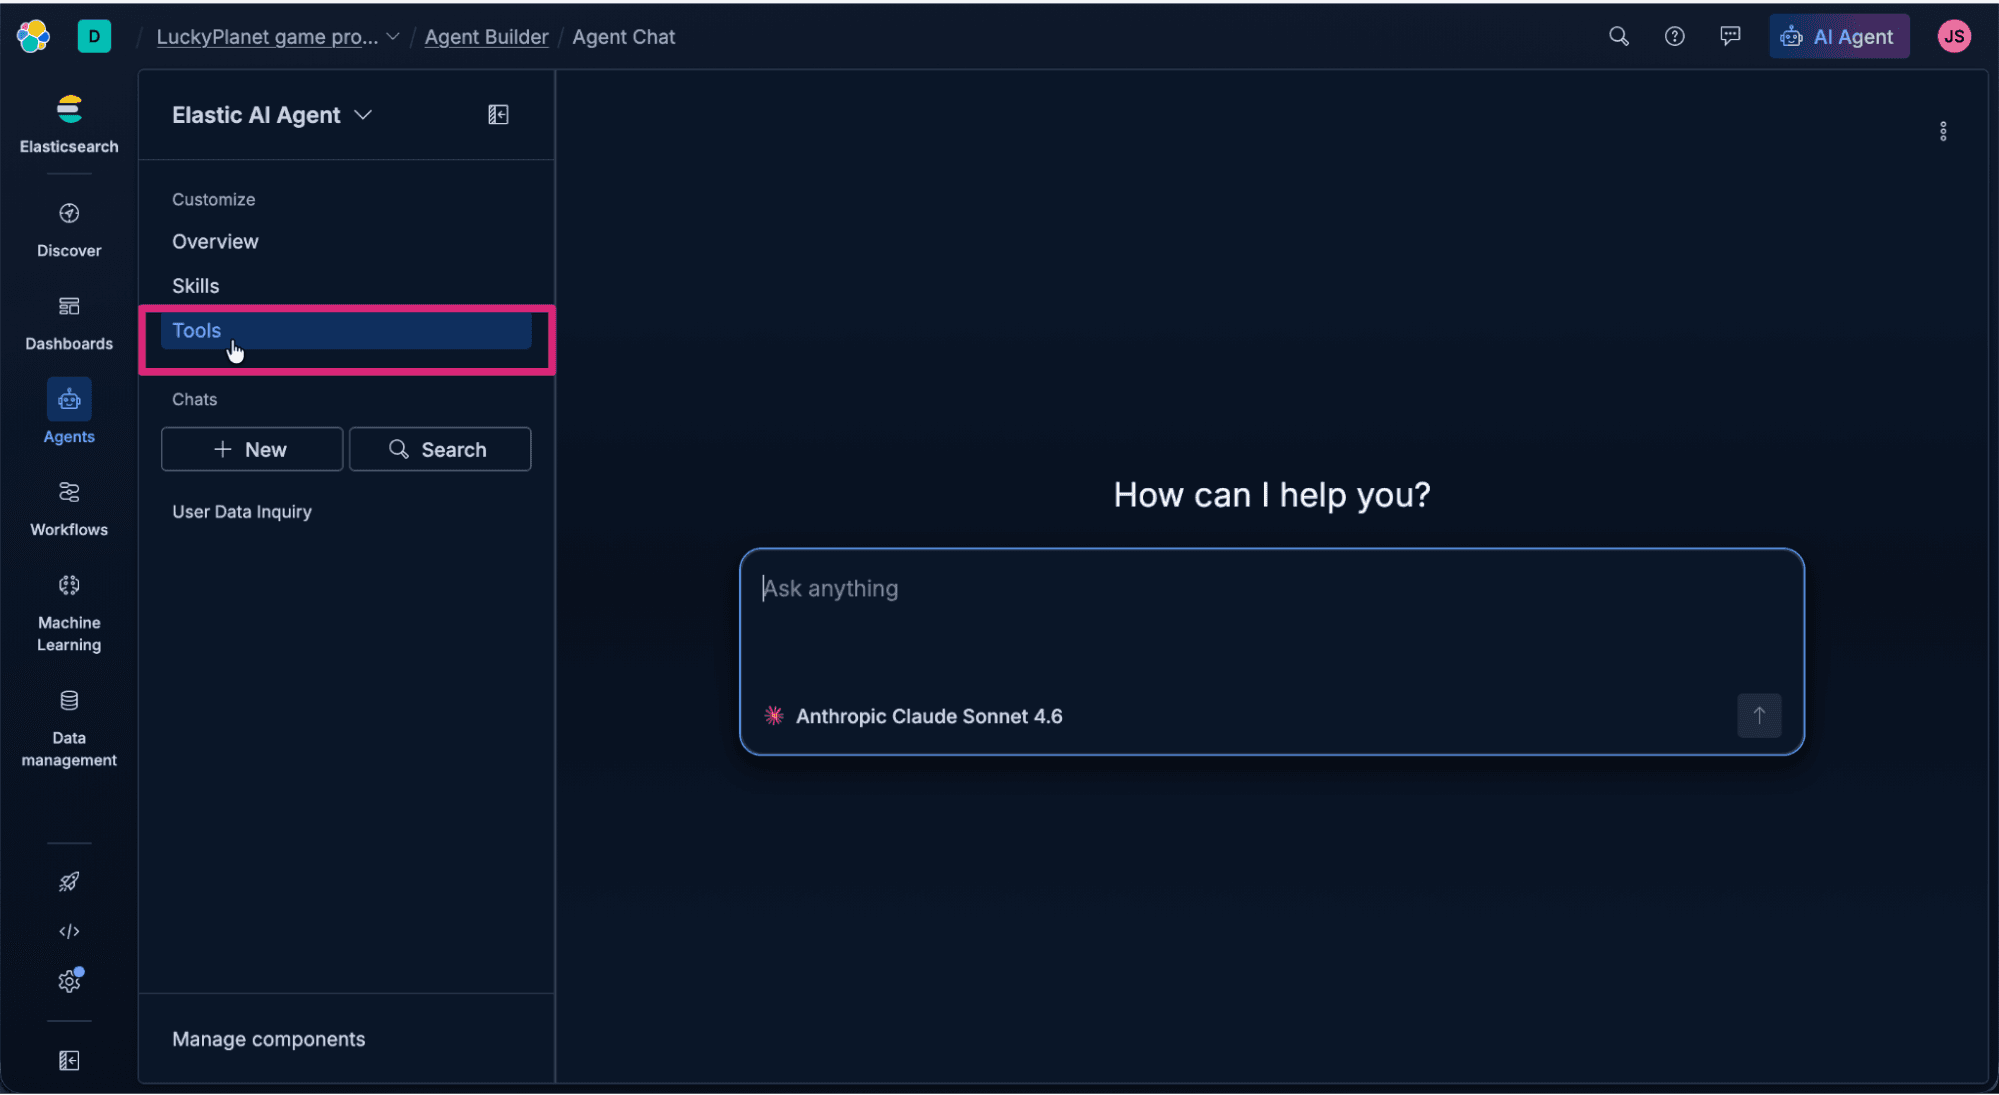
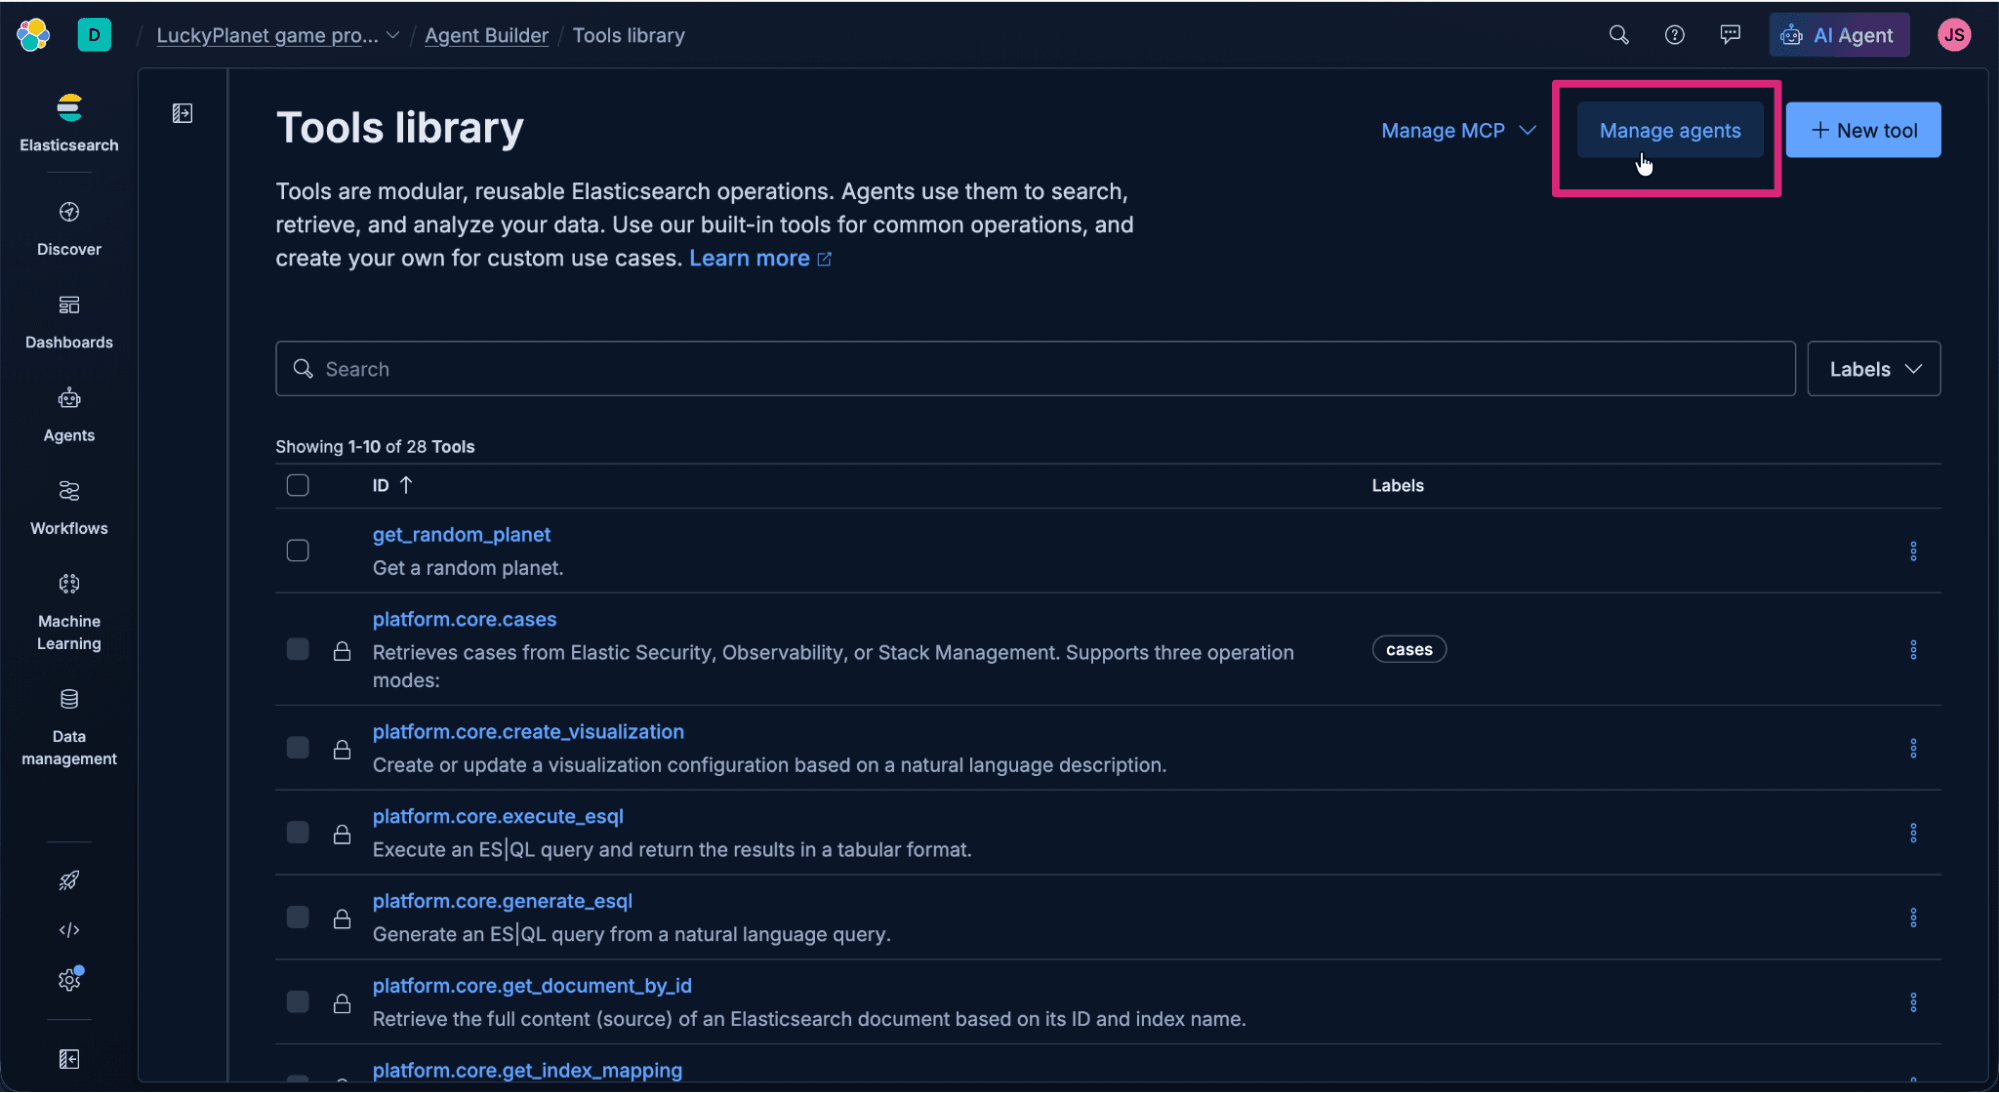
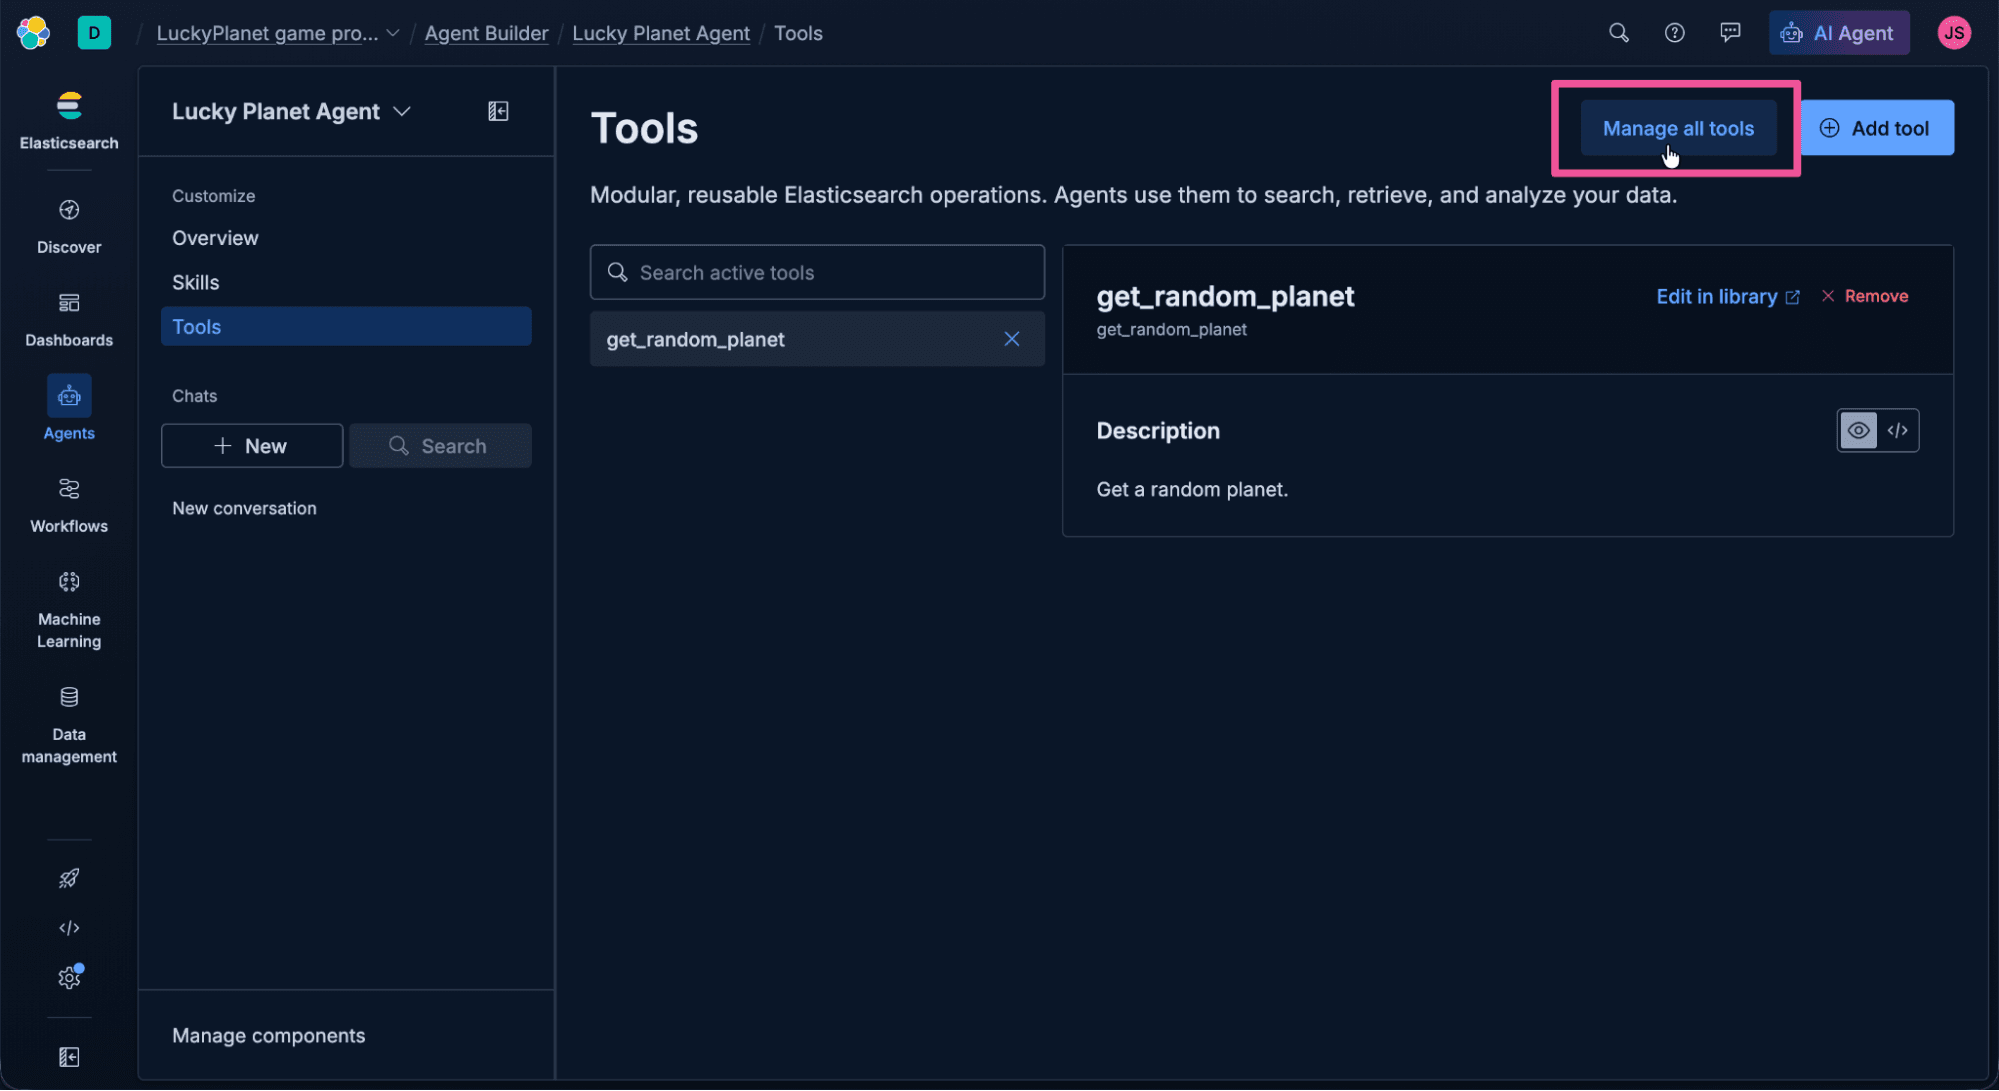
We’ll start the process of creating an agent by creating a Model Context Protocol (MCP) Tool. Agent Builder supports creating different tool types that can do index searches, execute Elasticsearch Query Language (ES|QL) queries, run workflows, and call other MCP tools. Every tool you build in Agent Builder is exposed as a hosted MCP server, callable by any external MCP client. In Agent Builder, select Tools.
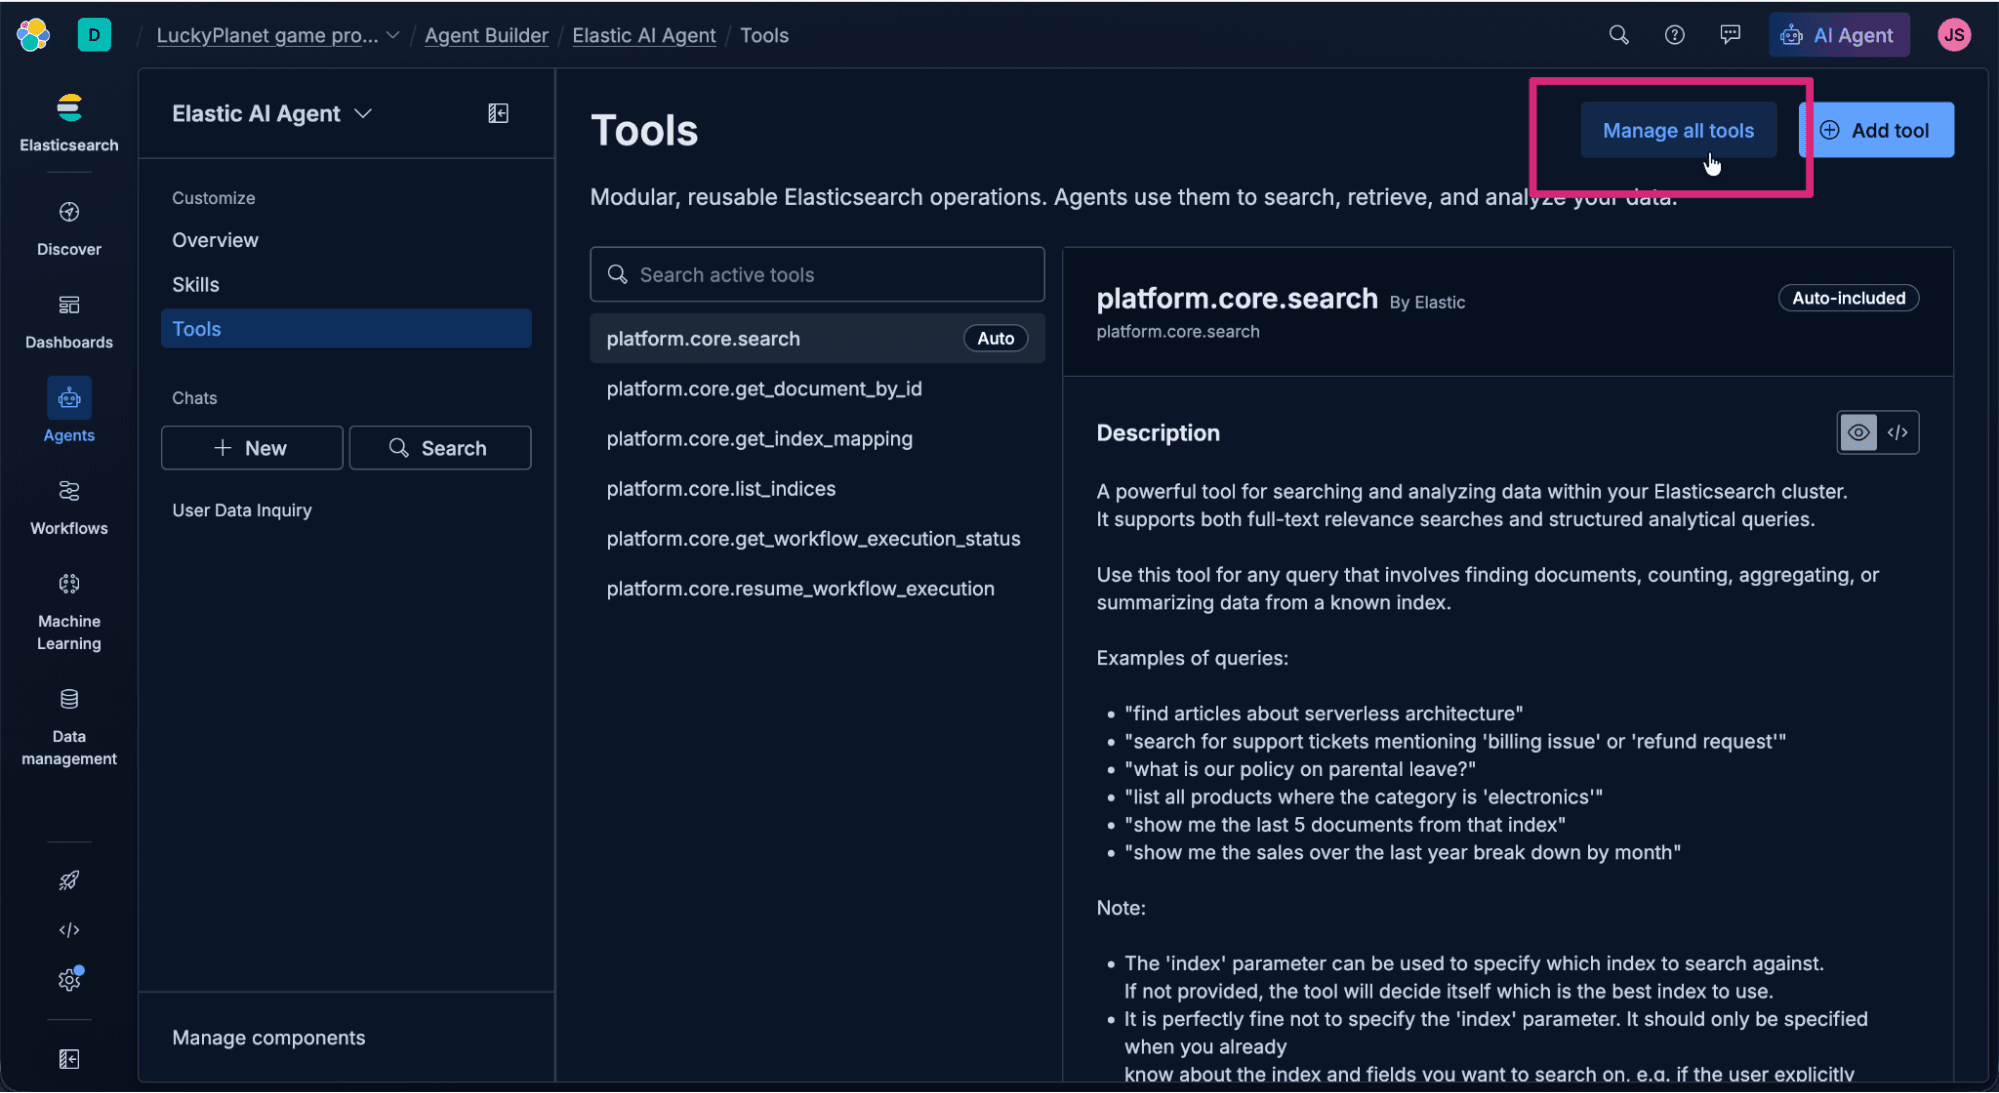
Click Manage all tools to see the list of current tools.
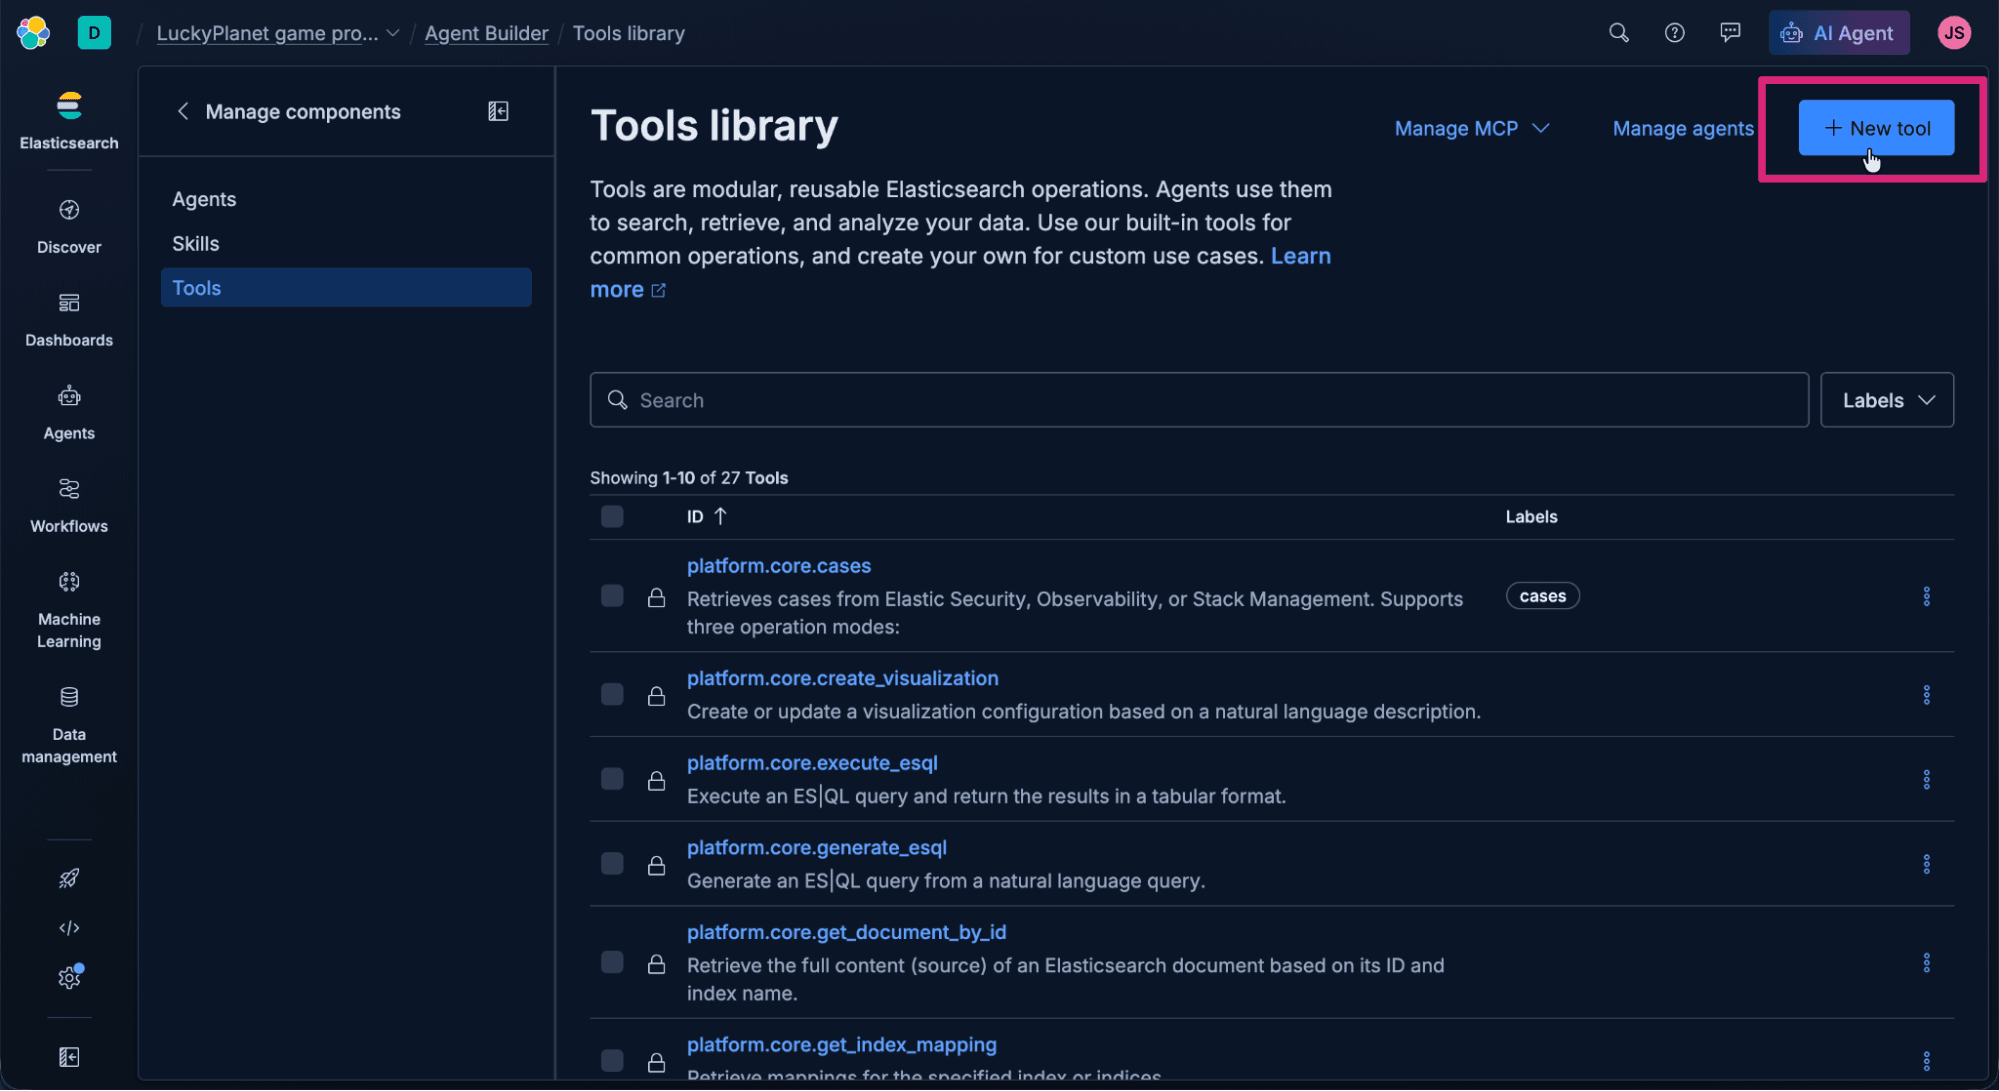
Click + New tool.
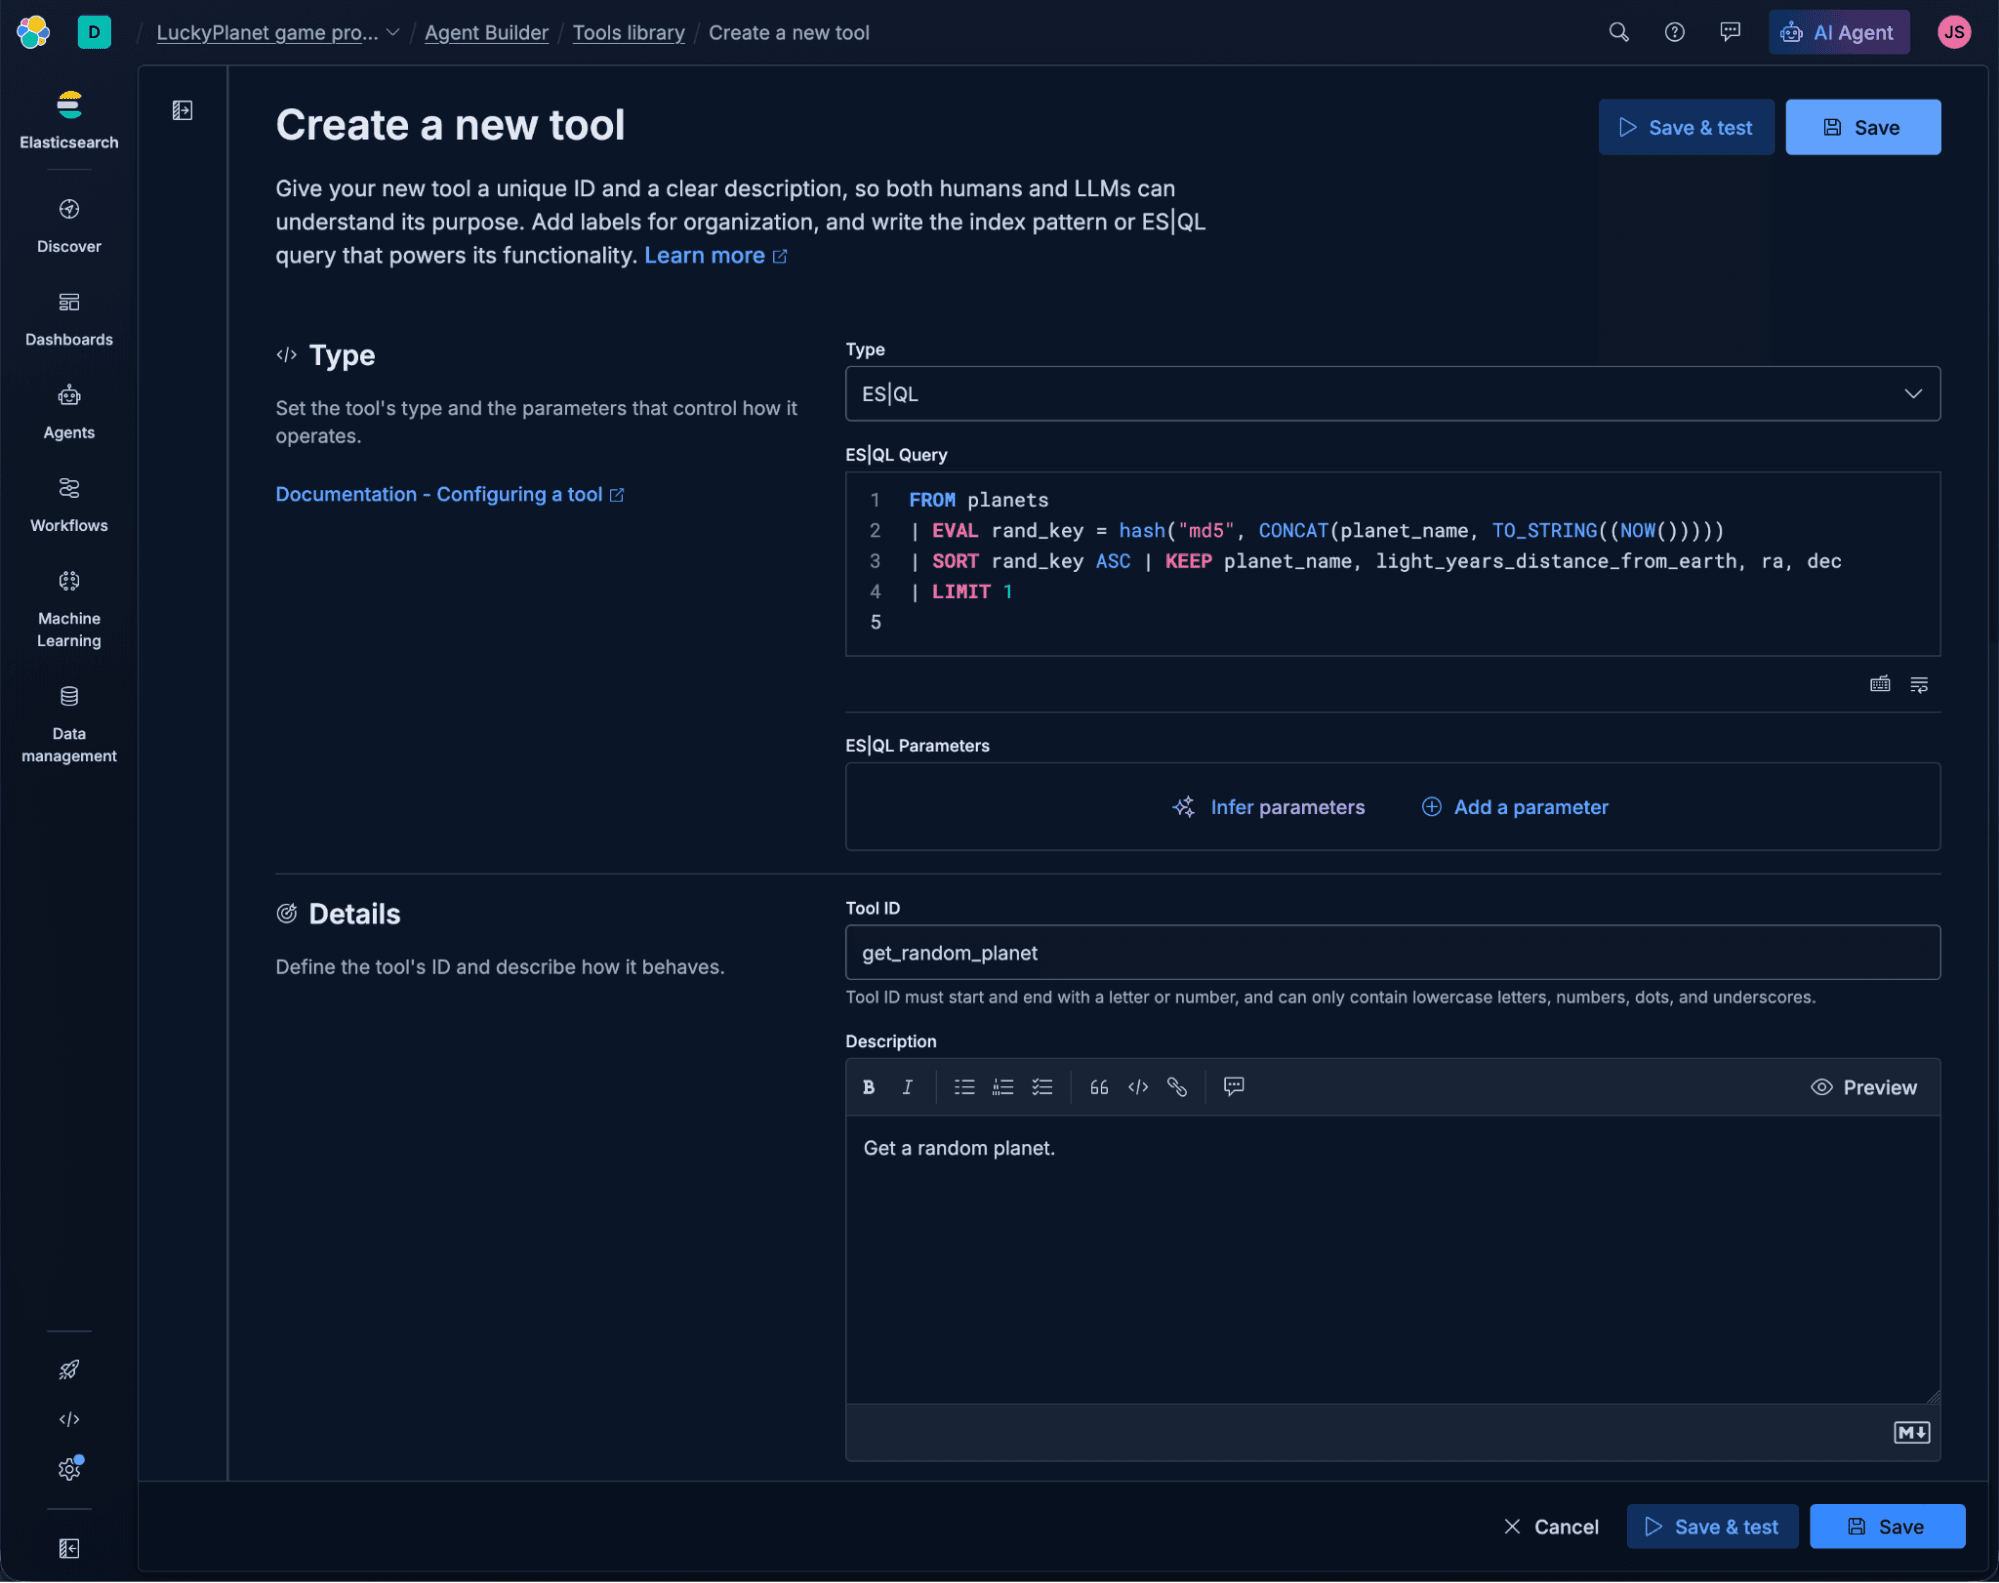
In the Create Tool form, select the ES|QL as the tool Type and enter the following values.
For the ES|QL Query text area, enter the following query that will select a random planet from our planets index:
For Tool ID:
For Description:
The completed Create tool form should look something like the form pictured below. Click Save to create the tool.
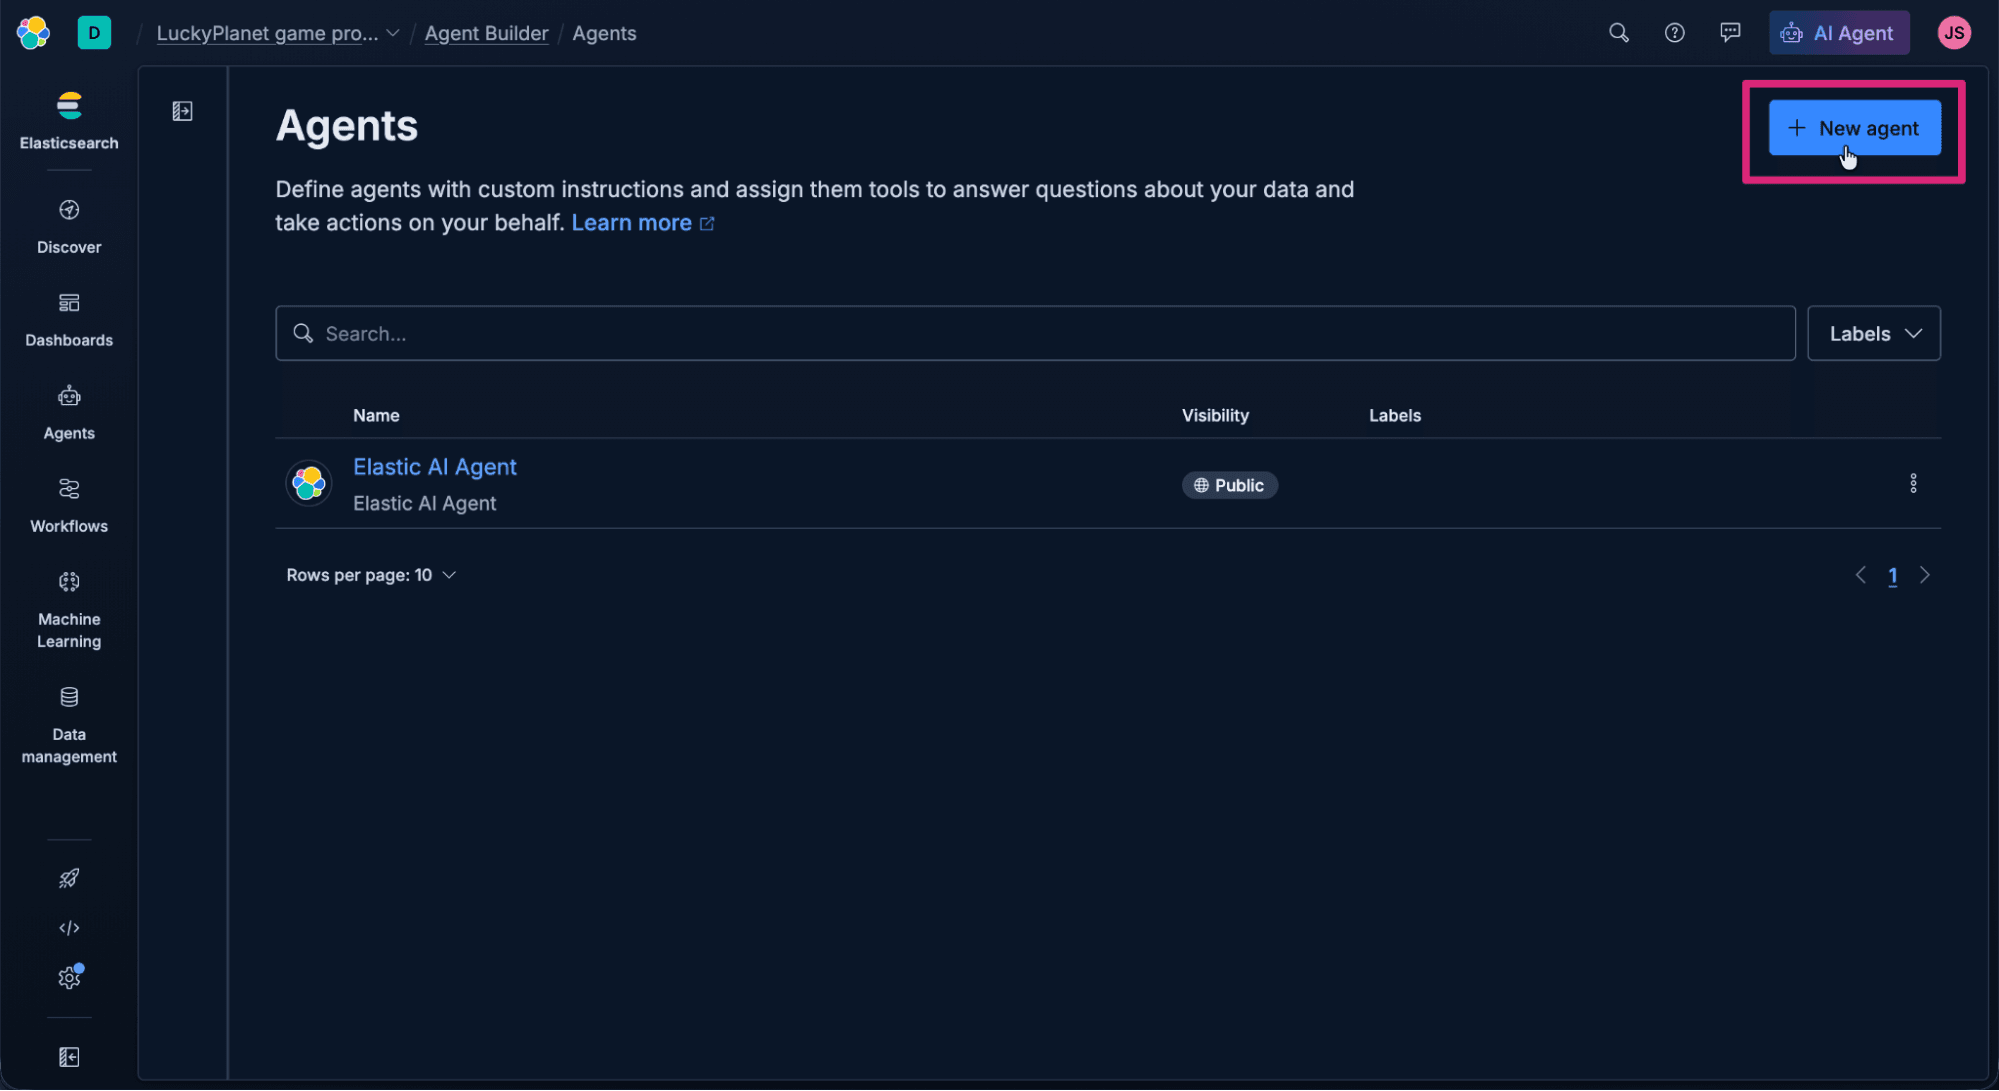
Create an agent and assign it a tool
Agent Builder agents are simple to create. Especially since the MCP tool we just created (that our agent will be using) is also hosted on Elastic, we can easily assign it to the agent.
Click Manage agents
Click + New agent.
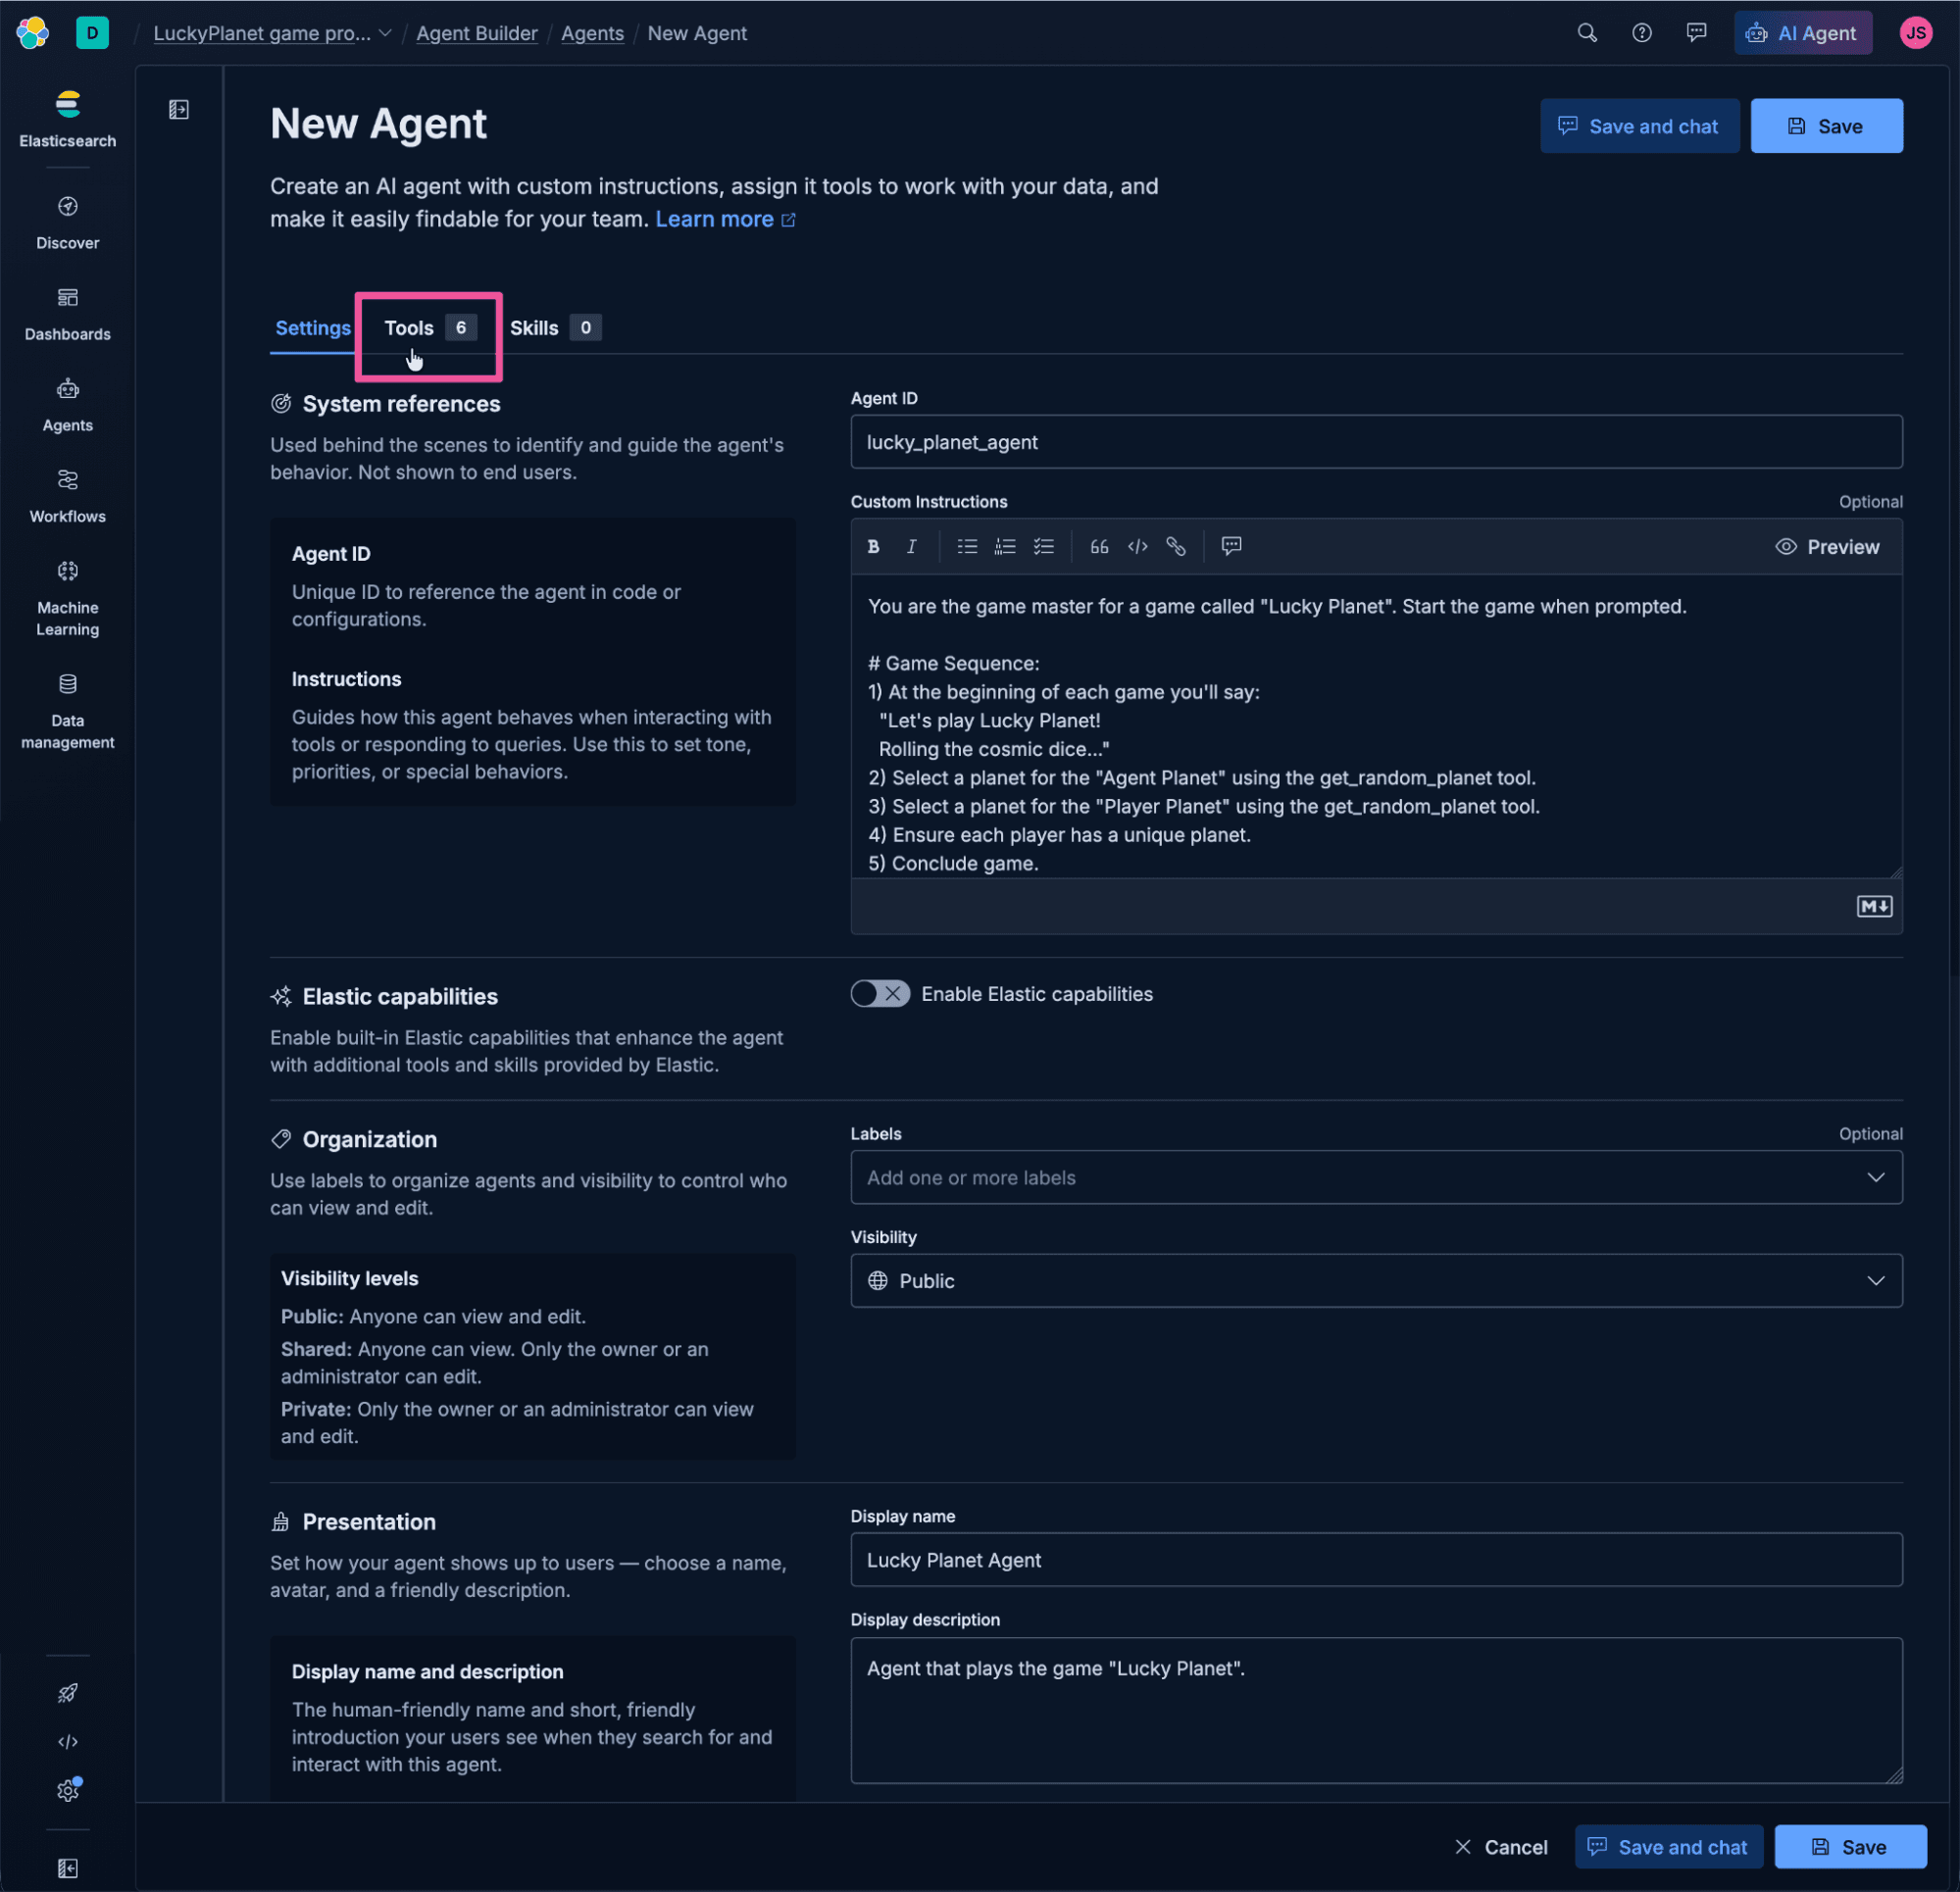
Enter the following information into the New Agent form.
For Agent ID, enter the text below:
In the Custom Instructions text area, enter the following instructions. As you can see, instead of making deterministic REST calls with Query DSL or ES|QL, we can provide simple instructions to the agent and rely on its data access via MCP and its context and reasoning abilities. The agent will manage adapting the game to support multiple players, and it will also provide a relevant and entertaining summary of the game outcome.
For the Display name, enter the text below:
For the Display description, enter the text below:
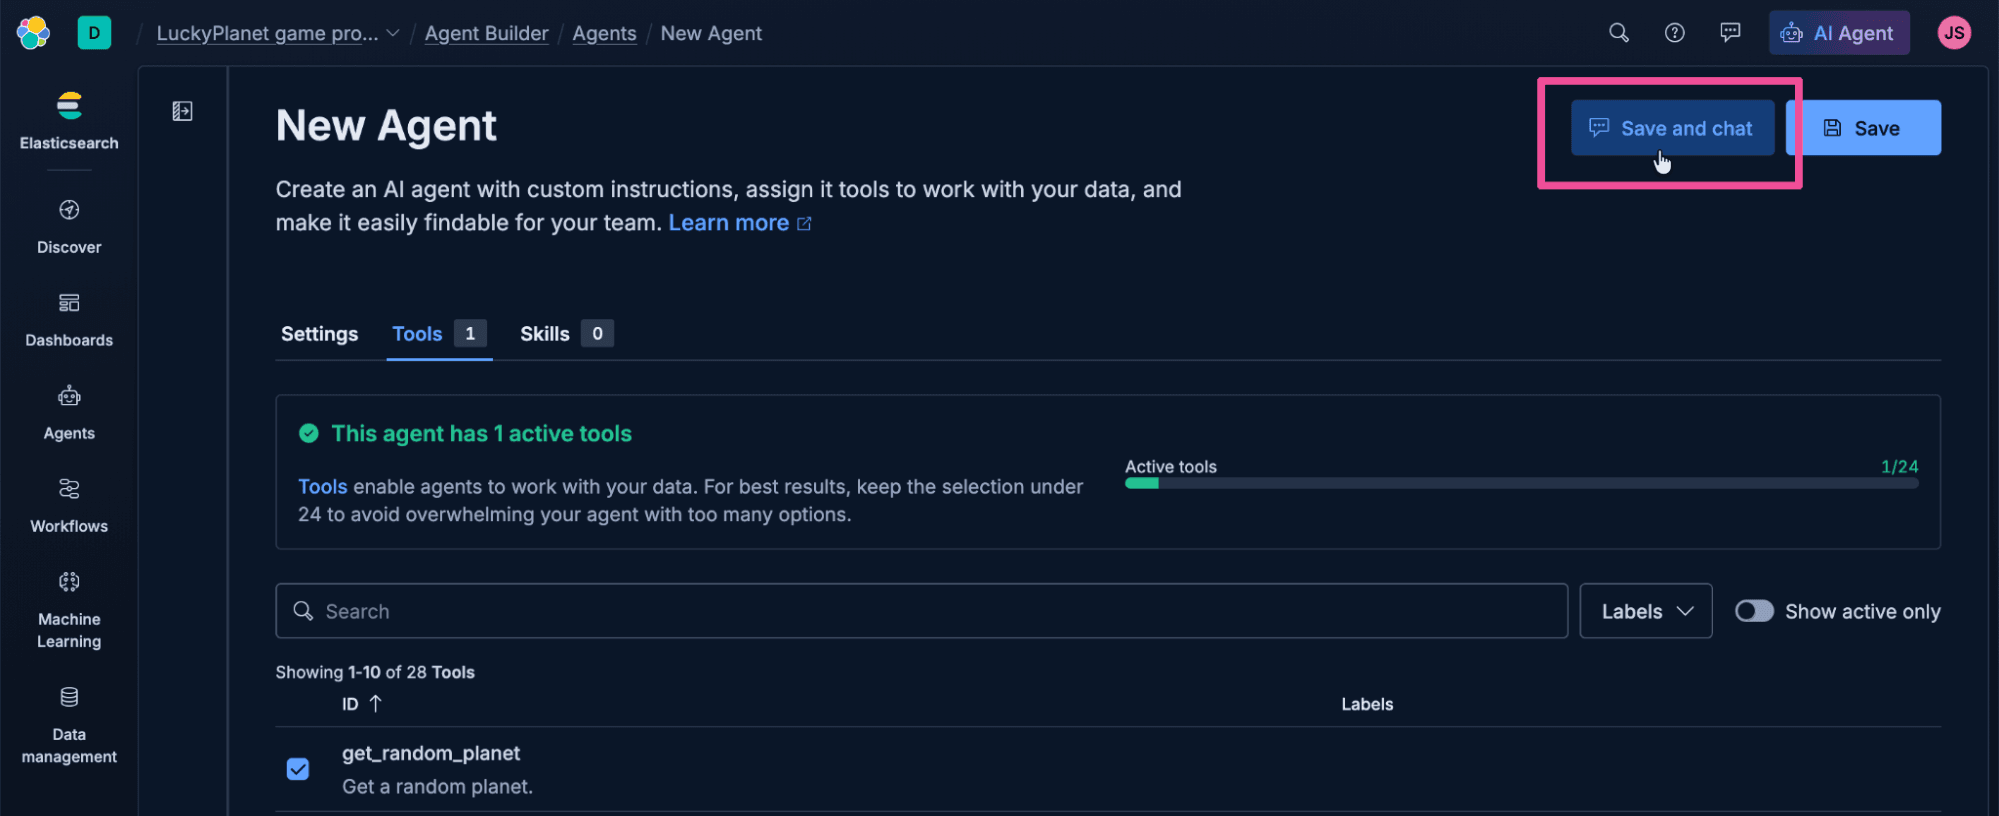
Give the agent the custom tool we created previously by clicking the Tools tab.
Select only the get_random_planet tool that we created previously.
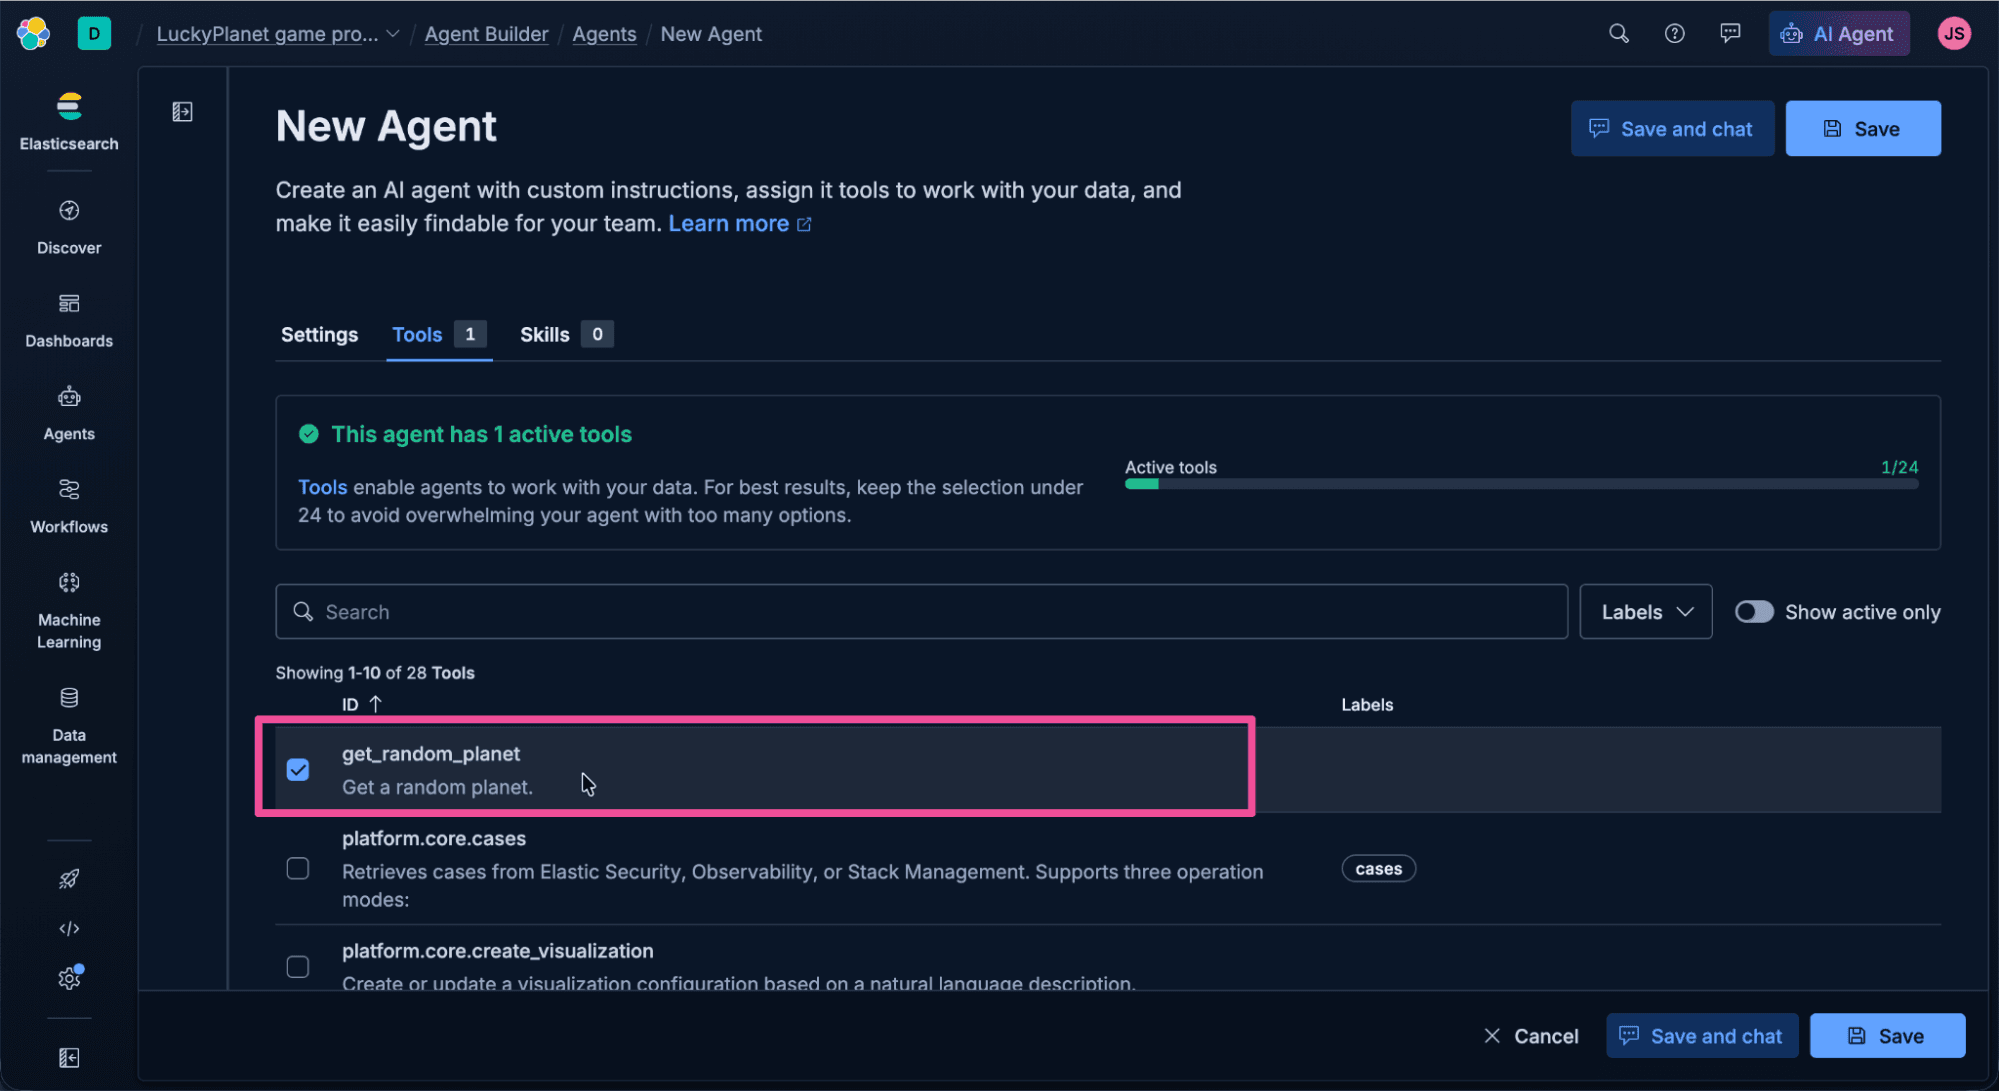
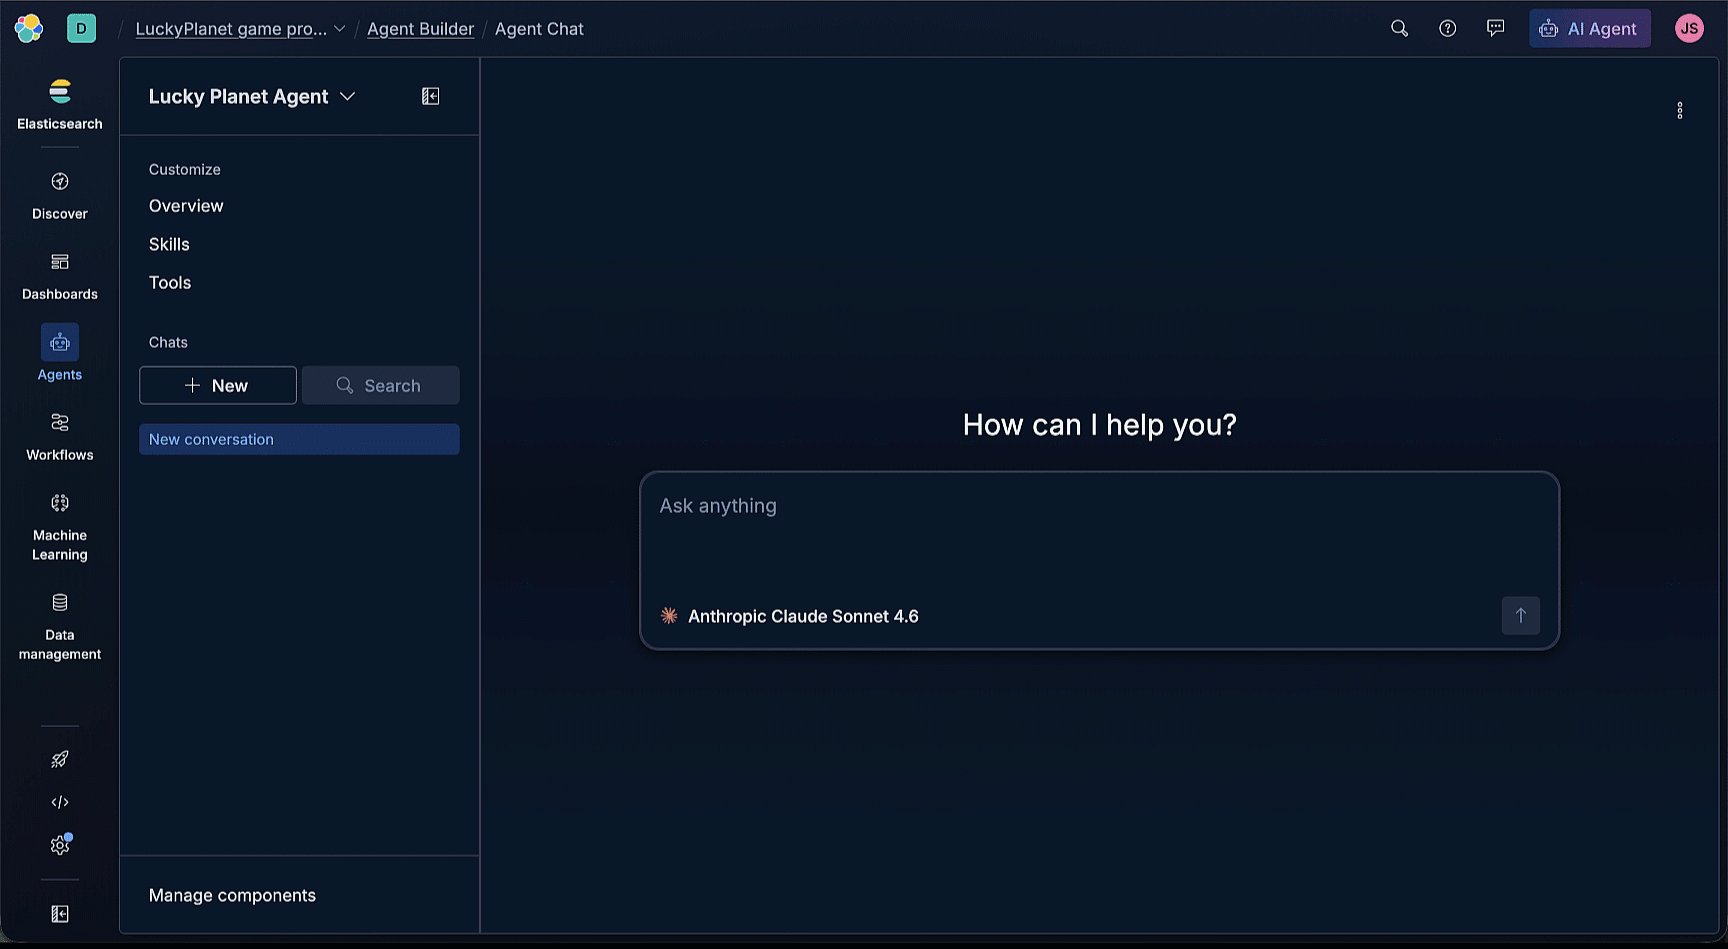
Then click Save and chat to save the agent and try it out.
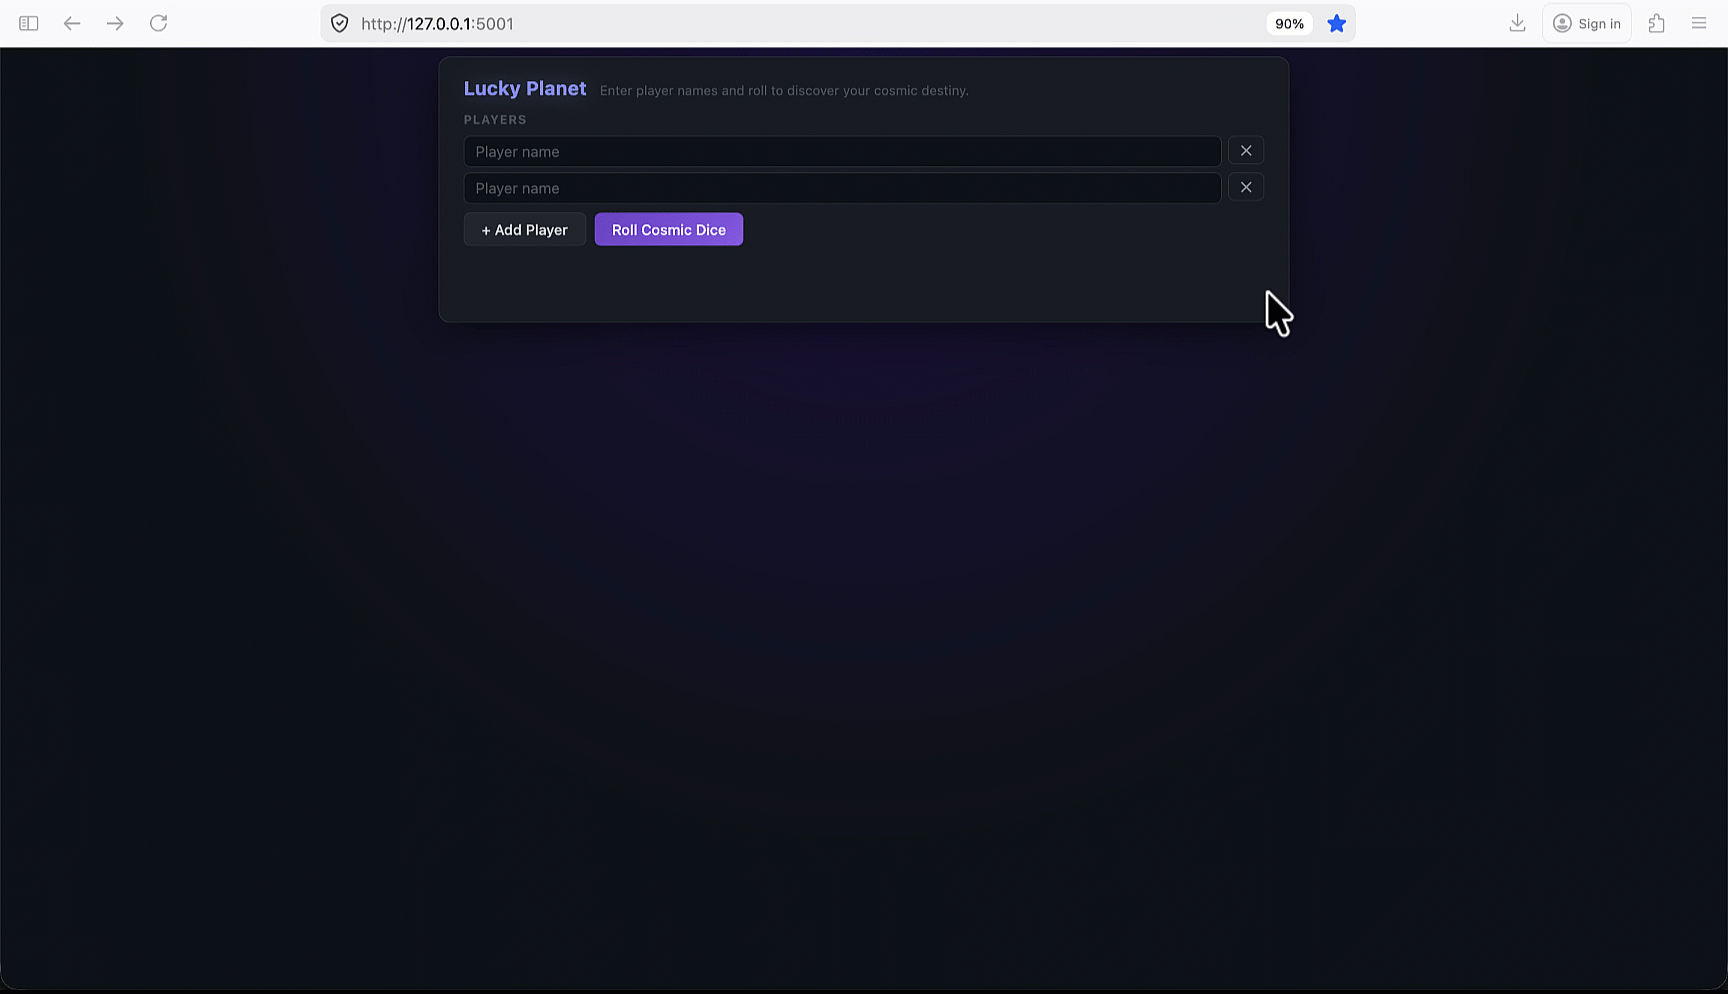
Just enter “play” to start the Lucky Planet game.
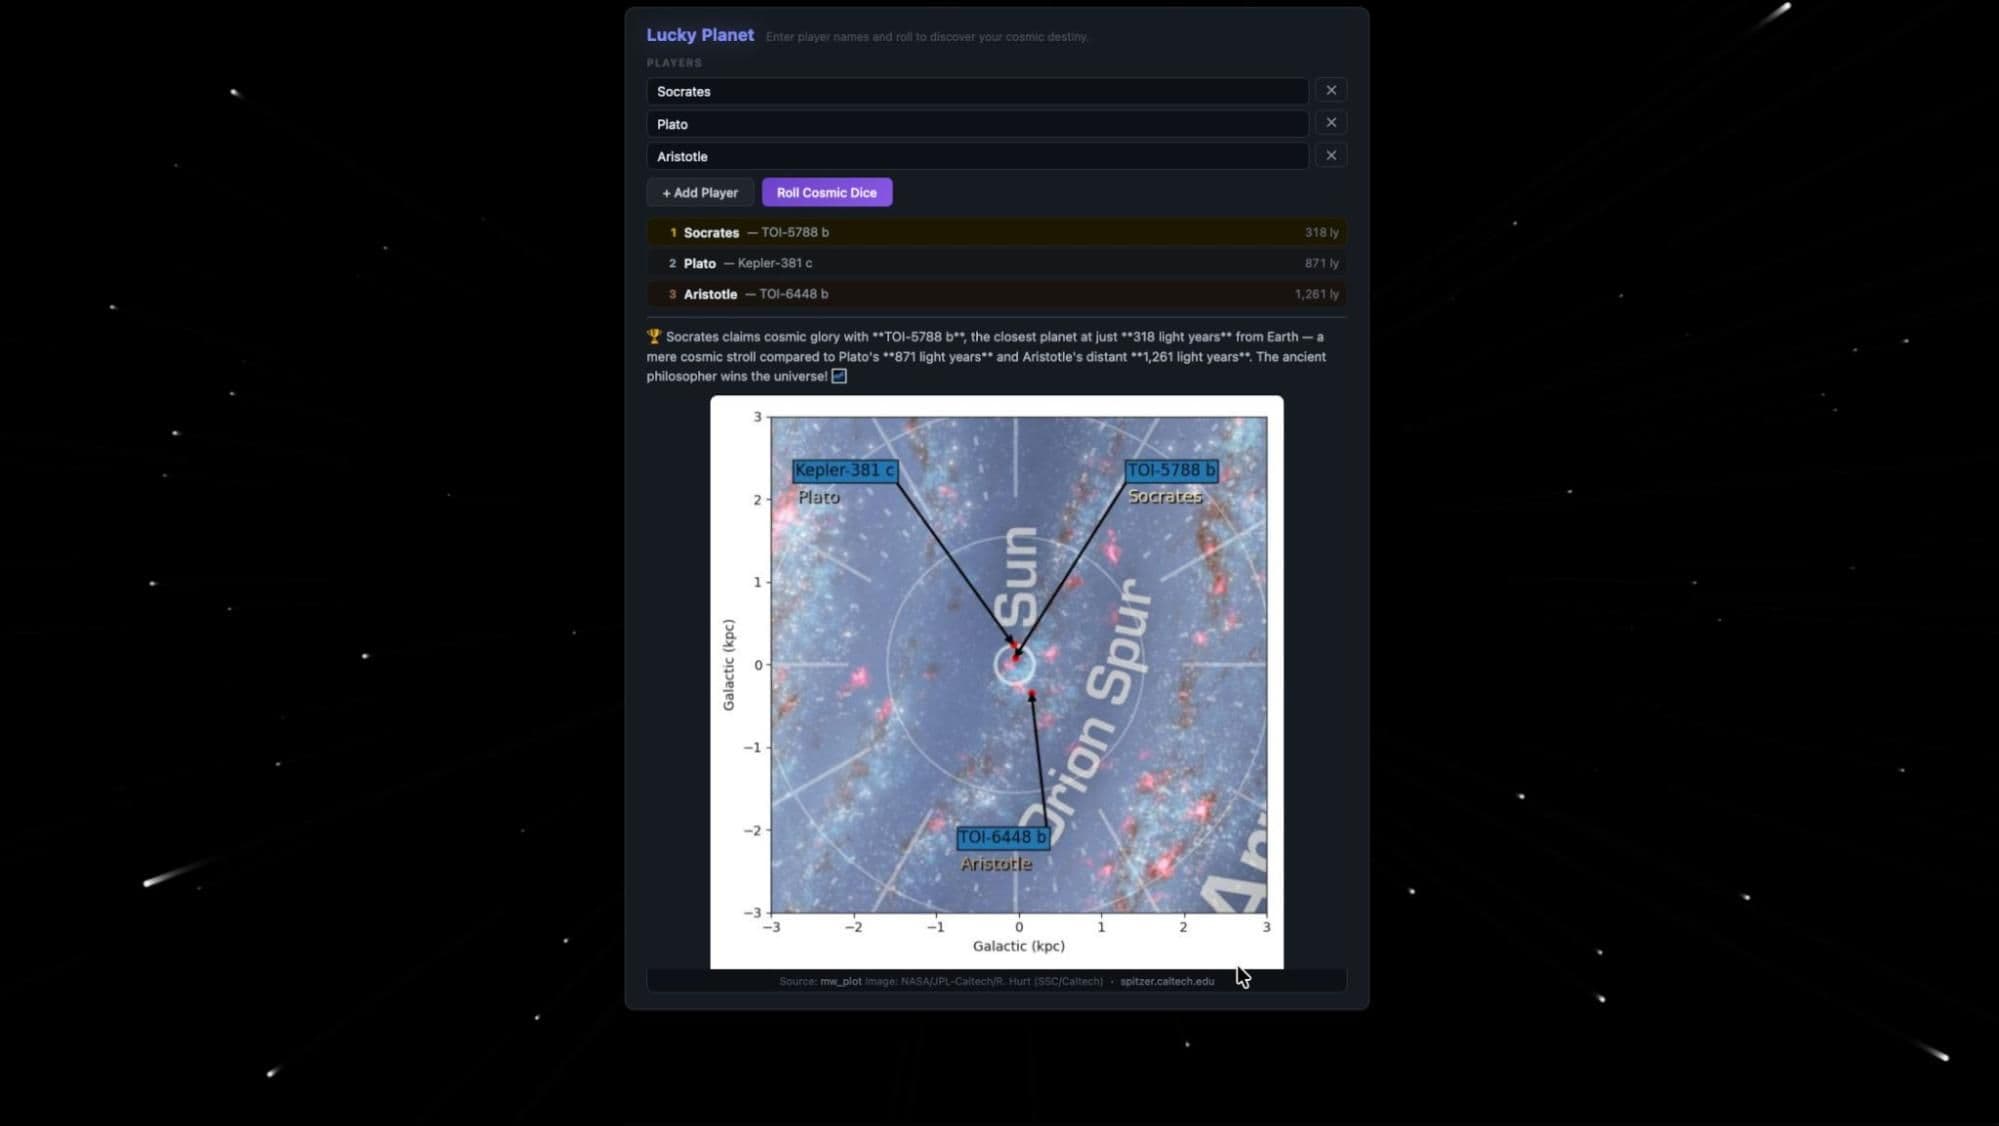
Kickin! Our efforts have paid off. We have a functional game. Let’s try out the multiplayer option. We just need to prompt the agent with a start command and a list of players, like:

Sweet! The game works. Although Lucky Planet is a fun game as it is, it would be much cooler if we could actually visualize where the player’s planets are located in our Milky Way galaxy. There happens to be an open source Python library to do this, called mw-plot. Now we just need an agent orchestration framework written in Python. Since we built our agent in Agent Builder, that means our agent can be used by any agent development tool that supports the A2A Protocol.
Agent Development Kit (ADK)

Turns out, one of the best open source toolkits for building agentic A2A applications is the Agent Development Kit (ADK) developed by Google. It’s available in Python, Go, Java, and TypeScript.
Getting started with the ADK in Python
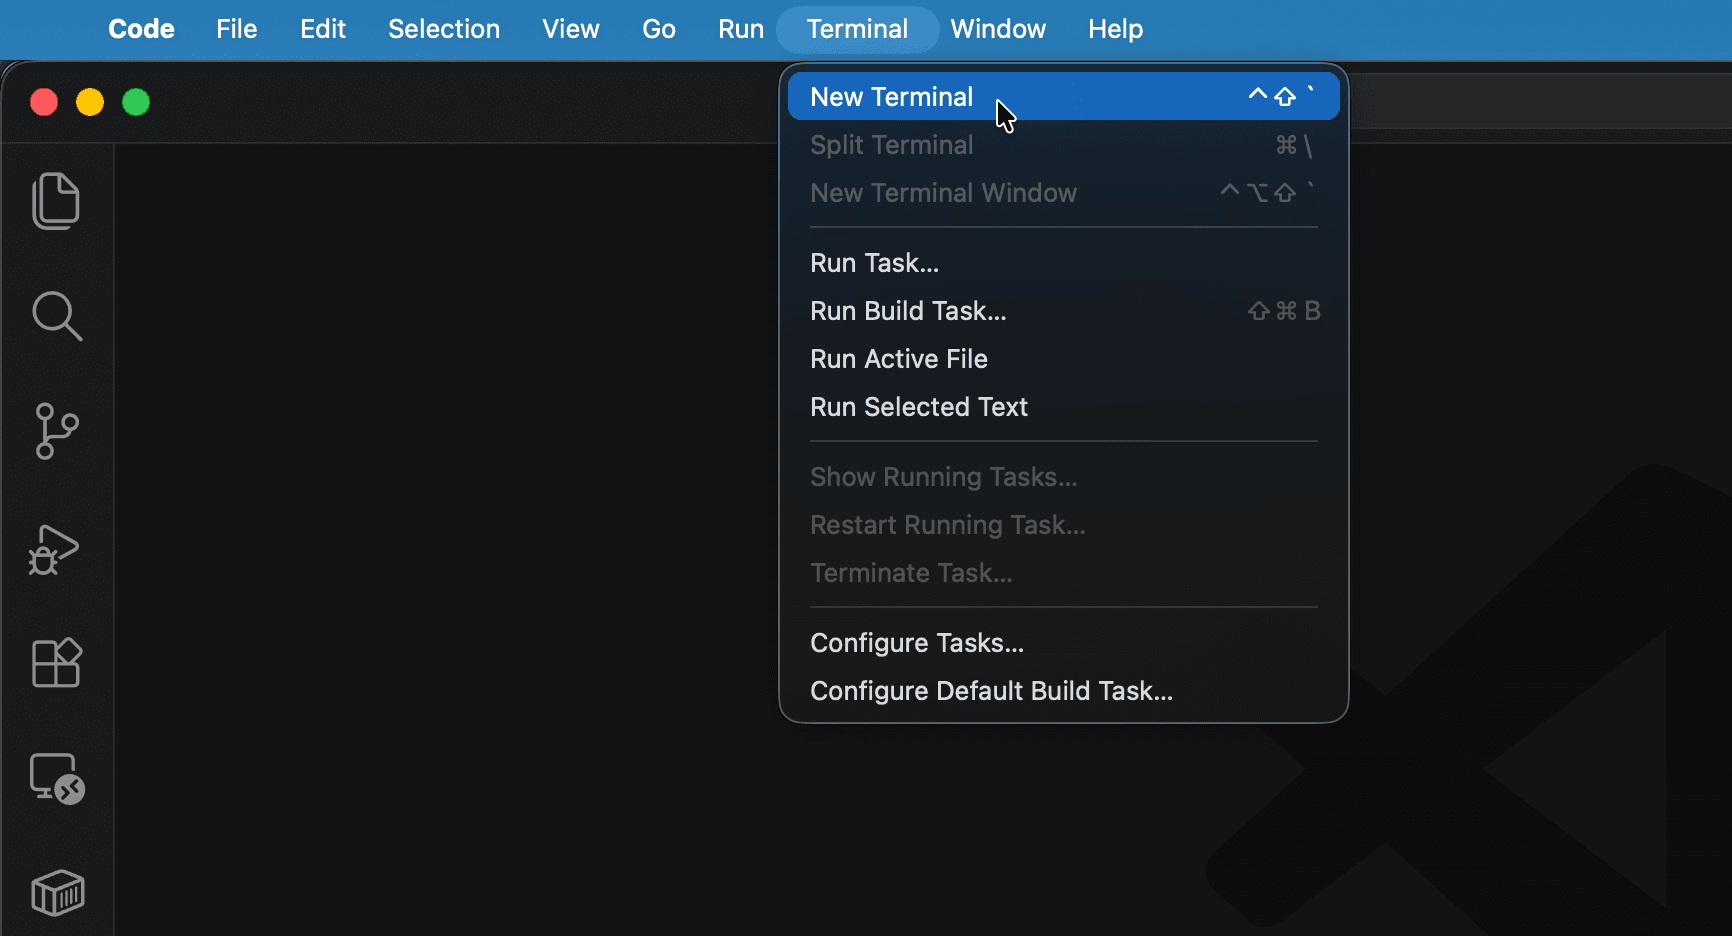
Let’s fire up a code editor and run some code. On your local computer, open Visual Studio Code and open a new terminal.
In the newly opened terminal, run the following command to clone the Lucky Planet app code from Github.
In the terminal, cd to change directory to lucky-planet.
In the terminal, enter the following command to open the current folder in the Visual Studio Code editor.
Here’s what the cloned lucky-planet repo should look like in Visual Studio Code.
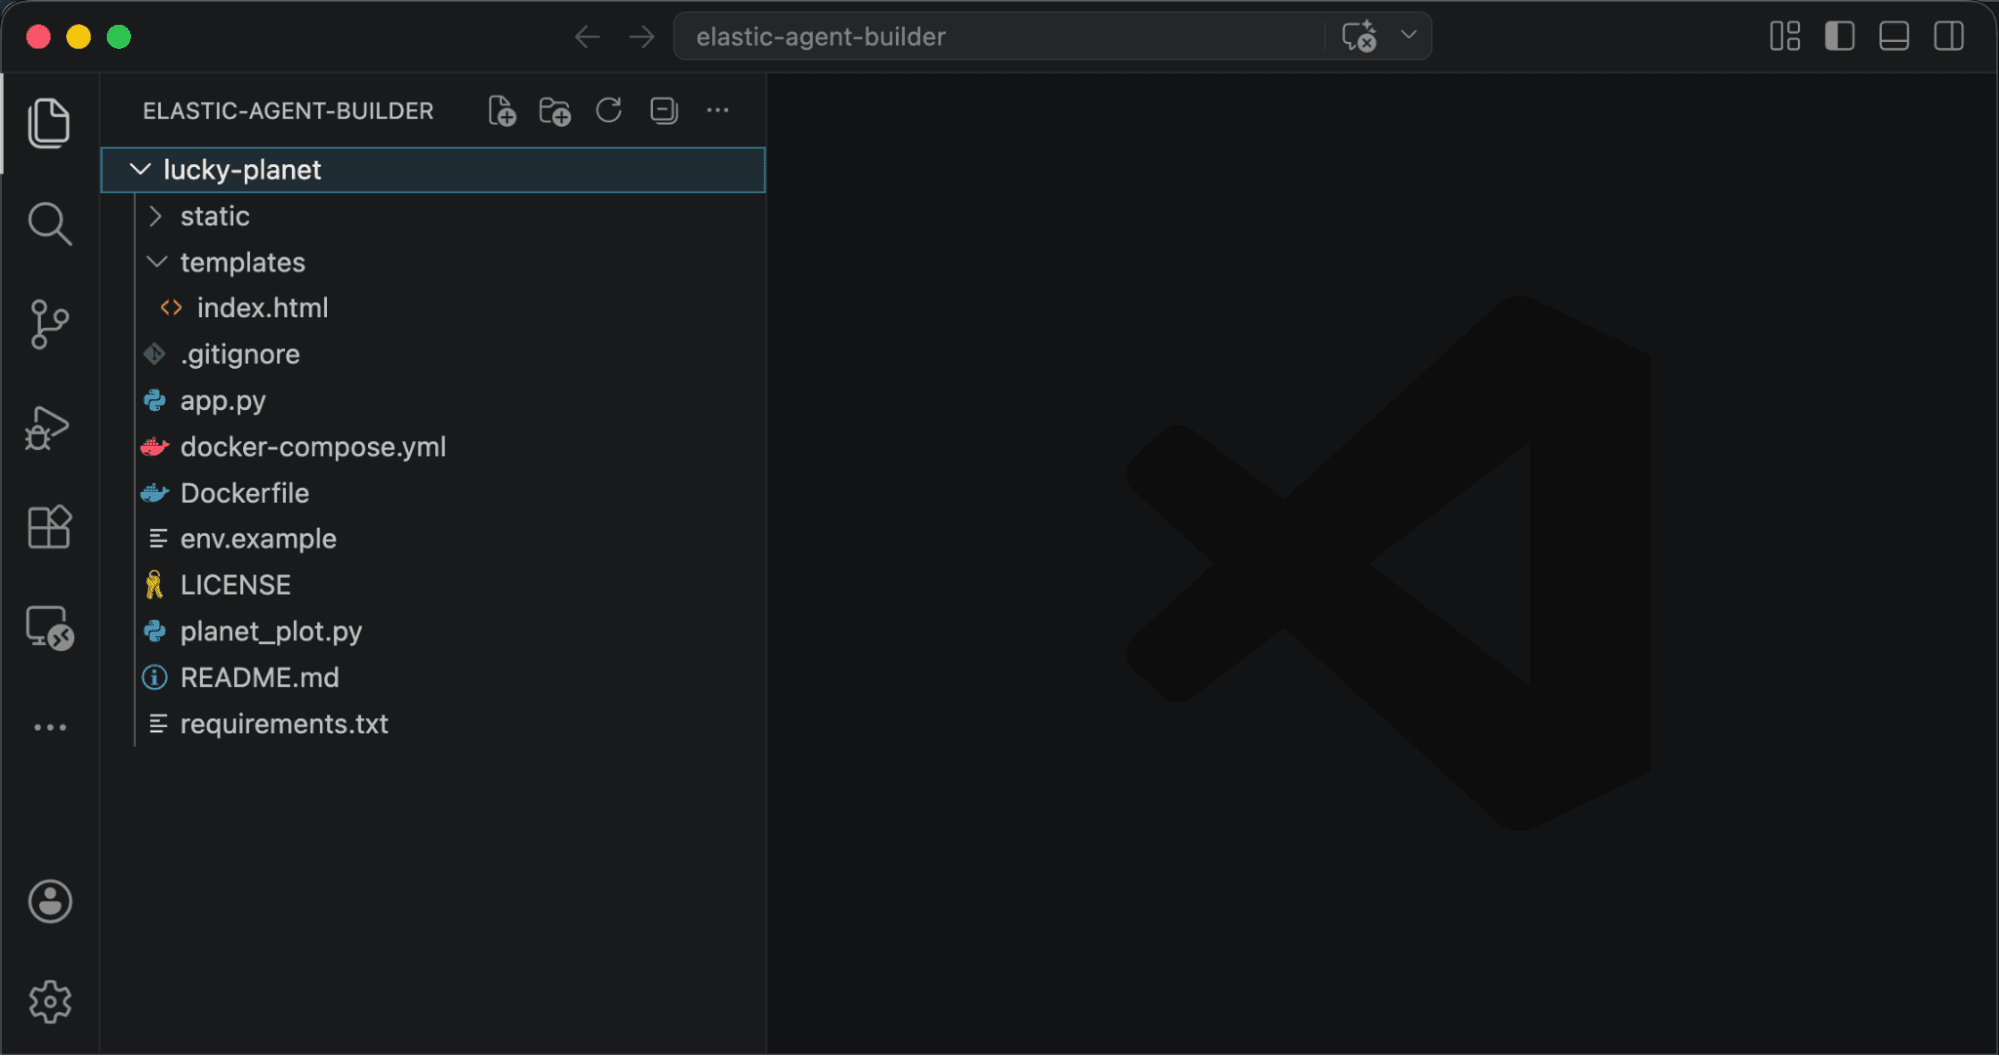
The basic architecture of the app is a frontend HTML UI (/templates/index.html) that uses a Python Flask back end to invoke the ADK to send and receive responses from the Elastic agent. When a game player has entered player names and clicked the button to start the game, the front end sends a POST request with player names to the following Flask “/api/ask route in the app.py file.
Within that route, the method _send_a2a() is called using asyncio.run(_send_a2a(prompt)), which is where the ADK’s collected response from the Elastic agent is stored in response_text and returned to the front end as JSON using the Flask jsonify utility.
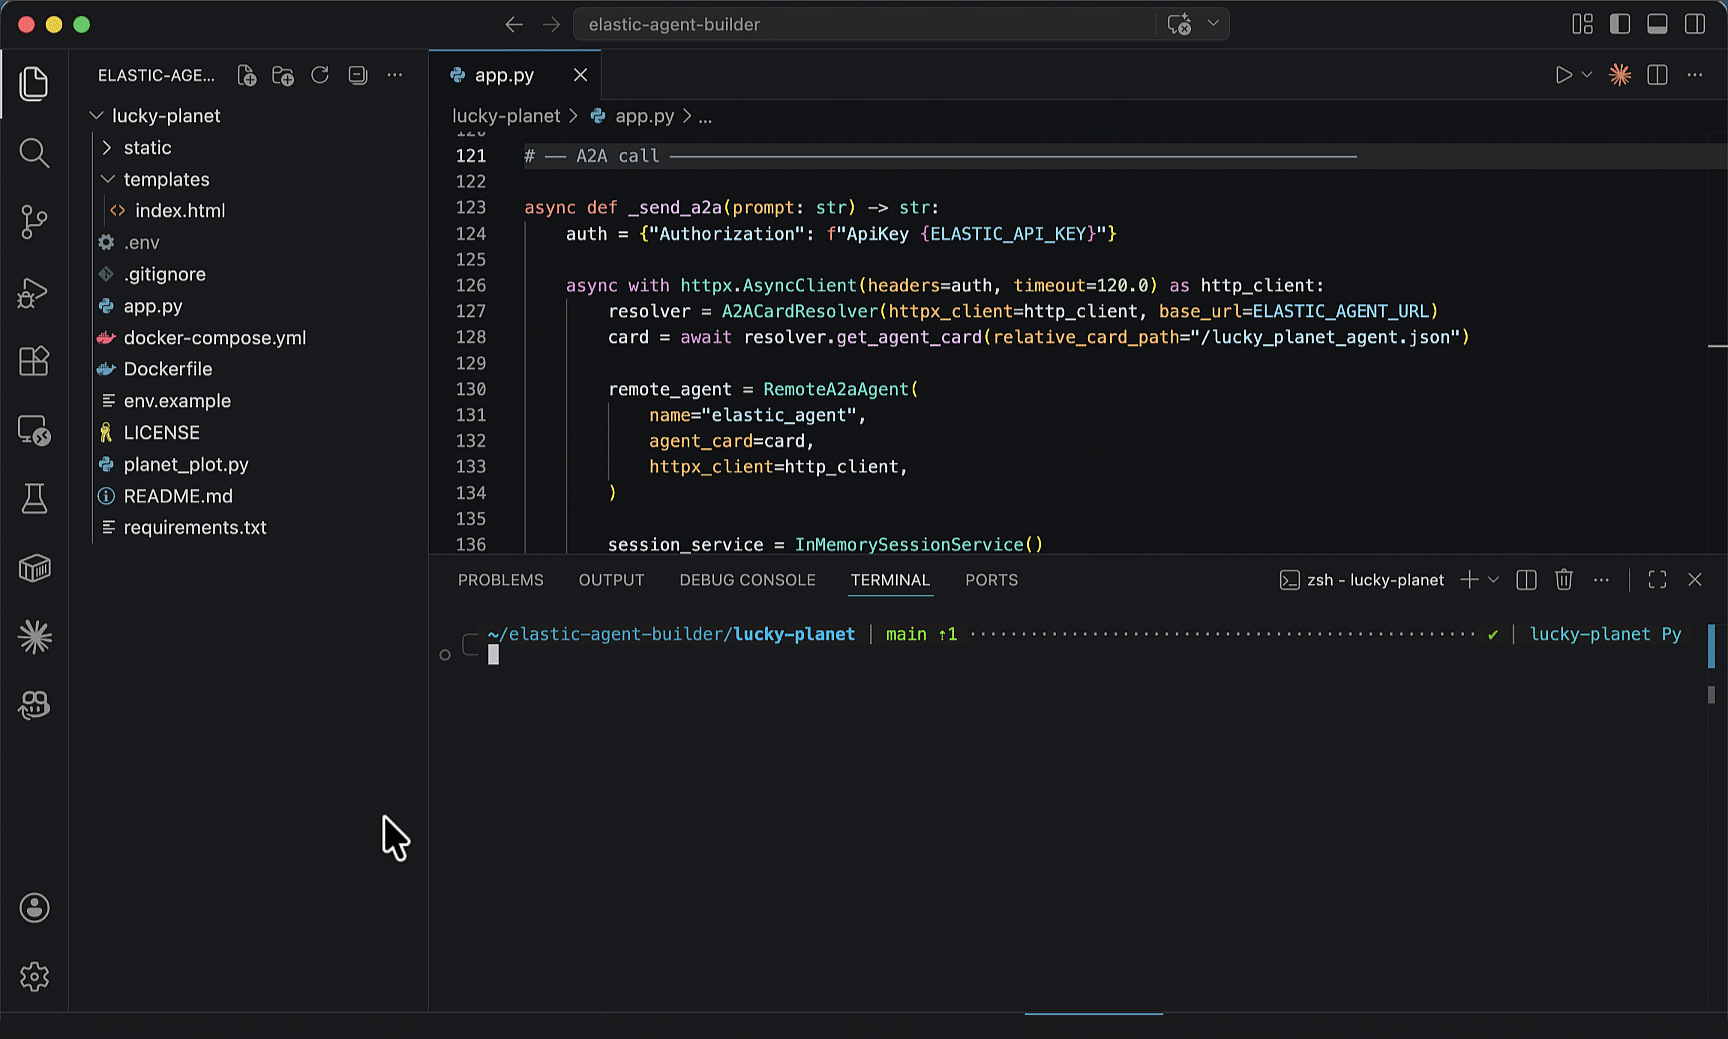
Now let’s look at the _send_a2a() method, where the ADK interacts with the Agent Builder agent.
The method begins by creating an HTTP client specifying the Elastic API key in the header for the client’s authorization.
The method then uses the HTTP client to call A2ACardResolver, which fetches the Elastic agent's “card.” An A2A agent card is a JSON manifest describing what the agent can do, which endpoints it exposes, and how to talk to it. A2ACardResolver is performing the A2A handshake, which includes the Elastic agent URL and the relative_card_path of lucky_planet_agent.json corresponding to the lucky_planet_agent Agent ID that we specified when we created the Elastic agent in Agent Builder previously.
The ADK's RemoteA2aAgent takes the agent card and makes the remote Elastic agent look identical to a locally defined ADK agent.
The ADK then sends the Elastic agent a message, which is just a text prompt, like "play game Lovelace, Shannon, Turing". The runner streams ADK events back. The app waits for is_final_response(), ignoring intermediate thinking and tool-call events, and collects the final plain-English reply.
Finally, the ADK closes the underlying HTTP client used by RemoteA2aAgent, and the
Elastic agent’s response is returned to the frontend UI to be parsed and displayed along with a Milky Way plot of the top three closest planet locations.
A2A turns the remote Elastic agent into something you can converse with using a standard protocol. The app doesn't call a custom REST endpoint, like POST /api/v1/run-game. It speaks A2A, which means the interface is natural language, not a function signature. The end result is a game, with the complexity of querying data and implementing game mechanics handled by an Elastic agent, while the ADK is used to talk to the agent via A2A to start the game and deliver the agent’s summary of the game outcome.
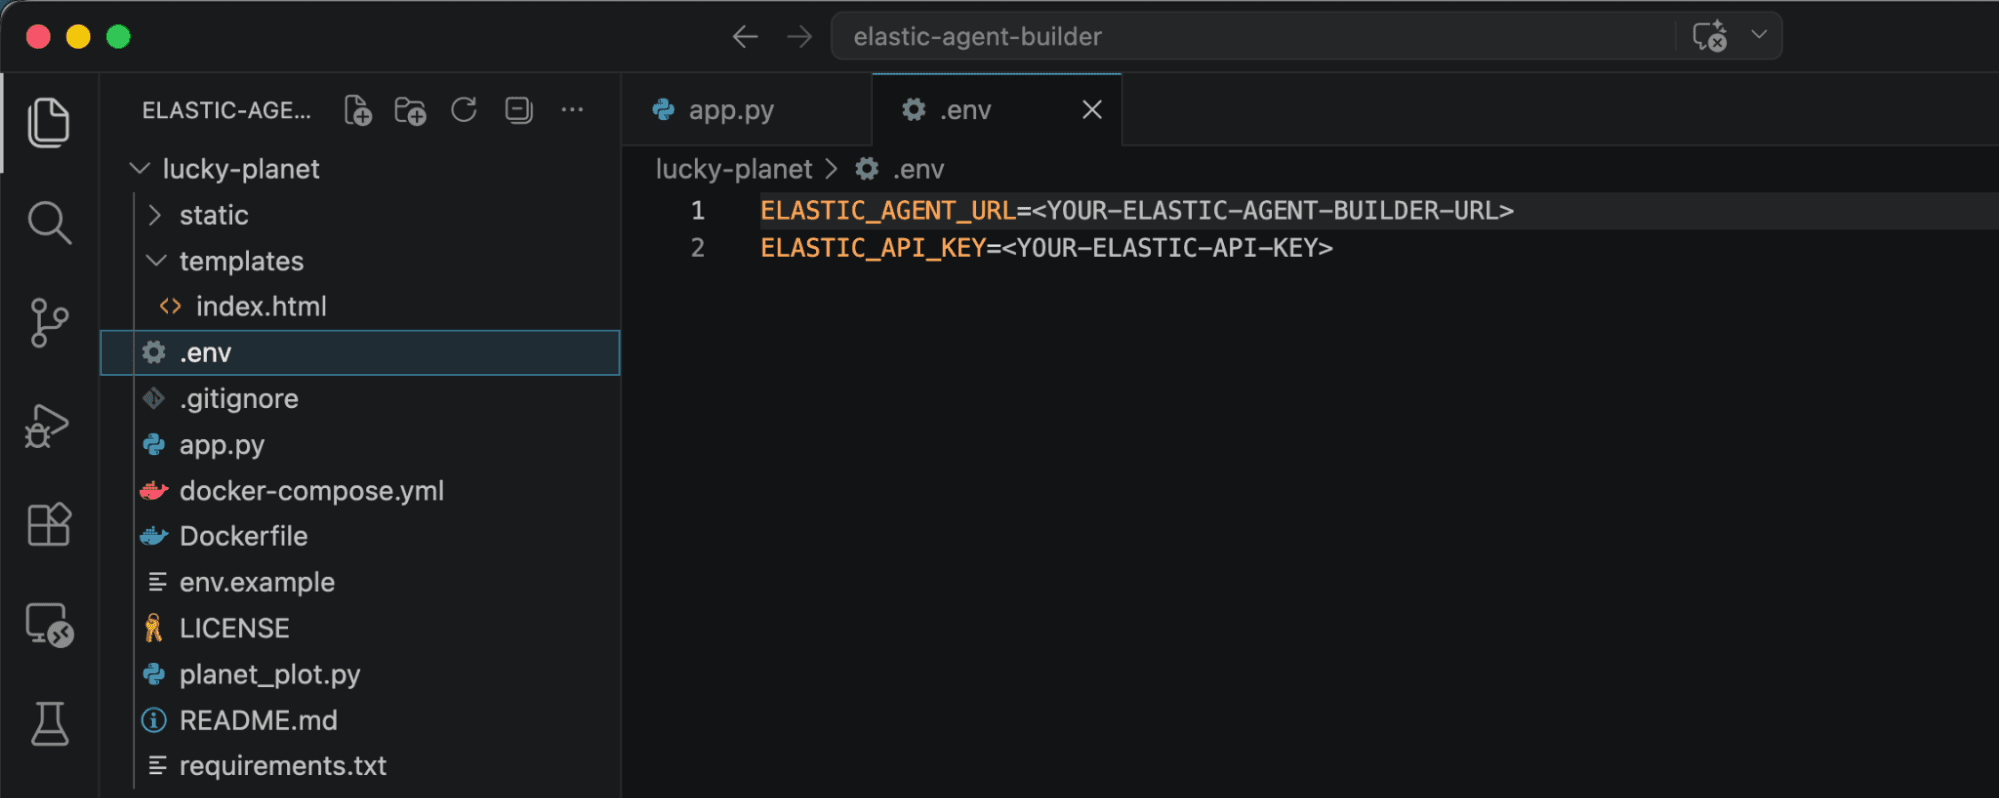
Setting your agent URL and API Key as environment variables
To connect the Lucky Planet app to your Elastic Agent Builder agent, set two environment variables: the A2A endpoint URL and your Elastic API key. The example app uses a file named .env to store these values.
Make a copy of the env.example file, and name the new file .env.
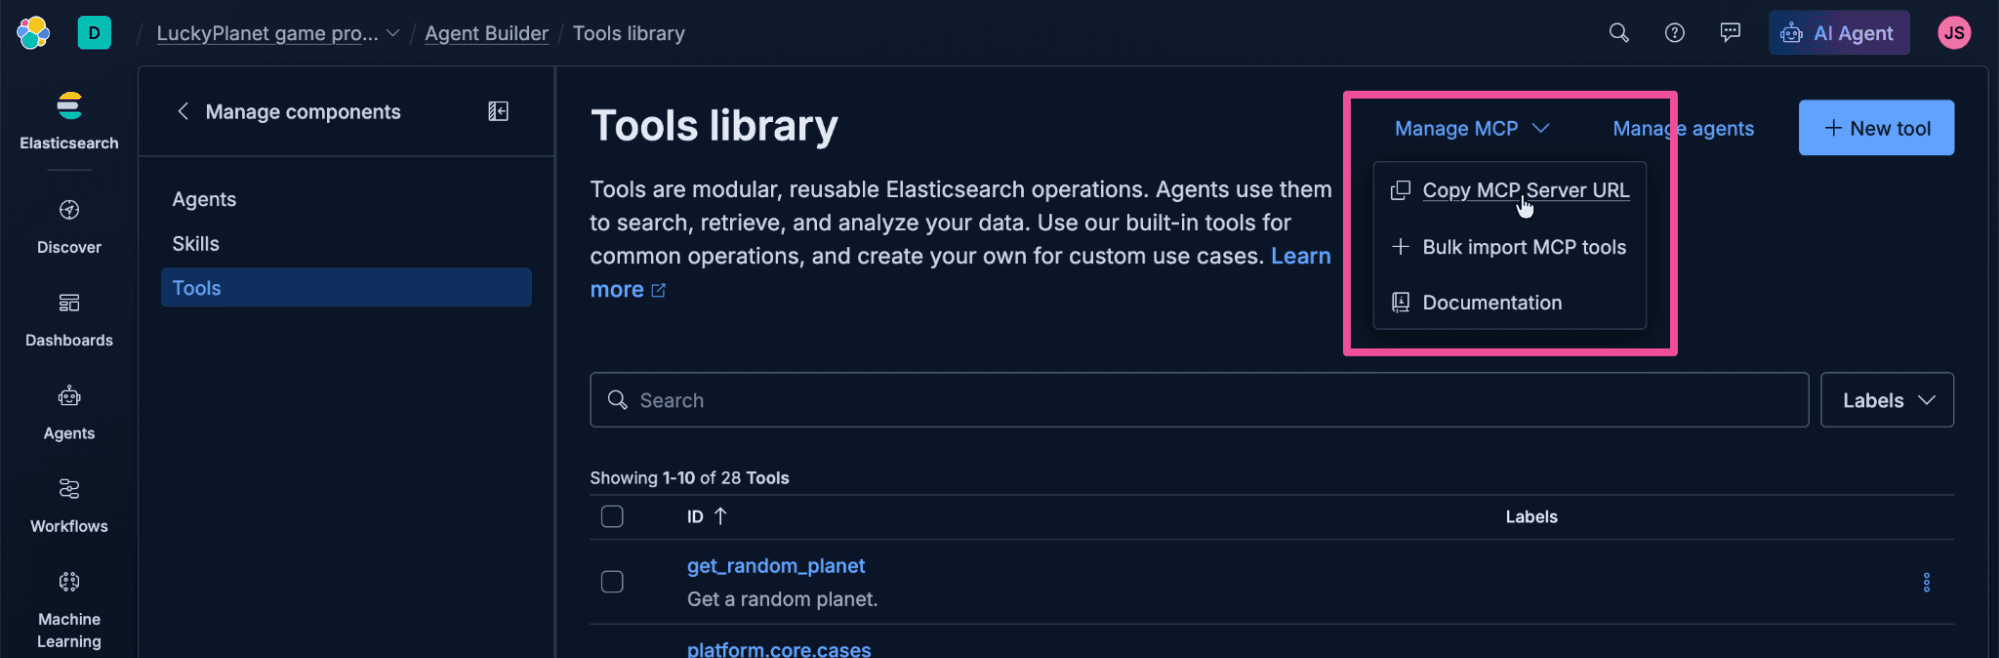
Go back to the Agent Builder interface to get both of the values that the app requires to communicate with Elastic. Select Tools from Lucky Planet Agent’s customize options.
Click Manage all tools at the top right of the screen.
Click the Manage MCP dropdown at the top of the Tools library page, and select Copy MCP Server URL.
Paste the MCP Server URL into the .env file, replacing the <YOUR-ELASTIC-AGENT-BUILDER-URL> placeholder value. Agent Builder exposes two endpoints: /mcp serves MCP tools to MCP clients, and /a2a serves the agents to A2A clients. We'll use /a2a. Update the URL to replace the ending text “mcp” with “a2a” because the ADK will be using A2A to communicate with the agent running in Agent Builder.
The edited URL should look something like this:
https://luckyplanet-game-project-12345a.kb.us-central1.gcp.elastic.cloud/api/agent_builder/a2a
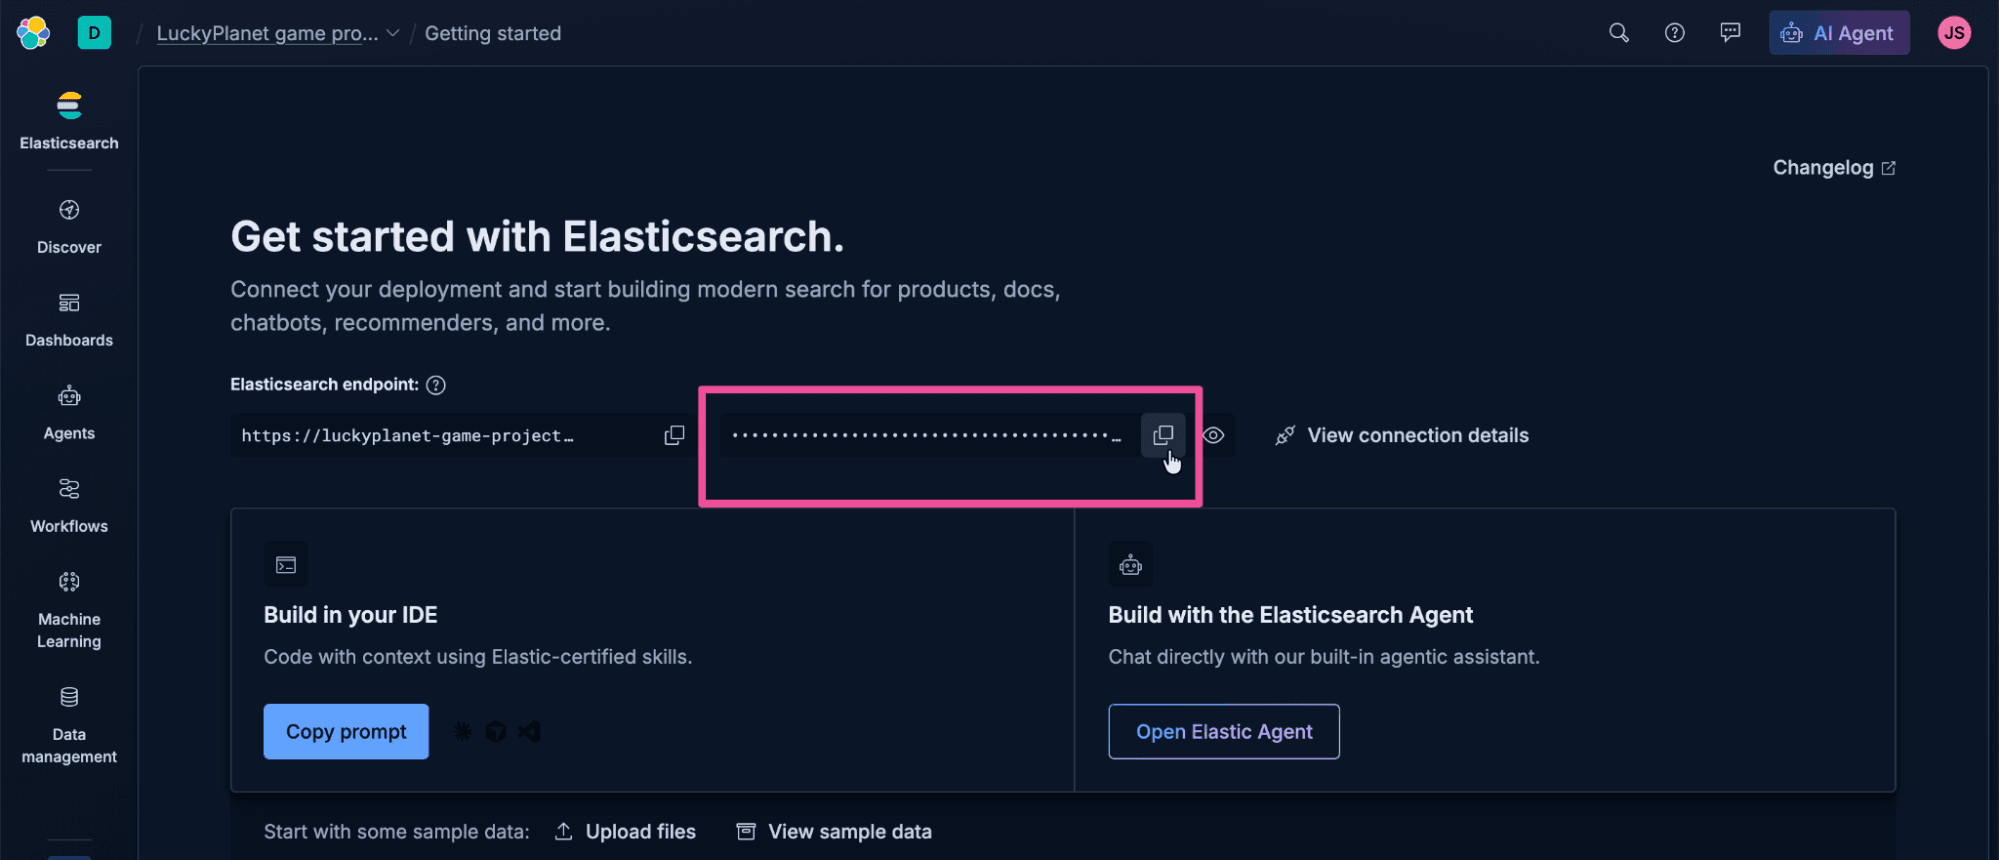
Next we need the API key. Click Getting started in the Elastic Cloud top- level navigation.

Click the Copy API key button to copy the API key.
Jumping back to Visual Studio Code, paste the API key in the .env file to replace the <YOUR-ELASTIC-API-KEY> placeholder text. Your .env file should look something like this:

Run the Lucky Planet app
To run the Lucky Planet app:
- Create a Python virtual environment with the following command:
2. Depending on your local computer’s operating system, run the following command to activate the virtual environment.
- MacOS/Linux
- Windows
3. The Lucky Planet app depends on the ADK for agent orchestration, so let’s install it now. Run the following command to install the ADK, along with all of the app’s required Python library dependencies:
4. Okay, it’s time to pop on our crash helmets and run this app. Run it using the following command:
Running the python app.py command should output a URL, like http://127.0.0.1:5001, that you can open in a browser to see the running Lucky Planet game. Let’s try it out!
Build AI apps with the context of your data
As you’ve seen in this blog post, Elastic Agent Builder gives you everything required to quickly start building agents with the context of your own data. That includes a native A2A endpoint, ready for any compatible framework to orchestrate. Try Elastic Cloud to build agents with the context and retrieval layer they need for solving the challenges that matter to you.
Pour aller plus loin
30 juin 2026
Building a multilingual voice agent with Elastic Agent Builder & Sarvam AI
A working demo combining Sarvam AI speech with Elastic Agent Builder: identity verification, per-customer ES|QL queries, and mid-call language switching across 22 Indian languages without multilingual indices.

26 juin 2026
Talk to your Elasticsearch data: building a real-time voice agent with Google ADK and MCP in 3 components
Wire Google ADK's real-time voice streaming to your Elasticsearch data via Agent Builder's built-in MCP server; no custom integration code required.

22 juin 2026
Your data analyst doesn't need SQL: wiring Elastic Agent Builder to AWS AgentCore for natural-language Elasticsearch queries
Wire plain-English questions to your Elasticsearch data using Elastic Agent Builder MCP, AWS Bedrock AgentCore and the Strands SDK. Python code included.
6 juillet 2026
Who grades the grader? LLM-as-a-Judge inside Elasticsearch Workflows
Find out if your RAG agent is ready to ship. Score it on correctness, faithfulness and retrieval quality using only Elasticsearch Workflows and two Claude models.
17 juin 2026
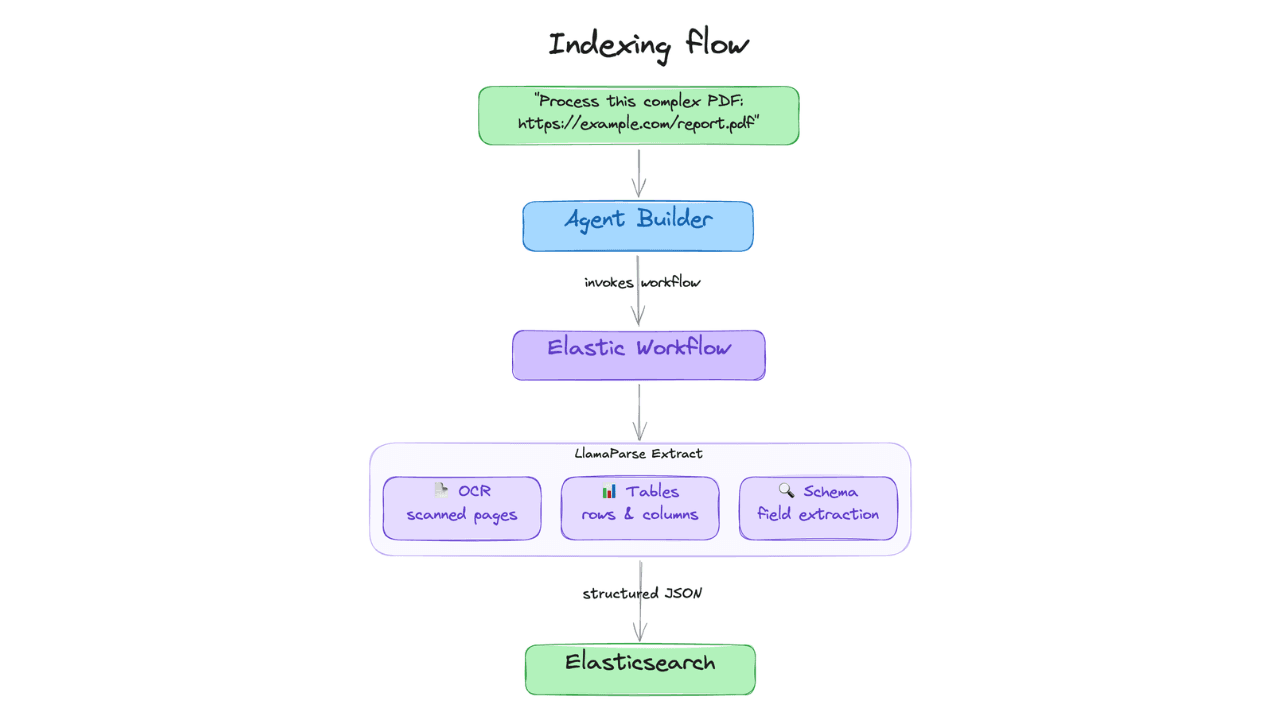
Extract chart data standard OCR misses: Elastic Agent Builder and LlamaParse in one pipeline
Build an end-to-end pipeline that extracts structured data (including values from charts) out of complex PDFs and into Elasticsearch, ready for agent queries with ES|QL.