Add elements
editAdd elements
editCreate a story about your data by adding elements to your workpad that include images, text, charts, and more. You can create your own elements and connect them to your data sources, add saved objects, and add your own images.
Create an element
editChoose the type of element you want to use, then connect it to your own data.
-
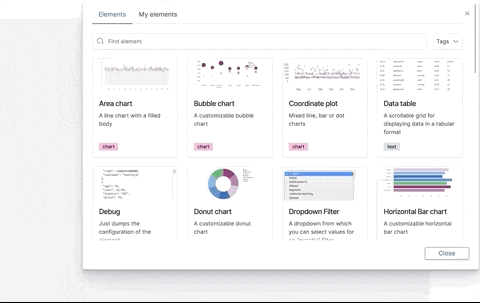
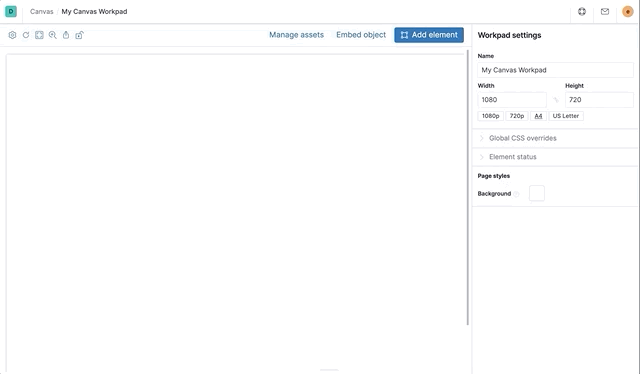
Click Add element, then select the element you want to use.
-
To familiarize yourself with the element, use the preconfigured data demo data.
By default, most of the elements you create use demo data until you change the data source. The demo data includes a small data set that you can use to experiment with your element.
-
To connect the element to your data, select Data, then select one of the following data sources:
- Elasticsearch SQL — Access your data in Elasticsearch using SQL syntax. For information about SQL syntax, refer to SQL language.
- Elasticsearch raw data — Access your raw data in Elasticsearch without the use of aggregations. Use Elasticsearch raw data when you have low volume datasets, or to plot exact, non-aggregated values.
- Timelion — Access your time series data using Timelion queries. To use Timelion queries, you can enter a query using the Lucene Query Syntax.
Add a saved object
editAdd a saved object, such as a map or Lens visualization, then customize it to fit your display needs.
- Click Embed object.
-
Select the object you want to add.
-
To use the customization options, click the panel menu, then select one of the following options:
- Edit map — Opens Maps so that you can edit the original map.
- Customize panel — Specifies the object title options.
- Inspect — Allows you to drill down into the element data.
- Customize time range — Exposes a time filter dedicated to the map.
Add your own image
editTo personalize your workpad, add your own logos and graphics.
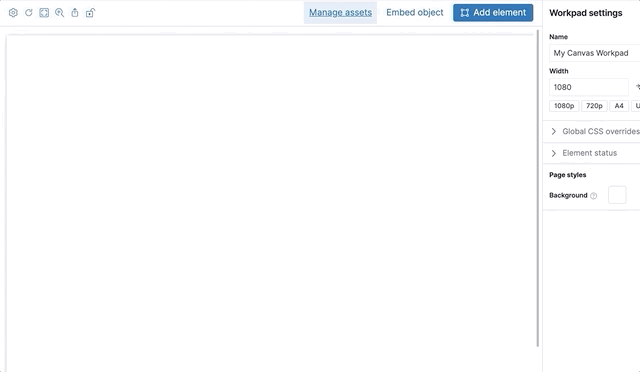
- Click Manage assets.
- On the Manage workpad assets window, drag and drop your images.
-
To add the image to the workpad, click the Create image element icon.
Organize elements
editMove and resize your elements to meet your design needs.
- To move, click and hold the element, then drag to the new location.
- To move by 1 pixel, select the element, press and hold Shift, then use your arrow keys.
- To move by 10 pixels, select the element, then use your arrow keys.
- To resize, click and drag the resize handles to the new dimensions.
Format elements
editAlign, distribute, and reorder elements for consistency and readability across your workpad pages.
Access the align, distribute, and reorder options by clicking the Element options icon.
To align elements:
- Press and hold Shift, then select the elements you want to align.
- Click the , then select Group.
- Click the Element options icon, then select Alignment.
- Select the alignment option.
To distribute elements:
- Press and hold Shift, then select the elements you want to distribute.
- Click the Element options icon, then select Group.
- Click the Element options icon, then select Distribution.
- Select the distribution option.
To reorder elements:
- Select the element you want to reorder.
- Click the Element options icon, then select Order.
- Select the order option.
Change the element display options
editEach element has its own display options to fit your design needs.
To choose the display options, click Display, then make your changes.
To define the appearance of the container and border:
- Next to Element style, click +, then select Container style.
- Expand Container style.
- Change the Appearance and Border options.
To apply CSS overrides:
- Next to Element style, click +, then select CSS.
-
Enter the CSS.
For example, to center the Markdown element, enter:
.canvasRenderEl h1 { text.align: center; } - Click Apply stylesheet.
Save elements
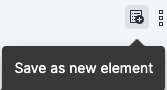
editTo use the elements across all workpads, save the elements.
When you’re ready to save your element, select the element, then click the Save as new element icon.
To save a group of elements, press and hold Shift, then select the elements you want to save.
To access your saved elements, click Add element, then select My elements.
Delete elements
editWhen you no longer need an element, delete it from your workpad.
- Select the element you want to delete.
-
Click the Element options icon.
- Select Delete.