Showcase your data with elements
editShowcase your data with elements
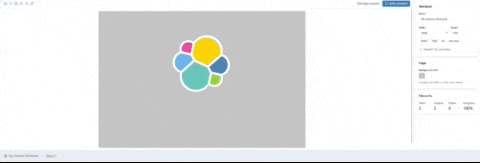
editCanvas elements are the building blocks of your workpad. With elements, you can combine images, text, and visualizations to tell a story about your data.
When you add elements to your workpad, you can:
Add elements to your workpad
editChoose the elements to display on your workpad, then familiarize yourself with the element using the preconfigured demo data. By default, every element you add to a workpad uses demo data until you change the data source. The demo data includes a small sample data set that you can use to experiment with your element.
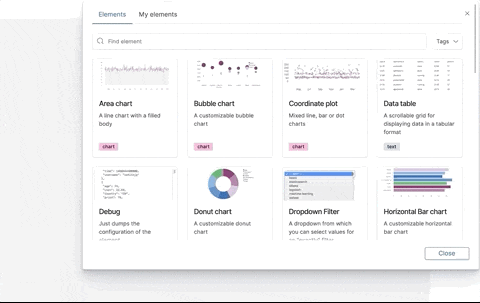
- Click Add element.
-
In the Elements window, select the element you want to use.
- Play around with the default settings and see what the element can do.
Want to use a different element? You can delete the element by selecting it, clicking the Element options icon in the top right, then selecting Delete.
Connect the element to your data
editWhen you have finished using the demo data, connect the element to a data source.
- Make sure that the element is selected, then select Data.
- Click Change your data source.
Connect to Elasticsearch SQL
editAccess your data in Elasticsearch using SQL syntax. For information about SQL syntax, refer to SQL language.
- Click Elasticsearch SQL.
- In the Elasticsearch SQL query box, enter your query, then Preview it.
- If everything looks correct, Save it.
Connect to Elasticsearch raw data
editAccess your raw data in Elasticsearch without the use of aggregations. Use Elasticsearch raw data when you have low volume datasets, or to plot exact, non-aggregated values.
To use targeted queries, you can enter a query using the Lucene Query Syntax.
- Click Elasticsearch raw documents.
- In the Index field, enter the index pattern that you want to display.
- From the Fields dropdown, select the associated fields you want to display.
- To sort the data, select an option from the Sort Field and Sort Order dropdowns.
- For more targeted queries, enter a Query using the Lucene query string syntax.
- Preview the query.
- If your query looks correct, Save it.
Connect to Timelion
editAccess your time series data using Timelion queries. To use Timelion queries, you can enter a query using the Lucene Query Syntax.
- Click Timelion.
- Enter a Query using the Lucene query string syntax.
- Enter the Interval, then Preview the query.
- If your query looks correct, Save it.
Choose the display options
editChoose how you want the elements to appear on your workpad.
Specify how to display the data
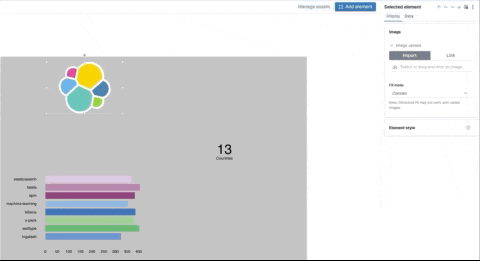
editWhen you connect your element to a data source, the element often appears as a warning. To remove the error, specify the display options.
- Click Display
- Change the display options for the element.
Change the appearance of the element container
editFurther define the appearance of the element container and border.
- Next to Element style, click +, then select Container style.
- Expand Container style.
- Change the Appearance and Border options.
Apply a set of styles
editTo make your element look exactly the way you want, apply CSS overrides.
- Next to Element style, click +, then select CSS.
-
Enter the CSS. For example, to center the Markdown element, enter:
.canvasRenderEl h1 { text.align: center; } - Click Apply stylesheet.
Change the data auto-refresh interval
editIncrease or decrease how often your data refreshes on your workpad.
- In the top left corner, click the Control settings icon.
-
Under Change auto-refresh interval, select the interval you want to use.
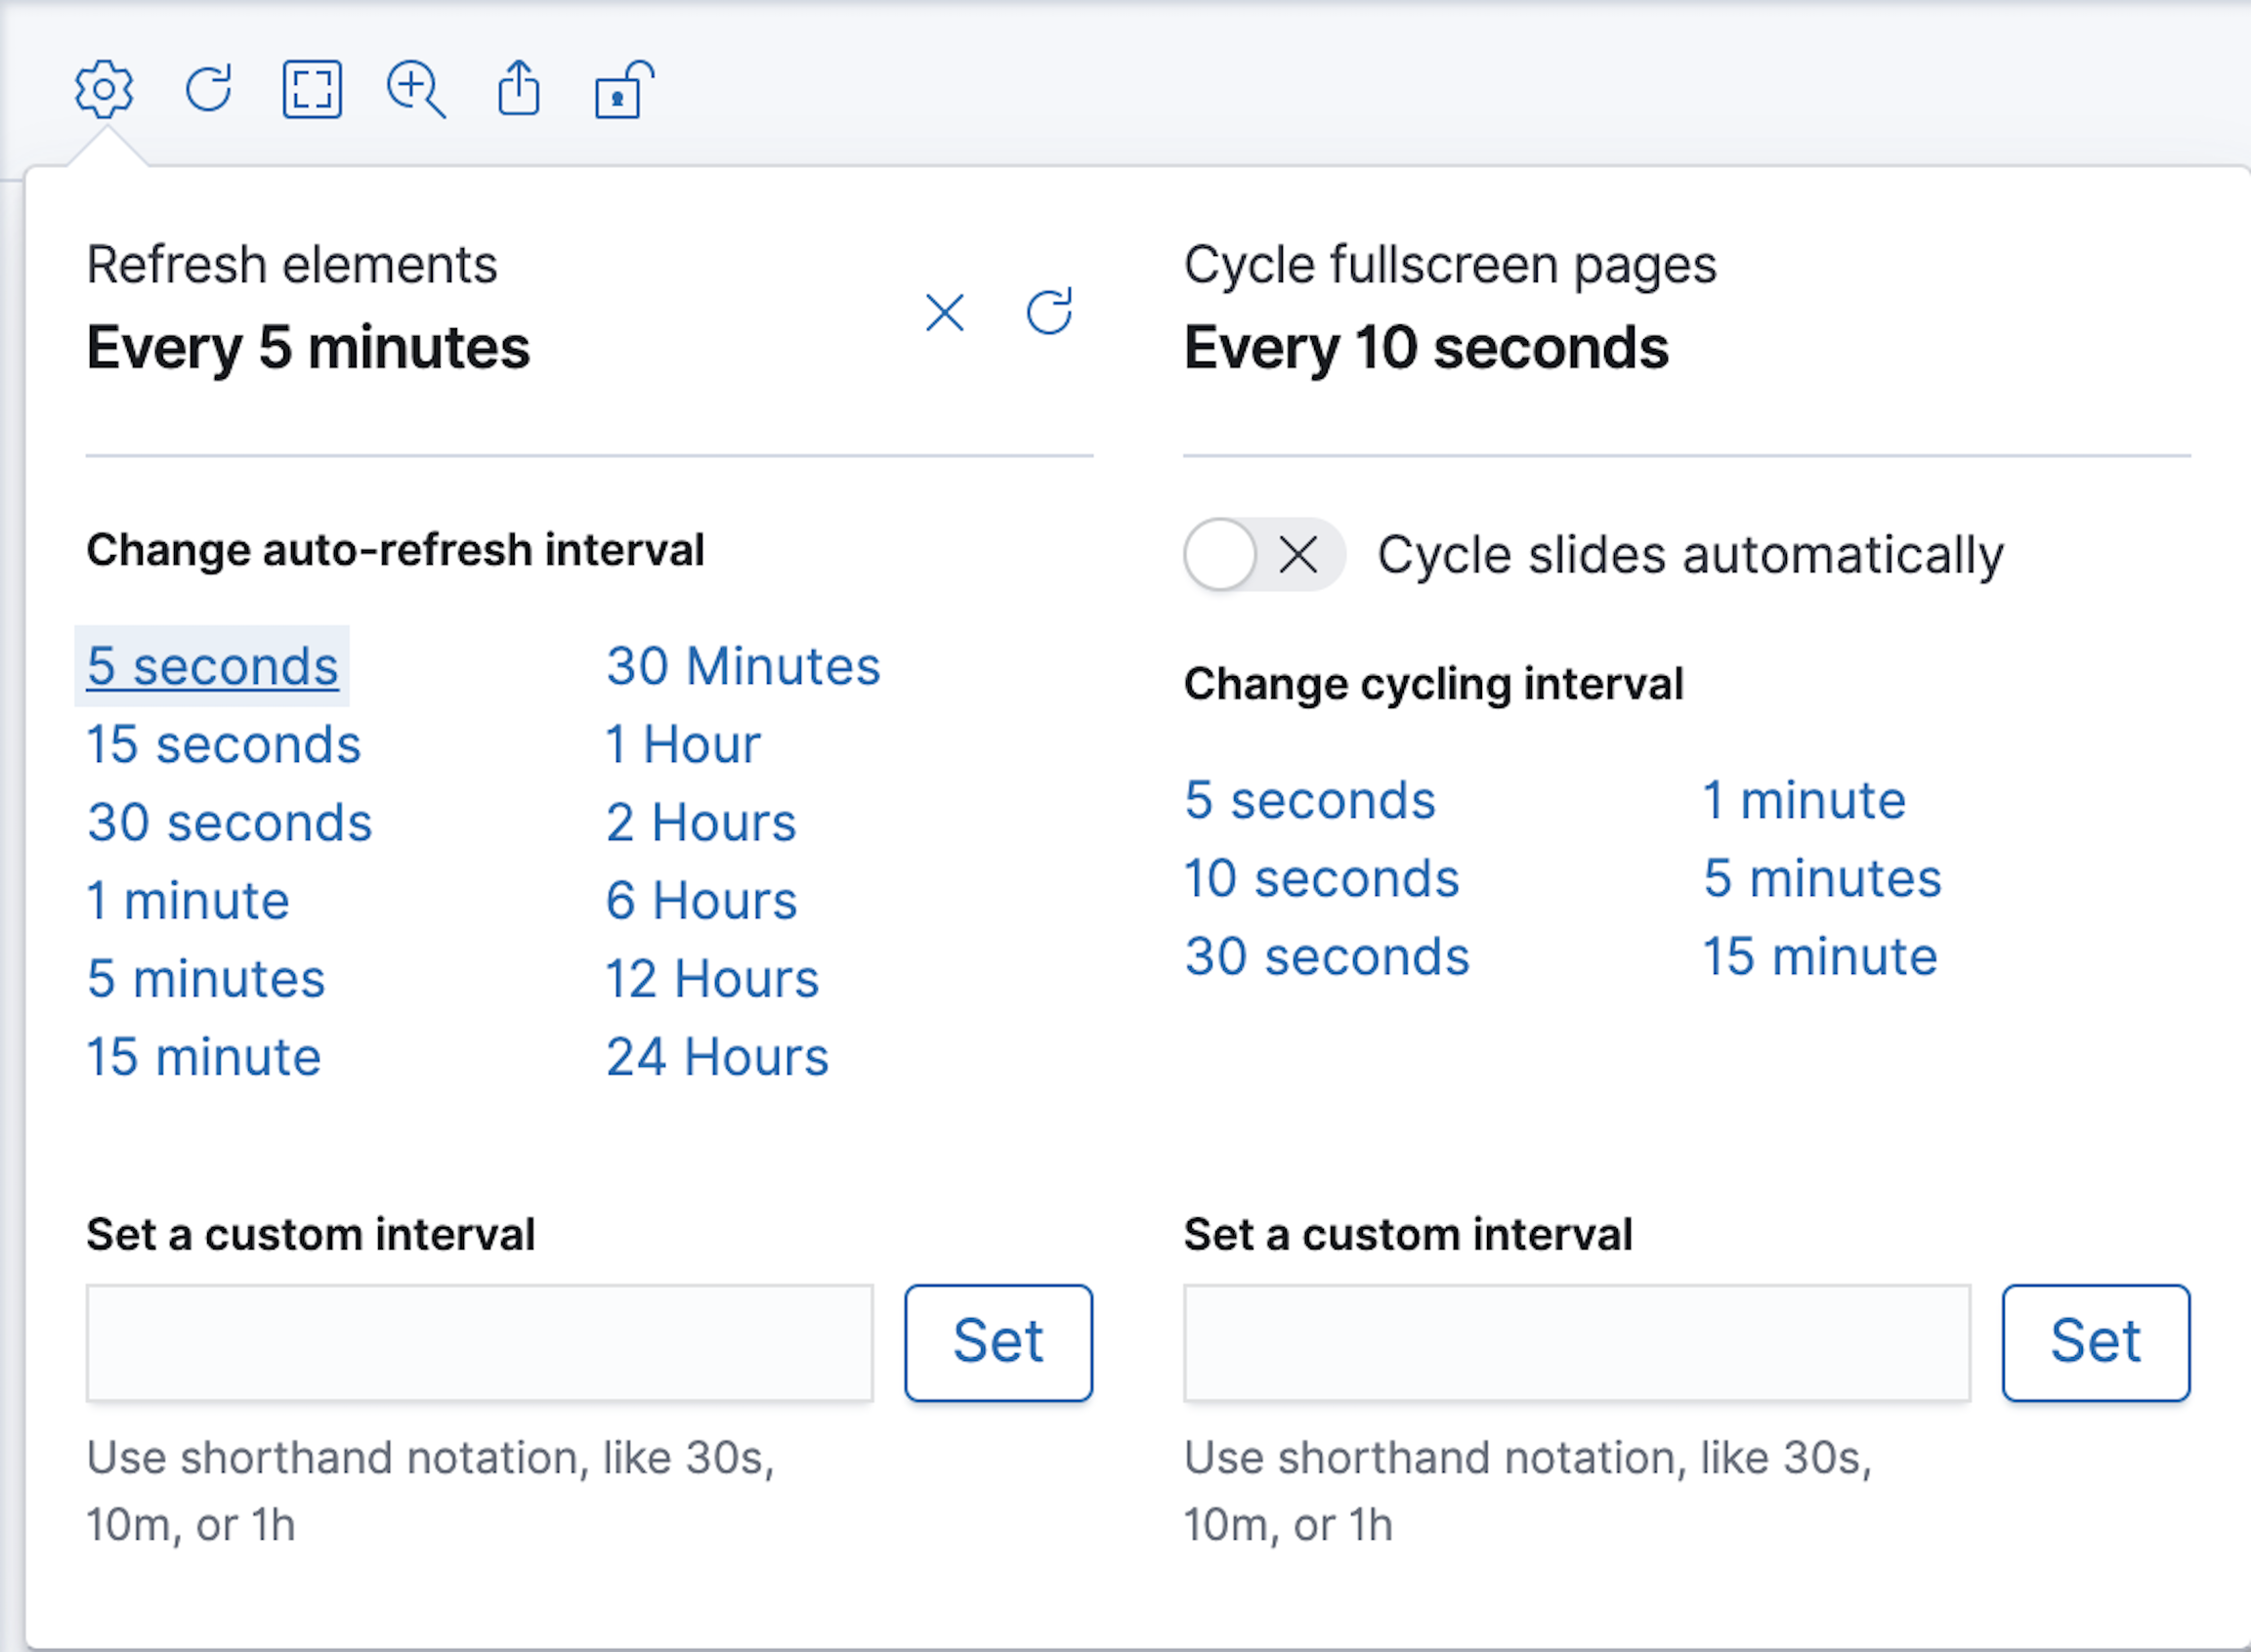
To manually refresh the data, click the Refresh data icon.
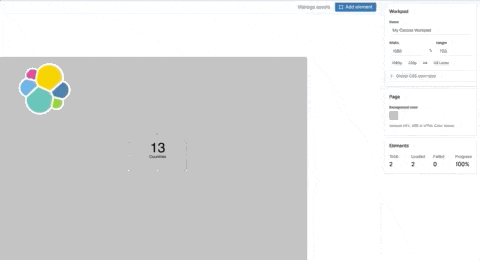
Organize the elements on your workpad
editChoose where you want the elements to appear on your workpad.
Move elements
editMove the element to a preferred location on your workpad. As you move the element, notice the alignment lines that appear to help you place the element exactly where you want it.
- Click and drag the element to your preferred location.
- To move the element by 1 pixel, select the element, press and hold Shift, then use your arrow keys.
- To move the element by 10 pixels, select the element, then use your arrow keys.
Resize elements
editMake your elements bigger or smaller than the default size.
- Select the element.
- Click and drag the resize handles to the size you want.
Align elements
editAlign two or more elements on your workpad.
- Press and hold Shift, then select the elements you want to align.
- Click the Element options icon in the top right corner, then select Align elements.
-
From the Alignment menu, select how you want to align the elements on the workpad.
Distribute elements
editDistribute three or more elements on your workpad.
- Press and hold Shift, then select the elements you want to distribute.
- Click the Element options icon in the top right corner, then select Distribute elements.
-
From the Distribution menu, select how you want to distribute the elements on the workpad.
Change the element order
editChange the order of how the elements are displayed on your workpad.
- Select an element.
- In the top right corder, click the Element options icon.
- Select Order, then select the order that you want the element to appear.
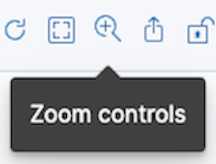
Use the zoom options
editIn the upper left corner, click the Zoom controls icon, then select one of the options.
Save elements
editAfter you have made changes to elements, save them so that you can reuse them across all of your workpads.
-
Select the element that you want to save.
To save a group of elements, press and hold Shift, then select the elements you want to save.
- Click the Save as new element icon.
- In the Create new element window, enter a Name.
- Enter an optional Description, then click Save.
- To access the element, click Add element, then select My elements.
Add pages
editWhen you have run out of room on your workpad page, add more pages.
- Click Page 1, then click +.
-
On the Page editor panel on the right, select the page transition from the Transition dropdown.