Deploy Fleet Server on-premises and Elasticsearch on Cloud
editDeploy Fleet Server on-premises and Elasticsearch on Cloud
editTo use Fleet for central management, a Fleet Server must be running and accessible to your hosts. Deploying Fleet Server on-premises to work with a hosted Elasticsearch Service is one of several approaches to setting up Fleet Server.

To deploy a self-managed Fleet Server on-premises to work with a hosted Elasticsearch Service, you need to:
- Satisfy all compatibility requirements and prerequisites
- Add Fleet Server hosts
- Create a Fleet Server policy
- Add Fleet Server by installing an Elastic Agent and enrolling it in an agent policy containing the Fleet Server integration
Compatibility
editFleet Server is compatible with the following Elastic products:
-
Elastic Stack 7.13 or later
- For version compatibility: Elasticsearch >= Fleet Server >= Elastic Agent (except for bugfix releases)
- Kibana should be on the same minor version as Elasticsearch
-
Elastic Cloud Enterprise 2.9 or later—allows you to use a hosted Fleet Server on Elastic Cloud.
-
Requires additional wildcard domains and certificates (which normally only
cover
*.cname, not*.*.cname). This enables us to provide the URL for Fleet Server ofhttps://.fleet.. - The deployment template must contain an Integrations Server node.
For more information about hosting Fleet Server on Elastic Cloud Enterprise, refer to Manage your Integrations Server.
-
Requires additional wildcard domains and certificates (which normally only
cover
Prerequisites
editBefore setting up Fleet Server using this approach, you will need a Certificate Authority (CA) certificate to configure Transport Layer Security (TLS) to encrypt traffic between the Fleet Servers and the Elastic Stack.
If your organization already uses the Elastic Stack, you may already have a CA certificate. If you do not have a CA certificate, you can read more about generating one in Configure SSL/TLS for self-managed Fleet Servers.
This is not required when testing and iterating using the Quick start option, but should always be used for production deployments.
Add Fleet Server hosts
editStart by adding one or more Fleet Server hosts. A Fleet Server host is a URL your Elastic Agents will use to connect to a Fleet Server.
Fleet Server hosts should meet the following requirements:
- All agents can connect to the host.
- The host also has a route to the Elasticsearch you plan to use.
- The host meets the minimum compute resource requirements based on the maximum number of agents you plan to support in your deployment.
To add a Fleet Server host:
- In Kibana, go to Management → Fleet → Settings. For more information about these settings, see Fleet settings.
-
Under Fleet Server hosts, click Edit hosts and specify one or more host URLs your Elastic Agents will use to connect to Fleet Server. For example,
https://192.0.2.1:8220, where192.0.2.1is the host IP where you will install Fleet Server. Save and apply your settings.If the Edit hosts option is grayed out, Fleet Server hosts are configured outside of Fleet. For more information, refer to Fleet settings in Kibana.
- Save and apply the settings.
Create a Fleet Server policy
editNext, you’ll create a Fleet Server policy. The Fleet Server policy manages and configures the Elastic Agent running on the Fleet Server host to launch a Fleet Server process.
To create a Fleet Server policy:
- In Kibana, navigate to the Fleet page and go to the Agent policies tab.
-
Click on the Create agent policy button, then:
- Provide a meaningful name for the policy that will help you identify this Fleet Server (or cluster) in the future.
- Ensure you select Collect system logs and metrics so the compute system hosting this Fleet Server can be monitored. (This is not required, but is highly recommended.)
- After creating the Fleet Server policy, navigate to the policy itself and click Add integration.
- Search for and select the Fleet Server integration.
- Then click Add Fleet Server.
-
Configure the Fleet Server:
-
Expand Change default. Because you are deploying this Fleet Server on-premises,
you need to enter the Host address and Port number,
8220. (In our example the Fleet Server will be installed on the host10.128.0.46.) - It’s recommended that you also enter the Max agents you intend to support with this Fleet Server. This can also be modified at a later stage. This will allow the Fleet Server to handle the load and frequency of updates being sent to the agent and ensure a smooth operation in a bursty environment.
-
Expand Change default. Because you are deploying this Fleet Server on-premises,
you need to enter the Host address and Port number,
Add Fleet Servers
editNow that the policy exists, you can add Fleet Servers. A Fleet Server is an Elastic Agent that is enrolled in a Fleet Server policy. The policy configures the agent to operate in a special mode to serve as a Fleet Server in your deployment.
To add a Fleet Server:
- Click the Agents tab.
- Click Add Fleet Server.
-
This will open in-product instructions for adding a Fleet Server using one of two options. Choose Advanced.
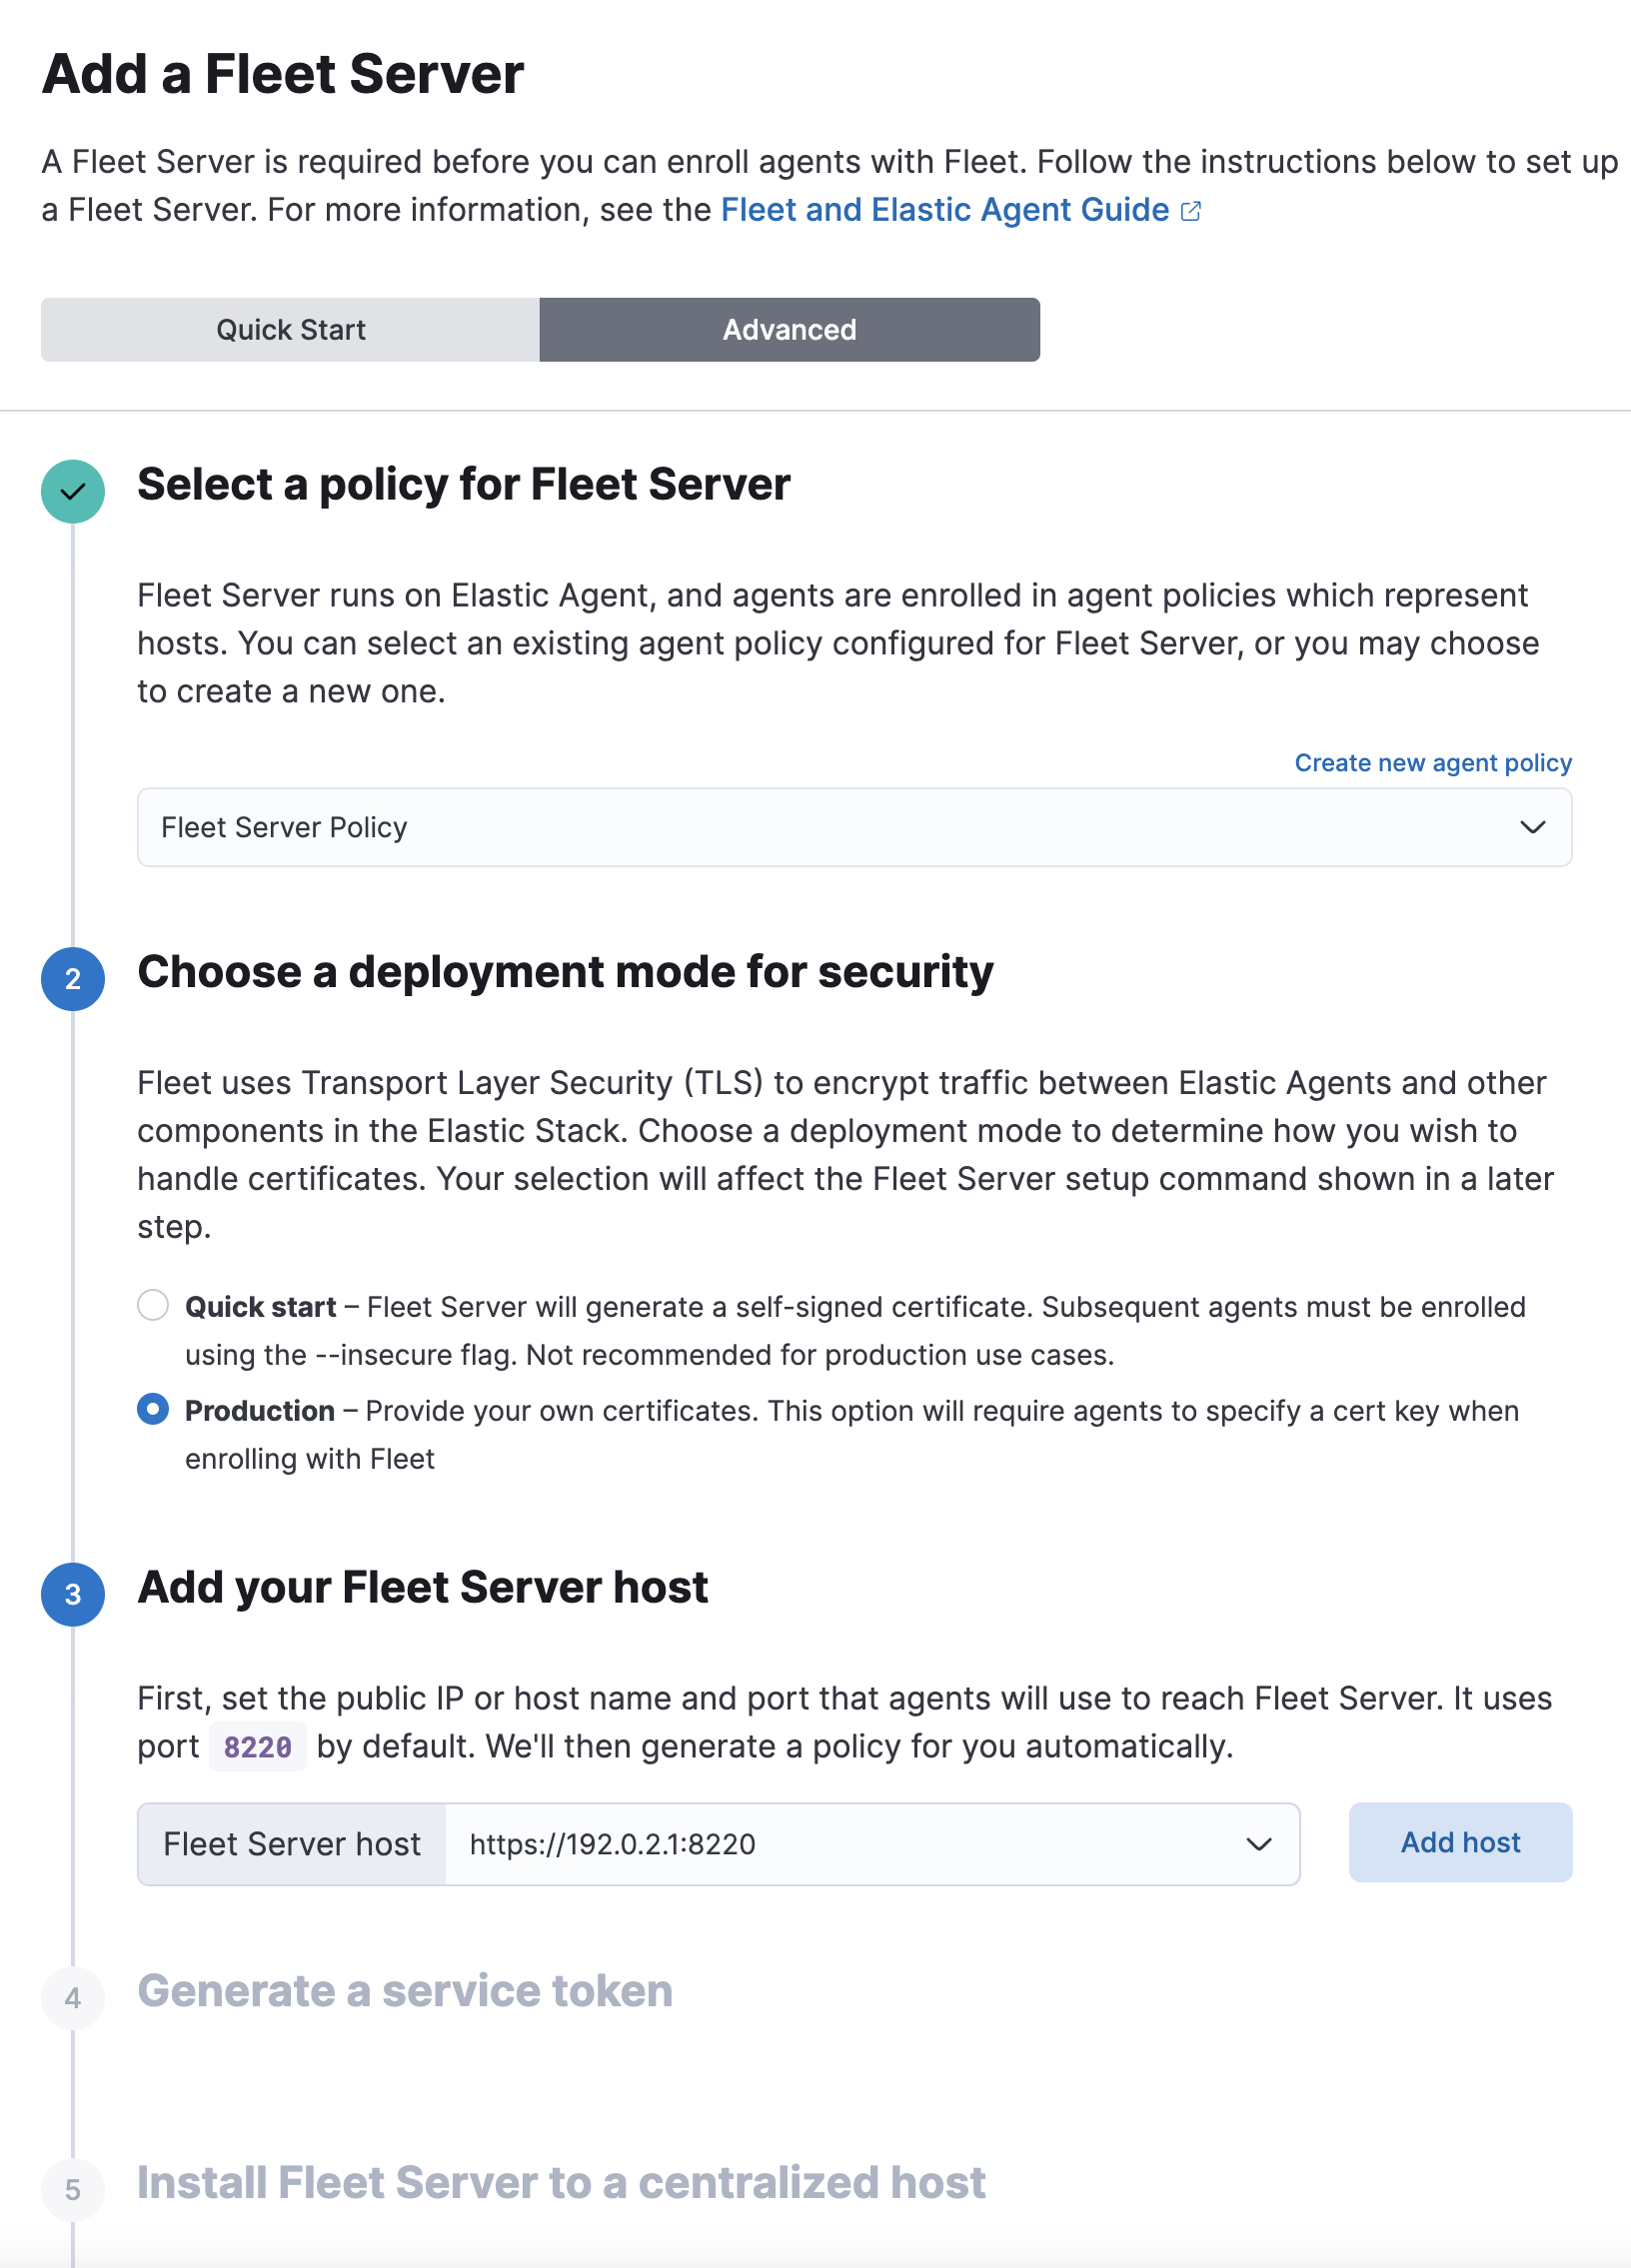
-
Follow the in-product instructions to add a Fleet Server.
- Choose the policy name for this deployment.
-
Choose Production as your deployment mode.
Production mode is the fully secured mode where TLS certificates ensure a secure communication between Fleet Server and Elasticsearch.
- Select the Fleet Server host that was identified earlier. Click Add host.
- A Service Token is required so the Fleet Server can write data to the connected Elasticsearch instance. Click Generate service token and copy the generated token.
- Copy the installation instructions provided in Kibana, which include some of the known deployment parameters.
-
Replace the value of the
--certificate-authoritiesparameter with your CA certificate.
After Fleet Server is installed and enrolled in Fleet, the newly created Fleet Server policy is applied. You can see this on the Fleet Server policy page.
The Fleet Server agent will also show up on the main Fleet page as another agent whose life-cycle can be managed (like other agents in the deployment).
Next steps
editNow you’re ready to add Elastic Agents to your host systems. To learn how, see Install Fleet-managed Elastic Agents.