Elastic Agent policies
editElastic Agent policies
editThis functionality is in beta and is subject to change. The design and code is less mature than official GA features and is being provided as-is with no warranties. Beta features are not subject to the support SLA of official GA features.
A policy is a collection of inputs and settings that defines the data to be collected by an Elastic Agent. Each Elastic Agent can only be enrolled in a single policy.
Within an Elastic Agent policy is a set of individual integration policies. These integration policies define the settings for each input type. The available settings in an integration depend on the version of the integration in use.
Fleet uses Elastic Agent policies in two ways:
- Policies are stored in a plain-text YAML file and sent to each Elastic Agent to configure its inputs.
- Policies provide a visual representation of an Elastic Agents configuration in the Fleet UI.
Policy benefits
editElastic Agent policies have many benefits that allow you to:
- Apply a logical grouping of inputs aimed for a particular set of hosts.
- Maintain flexibility in large-scale deployments by quickly testing changes before rolling them out.
- Provide a way to group and manage larger swaths of your infrastructure landscape.
For example, it might make sense to create a policy per operating system type: Windows, macOS, and Linux hosts. Or, organize policies by functional groupings of how the hosts are used: IT email servers, Linux servers, user work-stations, etc. Or perhaps by user categories: engineering department, marketing department, etc.
Policy types
editIn most use cases, Fleet provides complete central management of Elastic Agents. However some use cases, like running in Kubernetes or using our hosted Elasticsearch Service on Elastic Cloud, require Elastic Agent infrastructure management outside of Fleet. With this in mind, there are two types of Elastic Agent policies:
- regular policy: The default use case, where Fleet provides full central management for Elastic Agents. Users can manage Elastic Agent infrastructure by adding, removing, or upgrading Elastic Agents. Users can also manage Elastic Agent configuration by updating the Elastic Agent policy.
-
hosted policy: A policy where something else provides central management for Elastic Agents. For example, in Kubernetes, adding, removing, and upgrading Elastic Agents should be configured directly in Kubernetes. Allowing Fleet users to manage Elastic Agents would conflict with any Kubernetes configuration.
Hosted policies also apply when using our hosted Elasticsearch Service on Elastic Cloud. Elastic Cloud is responsible for hosting Elastic Agents and assigning them to a policy. Platform operators, who create and manage Elastic deployments can add, upgrade, and remove Elastic Agents through the Elastic Cloud console.
Hosted policies display a lock icon in the Fleet UI, and actions are restricted. The following table illustrates the Fleet user actions available to different policy types:
| Fleet user action | Regular policy | Hosted policy |
|---|---|---|
|
|
|
|
|
|
|
|
|
|
|


Create a policy
editTo manage your Elastic Agents and the data they collect, create a new policy:
-
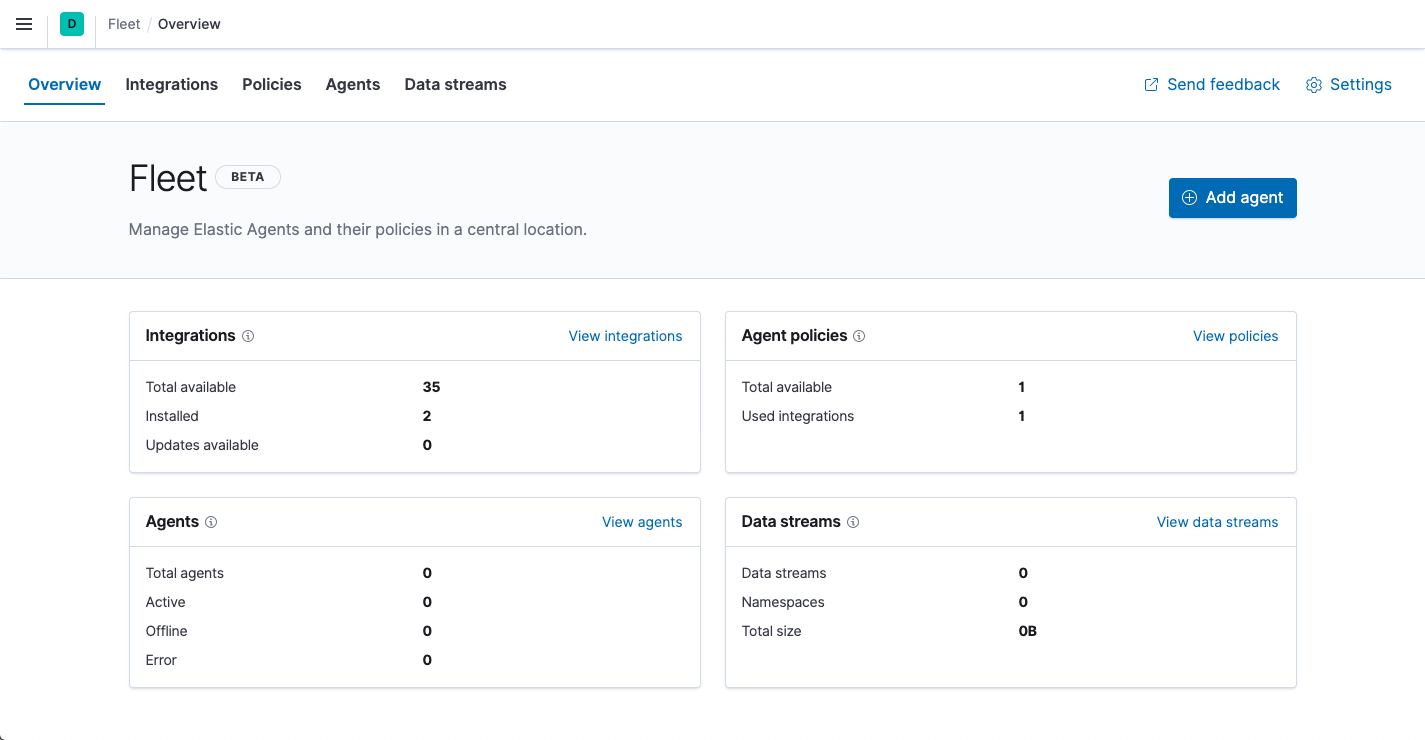
Log in to Kibana and go to Management > Fleet.
-
In Fleet, click Policies > Create agent policy. Name your policy. All other fields are optional and can be modified later. By default, each policy enables the system integration, which collects system information and metrics.
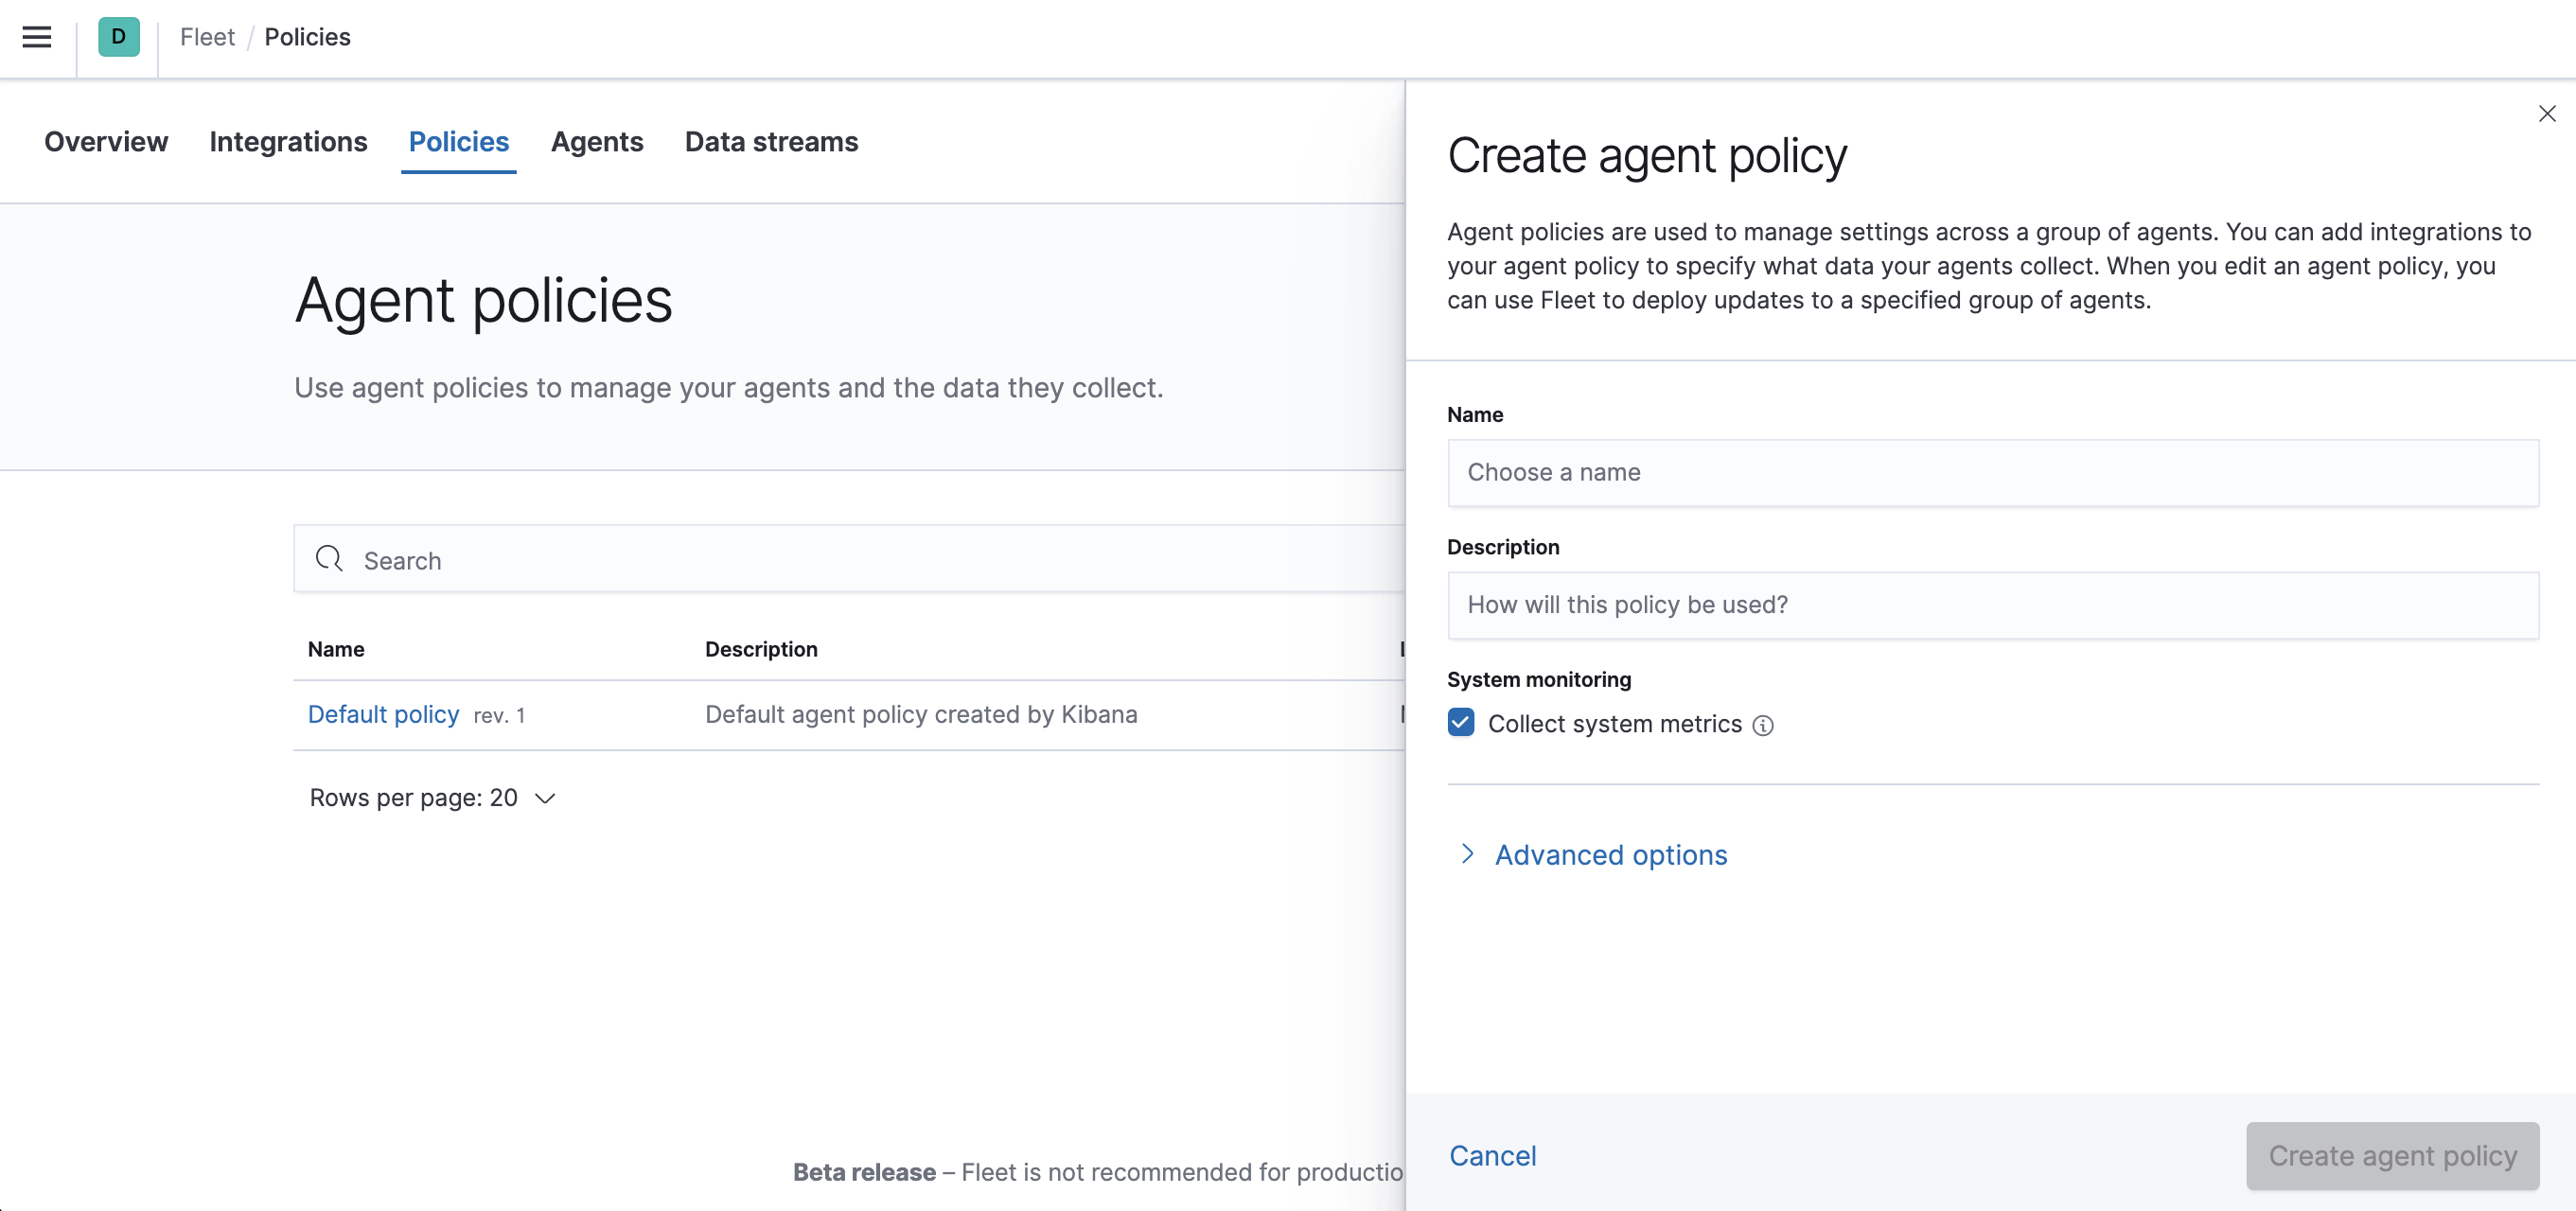
- Click Create agent policy.
Consider leaving the Default policy unchanged and unused.
It can serve as a useful comparison tool if you run into problems.
Add an integration to a policy
editPolicies consist of one or more integrations. To add a new integration to a policy:
- In Fleet, click Policies. Click the name of the policy you want to add an integration to.
- Click Add integration.
- Search for and select an integration. Name the integration, and add any required configuration variables.
- Click Save integration to save the integration policy as a part of the larger Elastic Agent policy. Fleet will distribute this new policy to all Elastic Agents that are enrolled with it.
After the policy has finished applying, the selected integration will be running on the host and communicating with the Elastic Agent!
Apply a policy
editThe first time you use Fleet, you need to set it up. See the Fleet quick start guide for more information.
You can apply policies to one or more Elastic Agents. To apply a policy:
-
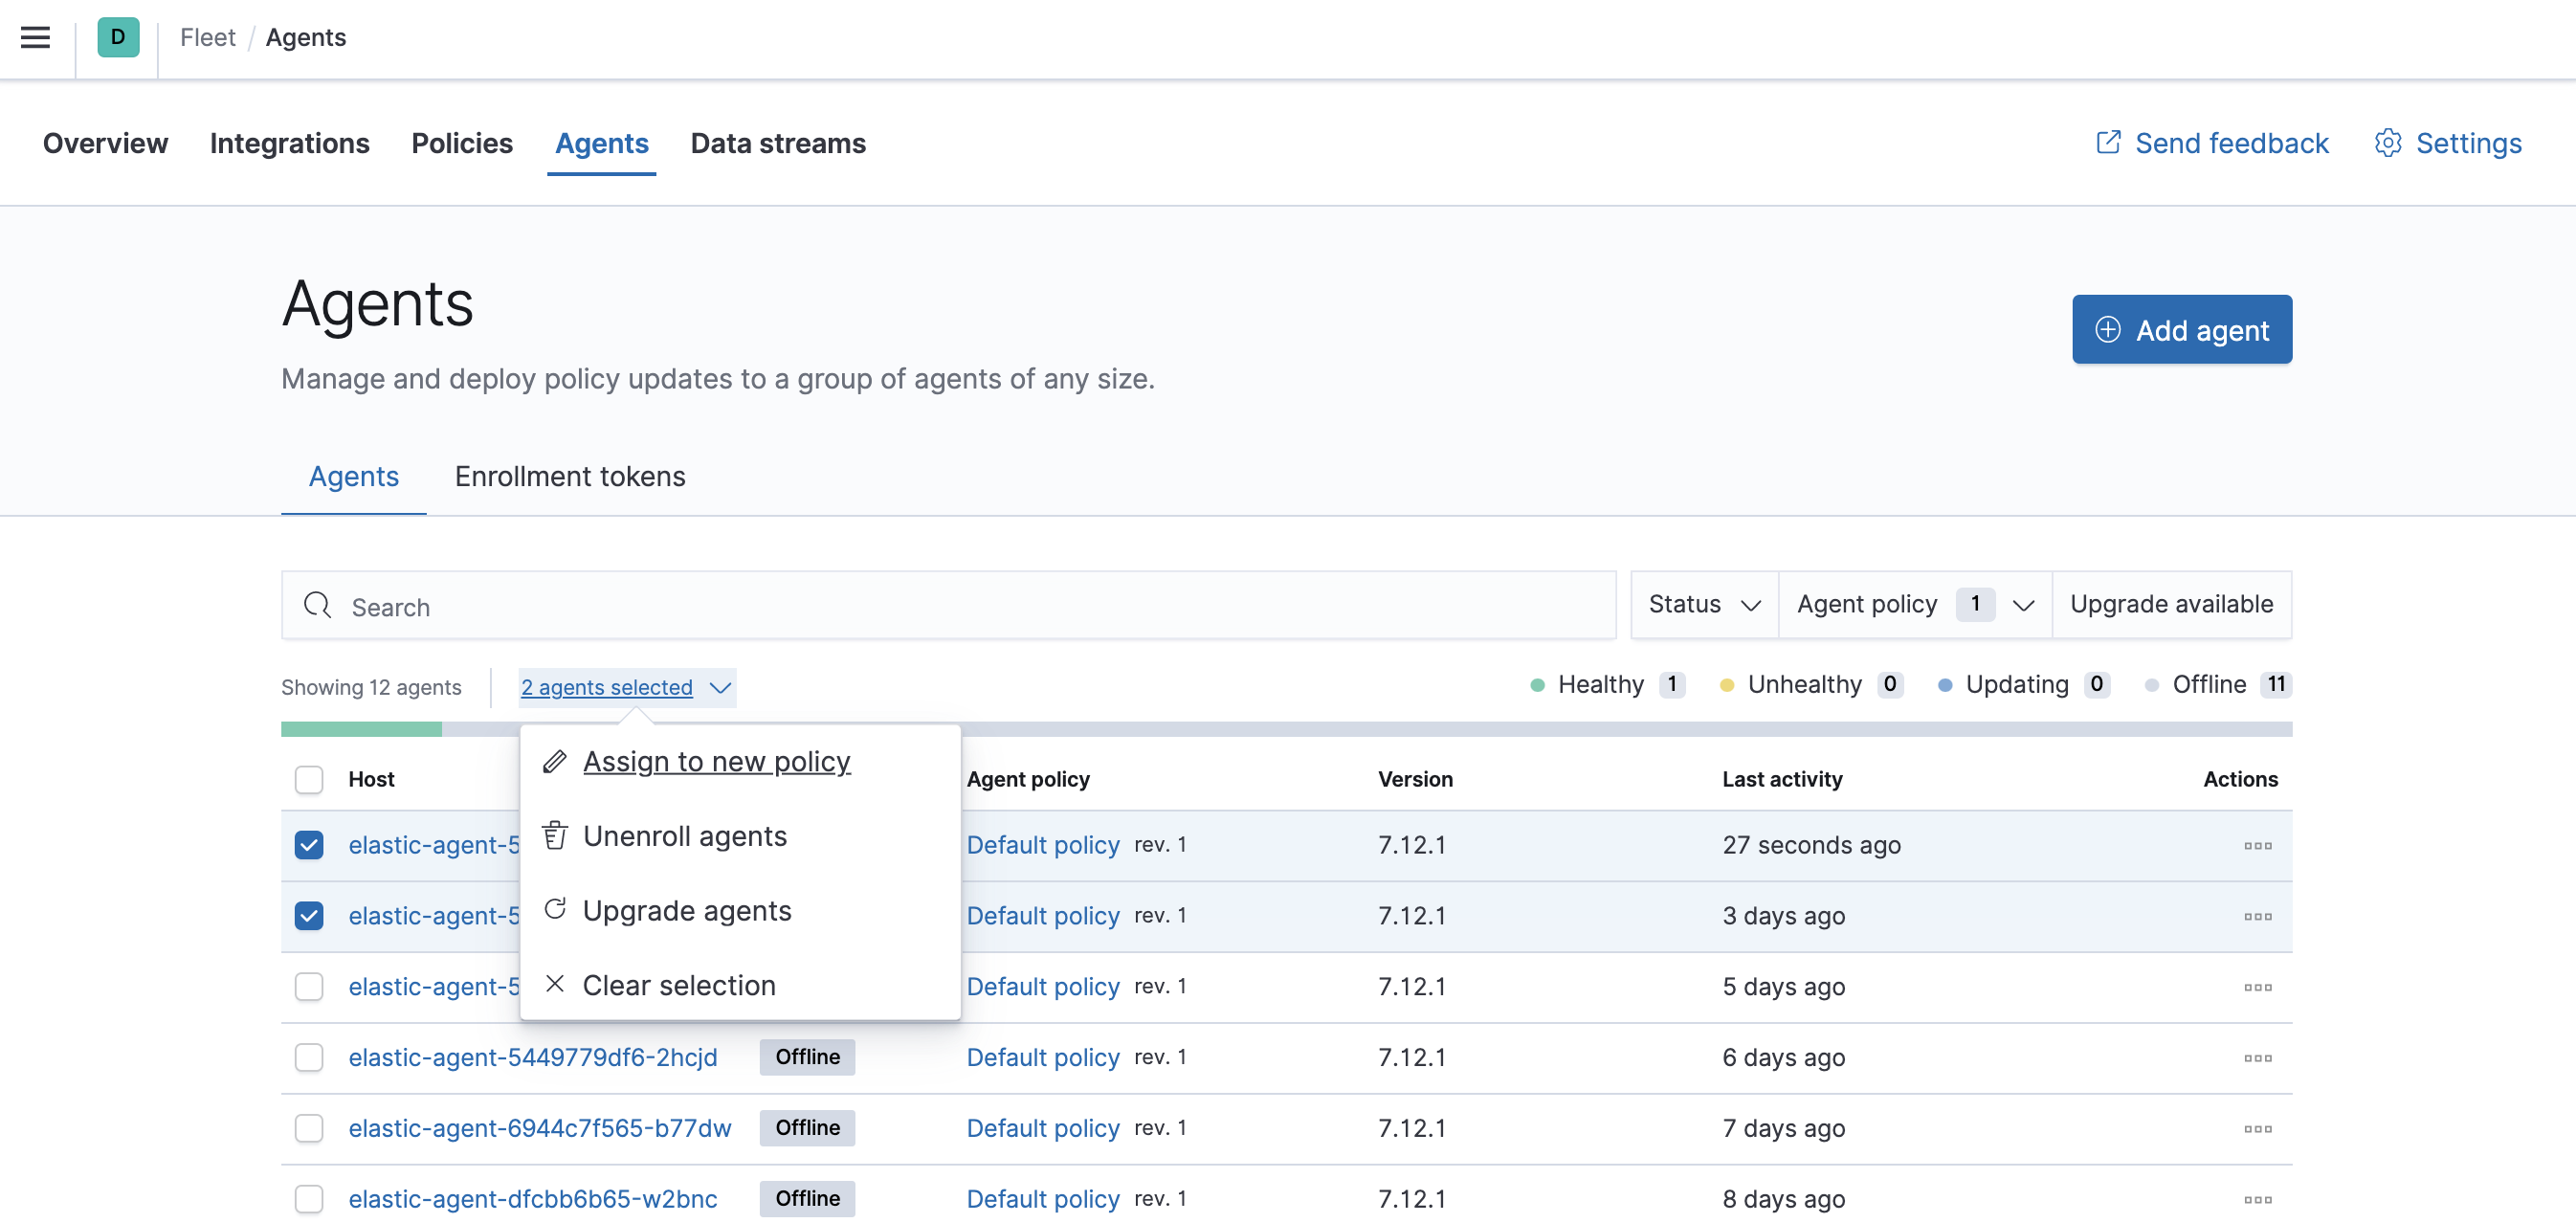
In Fleet, click Agents. Use the check-boxes on the left to select the Elastic Agents you want to assign to the new policy. After one or more Elastic Agents have been selected, click Assign to new policy under the bulk action dropdown.
-
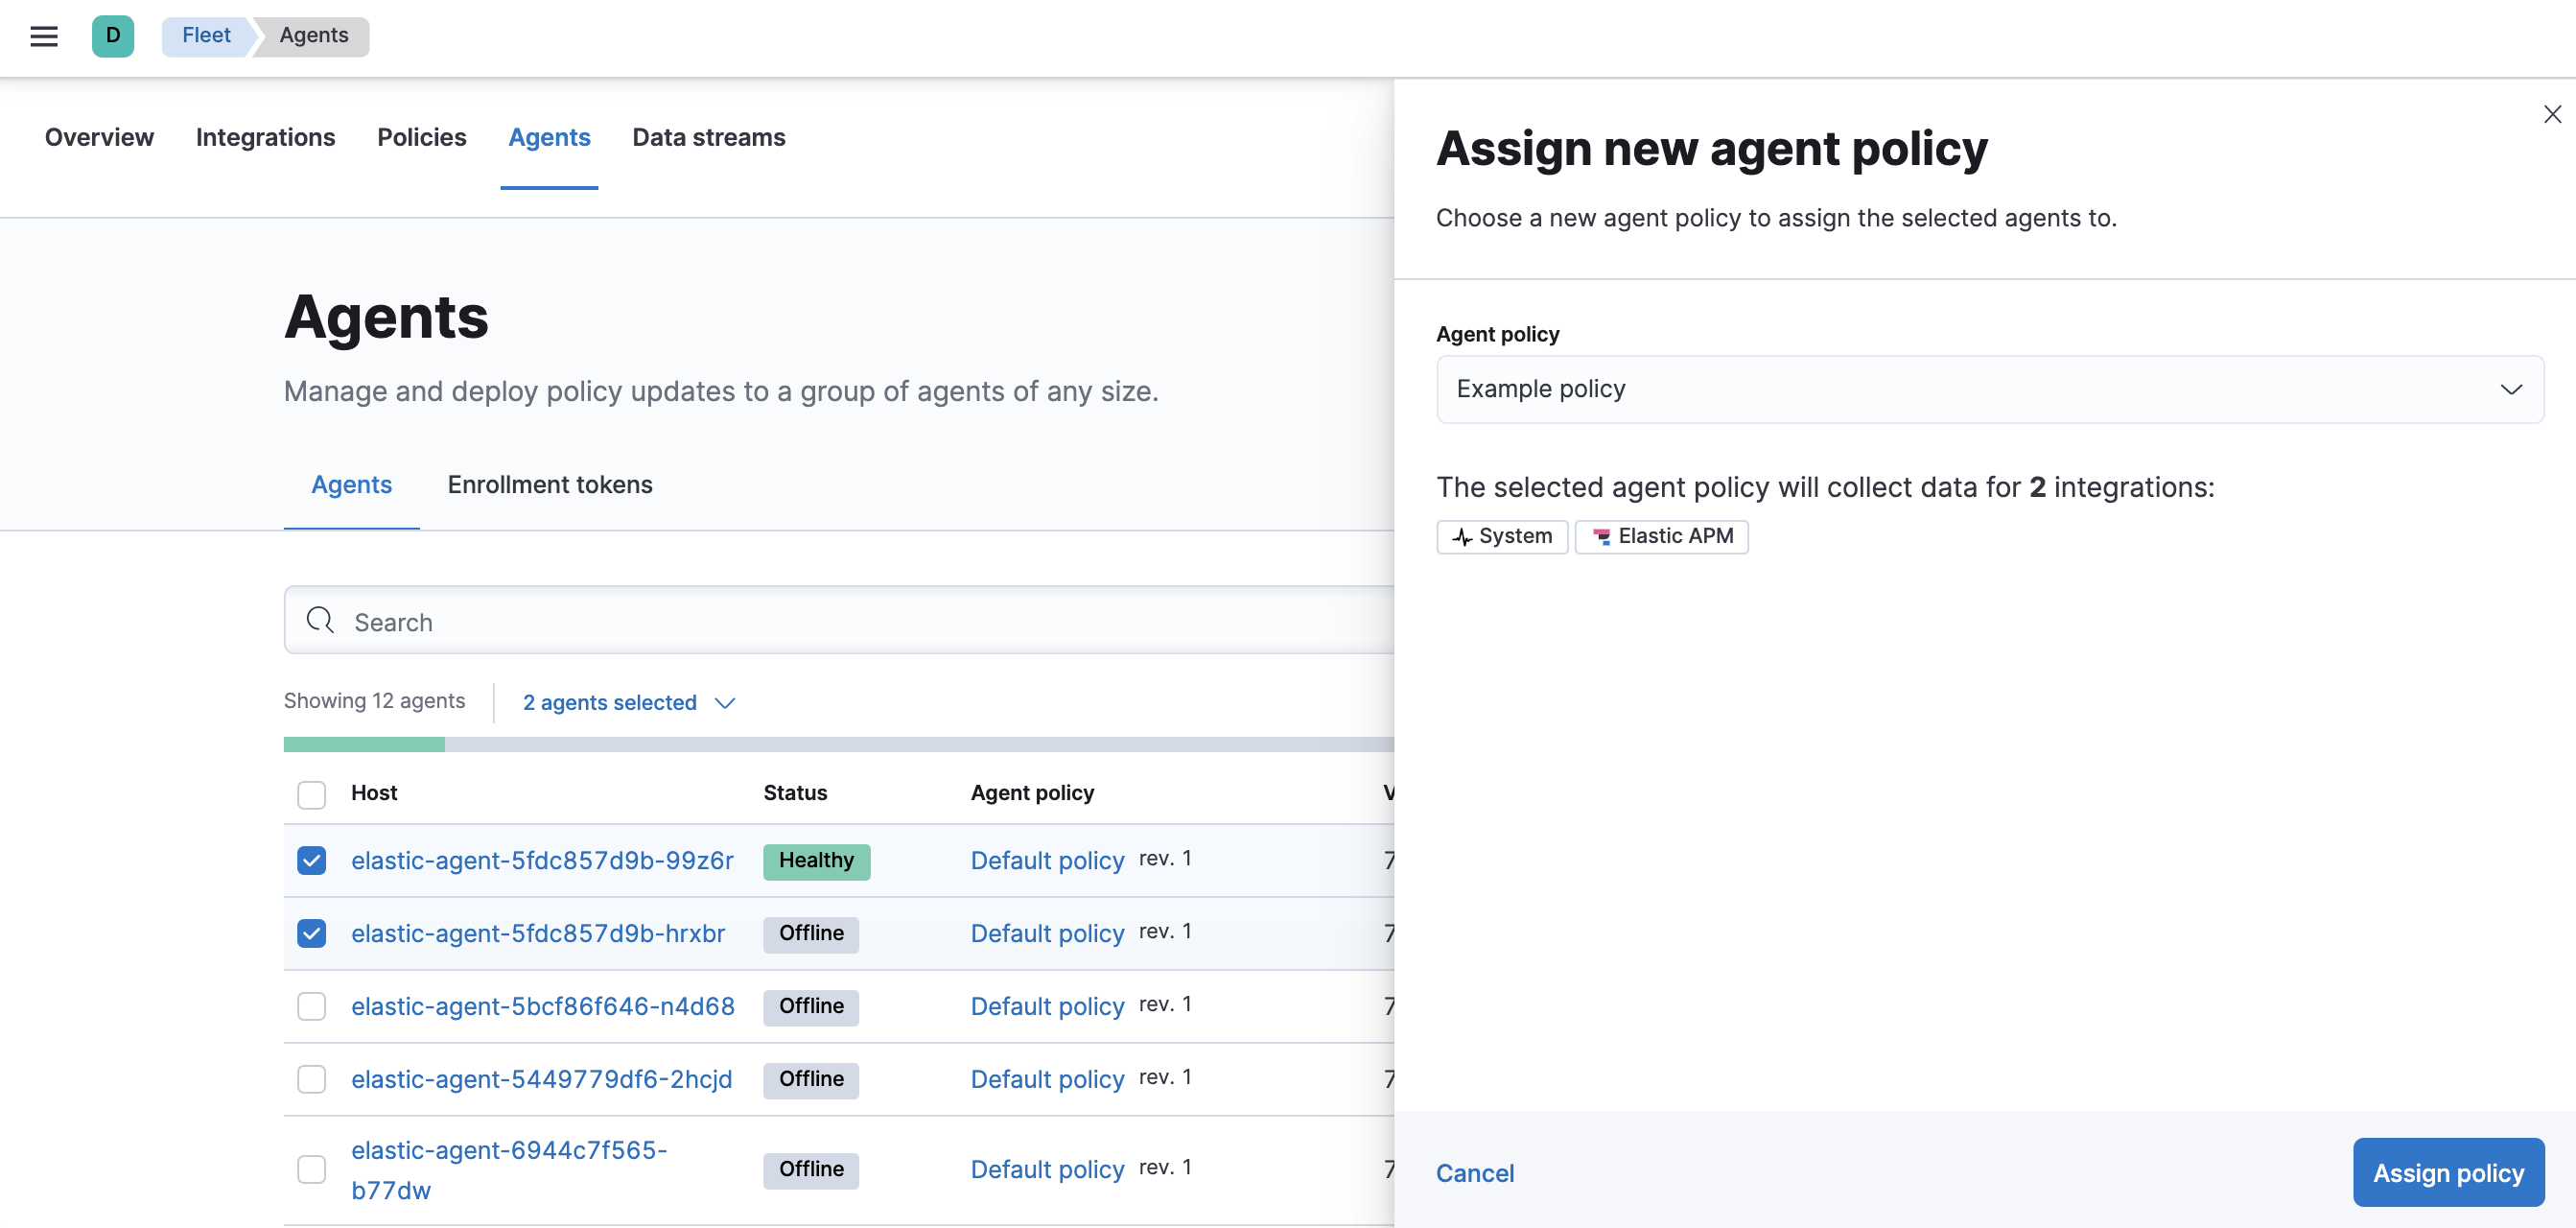
Select the Elastic Agent policy from the dropdown list, and click Assign policy.
The Elastic Agent status indicator and Elastic Agent logs indicate that the policy is being applied. It may take a few minutes for the policy change to complete before the Elastic Agent status updates to "Healthy".
Edit or delete a policy integration
editIntegrations can easily be reconfigured or deleted. To edit or delete a policy integration:
- In Fleet, click Policies. Click on the name of the policy you want to edit or delete.
-
Search or scroll to a specific integration. Open the Actions menu and select Edit integration or Delete integration.
Editing or deleting an integration is permanent and cannot be undone. If you make a mistake, you can always re-configure or re-add an integration.
Any saved changes are immediately distributed and applied to all Elastic Agents enrolled in the given policy.
Copy a policy
editPolicy definitions are stored in a plain-text YAML file that can be downloaded or copied to another policy:
- In Fleet, click Policies. Click on the name of the policy you want to copy or download.
-
To copy a policy, click Actions > Copy policy. Name the new policy, and provide a description. The exact policy definition is copied to the new policy.
Alternatively, view and download the policy definition by clicking Actions > View policy.
Edit or delete a policy
editYou can change high-level configurations like a policy’s name, description, default namespace, and agent monitoring status as necessary:
- In Fleet, click Policies. Click on the name of the policy you want to edit or delete.
-
Click the Settings tab, make changes, and click Save changes
Alternatively, click Delete policy to delete the policy. Existing data is not deleted. Any agents assigned to a policy must be unenrolled or assigned to a different policy before a policy can be deleted.
Integration updates
editElastic releases integration updates periodically. Through the online Elastic Package Registry and the Kibana Elastic Package Manager, Integrations are delivered to the Elastic Stack. When Elastic releases a new Integration, it shows up in the Integrations listing in Kibana after a restart (like during a stack upgrade). A refresh can also be triggered manually, with the Fleet API.
The latest Elastic Package registry version of an integration is the only version integrated into Elastic Agent policies. Previously installed versions will continue to work.
Update an integration
edit- In Fleet, click Integrations. Search for and select the integration you’d like to update.
-
If an update is available, click Update.
Because updates can change the behavior of hosts, they must be explicitly requested in the Fleet app.
- Create a new policy.
- Add the integration to the policy. The newer version is automatically used
-
Apply the policy to an Elastic Agent.
In larger deployments, you should test integration updates on a sample Elastic Agent before rolling out a larger upgrade initiative. Only after a small trial is deemed successful should the updated policy be rolled out all hosts.
Roll-out an integration update
editAfter successfully testing an integration update, it can be safely rolled-out to additional hosts:
- In Fleet, click Policies. Click on the name of the policy you want to edit or delete.
- Search or scroll to a specific integration. Open the Actions menu and select Delete integration.
- Click Add integration and re-add the freshly deleted integration. The updated version will be used and applied to all Elastic Agents.
- Repeat this process for each policy with the out-of-date integration.
In some instances, for example, when there are hundreds or thousands of different Elastic Agents and policies that need to be updated, this upgrade path is not feasible. In this case, update one policy and use the Copy a policy action to apply the updated policy versions to additional policies. This method’s downside is losing the granularity of assessing the individual Integration version changes individually across policies.