It is time to say goodbye: This version of Elastic Cloud Enterprise has reached end-of-life (EOL) and is no longer supported.
The documentation for this version is no longer being maintained. If you are running this version, we strongly advise you to upgrade. For the latest information, see the current release documentation.
Log in and Create Your First Cluster
editLog in and Create Your First Cluster
editNow that you have installed Elastic Cloud Enterprise on your first host and on any additional hosts you want to use, you are ready to provision your first cluster in the Cloud UI.
Log into the Cloud UI
editYou can access the Cloud UI over either HTTP or HTTPS. Secure access through the HTTPS protocol is available with certificates generated during the installation of Elastic Cloud Enterprise, but will prompt you with a warning in your browser. If your organization provides them, add your own TLS/SSL security certificates to avoid receiving a warning in your browser in the future.
To access the Cloud UI in a web browser:
-
Connect to one of the URLs provided at the end of the installation process on your first host, replacing
FIRST_HOSTwith the correct IP address or DNS hostname. Use the credentials provided with the URLs to log in.http://FIRST_HOST:12400 https://FIRST_HOST:12443
You can use either the
rootuser or thereadonlyuser to log in, but only therootuser has the required privileges to make changes to any resources in the Cloud UI. If you are logging into the Cloud UI for the first time, use therootuser.On AWS and not able to access the Cloud UI? Check if the URL points to a private IP address.
-
Log in as user
rootwith the credentials provided. - If this is your first time logging in, you must agree to the software license agreement to continue. You also have the chance to opt out of sharing some basic usage statistics with Elastic. (Not sure if you should opt out? Here is what we collect.)
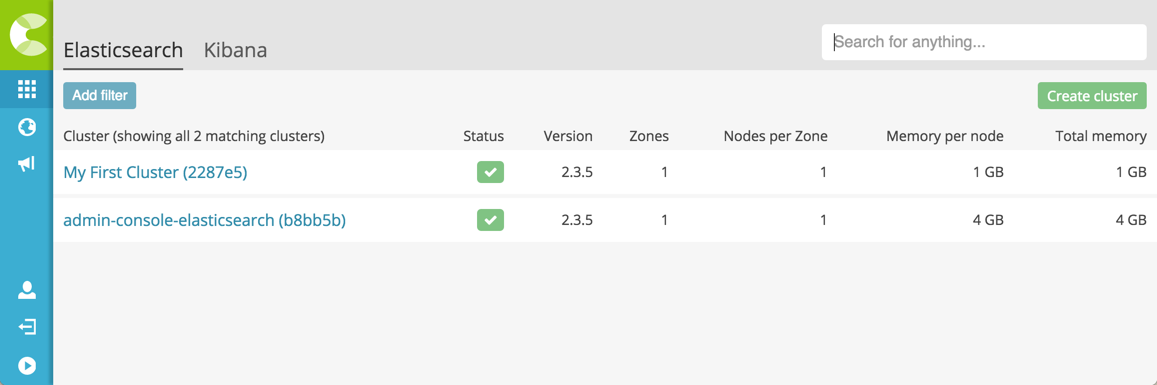
The Cloud UI front page displays the available clusters and some important information about them, such as cluster health status, the Elasticsearch version used, the number of nodes in the cluster, and node capacity:
If this is your first visit to the Cloud UI, there is one initial cluster defined, the admin-console-elasticsearch cluster that backs the Cloud UI itself. We’ll explore more aspects of the Cloud UI soon, but for now, go ahead and create your first Elasticsearch cluster.
Create Your First Cluster
editAn Elasticsearch cluster consists of one or more nodes that are working together to share their data and workload. A cluster can provisioned with as many nodes as the available resources can support, as long as there is at least one allocator with some spare capacity.
To create your first cluster:
- Log into the Cloud UI, if you aren’t logged in already.
- On the Clusters page, click Create cluster.
-
Specify how you want your Elasticsearch cluster to be configured, including:
- Cluster name
- Specifies a name for your cluster. If left blank, a cluster ID is generated.
- Fault tolerance
- Selects the level of fault tolerance. On a production system, create a cluster with at least two availability zones, three for mission-critical deployments. If you installed Elastic Cloud Enterprise on only a single host, you will only be able to specify single-zone deployments without fault tolerance. This is fine for a first test cluster, but not recommended for production systems. If you do not see an option for two or three availability zones, you might need to need to add some capacity first.
- Node capacity
- Specifies the amount of memory and storage assigned to each node, in a fixed ratio. The cluster size you use depends on how much data you have and what queries you plan to run, but you can always resize your cluster later on. Currently, half of the memory is assigned to the JVM heap. For example, on a cluster with 32 GB RAM, 16 GB are allotted to heap.
- Node Count
- Specifies the number of nodes to provision in each availability zone. Adding more nodes lets you scale out horizontally by adding more processing capacity to your cluster.
- Dedicated master-eligible nodes
- When you create a cluster, you can also specify to use dedicated master-eligible nodes, one per availability zone. These master nodes are responsible for lightweight cluster-wide actions such as creating or deleting an index, tracking which nodes are part of the cluster, and deciding which shards to allocate to which nodes. By default, each node is a master-eligible node and a data node. In larger clusters, such as production clusters, it’s a good practice to split the roles. Creating dedicated master nodes ensures that your master node is stable and not handling search or indexing work.
- Snapshot repository
- Specifies a repository where snapshots are stored. To be able to select a repository, you must add a snapshot configuration first. When a repository is specified, a snapshot is taken every 30 minutes or at the interval you specify through your user settings. A snapshot repository is not required to create a cluster, but without one your your data will not be backed up. You can also update the cluster to use a snapshot repository later on.
- Elasticsearch version
-
Selects the version of Elasticsearch to deploy. Elasticsearch versions are denoted as
X.Y.Z, whereXis the major version,Yis the minor version, andZis the patch level or maintenance release. You can upgrade Elasticsearch versions for an existing cluster later on. - Plugins
- Lists the official plugins available for the selected Elasticsearch version that you can add. Plugins you add from this list have been tested to work with your version of Elasticsearch and are upgraded for you whenever you upgrade your version of Elasticsearch.
- Scripting
- Restricts how Elasticsearch can run scripts. Script are useful for implementing additional fetures, such as flexible ranking, filtering, faceting, and more. It is important to restrict how scripts run, as scripts can enable arbitrary code execution.
- Default number of shards
- Sets the number of primary shards that an index should have. The default is 1. Before your change the number of shards, take a look at Sizing Elasticsearch.
- Automatic index creation
- Enables or disables automatic index creation, if you index a document to an index that does not exist.
- Deletion requires name
- Enables requiring an explicit name or allows wildcards for destructive actions like deleting an index.
- Click Create Cluster. Cluster provisioning takes a few seconds.
-
Copy down the auto-generated password for the
elasticuser. You will need to use this password when connecting to your Elasticsearch cluster or to log into Kibana, for example. -
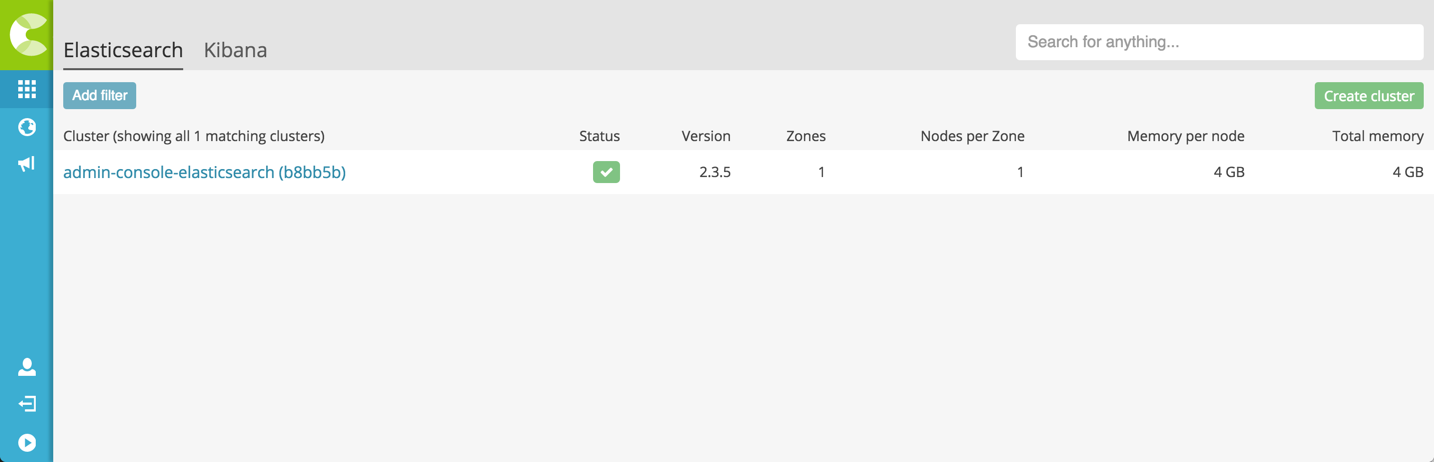
After provisioning completes, the Clusters page shows your new cluster. Congratulations! You have just provisioned your first Elastic Cloud Enterprise cluster.