The Searcher’s Guide to Workplace Search
editThe Searcher’s Guide to Workplace Search
editWith all these useful collaboration applications and services generating data, it’s a challenge to keep things organized. You have important files and pressing issues scattered all over the place. Workplace Search helps you find them, organize them, and take action on them.
This is the Searcher’s Guide: it is designed to help you use all the tools at your disposal for efficient information hunting across all available content sources. It focuses on the web-based search experience provided with Workplace Search, but your organization may provide a different search integration. In any case, most principles here should apply.
To open your Workplace Search web-based search experience, navigate to this URL, replacing <ENTERPRISE_SEARCH_BASE_URL> with the Enterprise Search base URL for your deployment:
<ENTERPRISE_SEARCH_BASE_URL>/ws/search
Speaking Your Language
editYou have met many search bars. Google has one, as does Bing, Yahoo – and most popular websites and applications. This one is like those, but with one key difference: it doesn’t search one thing – it searches many different things: your things.
It’s one search bar for your everyday work life. And it understands your natural language.
You don’t need to type strange incantations. You can phrase your search as if you were speaking to another person:
- "monthly accounting report in Google Drive".
- "bugs assigned to John in GitHub with status blocked."
- "team sync in Dropbox updated Yesterday"
When you hit on a key phrase, the text will turn blue and the parameters of your search will be toggled and filtered against automatically.
Some of the more common key phrases include…
| Goal | Phrase |
|---|---|
Find a Person |
creator is, created by, edited by, modified by, from, shared by, edit by, updated by, modified by, assigned to |
Find a Source |
in, in source, on |
Find a Date |
from, yesterday, last week, last month, recent, recently |
Find a File Type |
pdf, spreadsheet, document, issue, presentation, rtf, ppt, xls, html, json, mov |
Find a Status |
open, closed, done, to do, backlog, in progress, blocked, pending, in review |
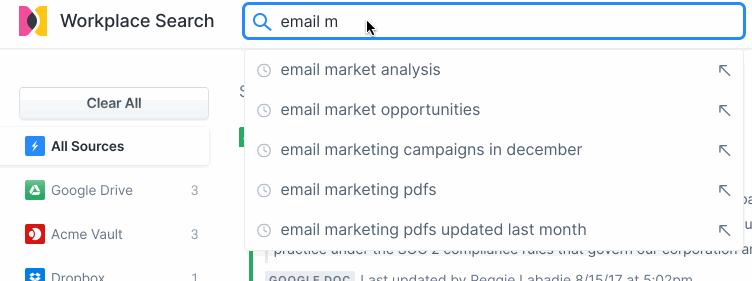
Try out some example searches on your own!
Your Window into Work
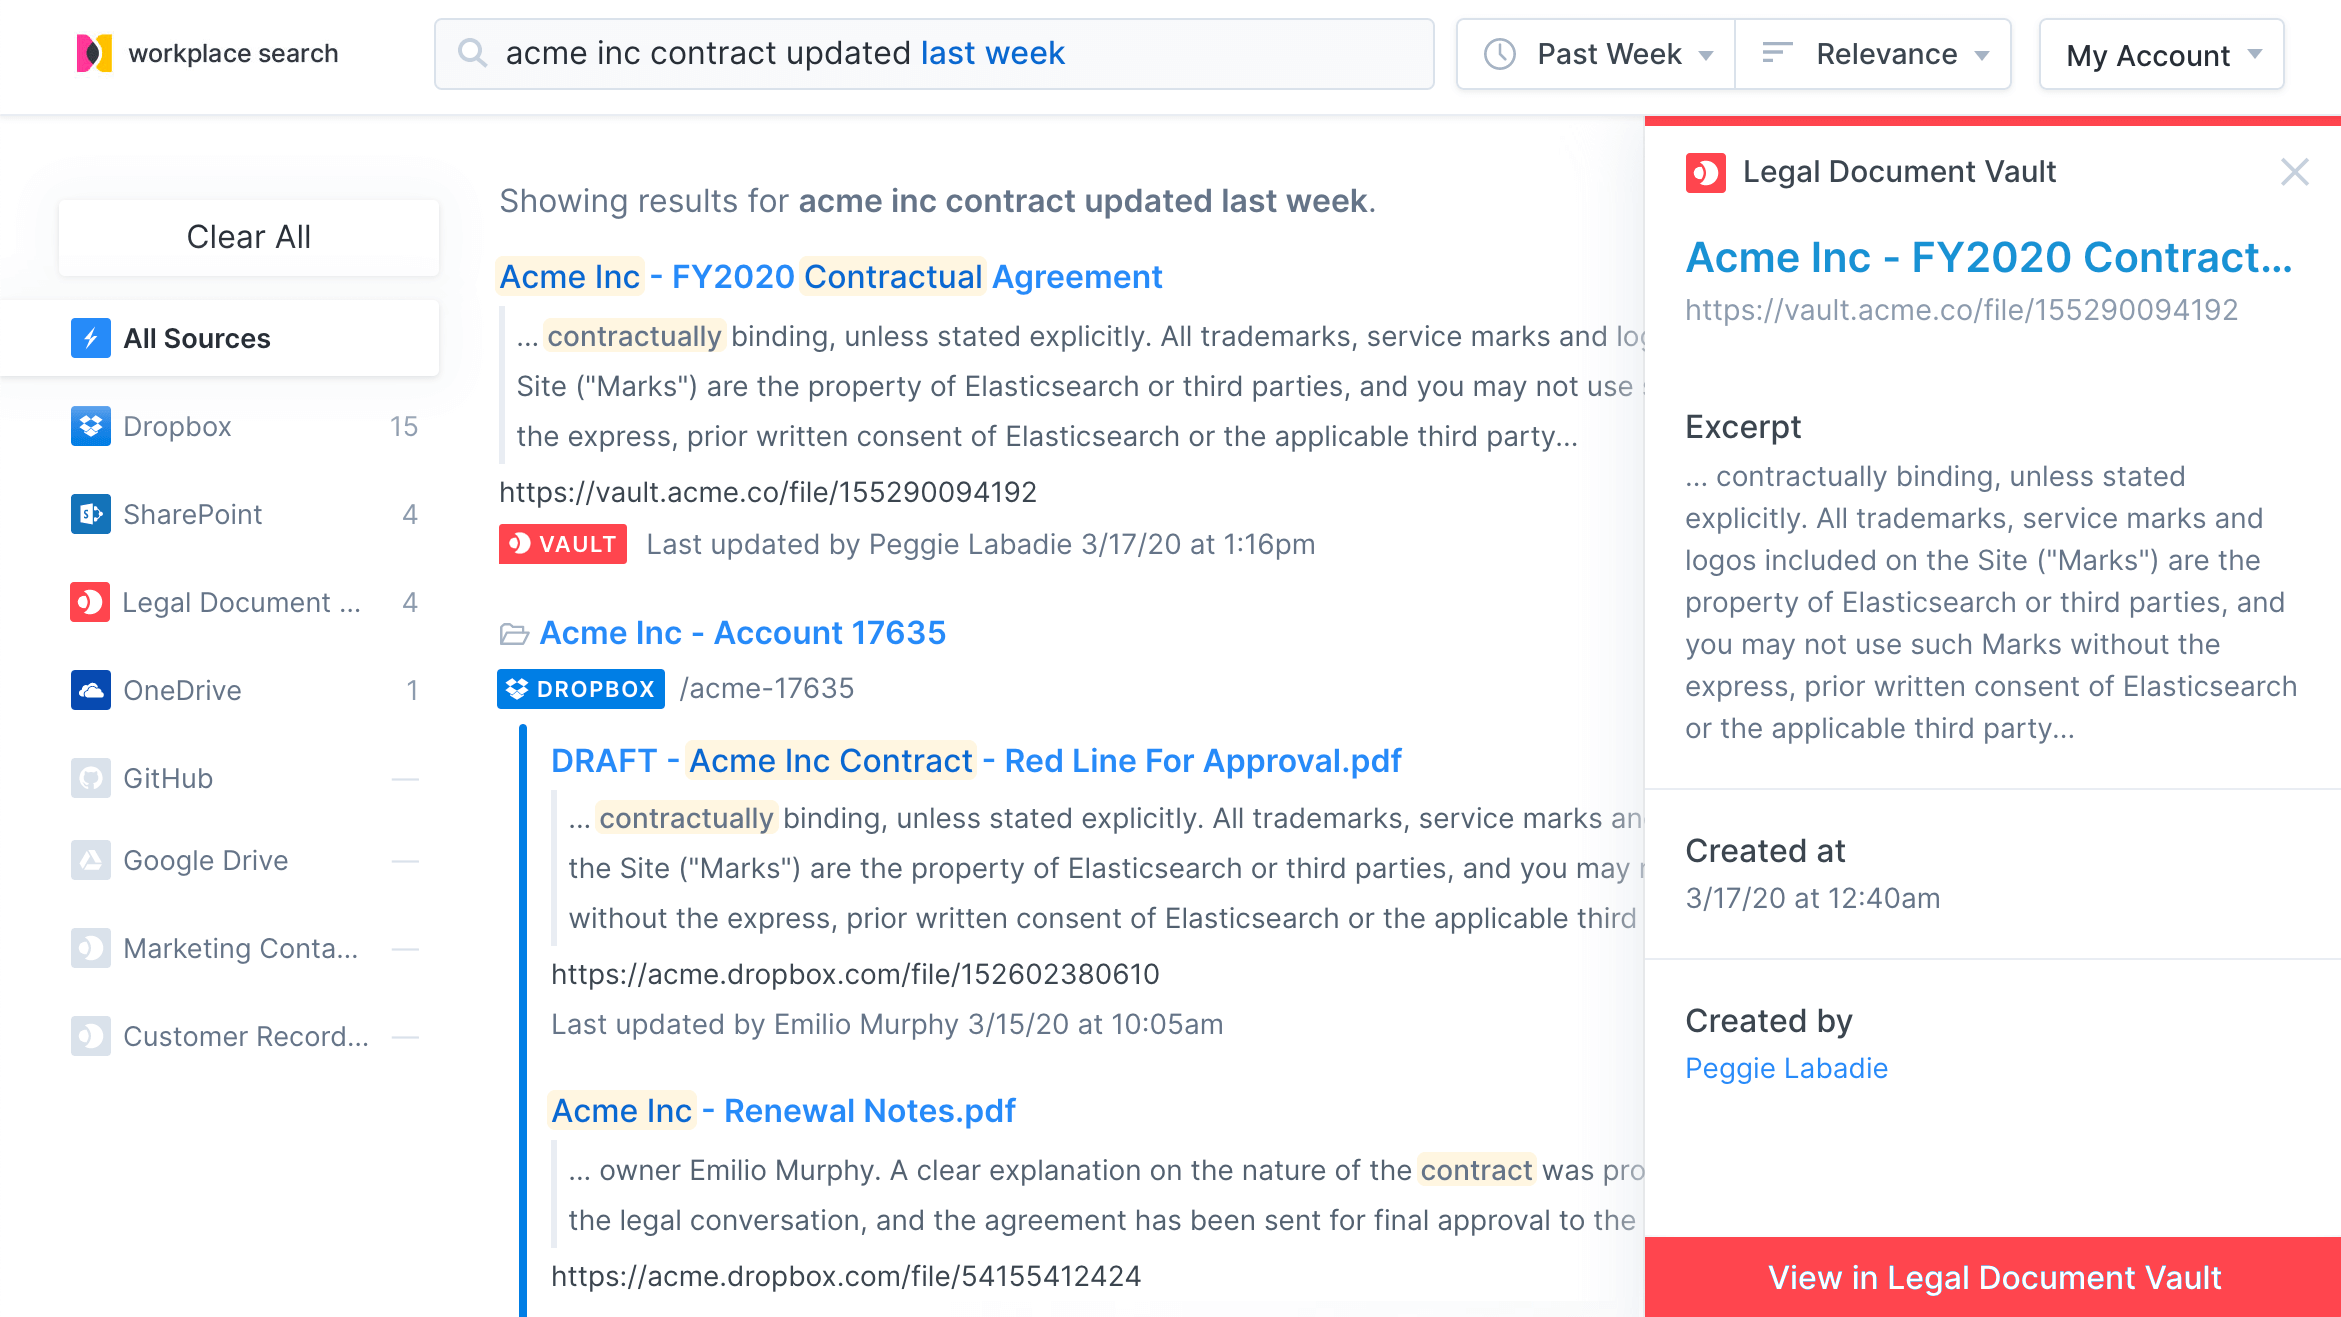
editThe main dashboard shows you what’s new and the content sources through which you can search. Recently updated content or files will appear under Recent Activity.
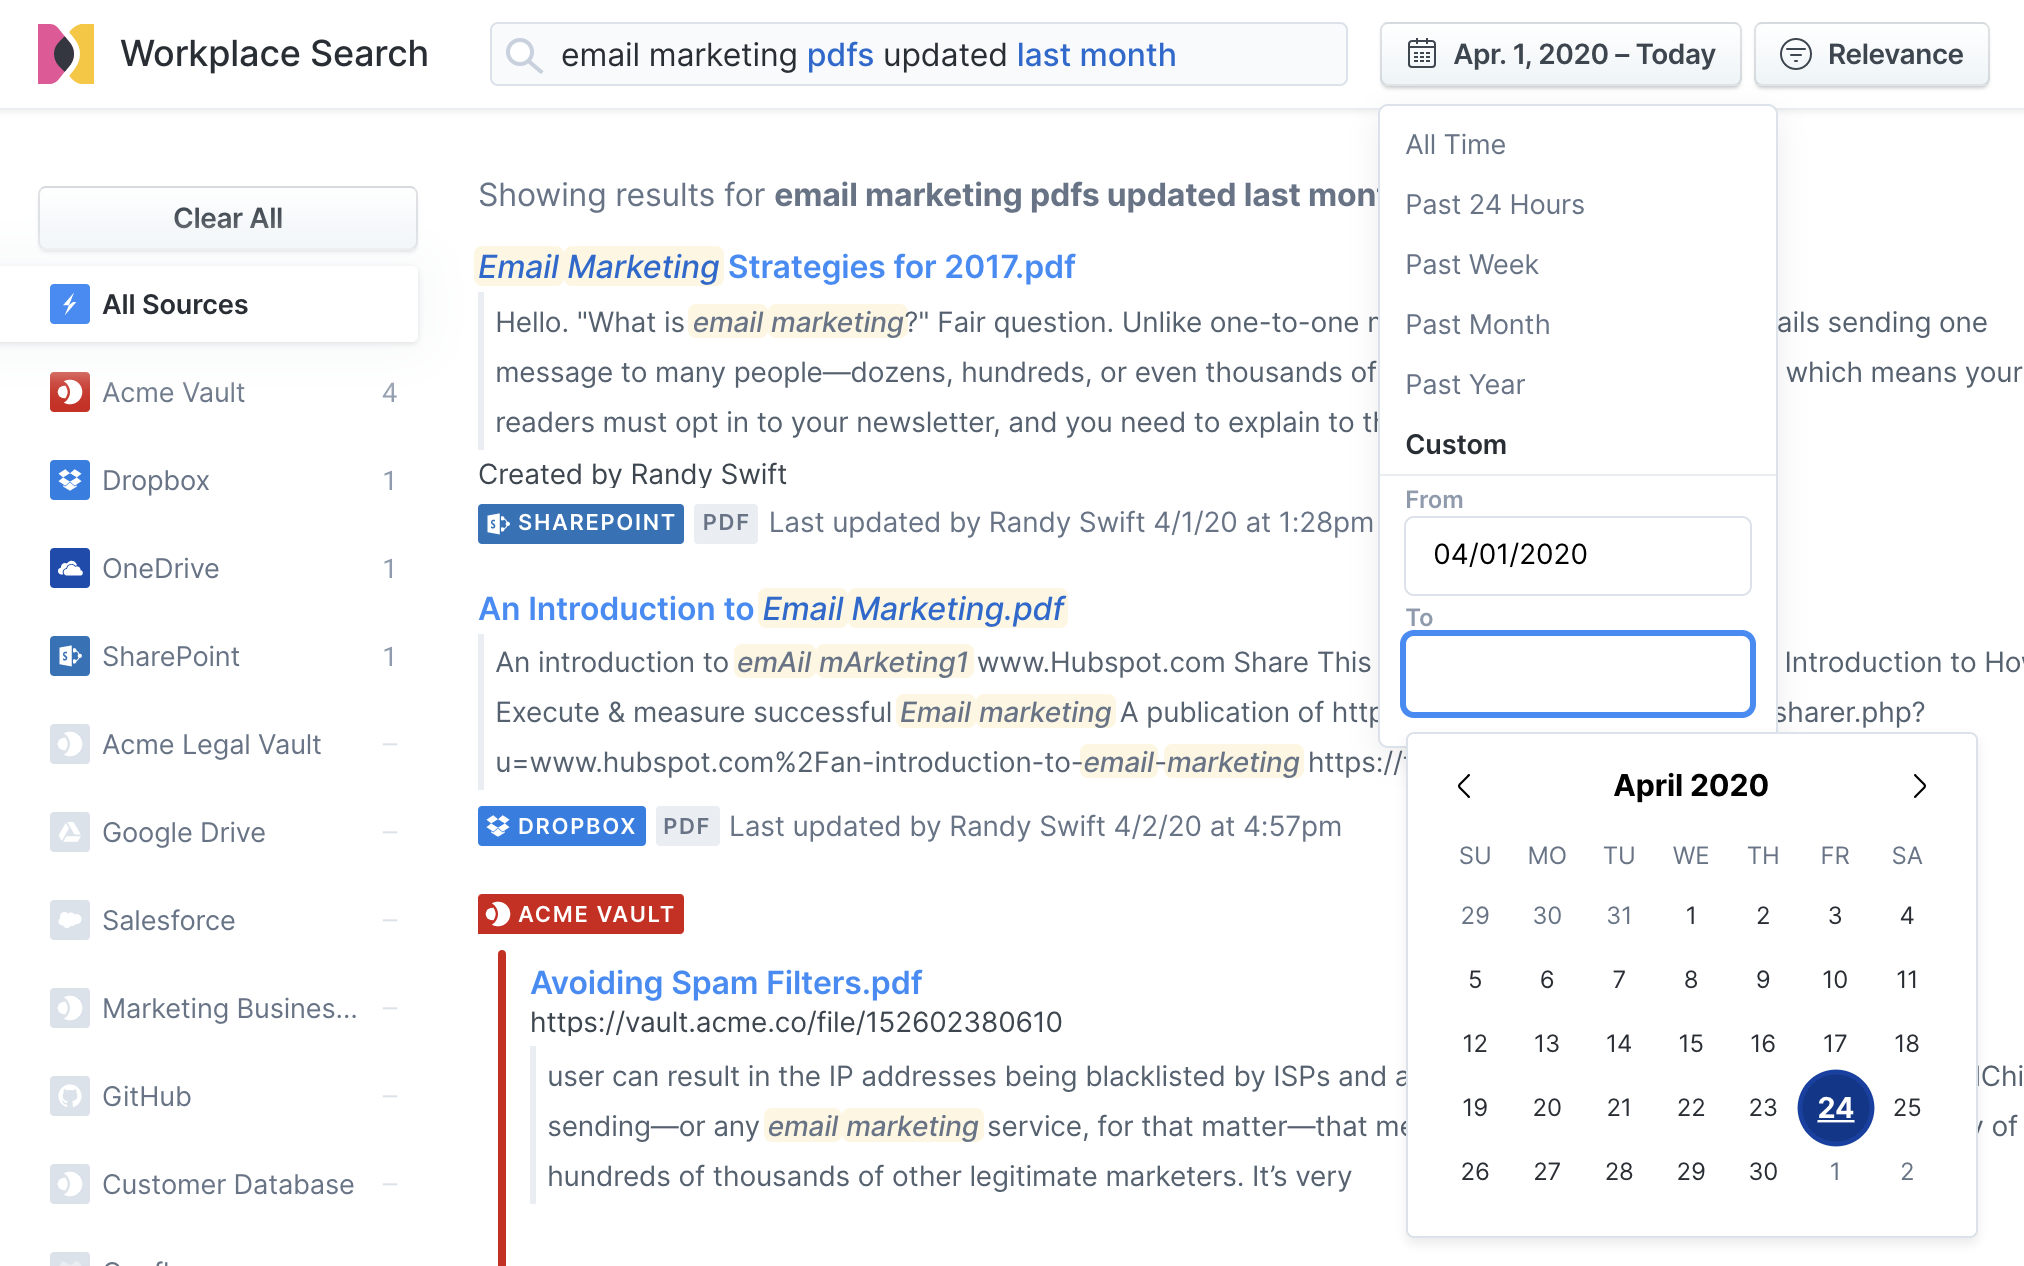
Upon a succesful query, you can manually supplement keyword-based searches by setting the time and relevancy. Unless you specify a time frame using natural language, the default is All Time.
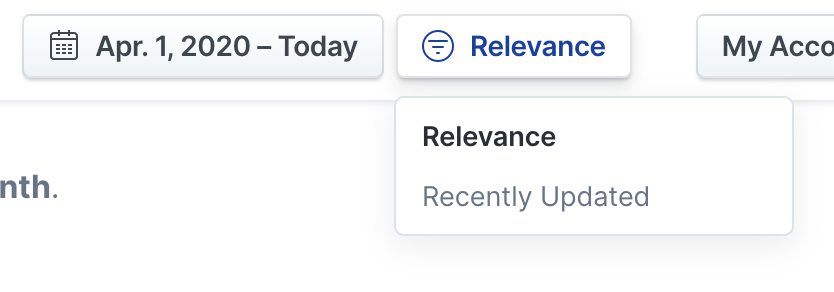
Click the clock to set your own custom time frame:
Click Relevance to change between search modes. You can sort by Relevance or Recently Updated:
After a query has been performed, you can toggle filters on and off. This means you can add or remove sources from the search, change the content type, item status, and more:
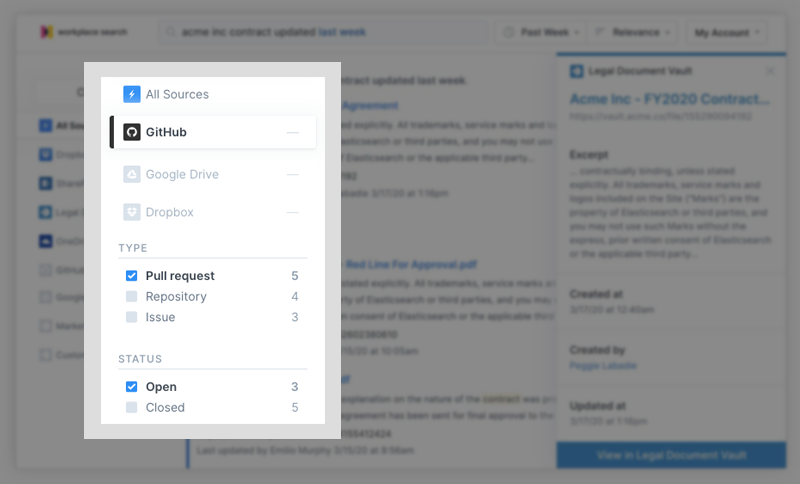
Each time you add a filter, your results will reflect your choices. Use filters to narrow down searches as much as you’d like. Note that each filter value can be included in a natural query.
So you could write: "open fancy project pull requests" as a query. The filters would then be applied automatically. With these tricks, you’ll be able to keep narrowing things down to find just what you’re seeking.
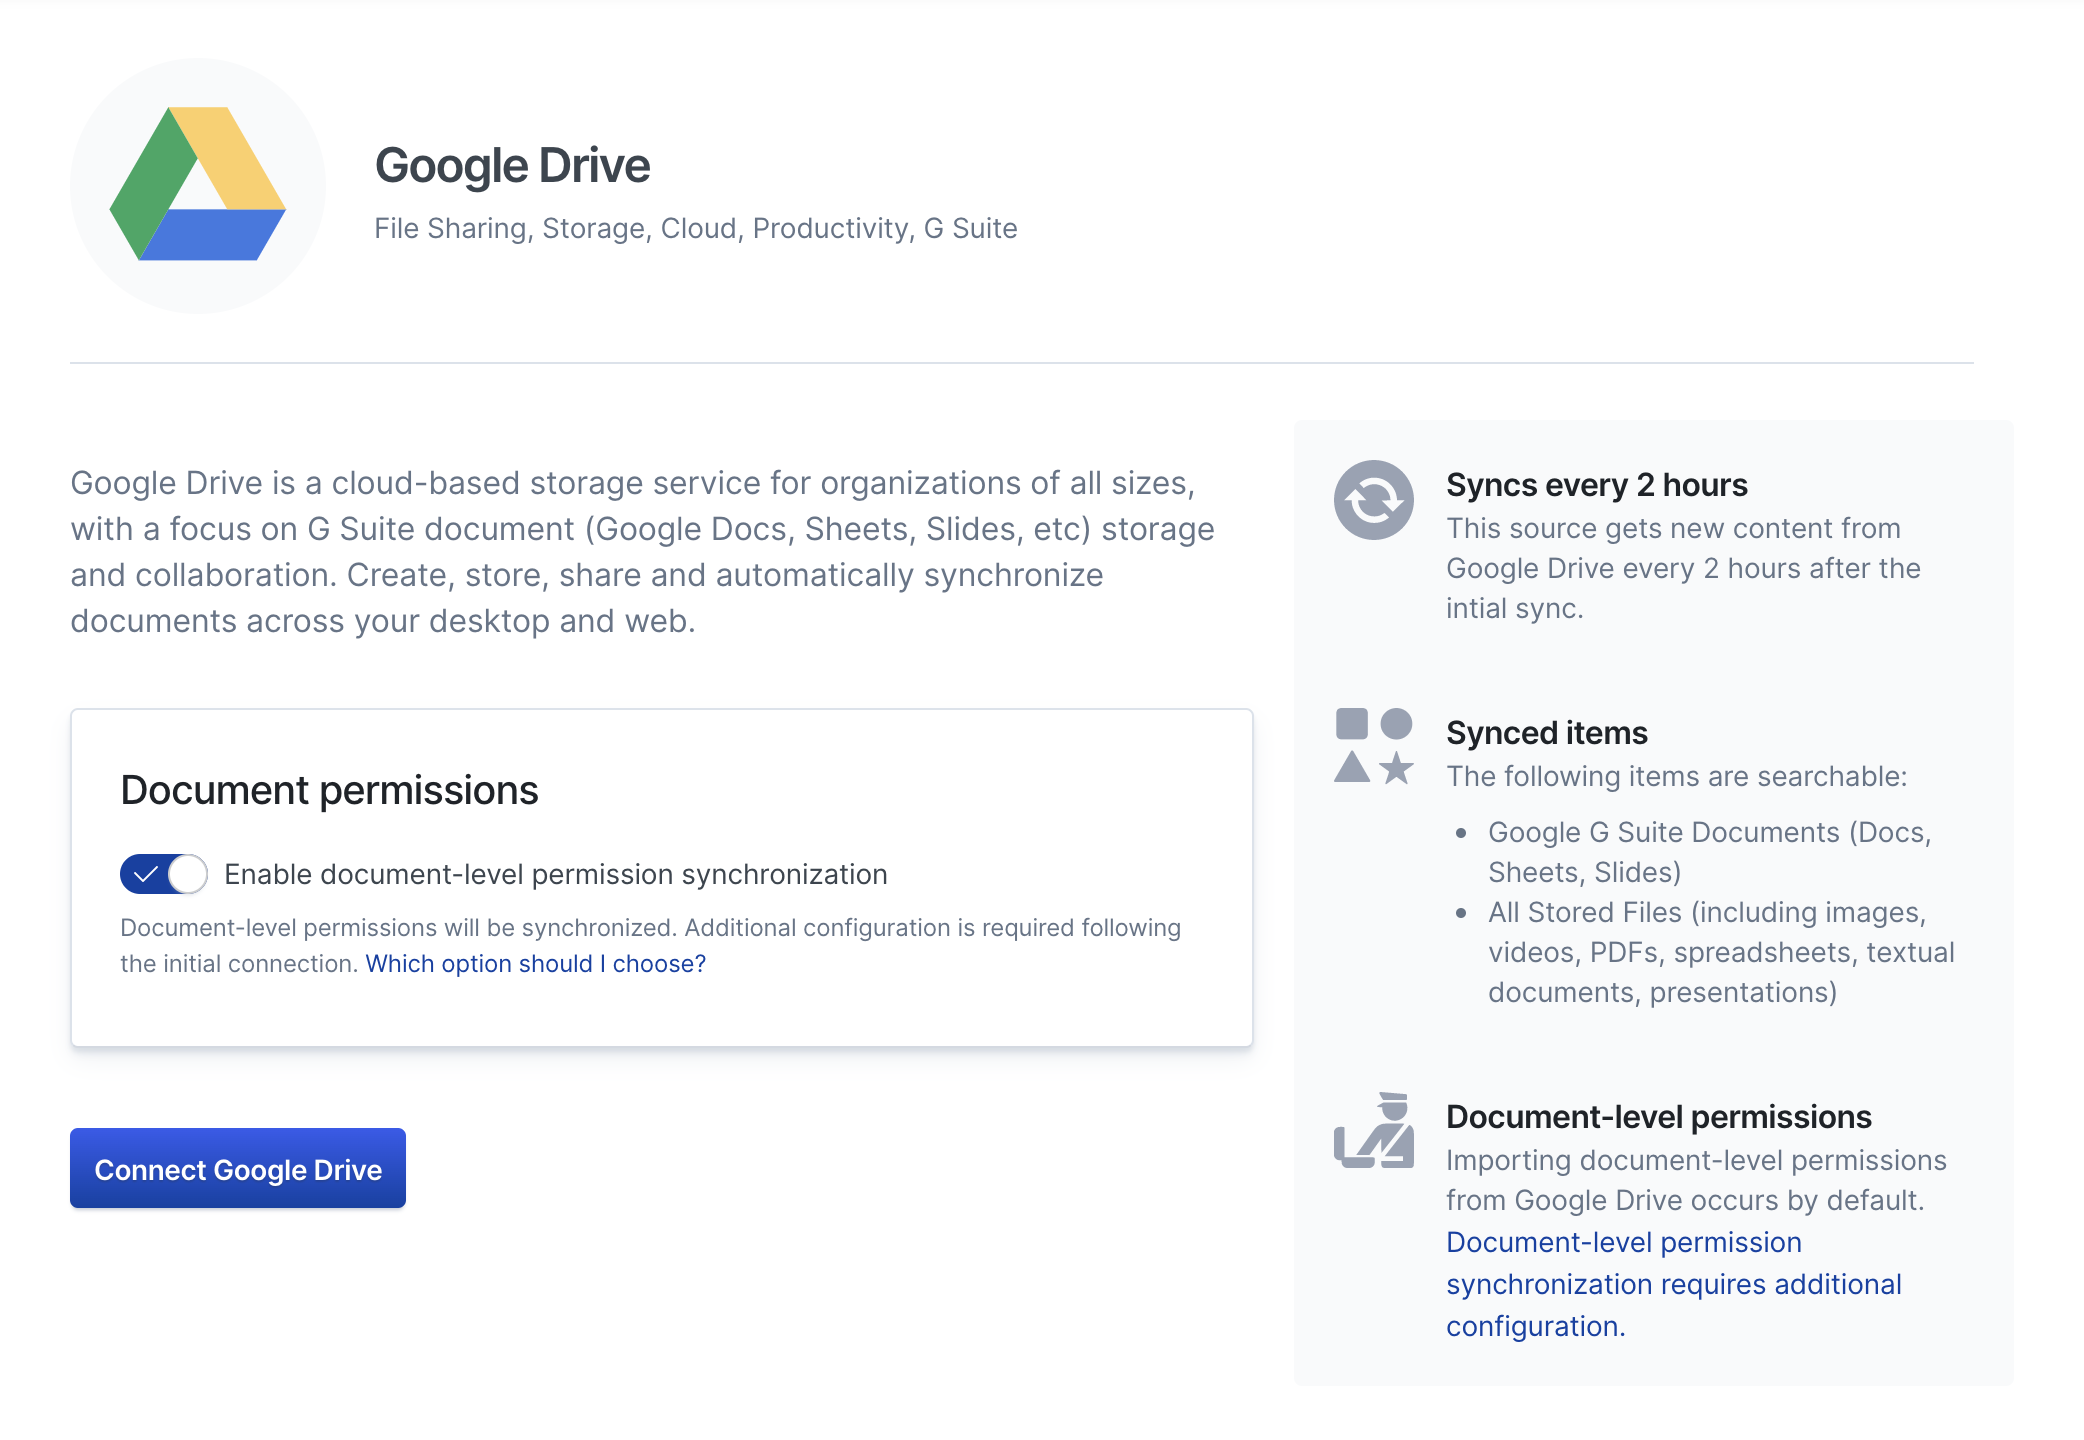
Adding Private Sources
editThis feature is not available for all Elastic subscription levels. Refer to the subscriptions pages for Elastic Cloud and Elastic Stack. To change your subscription level or start a trial, see Subscriptions and features.
The ability to add Private Sources must be enabled and configured by an organization administrator.
Your administrator has added a number of sources through which you can search at the organization level, but you may also add your own. Each individual can add their own Private Sources. You might add your own private GitHub source or private Google Drive, for example. When you add a private source, its content will only be available to you. That way, you can supplement your organization’s information with your own things.
Click My Account in the top right corner, and select Content sources.

You’ll notice you don’t have any private sources yet – no problem. Click Add a private content source: from there, you’ll be able to add any content source that your administrator has configured.