Connecting Salesforce
editConnecting Salesforce
editConnecting Salesforce Sandbox is not supported for versions 7.9.x and older. Salesforce Sandbox support is available as of 7.10.
Salesforce is a cloud-based customer relationship management (CRM) platform with a focus on customer service, marketing automation, analytics, and sales operation tooling. The Salesforce connector provided with Workplace Search automatically captures, syncs and indexes the following items:
Contacts |
Including ID, name, title, address, and timestamps |
Leads |
Including ID, name, associated account, associated opportunity, and timestamps |
Accounts |
Including ID, name, address, owner information, and timestamps |
Campaigns |
Including ID, name, type, description and timestamps |
Attachments |
Including ID, owner information, extracted textual content, and timestamps |
Configuring the Salesforce Connector
editConfiguring the Salesforce connector is the first step prior to connecting the Salesforce service to Workplace Search, and requires that you create an OAuth App from the Salesforce platform. To get started, first log in to Salesforce and access your administrative dashboard.
The procedures for Salesforce’s Classic UI and Lightning UI are very similar but the entry points are different.
Classic UI
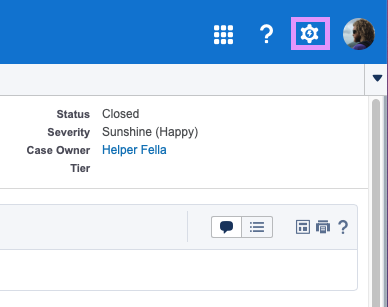
editStep 1. Click your account avatar in the top right and navigate to Settings:
Step 2. You’ll see a large list of menu items. Under Build, expand the Create dropdown, then click Apps:

Workplace Search needs an OAuth App with which to interface. There are two important things to understand before you create one:
- The app can stay in developer mode. You do not need to publish it.
- Make sure that you create this app with a trusted and stable Salesforce account.
We recommend creating a team-owned account for only this app. If access is lost, a new one must be created and the configuration updated in Workplace Search.
Step 3. Scroll to the Connected Apps section and click New:

From here, proceed to the Creating the OAuth Application step (see below).
Lightning UI
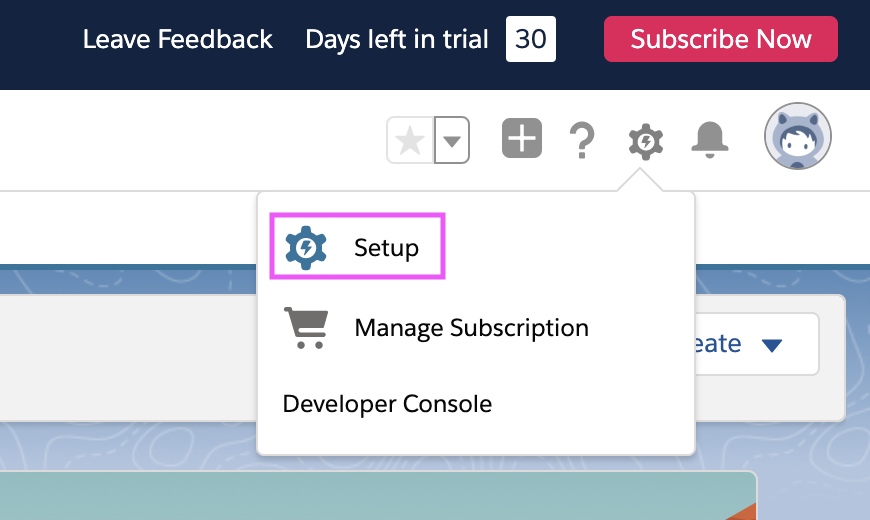
editStep 1. From the Lightning experience, click Settings in the top right corner:
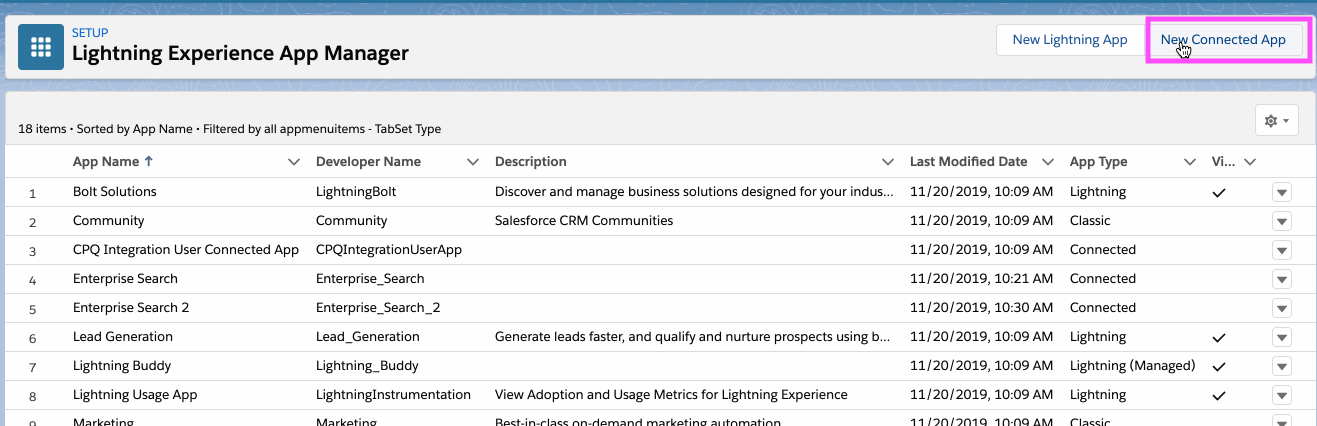
Step 2. Select App Manager on the left sidebar under Apps:

Step 3. Click the New Connected App button:
And then proceed to the Creating the OAuth Application step (see below).
Creating the OAuth Application
editWe must now create the OAuth application that Workplace Search will use to communicate with the Salesforce platform.
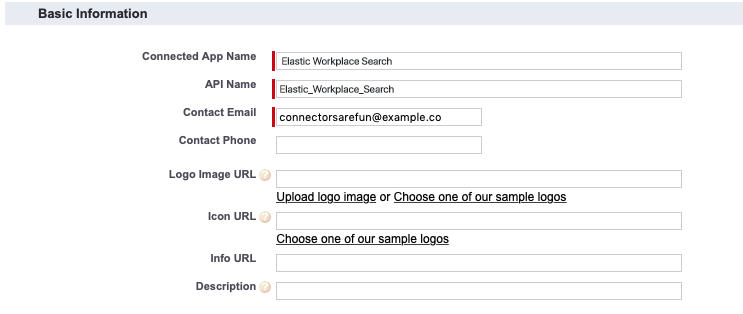
Step 1. Let’s start with the basic information:
- Connected App Name: A name to help you identify the application. Workplace Search, or something like that.
- API Name: A programmatic name which you can access via Salesforce API. Doesn’t impact Workplace Search – it’s for your benefit.
- Contact Email: Use whichever you’d like.
You can also add a logo for visual identification.
Step 2. Click the Enable OAuth Settings checkbox: this will unveil many more options. Under Callback URL, add the following two redirect URLs, substituting <WS_BASE_URL> with the base URL at which Workplace Search is hosted (scheme + host, no path).
<WS_BASE_URL>/ws/org/sources/salesforce/create
<WS_BASE_URL>/ws/sources/salesforce/create
Examples:
# Deployment using a custom domain name
https://www.example.com/ws/org/sources/salesforce/create
https://www.example.com/ws/sources/salesforce/create

# Deployment using a default Elastic Cloud domain name
https://c3397e558e404195a982cb68e84fbb42.ent-search.us-east-1.aws.found.io/ws/org/sources/salesforce/create
https://c3397e558e404195a982cb68e84fbb42.ent-search.us-east-1.aws.found.io/ws/sources/salesforce/create

# Unsecured local development environment
http://localhost:3002/ws/org/sources/salesforce/create
http://localhost:3002/ws/sources/salesforce/create
You’ll need to move two scopes from Available OAuth Scopes to Selected OAuth Scopes:
- Full access (Full)
- Perform requests on your behalf at any time
Step 3. At the top of the page, click Save. You will now be able to retrieve your Consumer Key and Consumer Secret.
Step 4. From the Workplace Search administrative dashboard’s Sources area, locate Salesforce and provide both the Client ID and Client Secret. Voilà! The Salesforce connector is now configured, and ready to be used to synchronize content. In order to capture data, you must now connect a Salesforce instance with the adequate authentication credentials.
Connecting Salesforce to Workplace Search
editOnce the Salesforce connector has been configured, you may connect a Salesforce instance to your organization.
Step 1. Head to your organization’s Workplace Search administrative dashboard, and locate the Sources tab.
Step 2. Click Add a new source.
Step 3. Select Salesforce in the Configured Sources list, and follow the Salesforce authentication flow as presented.
The account used to connect Salesforce must have the "View All Data" profile permission enabled. Learn more about View All Data profile permissions on the Salesforce Help Center.
Step 4. Upon the successful authentication flow, you will be redirected to Workplace Search, and your organization’s Salesforce content will now be captured and will be ready for search gradually as it is synced. Once successfully configured and connected, the Salesforce synchronization automatically occurs every 2 hours.