Creating and Managing Groups
editCreating and Managing Groups
editSupported authentication mode: standard only. Read more about group management for other authentication modes: User management and security.
Groups allow you to granularly control access and relevance for teams, departments or any other logical grouping of Workplace Search users. Groups consist of three major items:
- Content sources assigned to the group and its members
- Users as a logical grouping by department, team, pod, project, etc
- Relevance configurations specific to each group created, enabling tailored search across various teams
Creating groups
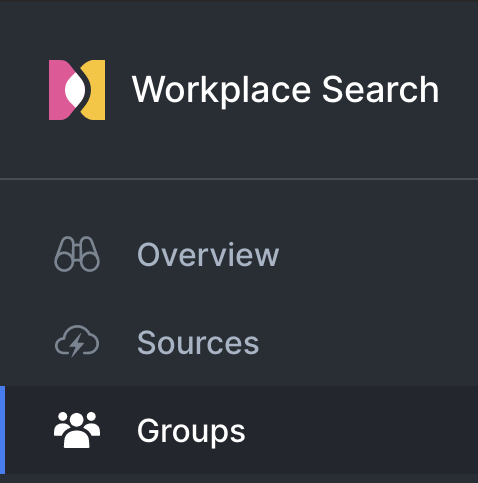
editFrom the Workplace Search administrative dashboard, locate the Groups area:
Step 1. Click Create a Group. Provide a name, like Marketing, Operations, Support – whatever fits best.
Step 2. Locate the newly created group, and click Manage. We can now assign users and sources to this group.
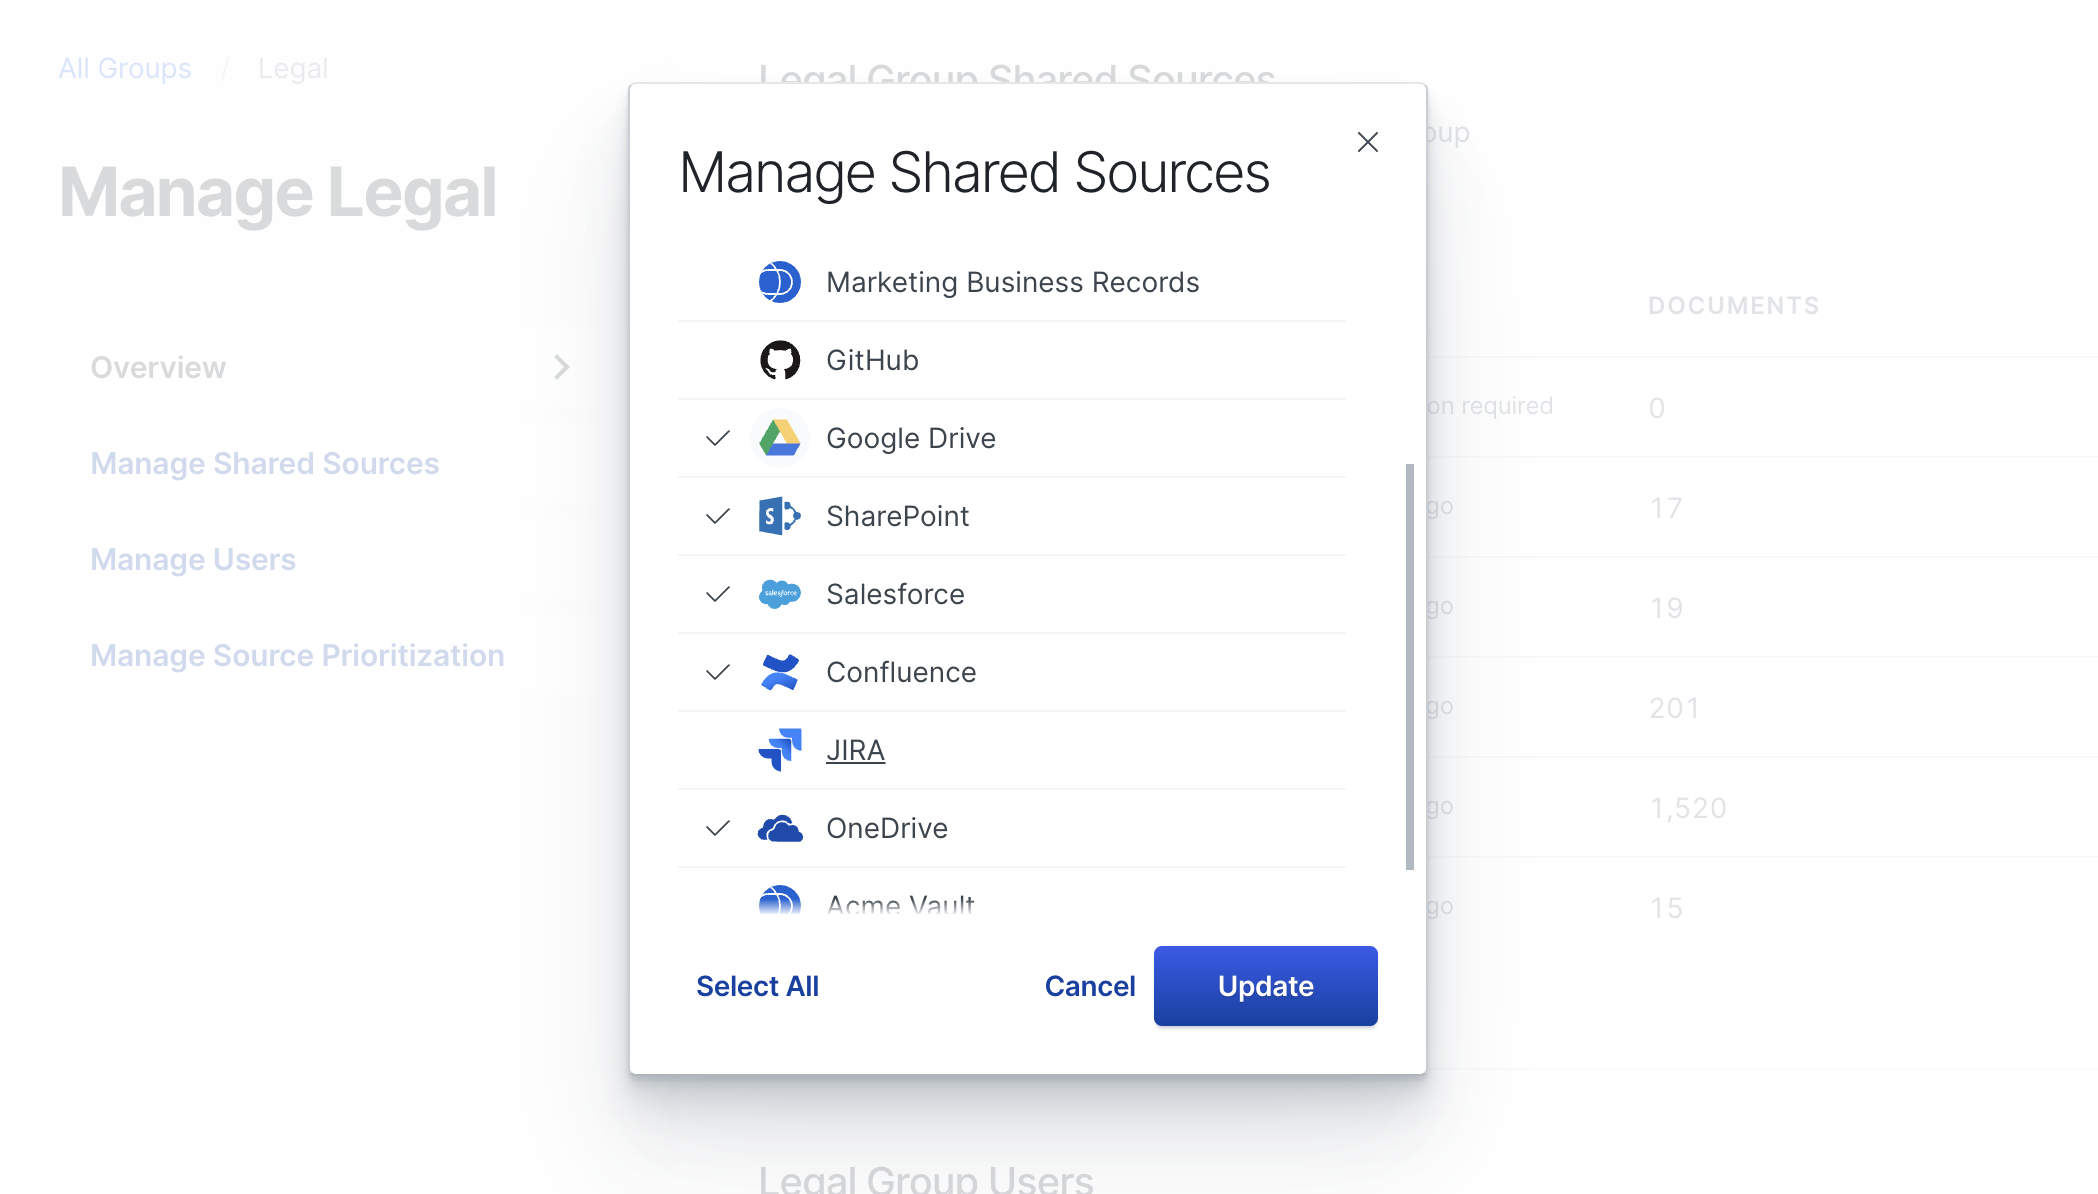
Step 3. Assign sources to the group by clicking Manage Shared Sources and selecting sources to associate with the group. Click Update once sources have been selected.
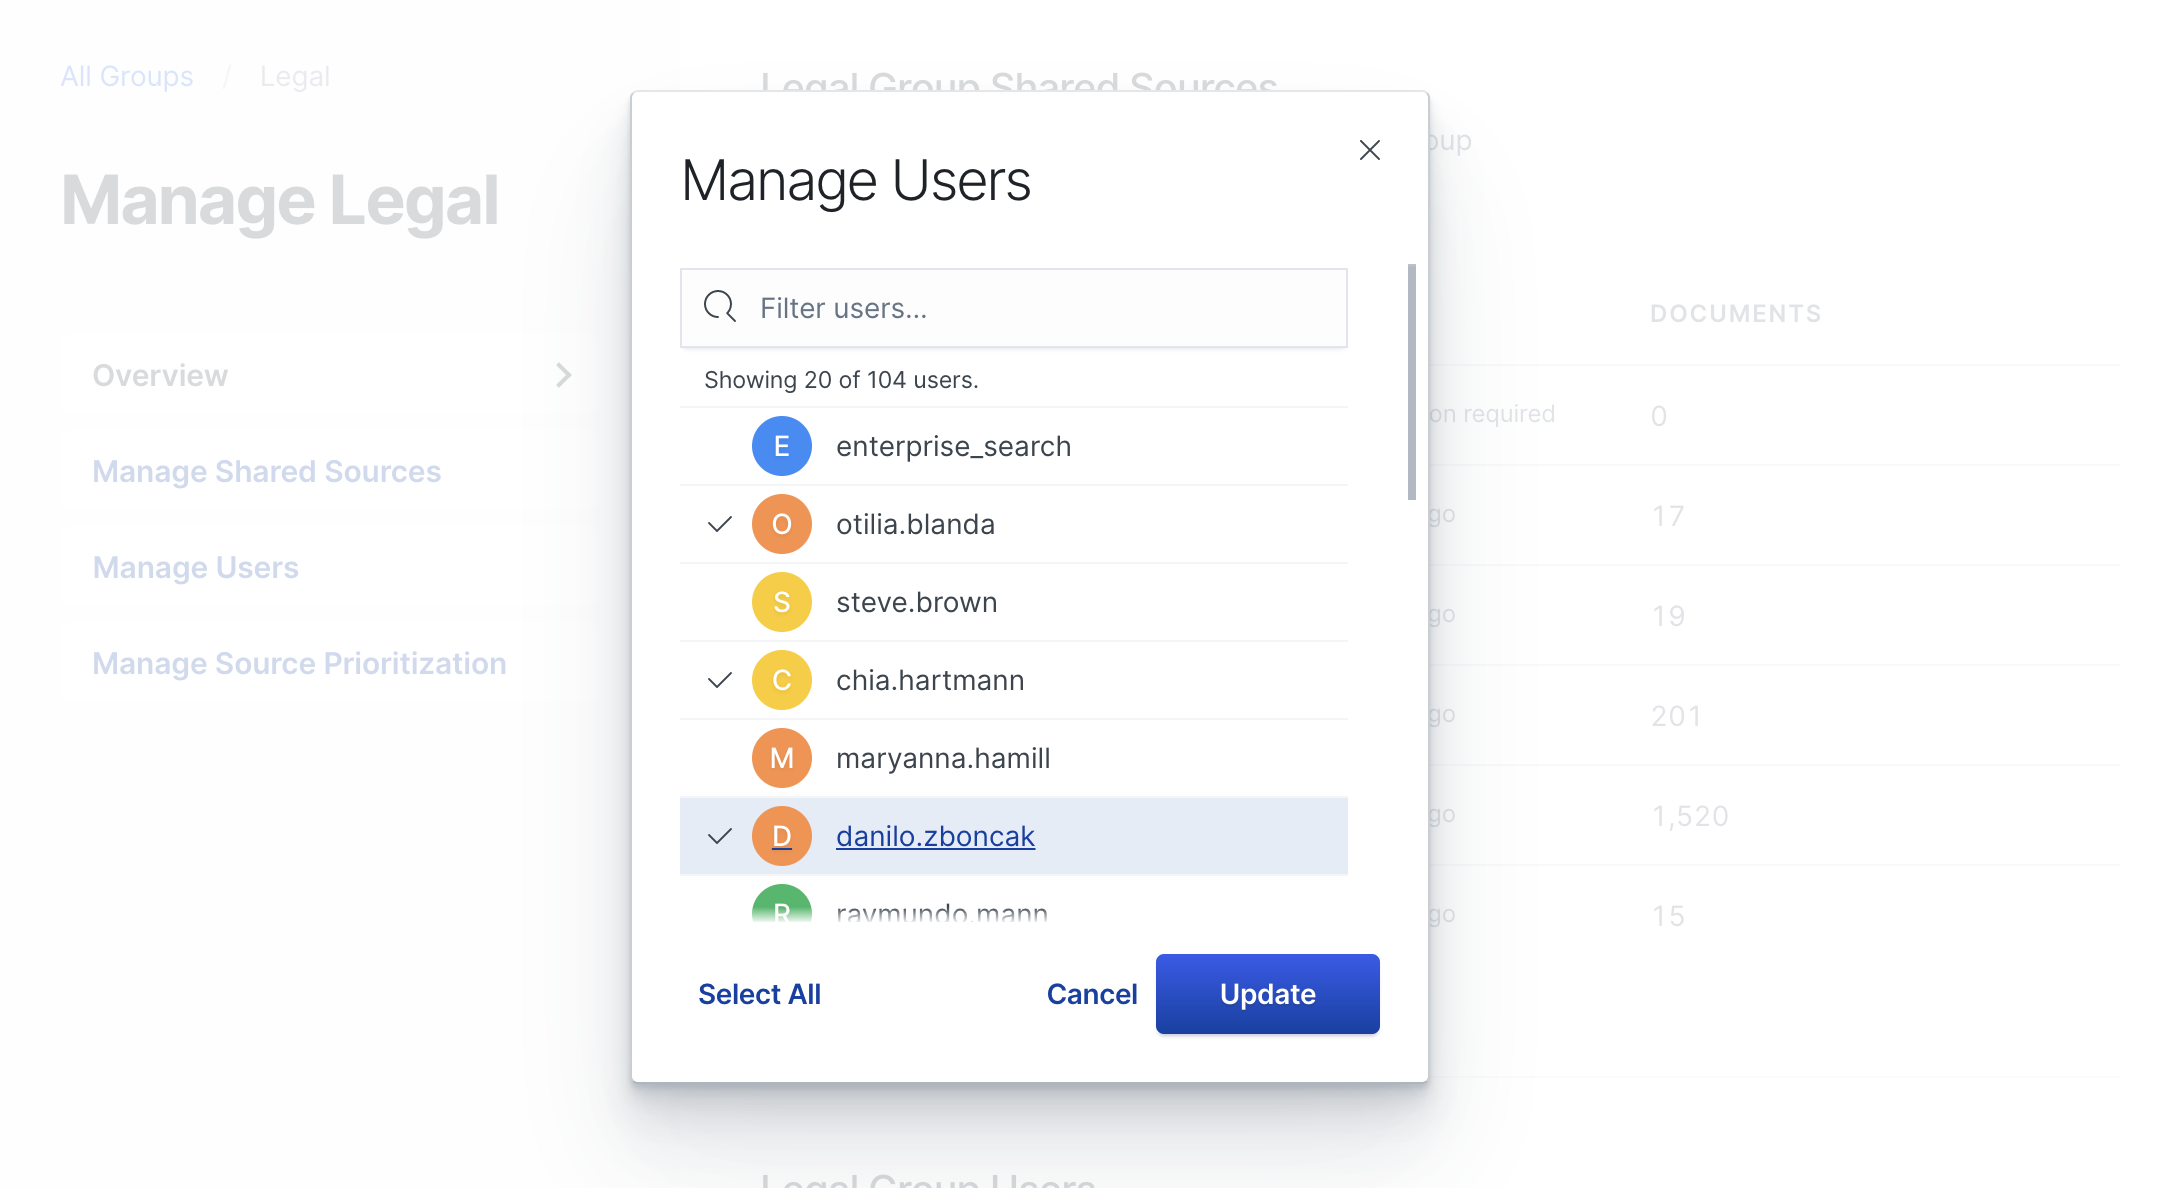
Step 4. Assign users to the group by clicking Manage Users and selecting users to associate with the group. Click Update once users have been selected.
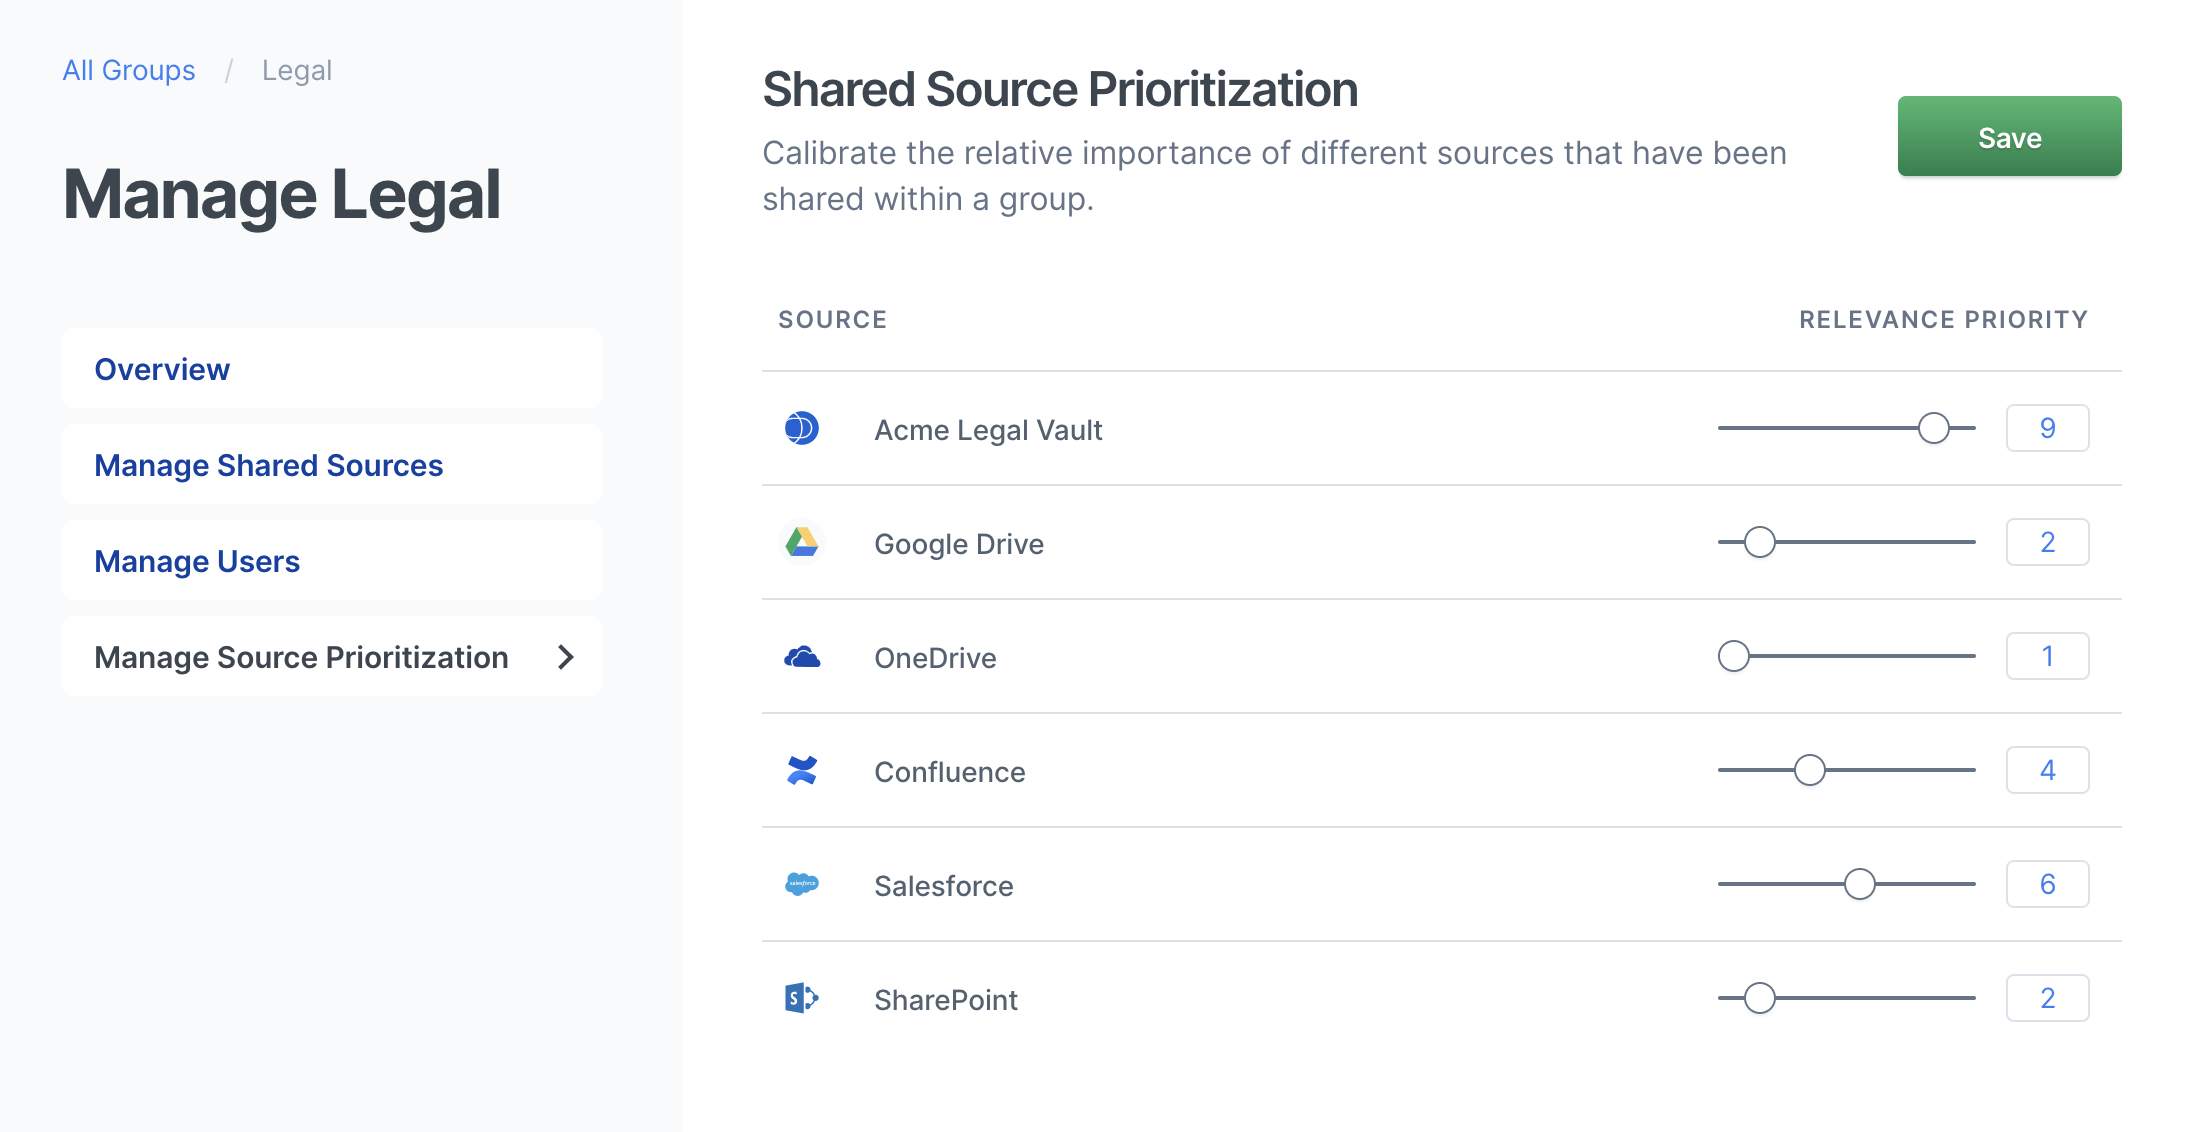
Managing relevance for groups
editSource prioritization allows you to create a perfectly tailored experience for members of a group, all sharing a common view into the information and data synchronized to Workplace Search. Relevance tuning often differs across teams: for example, while Legal and Accounting departments may share many of the same content sources, an Accounting team may get more value out of a source like Salesforce while the Legal team will likely be heavy users of a Contracts Vault.
Step 1. Locate the group for which you want to tune the prioritization of sources in the Groups area of the Workplace Search admnistrative dashboad, and click Manage.
Step 2. Navigate to Manage Source Prioritization. From here, you can set the relative importance of every source for this group. For example, the Legal Vault source may be the most important repository for members of the Legal team. We can set its priority to a higher value than OneDrive, which comes in handy at times, but isn’t a particularly important source of information. In other words, the higher the value, the more important the data is considered for this particular group.