Connecting Gmail
editConnecting Gmail
editGmail is Google’s popular, fast, and secure cloud-based email service. The Gmail connector is a remote connector. This means that Workplace Search will query Google’s servers on your behalf. The results are measured against all of your other stored and remote documents, then surfaced as part of the most relevant set of results.
Remote sources like Gmail are private sources. Once you have configured the connector, each individual member must add it as a unique private source via their personal settings. Each member may connect only one Gmail private content source.
The Gmail connector searches the following data from Gmail:
Gmail Documents |
Including ID, File Metadata, Excerpt, Sender, Recipient and timestamps |
Configuring the Gmail Connector
editConfiguring the Gmail connector is the first step prior to connecting the Gmail service to Workplace Search, and requires that you create an OAuth App from the Gmail platform.
Step 1. To get started, log in to the Google Developer Console.
Make sure that you create this project with a trusted and stable Google account. We recommend using a team-owned account.
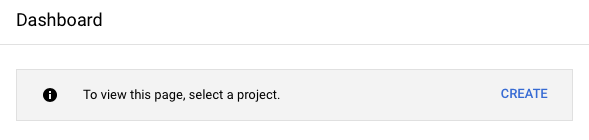
Step 2. We must first create a project, and then add access to the Gmail API to it. Click Create when prompted:
If you already have active projects, you can create a new project from the Project Dropdown menu:

Fill in the project information in a way that best suits your organization.
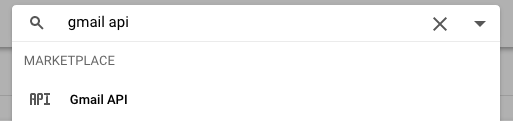
Step 3. Using the search bar located at the top of the console, navigate to the Gmail API:
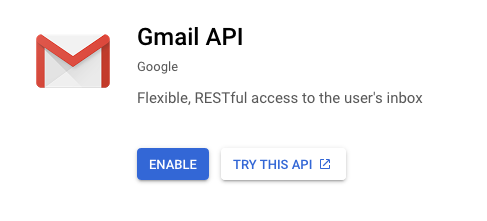
Step 4. Enable access to the Gmail API for this project:
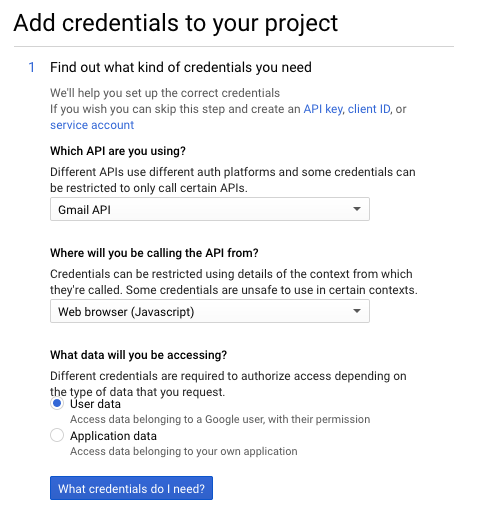
Step 5. You will be prompted to Create Credentials:

Step 6. Select Gmail API as the API you are using. You will call it from Web browser to access User data:
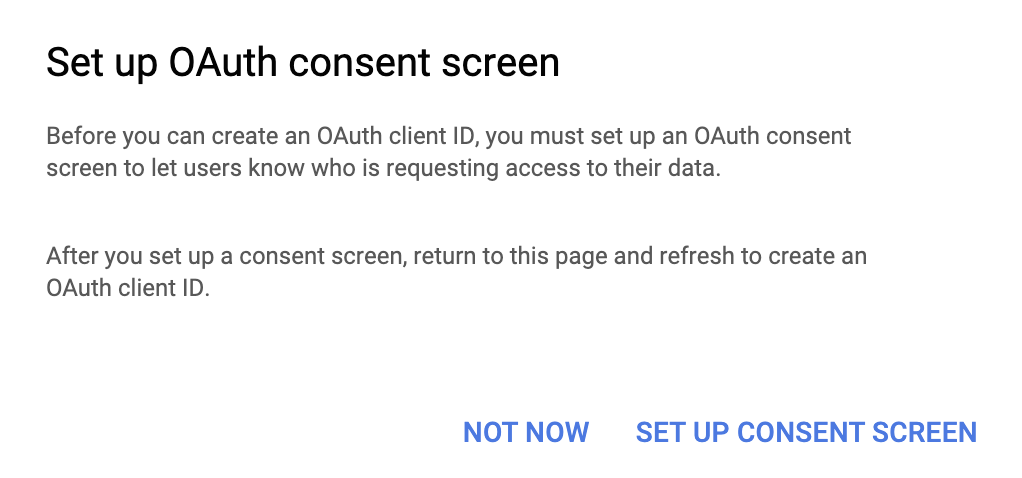
Step 7. Click What credentials do I need?, and select the Set up consent screen option:
Step 8. Select Internal as User Type.
Step 9. Fill out the information in the OAuth Consent Screen form.
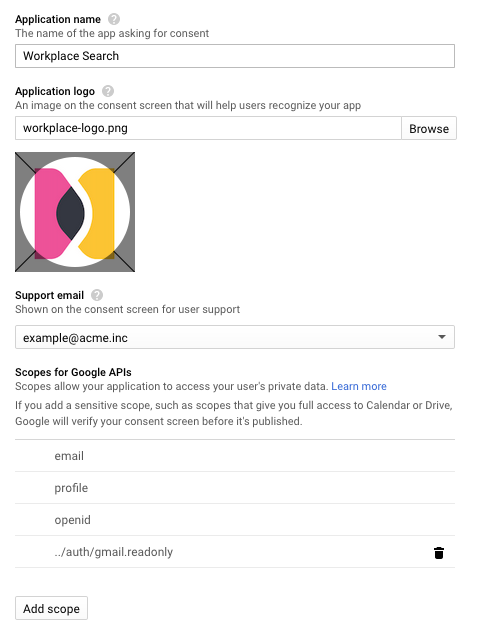
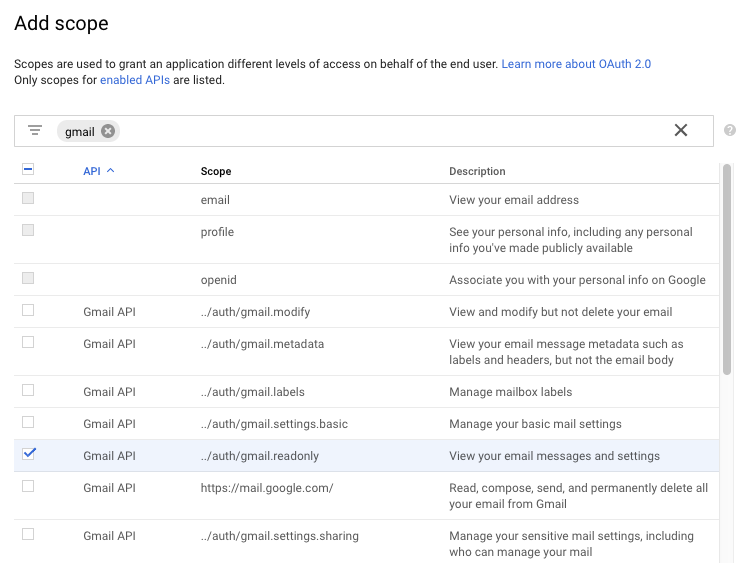
Step 10. In the Scopes for Google APIs section, we must add one value:
../auth/gmail.readonly
Save the changes.
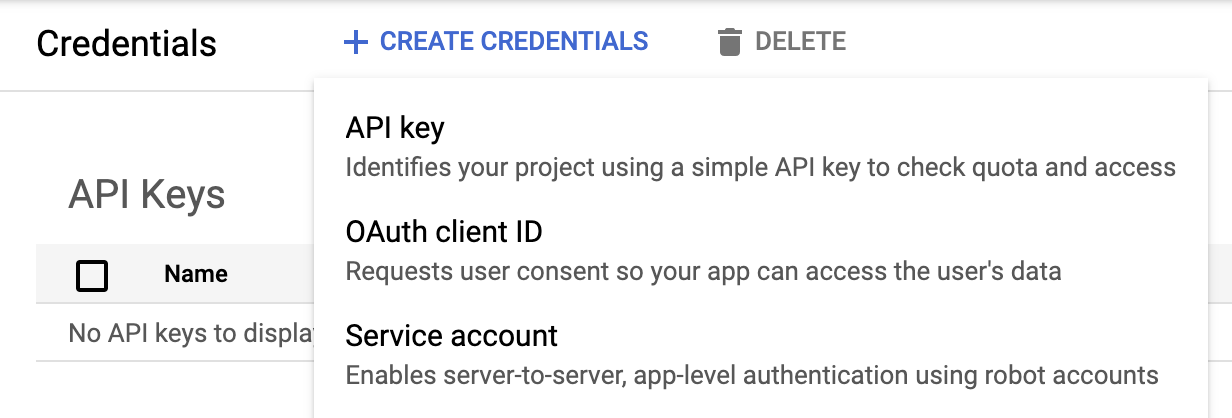
Step 11. We must now create credentials for the OAuth application. Locate the Credentials menu item in the left sidebar, click Create Credentials and select OAuth Client ID.
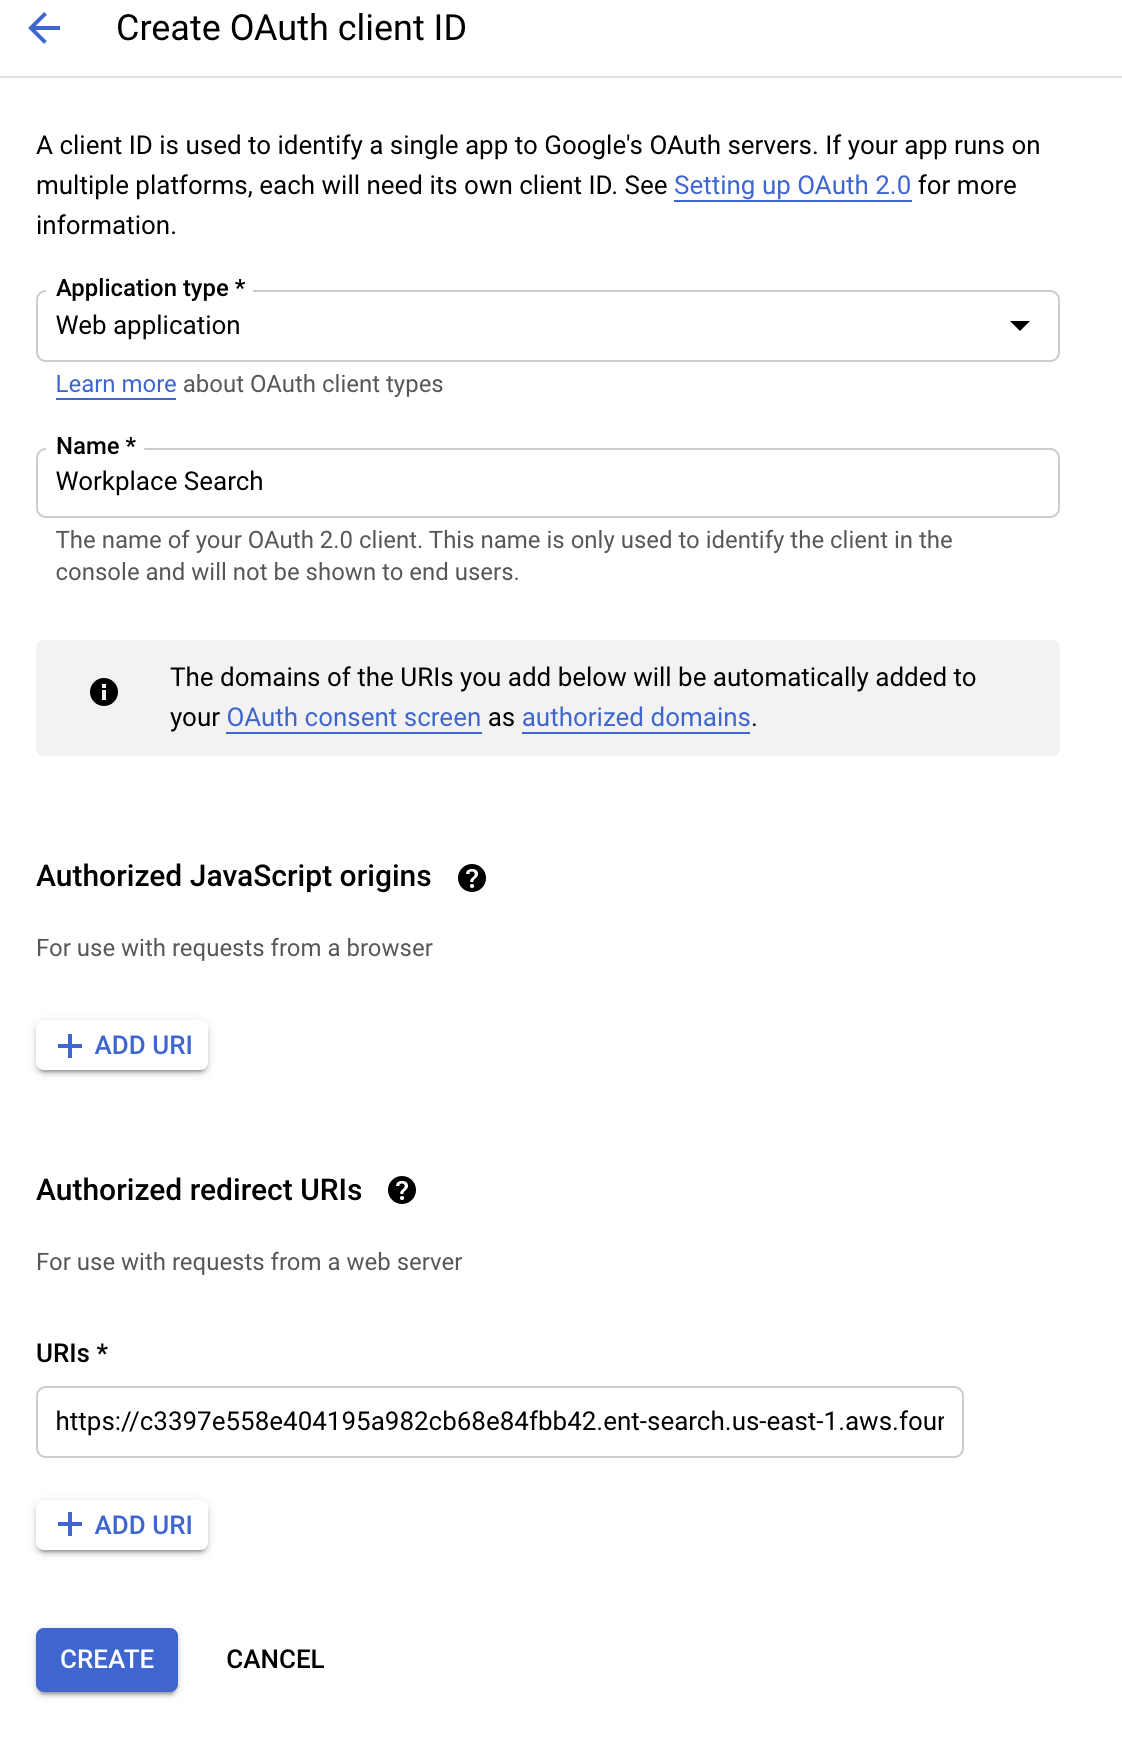
Step 12. Fill out the OAuth form:
- Application type: Web application.
- Name: Whichever feels best for you. Workplace Search makes sense, keeps things clear.
-
Authorized redirect URIs: The redirect URI for your Workplace Search installation.
The redirect URI required varies by which user interface you are using to manage Enterprise Search. Enterprise Search in Kibana and standalone Enterprise Search use different redirect URIs. See user interfaces for details on each UI.
When using standalone Enterprise Search use the following URI, substituting
<WS_BASE_URL>with the base URL at which Workplace Search is hosted (scheme + host, no path).<WS_BASE_URL>/ws/sources/gmail/create
Examples:
# Deployment using a custom domain name
https://www.example.com/ws/sources/gmail/create

# Deployment using a default Elastic Cloud domain name
https://c3397e558e404195a982cb68e84fbb42.ent-search.us-east-1.aws.found.io:443/ws/sources/gmail/create

# Unsecured local development environment
http://localhost:3002/ws/sources/gmail/create
When using Enterprise Search in Kibana, use the following URL, substituting
<KIBANA_BASE_URL>with the base URL of your Kibana instance. This should correspond with the value ofkibana.external_urlin yourenterprise-search.yml:<KIBANA_BASE_URL>/app/enterprise_search/workplace_search/sources/added
Examples:
# Deployment using a custom domain name for Kibana
https://www.example.com/app/enterprise_search/workplace_search/sources/added

# Deployment using a default Elastic Cloud domain name for Kibana
https://c3397e558e404195a982cb68e84fbb42.kb.us-east-1.aws.found.io:443/app/enterprise_search/workplace_search/sources/added

# Unsecured local Kibana environment
http://localhost:5601/app/enterprise_search/workplace_search/sources/added
Step 13. Upon submission, you will be presented with a Client ID and Client Secret.
Keep them handy, as we’ll need them in a moment.
Step 14. From the Workplace Search administrative dashboard’s Sources area, locate Gmail, click Configure and provide both the Client ID and Client Secret.
Voilà! The Gmail connector is now configured, and ready to be used to synchronize content.
Reminder: Gmail must be added as a private content source.
Each individual will need to add it!
Connecting Gmail to Workplace Search
editOnce the Gmail connector has been configured, you may connect a Gmail instance to your private search experience.
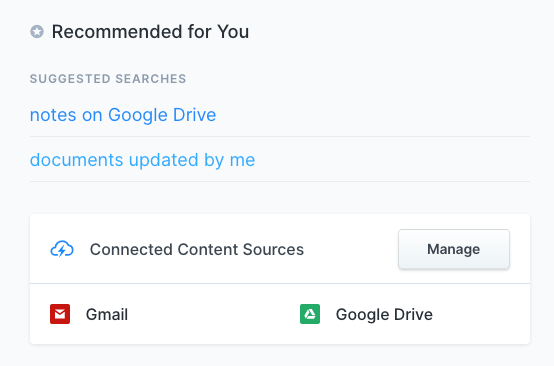
Step 1. Access your own Workplace Search search dashboard, and click the Manage button.
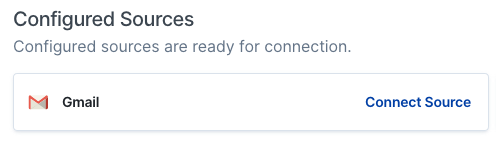
Step 2. Click Connect Source.
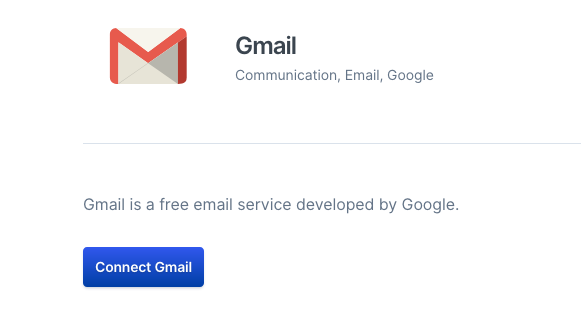
Step 3. Click Connect. You will see Google’s OAuth screen.
Accept the permissions to connect your Google account.
Step 4. Success! Your personal Gmail is now available to your search experience.
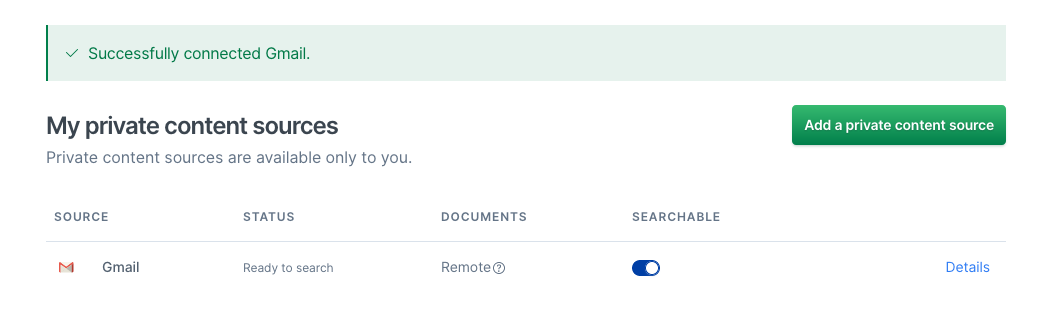
Gmail does not need to synchronize.
You will have the freshest content available each time you query.