Get started with CSPM
editGet started with CSPM
editOverview
editThis page explains how to get started monitoring the security posture of your cloud assets using the Cloud Security Posture Management (CSPM) feature.
The CSPM feature currently only supports posture evaluations for Amazon Web Service (AWS).
Set up CSPM for AWS
editTo set up CSPM for AWS, add the CSPM integration then enable cloud account access.
Add your CSPM integration
edit- From the Elastic Security Get started page, click Add integrations.
-
Search for
CSPM, then click on the result. - Click Add Cloud Security Posture Management (CSPM).
-
Give your integration a name that matches the purpose or team of the AWS account you want to monitor, for example,
dev-aws-account.
Set up cloud account access
editThe CSPM integration requires access to AWS’s built-in SecurityAudit IAM policy in order to discover and evaluate resources in your cloud account. There are several ways to provide access:
Regardless of which option you use, you’ll need to attach AWS’s built-in SecurityAudit IAM policy.
Option 1 - Use default instance role (recommended)
editFollow AWS’s IAM roles for Amazon EC2 documentation to create an IAM role using the IAM console, which automatically generates an instance profile.
-
Create an IAM role:
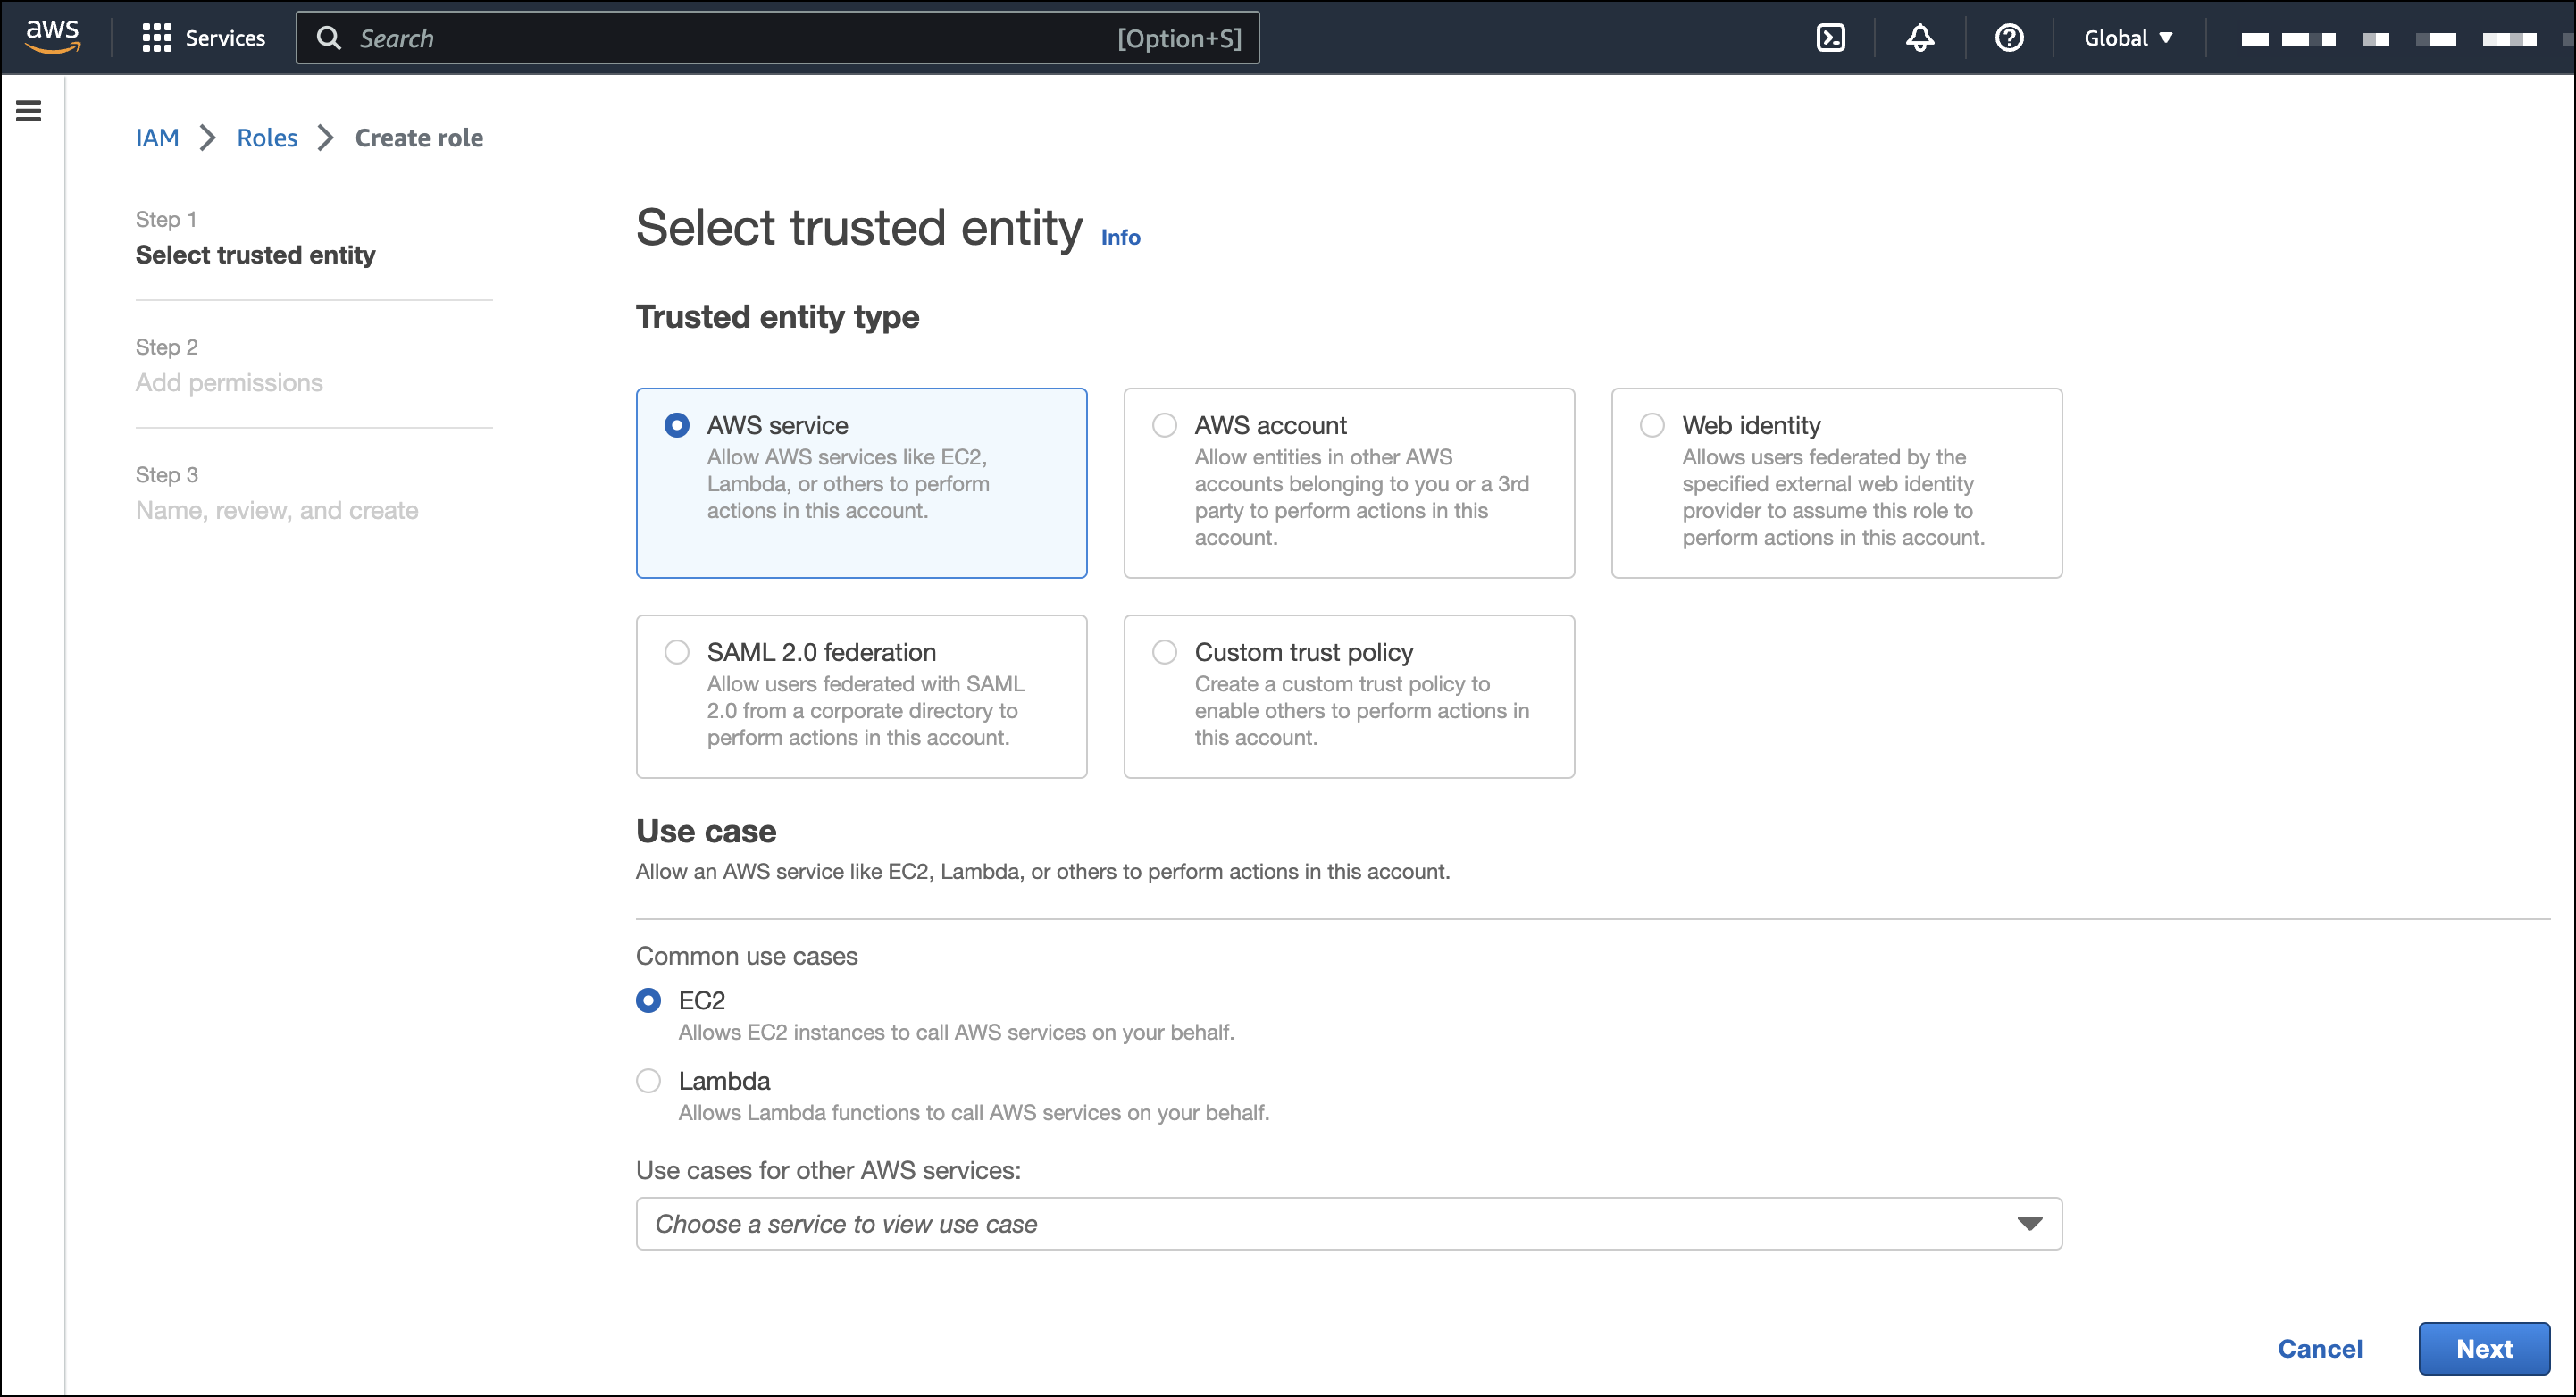
- In AWS, go to your IAM dashboard. Click Roles, then Create role.
- On the Select trusted entity page, under Trusted entity type, select AWS service.
-
Under Use case, select EC2. Click Next.
-
On the Add permissions page, search for and select
SecurityAudit. Click Next.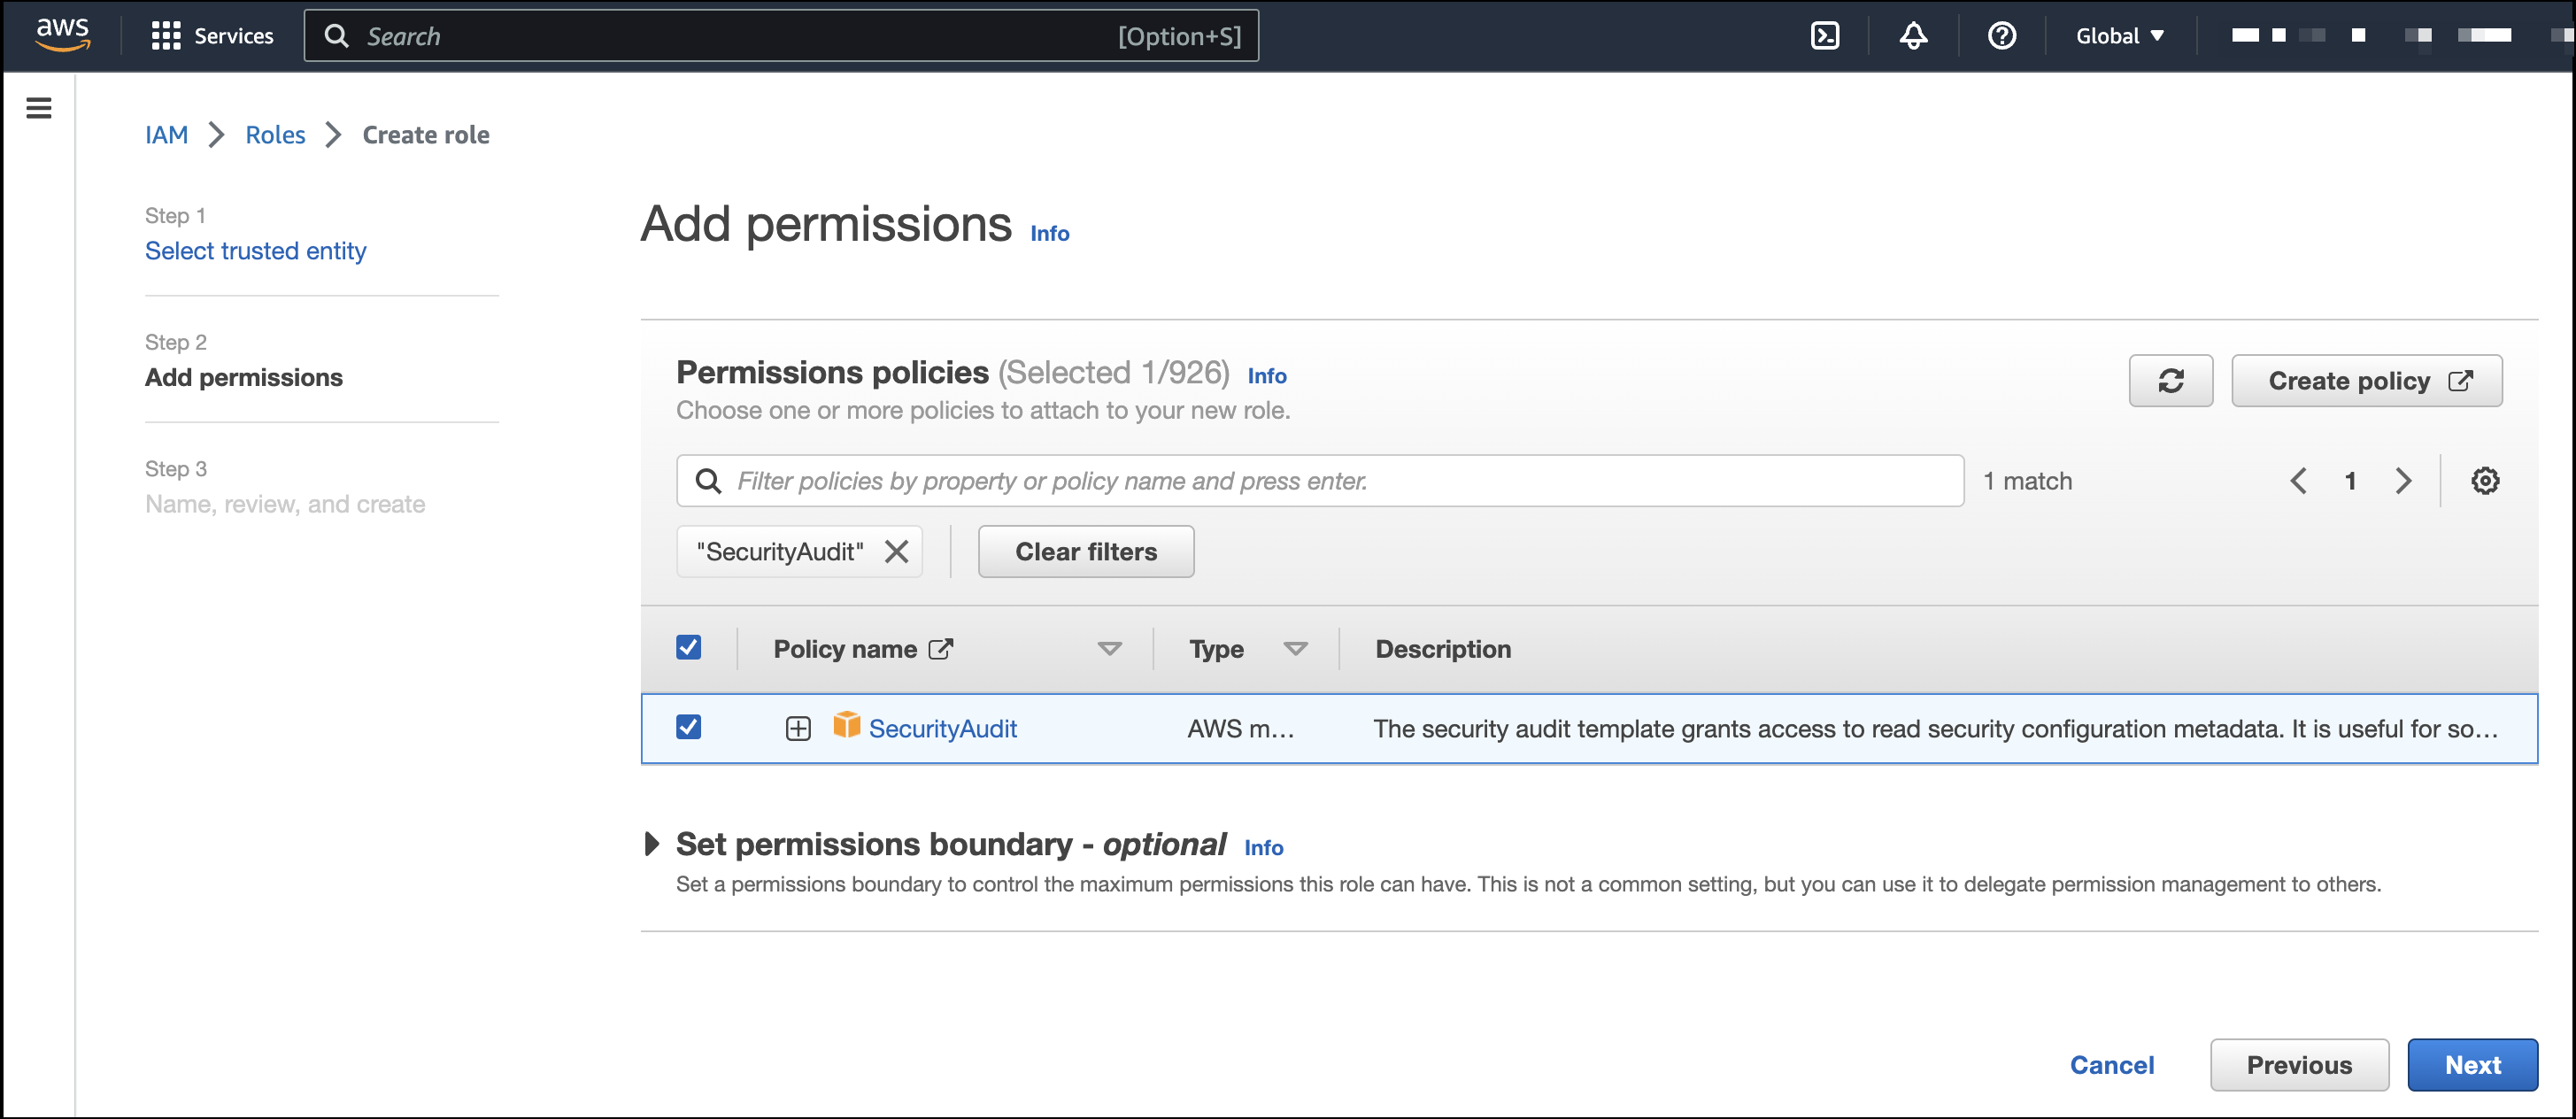
- On the Name, review, and create page, name your role, then click Create role.
-
Attach your new IAM role to an EC2 instance:
- In AWS, select an EC2 instance.
-
Select Actions > Security > Modify IAM role.
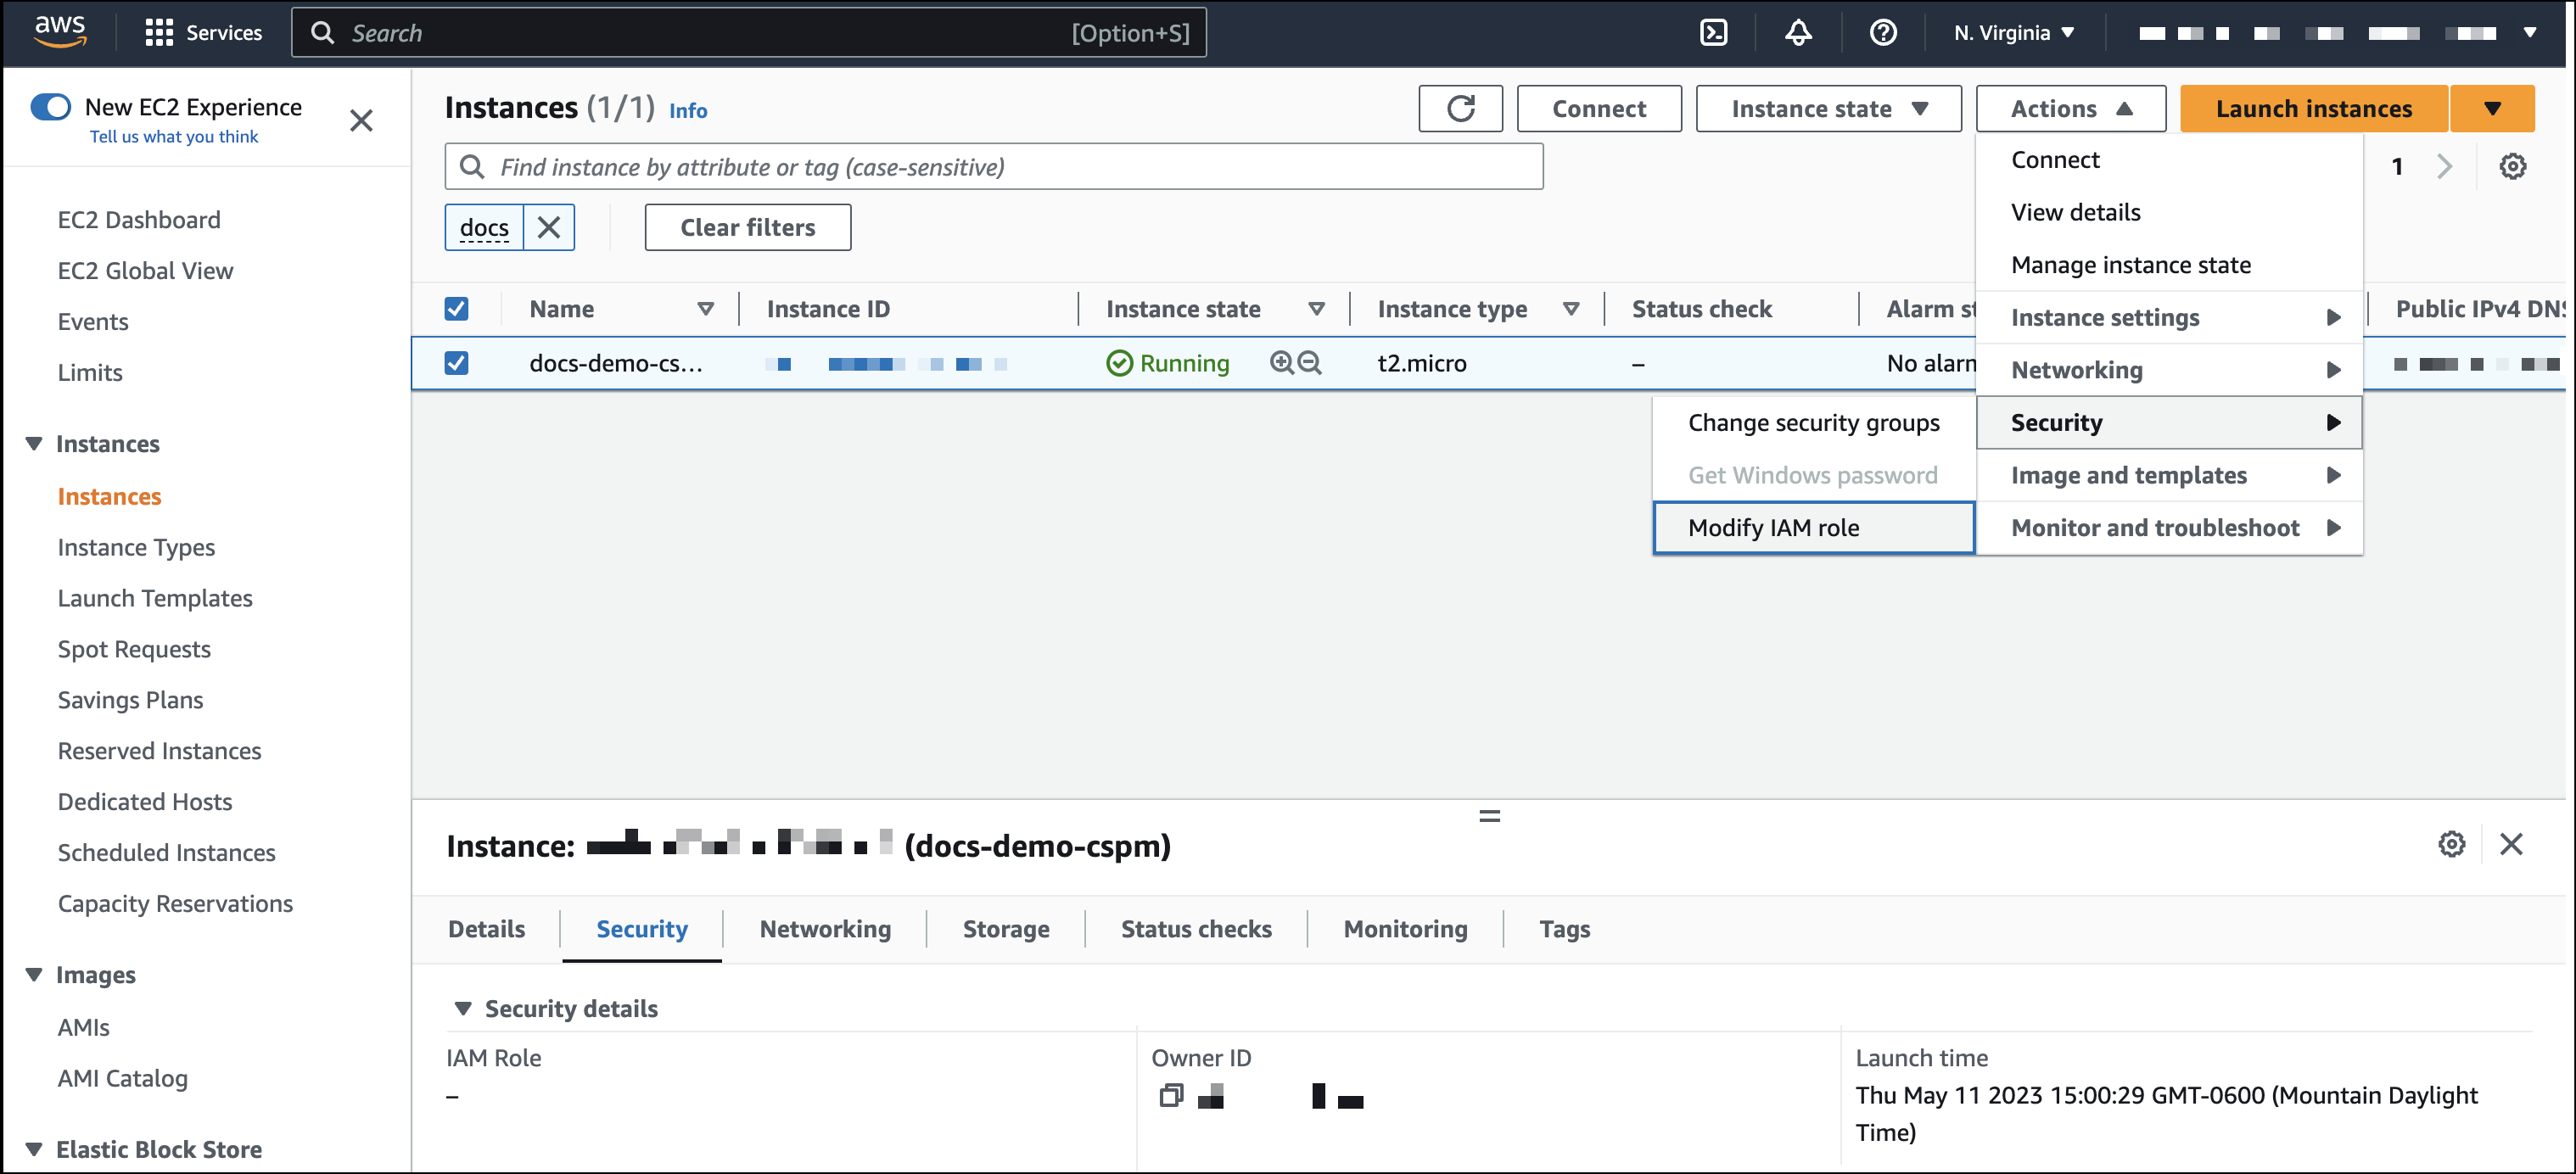
- On the Modify IAM role page, search for and select your new IAM role.
- Click Update IAM role.
- Return to Kibana and complete CSPM setup.
Make sure to deploy the CSPM integration to this EC2 instance. When completing setup in Kibana, in the Setup Access section, select Assume role and leave Role ARN empty. Click Save and continue.
Option 2 - Use access keys directly
editAccess keys are long-term credentials for an IAM user or AWS account root user. To use access keys as credentials, you must provide the Access key ID and the Secret Access Key.
For more details, refer to Access Keys and Secret Access Keys.
You must select Programmatic access when creating the IAM user.
Option 3 - Use temporary security credentials
editYou can configure temporary security credentials in AWS to last for a specified duration. They consist of an access key ID, a secret access key, and a security token, which is typically found using GetSessionToken.
Because temporary security credentials are short term, once they expire, you will need to generate new ones and manually update the integration’s configuration to continue collecting cloud posture data. Update the credentials before they expire to avoid data loss.
IAM users with multi-factor authentication (MFA) enabled need to submit an MFA code when calling GetSessionToken. For more details, refer to AWS’s Temporary Security Credentials documentation.
You can use the AWS CLI to generate temporary credentials. For example, you could use the following command if you have MFA enabled:
sts get-session-token --serial-number arn:aws:iam::1234:mfa/your-email@example.com --duration-seconds 129600 --token-code 123456
The output from this command includes the following fields, which you should provide when configuring the KSPM integration:
-
Access key ID: The first part of the access key. -
Secret Access Key: The second part of the access key. -
Session Token: The required token when using temporary security credentials.
Option 4 - Use a shared credentials file
editIf you use different AWS credentials for different tools or applications, you can use profiles to define multiple access keys in the same configuration file. For more details, refer to AWS' Shared Credentials Files documentation.
Instead of providing the Access key ID and Secret Access Key to the integration, provide the information required to locate the access keys within the shared credentials file:
-
Credential Profile Name: The profile name in the shared credentials file. -
Shared Credential File: The directory of the shared credentials file.
If you don’t provide values for all configuration fields, the integration will use these defaults:
-
If
Access key ID,Secret Access Key, andARN Roleare not provided, then the integration will check forCredential Profile Name. -
If there is no
Credential Profile Name, the default profile will be used. -
If
Shared Credential Fileis empty, the default directory will be used. -
For Linux or Unix, the shared credentials file is located at
~/.aws/credentials.
Option 5 - Use an IAM role Amazon Resource Name (ARN)
editAn IAM role Amazon Resource Name (ARN) is an IAM identity that you can create in your AWS account. You define the role’s permissions. Roles do not have standard long-term credentials such as passwords or access keys. Instead, when you assume a role, it provides temporary security credentials for your session.
Finish CSPM setup
editOnce you’ve provided AWS credentials:
- If you want to monitor an AWS account where you have not yet deployed Elastic Agent, select New Hosts under Where to add this integration.
-
Name the Elastic Agent policy. Use a name that matches the purpose or team of the cloud account or accounts you want to monitor. For example,
dev-aws-account. - Click Save and continue, then Add Elastic Agent to your hosts. The Add agent wizard appears and provides Elastic Agent binaries, which you can download and deploy to your AWS account.