Investigate events in Timeline
editInvestigate events in Timeline
editUse Timeline as your workspace for investigations and threat hunting. You can add alerts from multiple indices to a Timeline to facilitate advanced investigations.
You can drag or send fields of interest to a Timeline to create the desired query. For example, you can add fields from tables and histograms on the Overview, Alerts, Hosts, and Network pages, as well as from other Timelines. Alternatively, you can add a query directly in Timeline by clicking + Add field.
Timelines are responsive, and they persist as you move through the Elastic Security app collecting data. Auto-saving ensures that the results of your investigation are available for later review. To record and share your findings with others, attach your Timeline to a case.
Untitled Timelines are saved as drafts. To attach a Timeline to a case, you must give it a title.
In addition to Timelines, you can create and attach Timeline templates to detection rules. Timeline templates allow you to define the source event fields used when you investigate alerts in Timeline. You can select whether the fields use predefined values or values retrieved from the alert. For more information, refer to About Timeline templates.
View and refine Timeline results
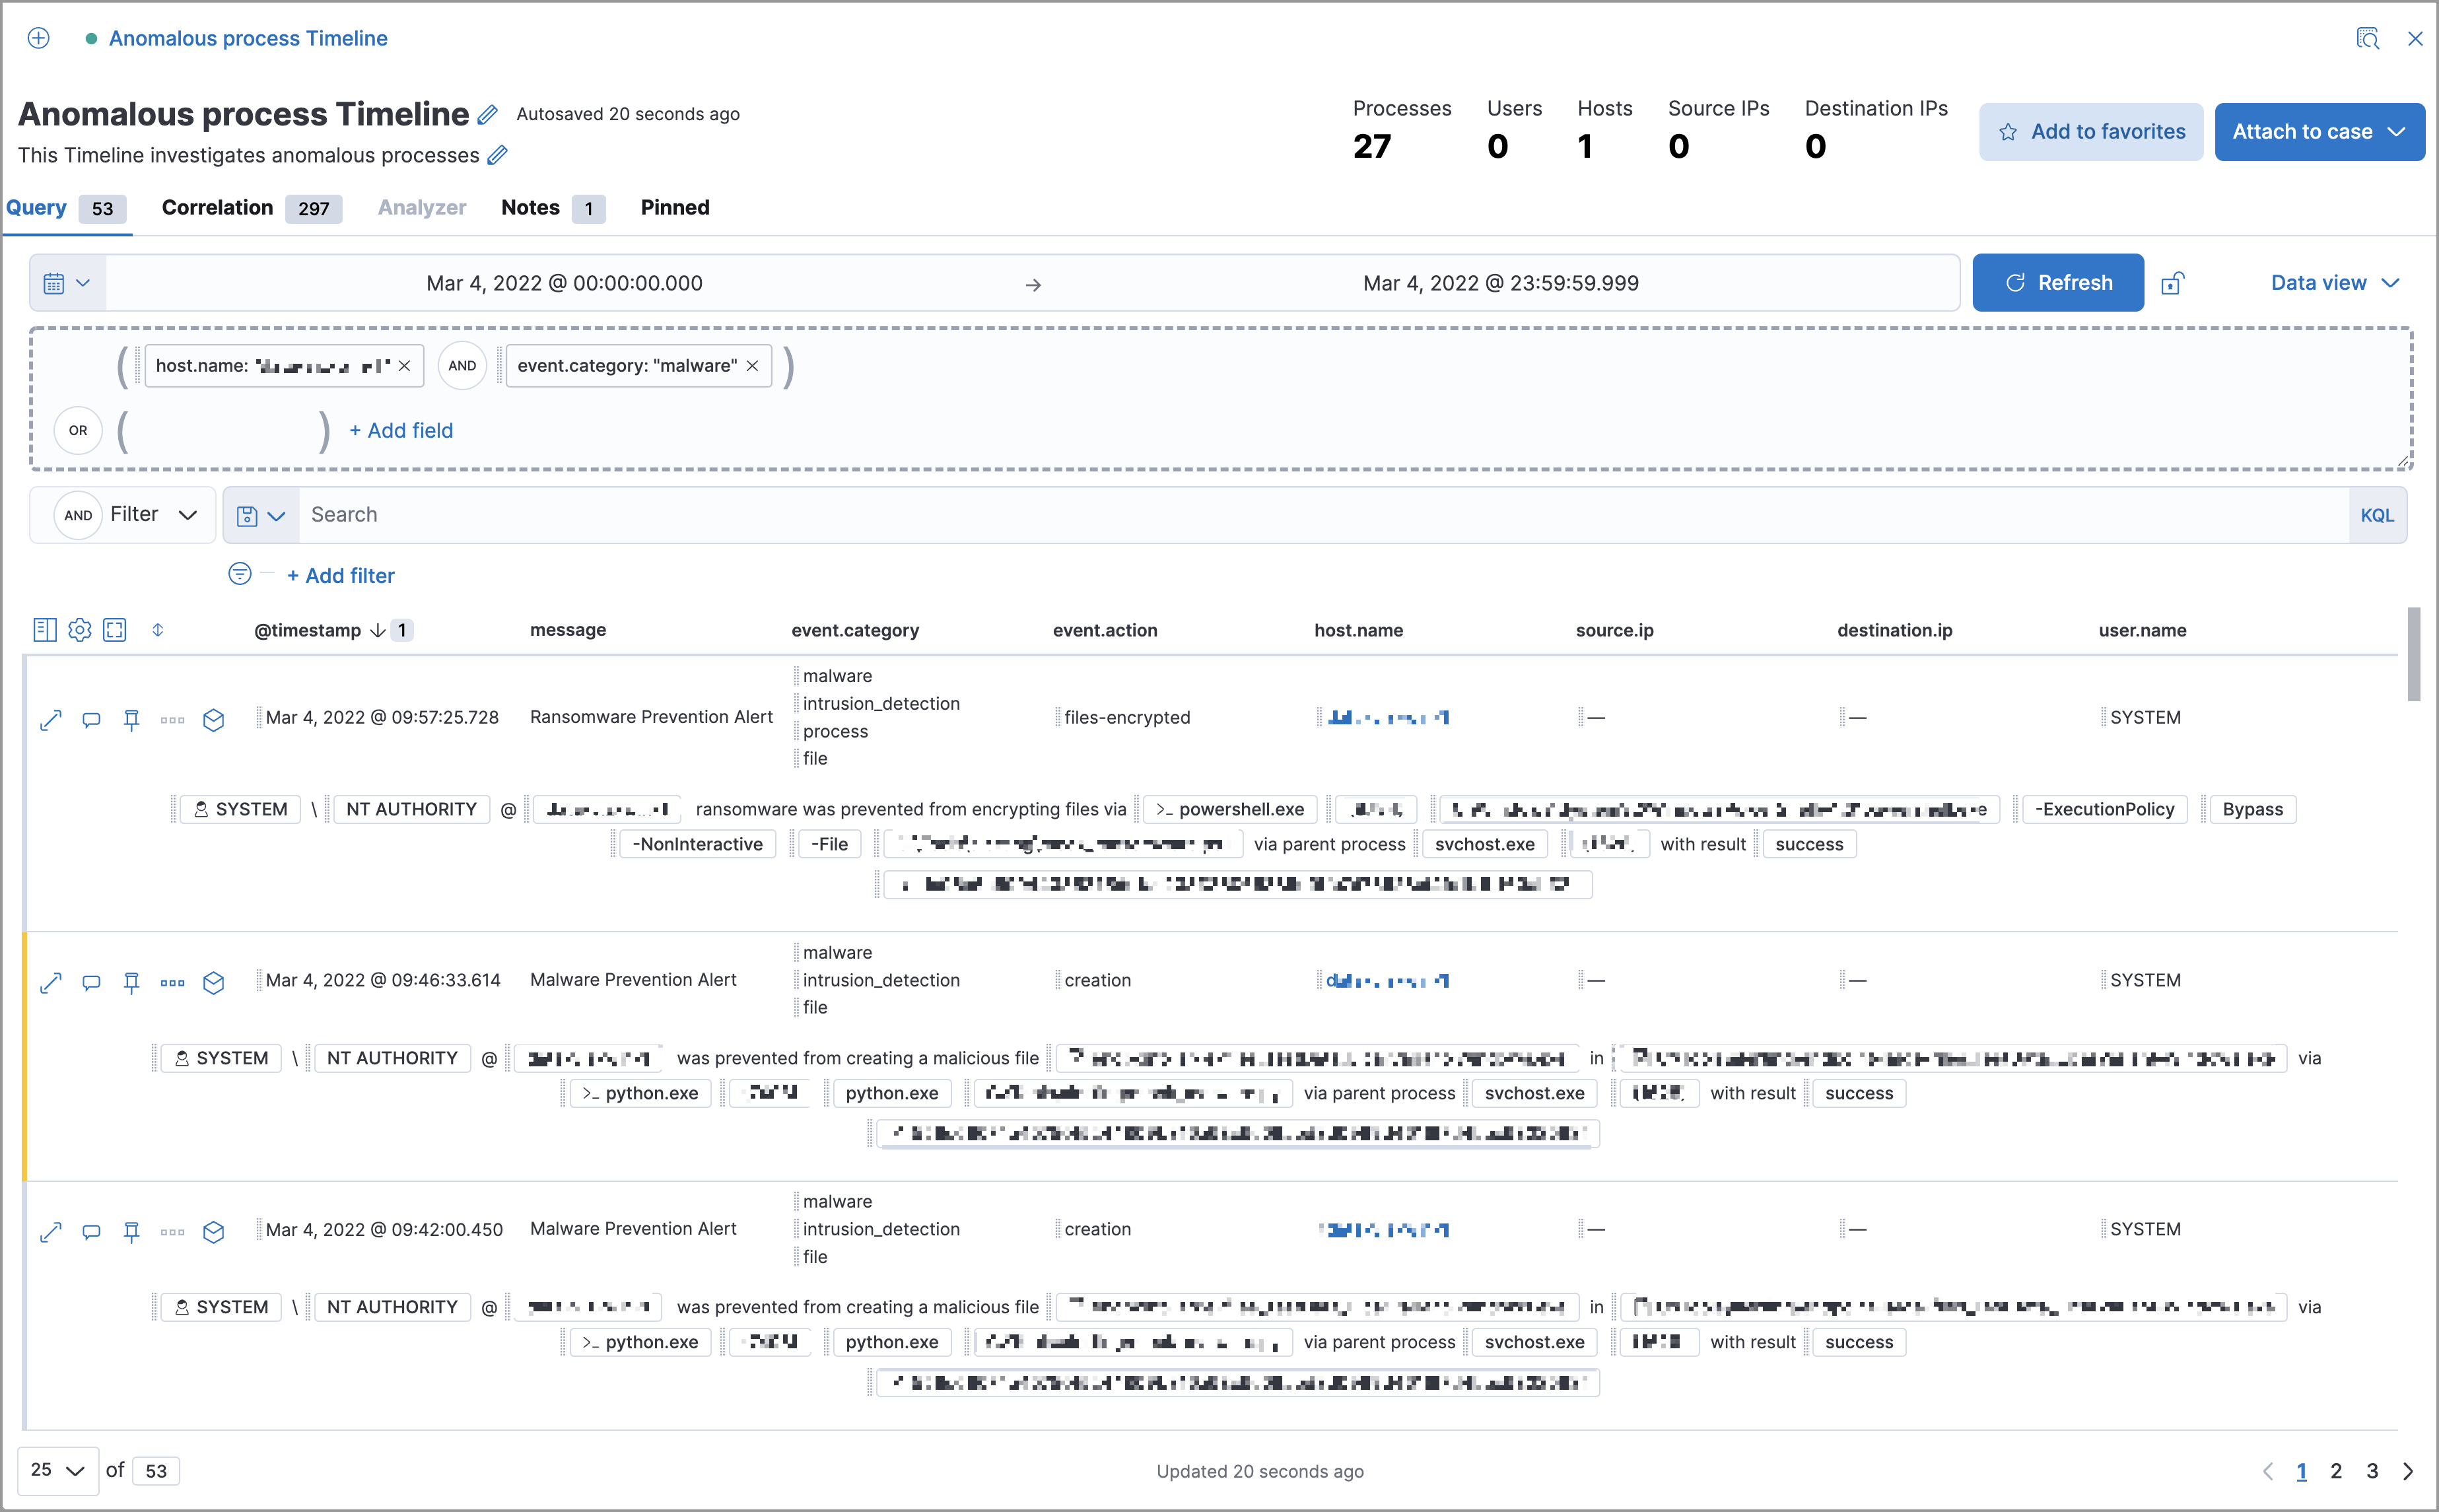
editUsing the drop-down options by the KQL bar, you can select whether alerts, other raw events, or both are displayed in the Timeline.
Configure Timeline event context and display
editMany types of events automatically appear in preconfigured views that provide relevant contextual information, called Event Renderers. You can see and turn them on or off with the Settings menu in the upper left corner of the results pane:
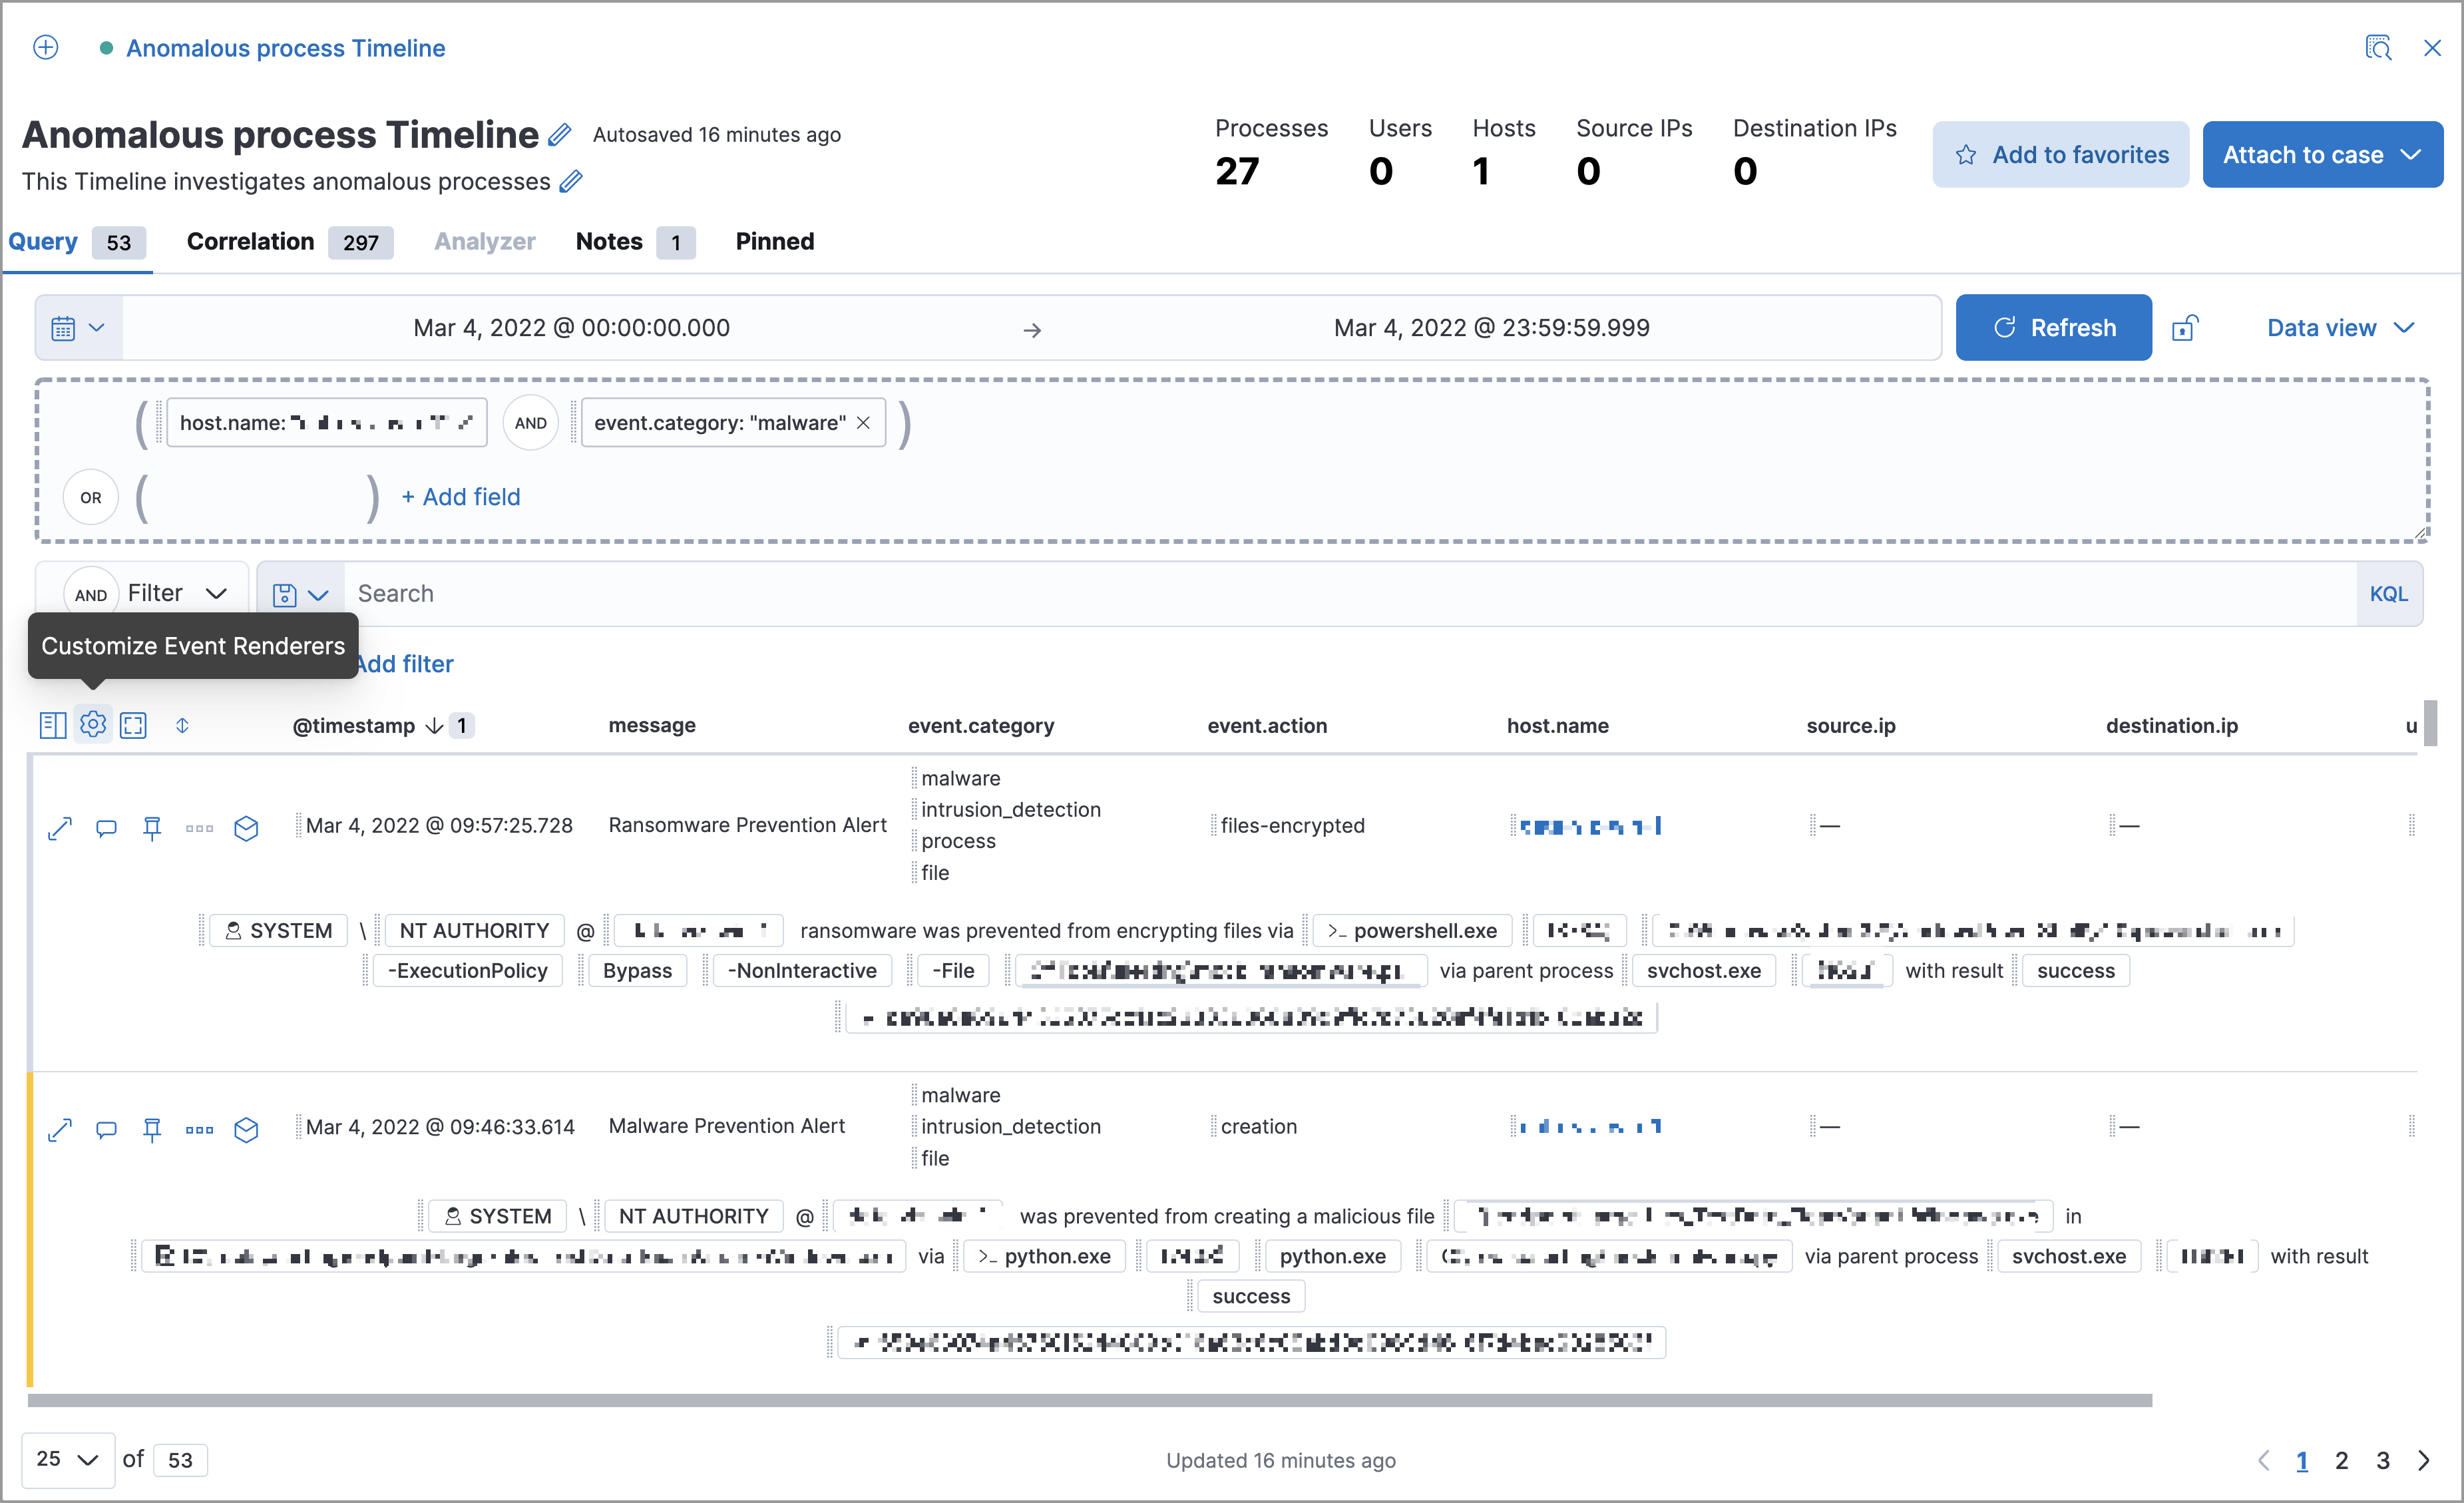
The example above displays the Flow event renderer, which highlights the movement of data between its source and destination. If you see a particular part of the rendered event that interests you, you can drag it up to the drop zone below the query bar for further investigation.
You can also modify a Timeline’s display in other ways:
- View it in full screen mode
- Add, remove, reorder, or resize columns
- Add notes to individual events
- Add investigation notes to the entire Timeline
- Pin interesting events to the Timeline
Narrow or expand your KQL query
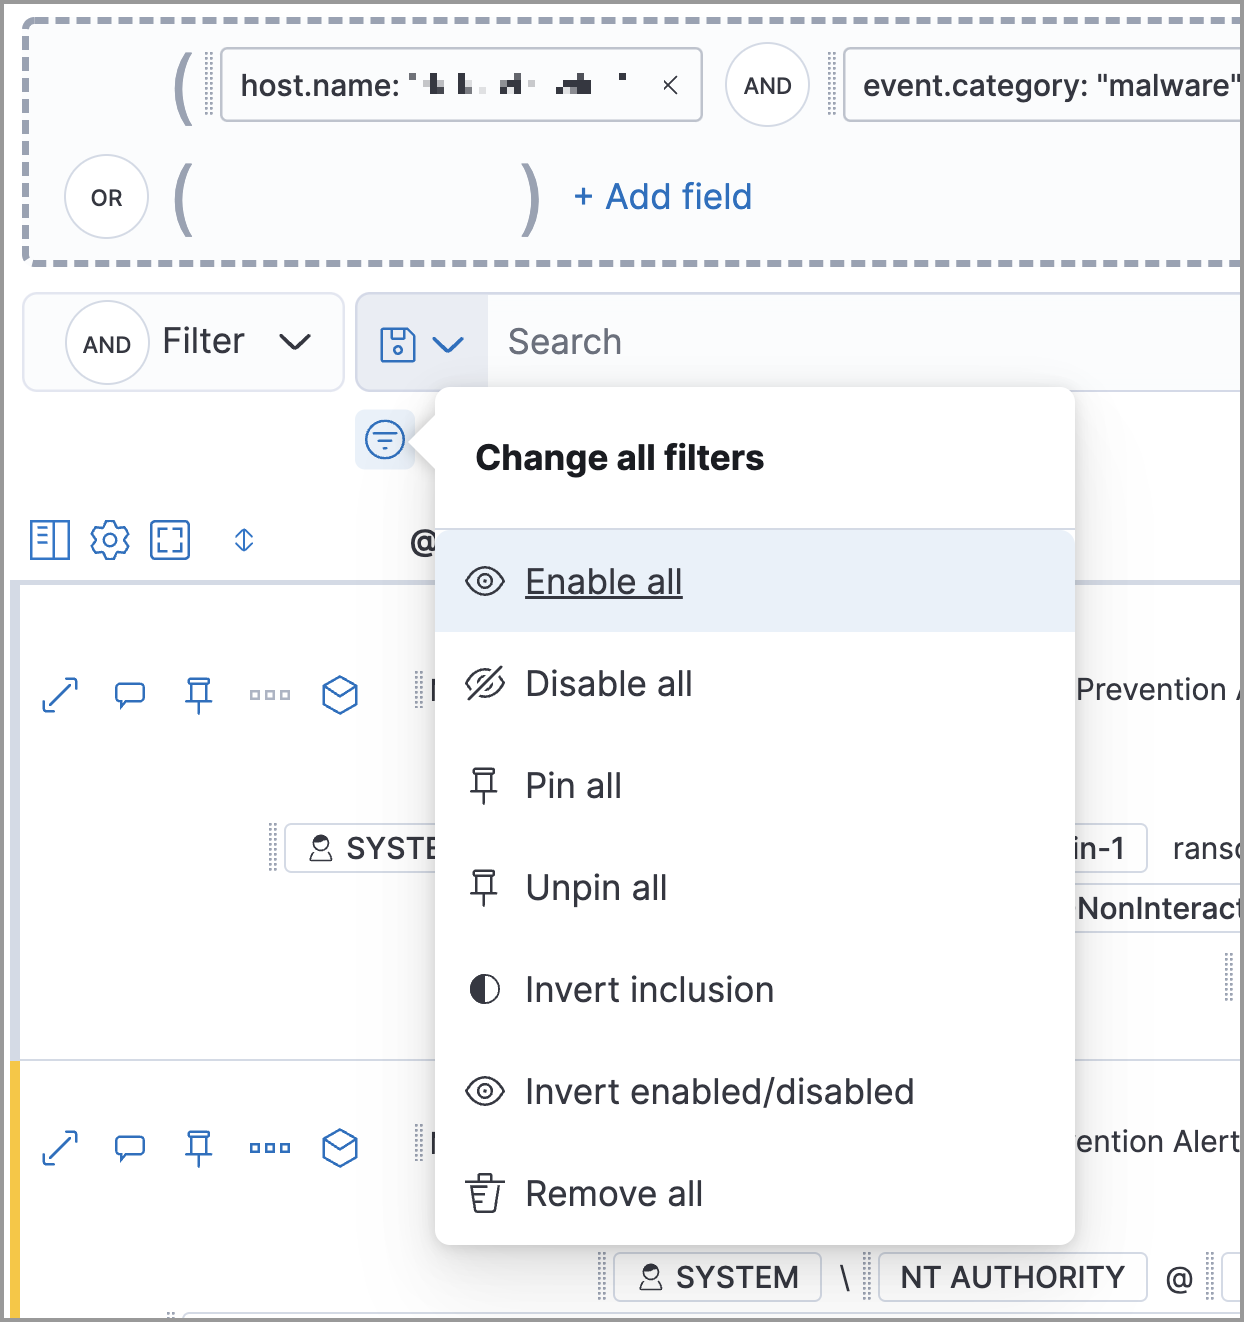
editBy placing fields within the drop zone, you turn them into query filters. Their relative placement specifies their logical relationships: horizontally adjacent filters use AND, while vertically adjacent filters use OR.
Edit existing filters
editClick a filter to access additional operations such as exclude, temporarily disable, or delete:
Here are examples of various types of filters:
- Field with value
-
Filters for events with the specified field value:

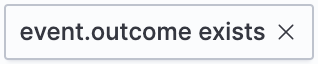
- Field exists
-
Filters for events containing the specified field:
- Exclude results
-
Filters for events that do not contain the specified field value (
field with valuefilter) or the specified field (field existsfilter):
- Temporarily disable
-
The filter is not used in the query until it is enabled again:

- Filter for field present
-
Converts a
field with valuefilter to afield existsfilter.
When you convert a Timeline template to a Timeline, some fields may be disabled. For more information, refer to Timeline template legend.
Attach Timeline to a case
editTo attach a Timeline to a new or existing case, open it, click Attach to case in the upper right corner, then select either Attach to new case or Attach to existing case.
To learn more about cases, refer to Cases.
Manage existing Timelines
editYou can view, duplicate, export, delete, and create templates from existing Timelines:
- Go to Investigate → Timelines.
-
Click the All actions menu in the desired row, then select an action:
- Create template from timeline (refer to About Timeline templates)
- Duplicate timeline
- Export selected (refer to Export and import Timelines)
- Delete selected
To perform an action on multiple Timelines, first select the Timelines, then select an action from the Bulk actions menu.
Export and import Timelines
editYou can export and import Timelines, which enables you to share Timelines from one
Kibana space or instance to another. Exported Timelines are saved as .ndjson files.
To export Timelines:
- Go to Investigate → Timelines.
- Either click the All actions menu in the relevant row and select Export selected, or select multiple Timelines and then click Bulk actions → Export selected.
To import Timelines:
-
Click Import, then select or drag and drop the relevant
.ndjsonfile.Multiple Timeline objects are delimited with newlines.
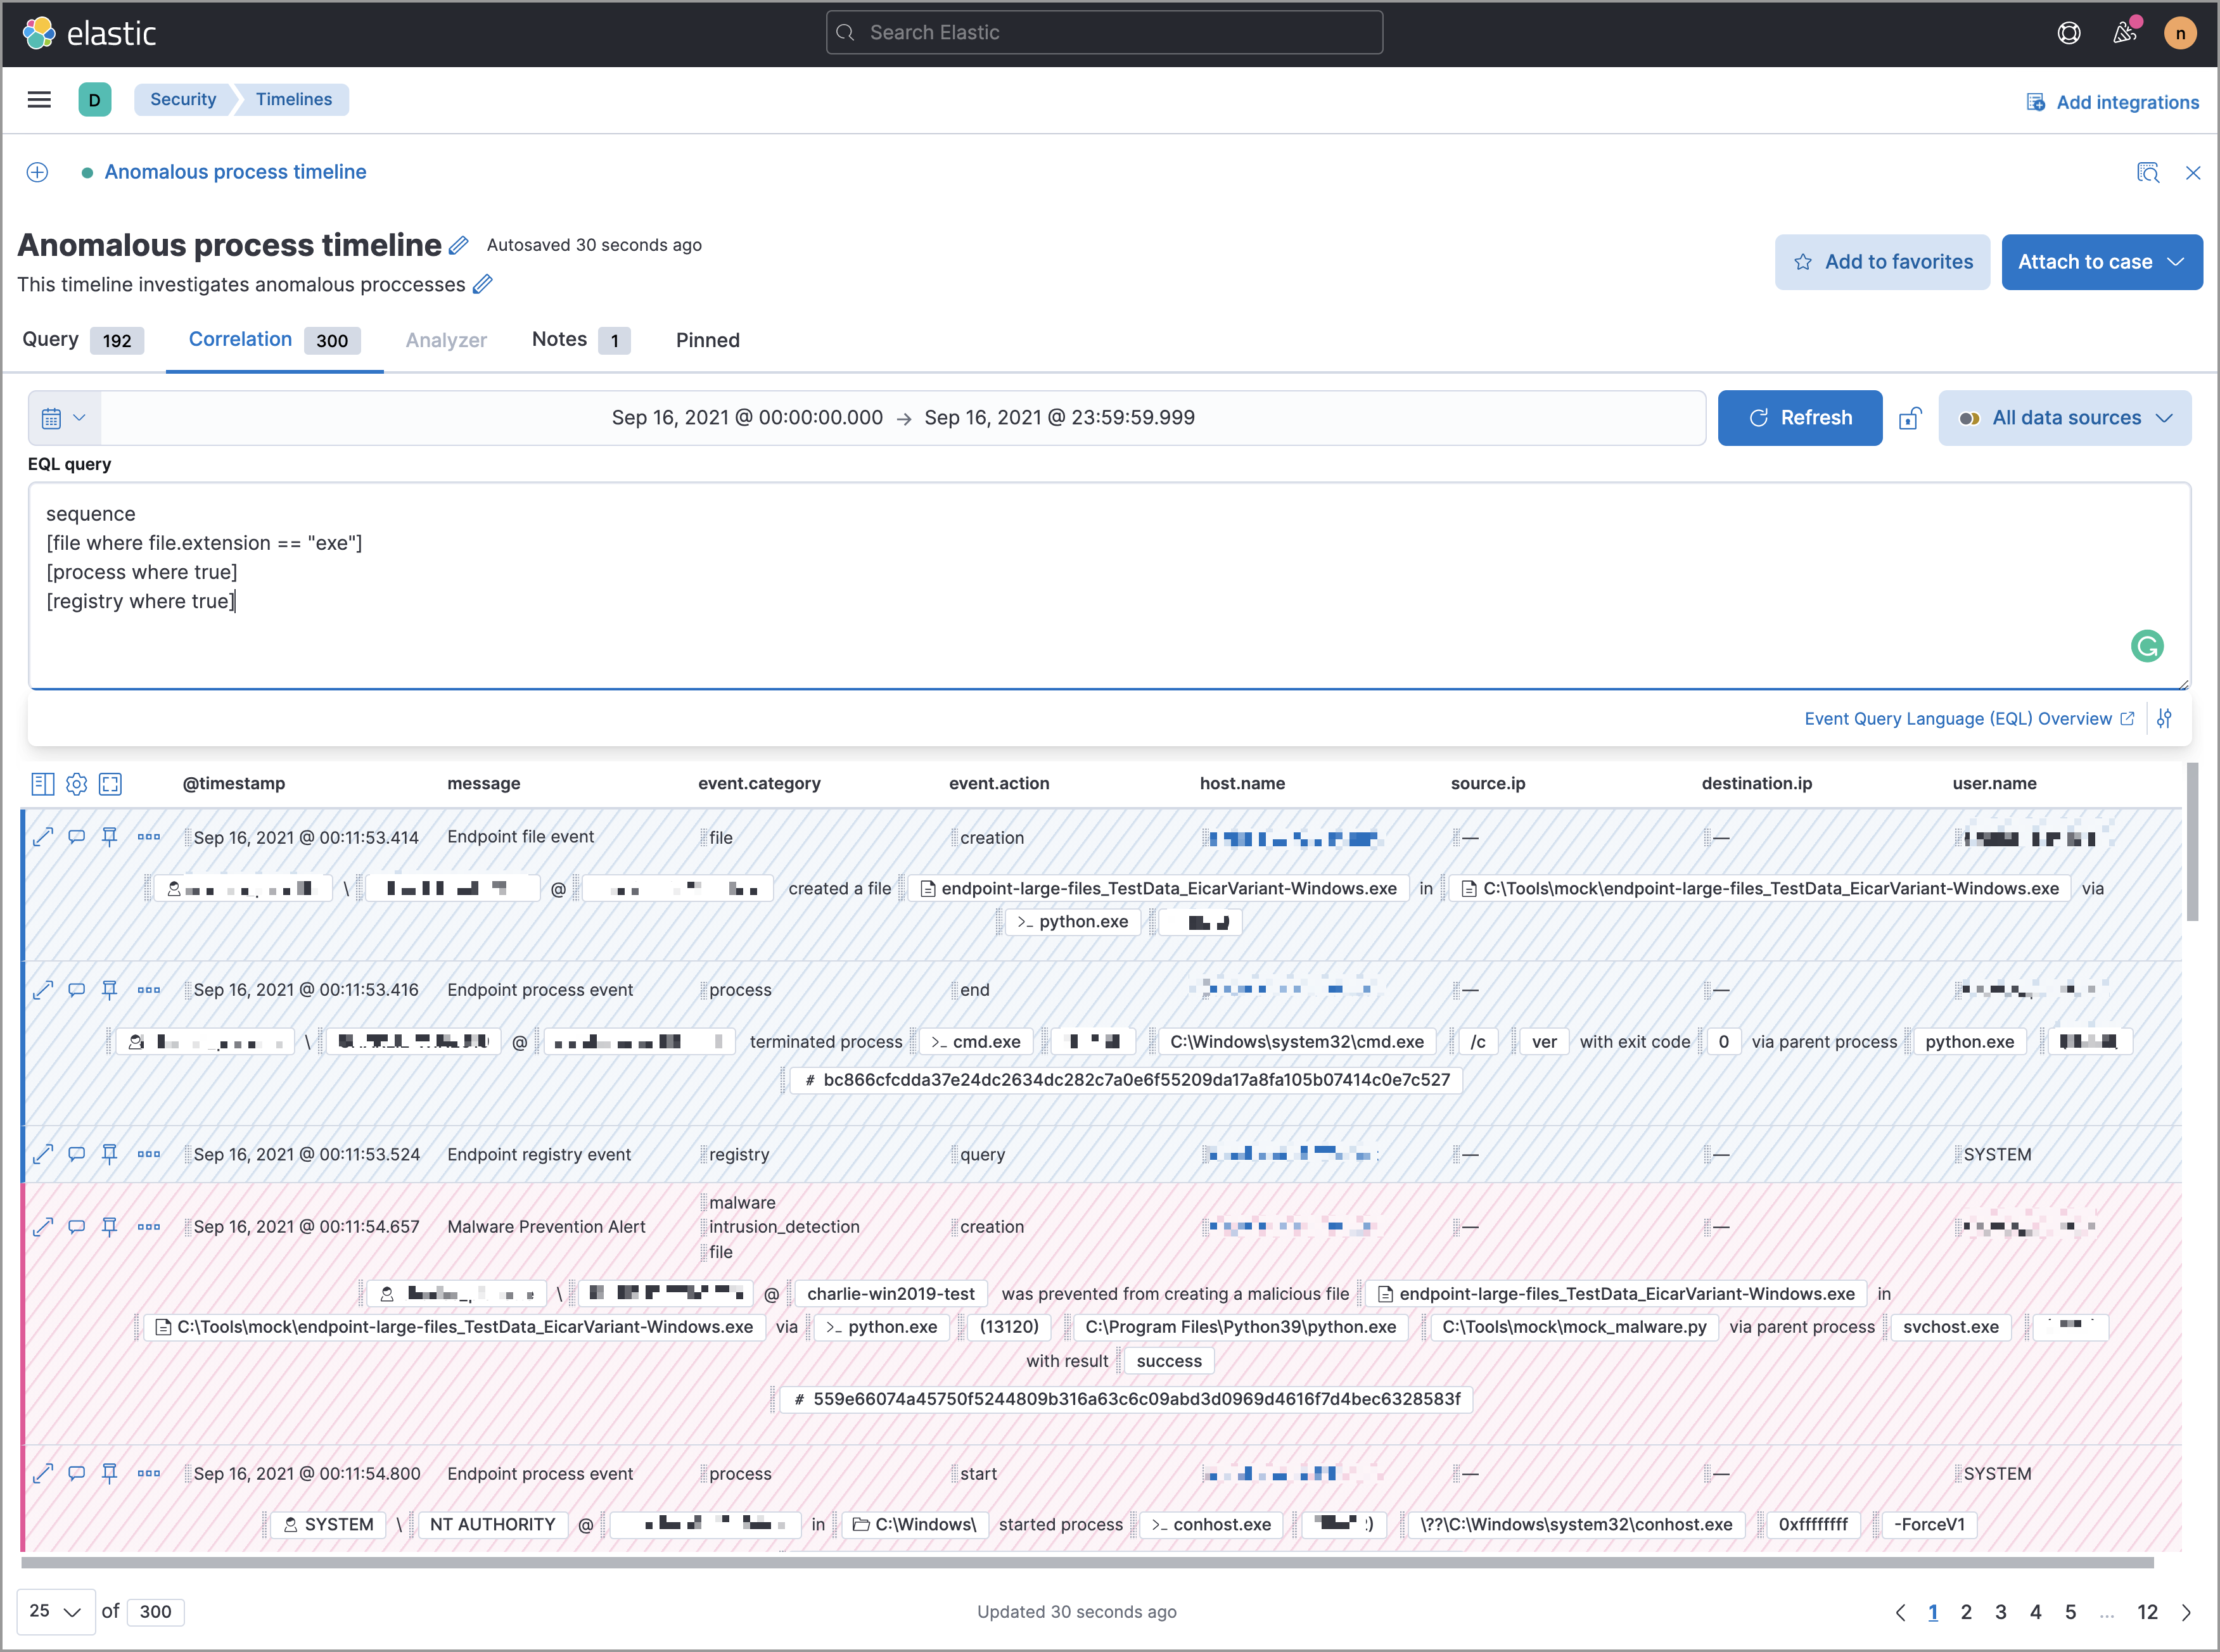
Filter Timeline results with EQL
editUse the Correlation tab to investigate Timeline results with EQL queries.
When forming EQL queries, you can write a basic query to return a list of events and alerts. Or, you can create sequences of EQL queries to view matched, ordered events across multiple event categories. Sequence queries are useful for identifying and predicting related events. They can also provide a more complete picture of potential adversary behavior in your environment, which you can use to create or update rules and detection alerts.
The following image shows what matched ordered events look like in the Timeline table. Events that belong to the same sequence are matched together in groups and shaded red or blue. Matched events are also ordered from oldest to newest in each sequence.
From the Correlation tab, you can also do the following:
- Specify the date and time range that you want to investigate.
- Reorder the columns and choose which fields to display.
- Choose a data view and whether to show detection alerts only.