IMPORTANT: No additional bug fixes or documentation updates
will be released for this version. For the latest information, see the
current release documentation.
Create sample anomaly detection jobs in Kibana
edit
IMPORTANT: This documentation is no longer updated. Refer to Elastic's version policy and the latest documentation.
Create sample anomaly detection jobs in Kibana
editThe Kibana sample data sets include some pre-configured anomaly detection jobs for you to play with. You can use either of the following methods to add the jobs:
- After you load the sample web logs data set on the Kibana home page, click View data > ML jobs.
-
In the Machine Learning app, when you select the
kibana_sample_data_logsindex pattern in the Data Visualizer or the Anomaly Detection job wizards, it recommends that you create a job using its known configuration. Select the Kibana sample data web logs configuration.
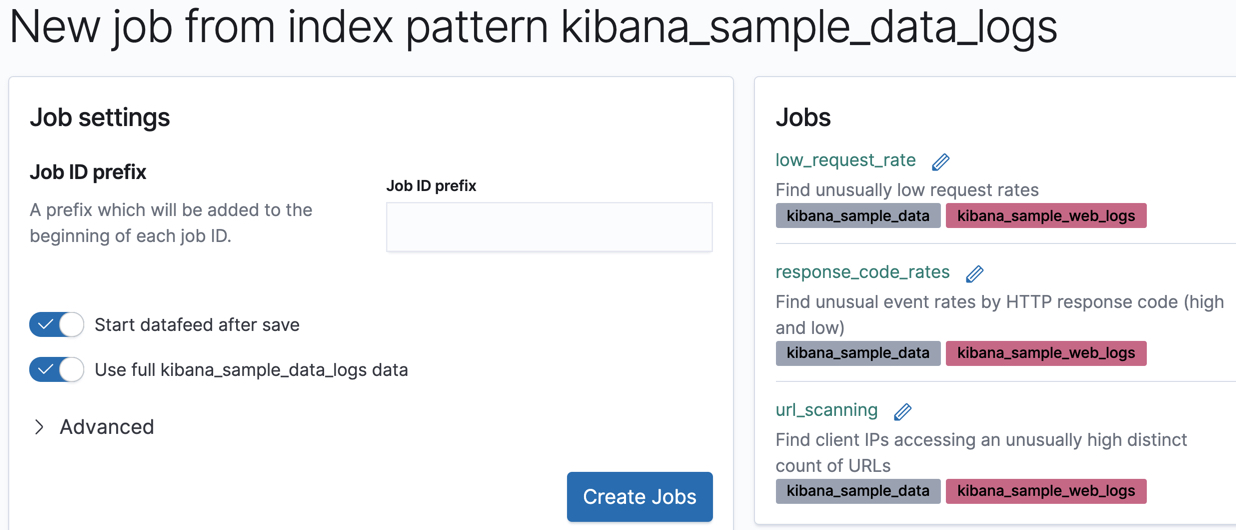
Accept the default values and click Create Jobs.
The wizard creates three jobs and three datafeeds.
If you want to see all of the configuration details for your jobs and datafeeds, you can do so on the Machine Learning > Anomaly Detection > Job Management page. For the purposes of this tutorial, however, here’s a quick overview of the goal of each job:
-
low_request_rateuses thelow_countfunction to find unusually low request rates -
response_code_ratesuses thecountfunction and partitions the analysis byresponse.keywordvalues to find unusual event rates by HTTP response code -
url_scanninguses thehigh_distinct_countfunction and performs population analysis on theclientipfield to find client IPs accessing an unusually high distinct count of URLs
The next step is to view the results and see what types of insights these jobs have generated!