Upgrade Elastic Agent
editUpgrade Elastic Agent
editThis functionality is in technical preview and may be changed or removed in a future release. Elastic will work to fix any issues, but features in technical preview are not subject to the support SLA of official GA features.
Upgrade Fleet-managed Elastic Agents
editStarting with version 7.10, Fleet provides upgrade capabilities. You can view and select agents that are out of date, and trigger selected agents to download, install, and run the new version.
This approach simplifies the process of keeping your agents up to date. It also saves you time because you don’t need third-party tools or processes to manage upgrades.
Elastic Agents require internet access to perform binary upgrades from Fleet.
The upgrade feature is not supported for upgrading DEB/RPM packages or Docker images.
To upgrade Elastic Agent to a new version:
- In Fleet, select Agents.
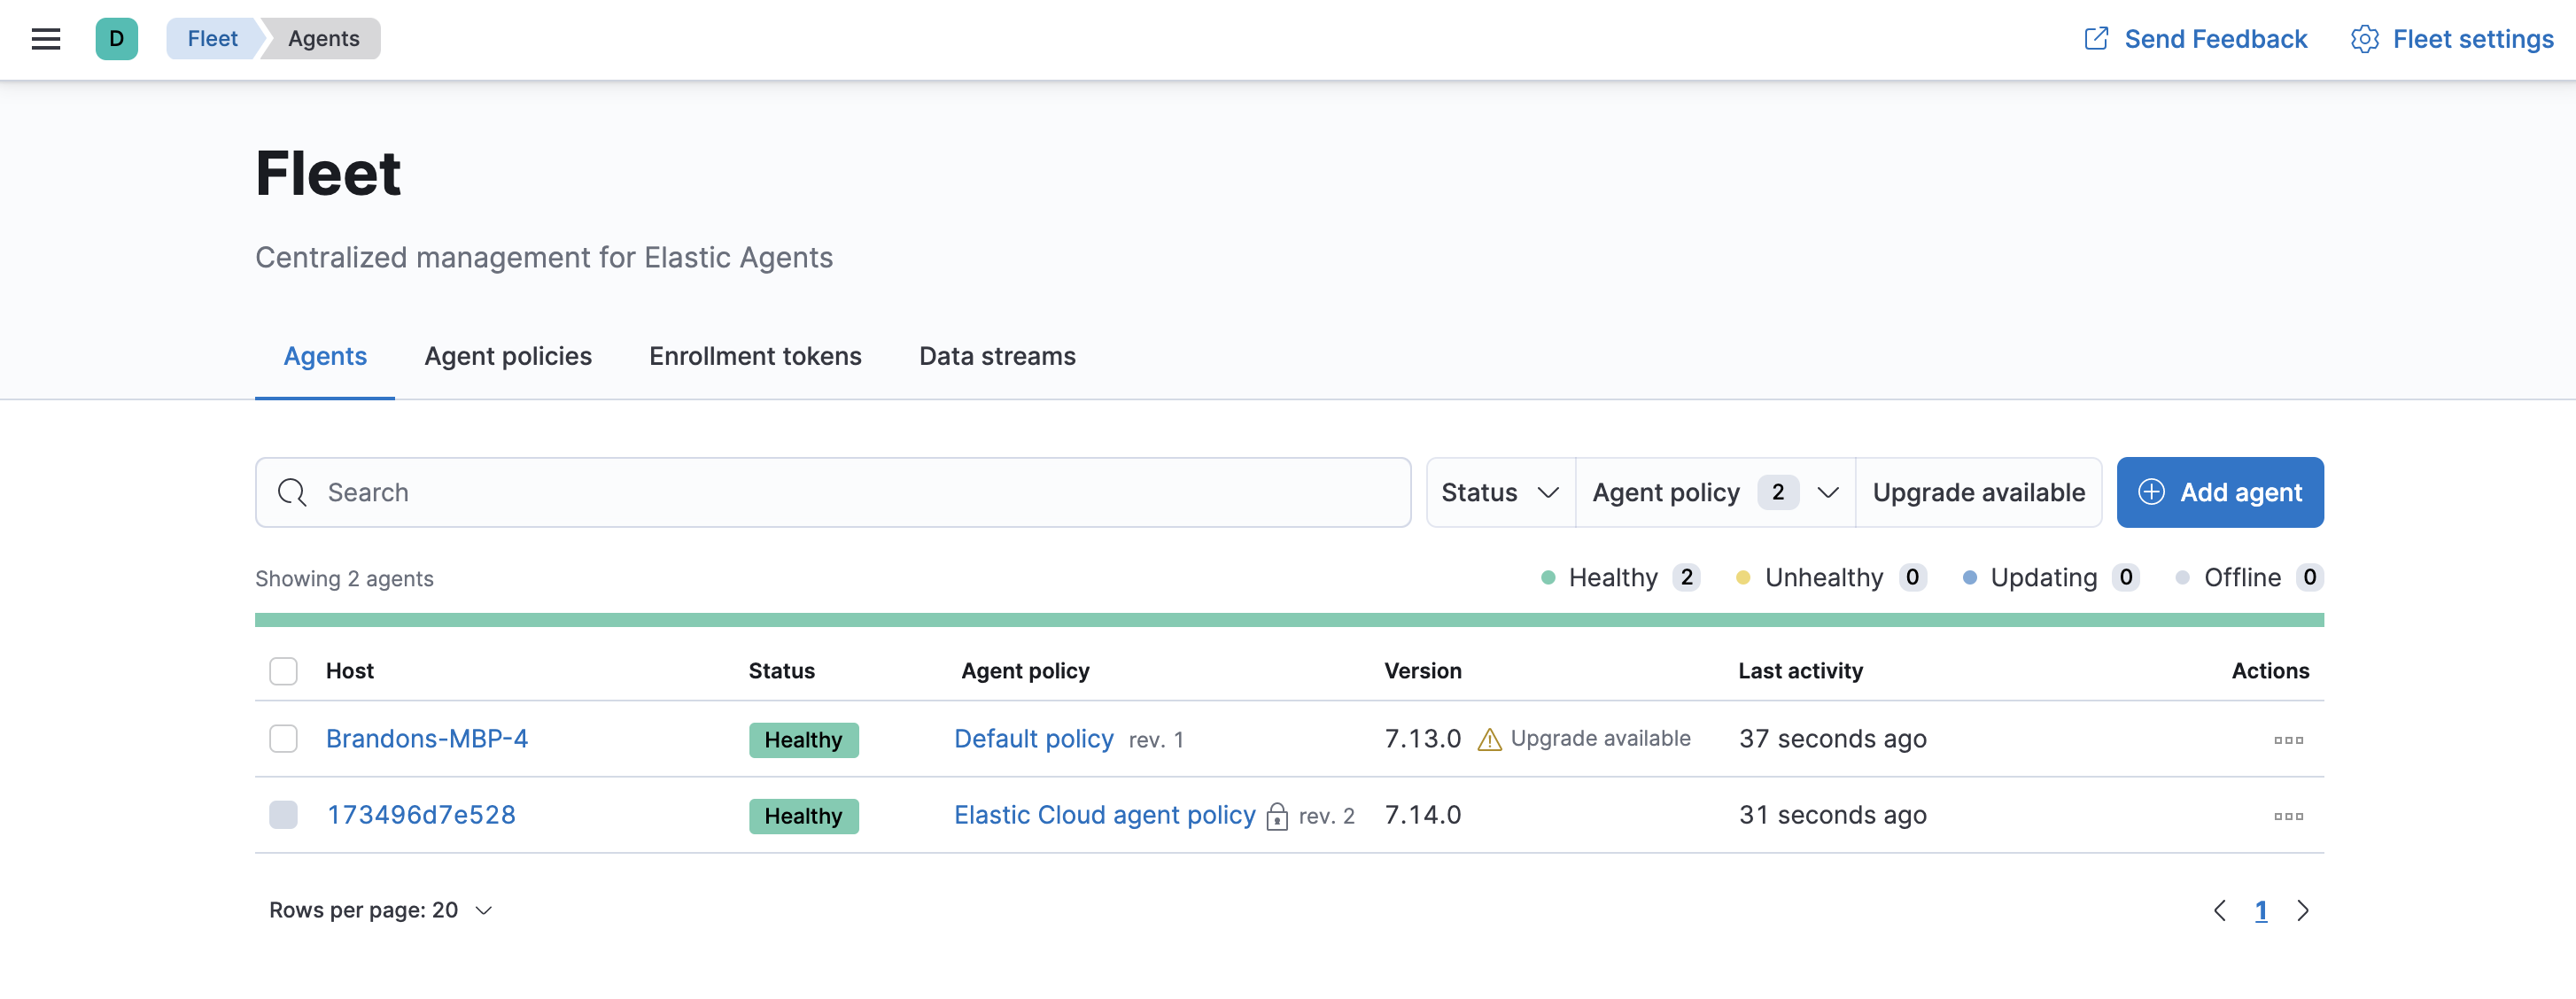
- Under Agents, click Upgrade available to see a list of agents that you can upgrade.
-
To upgrade a single agent, choose Upgrade agent from the Actions menu next to the agent you want to upgrade.
The Upgrade agent option is grayed out when an upgrade is unavailable, or the Kibana version is lower than the agent version.
-
To upgrade multiple agents, bulk select the agents and click Upgrade agents.

Upgrade standalone agents
editTo upgrade a standalone agent running on an edge node:
-
Make sure the
elastic-agentservice is running. -
From the directory where Elastic Agent is installed, run the
upgradecommand to upgrade to a new version. Not sure where the agent is installed? See Installation layout.For example, on macOS, to upgrade the agent from version 7.10.0 to 7.10.1, you would run:
cd /Library/Elastic/Agent/
sudo elastic-agent upgrade 7.10.1
For more command-line options, see the help for the
upgrade command.
Upgrade from 7.12 or lower
editAs part of the 7.13 release, we introduce Fleet Server, a mechanism to connect your Elastic Agents to Fleet.
When you upgrade to 7.13 from 7.12 or lower, please note the following:
- All of your existing Elastic Agents will be automatically unenrolled from Fleet and will stop sending data.
- Before you can add your Elastic Agents again to Fleet, you must have Fleet Server running.
- All of your policies will be migrated.
Prerequisite
editYou must upgrade your deployment to 7.13. If your deployment is running in our hosted Elasticsearch Service on Elastic Cloud, see Upgrade versions. If you are running a self-managed deployment, see Upgrading the Elastic Stack.
Step 1: Set up Fleet Server
editHere’s what you need to set up Fleet Server for each deployment type:
Elastic Cloud runs a hosted version of Fleet Server.
To confirm that Fleet Server is available in your deployment:
- Log in to Kibana and go to Management > Fleet, and click the Agents tab.
-
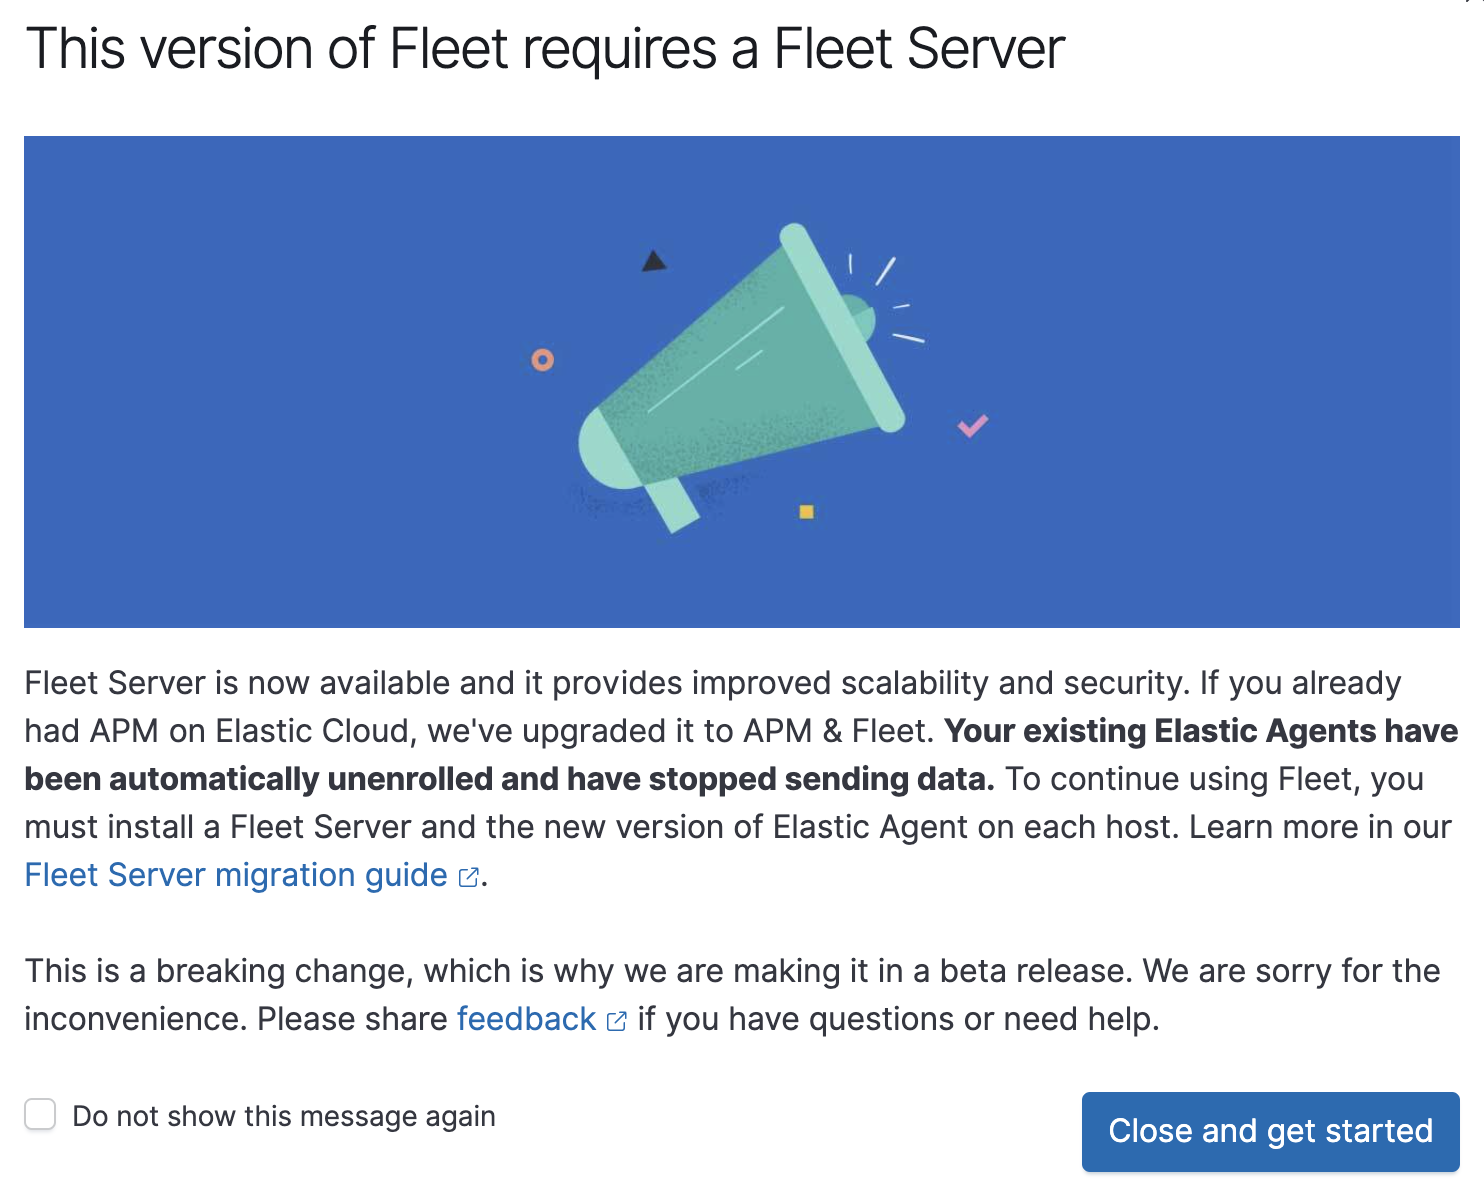
The following message is displayed. Please note that your Elastic Agents have now been unenrolled and have stopped sending data.
Select Do not show this message again, and then click Close and get started.
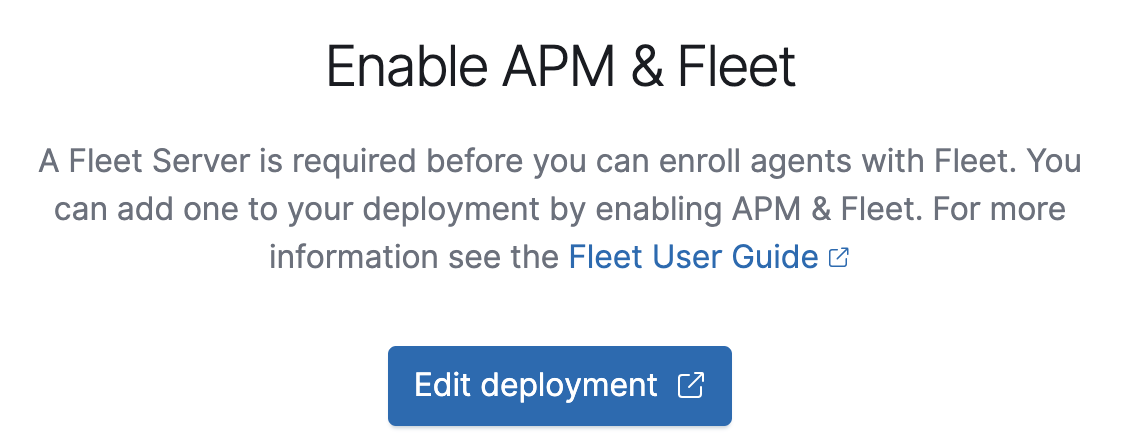
If your previous deployment did not include an APM node, you are prompted to enable APM & Fleet, required for using Fleet Server.
Click Edit deployment and add an APM & Fleet node to your deployment.
- To confirm that Fleet Server is available in your deployment, click the Agents tab.
-
Under Policies, select the Elastic Cloud agent policy to confirm that Fleet Server is listed. This policy is managed by Elastic Cloud and can not be modified.
You are now able to install and enroll subsequent Elastic Agents with Fleet Server.
To upgrade to Fleet Server:
- Log in to Kibana and go to Management > Fleet.
- Click the Agents tab.
-
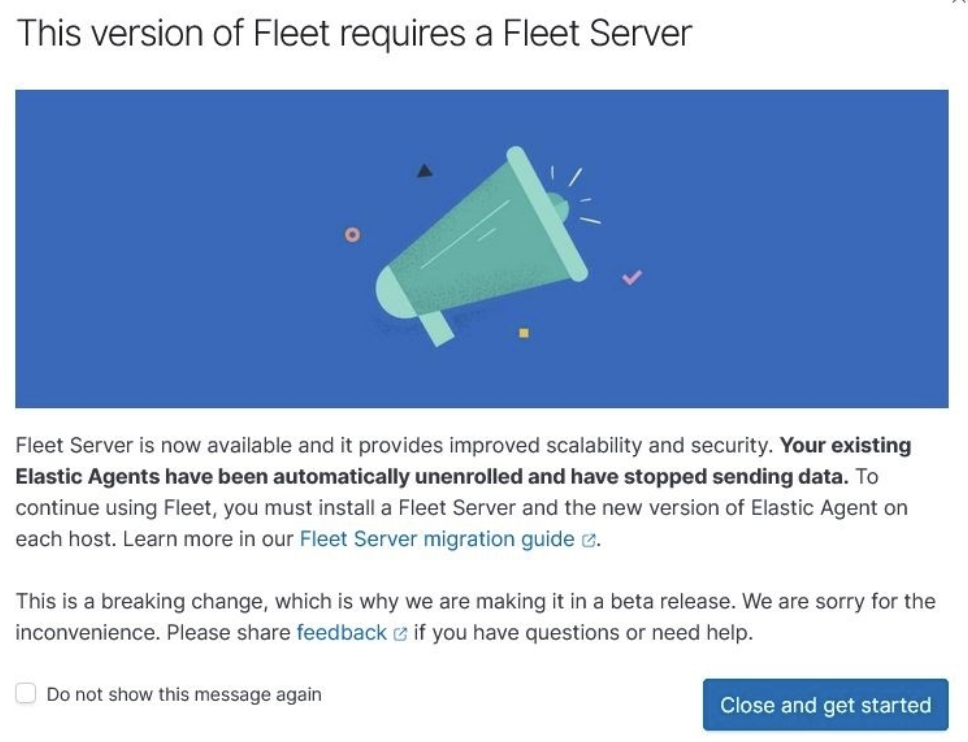
The following message is displayed. Please note that your Elastic Agents have now been unenrolled and have stopped sending data.
Select Do not show this message again, and then click Close and get started.
-
Click Fleet settings, and in the Fleet Server hosts field, enter the
URLs Elastic Agents will use to connect to Fleet Server. For example,
https://192.0.2.1:8220, where192.0.2.1is the host IP where you will install Fleet Server. -
In the Elasticsearch hosts field, specify the Elasticsearch URLs where Elastic Agents will send data.
For example,
https://192.0.2.0:9200. - Save and apply the settings.
-
Click the Agents tab and follow the in-product instructions to add a Fleet Server.
Start with downloading the Elastic Agent artifact of your choice to the host to run the Fleet Server:
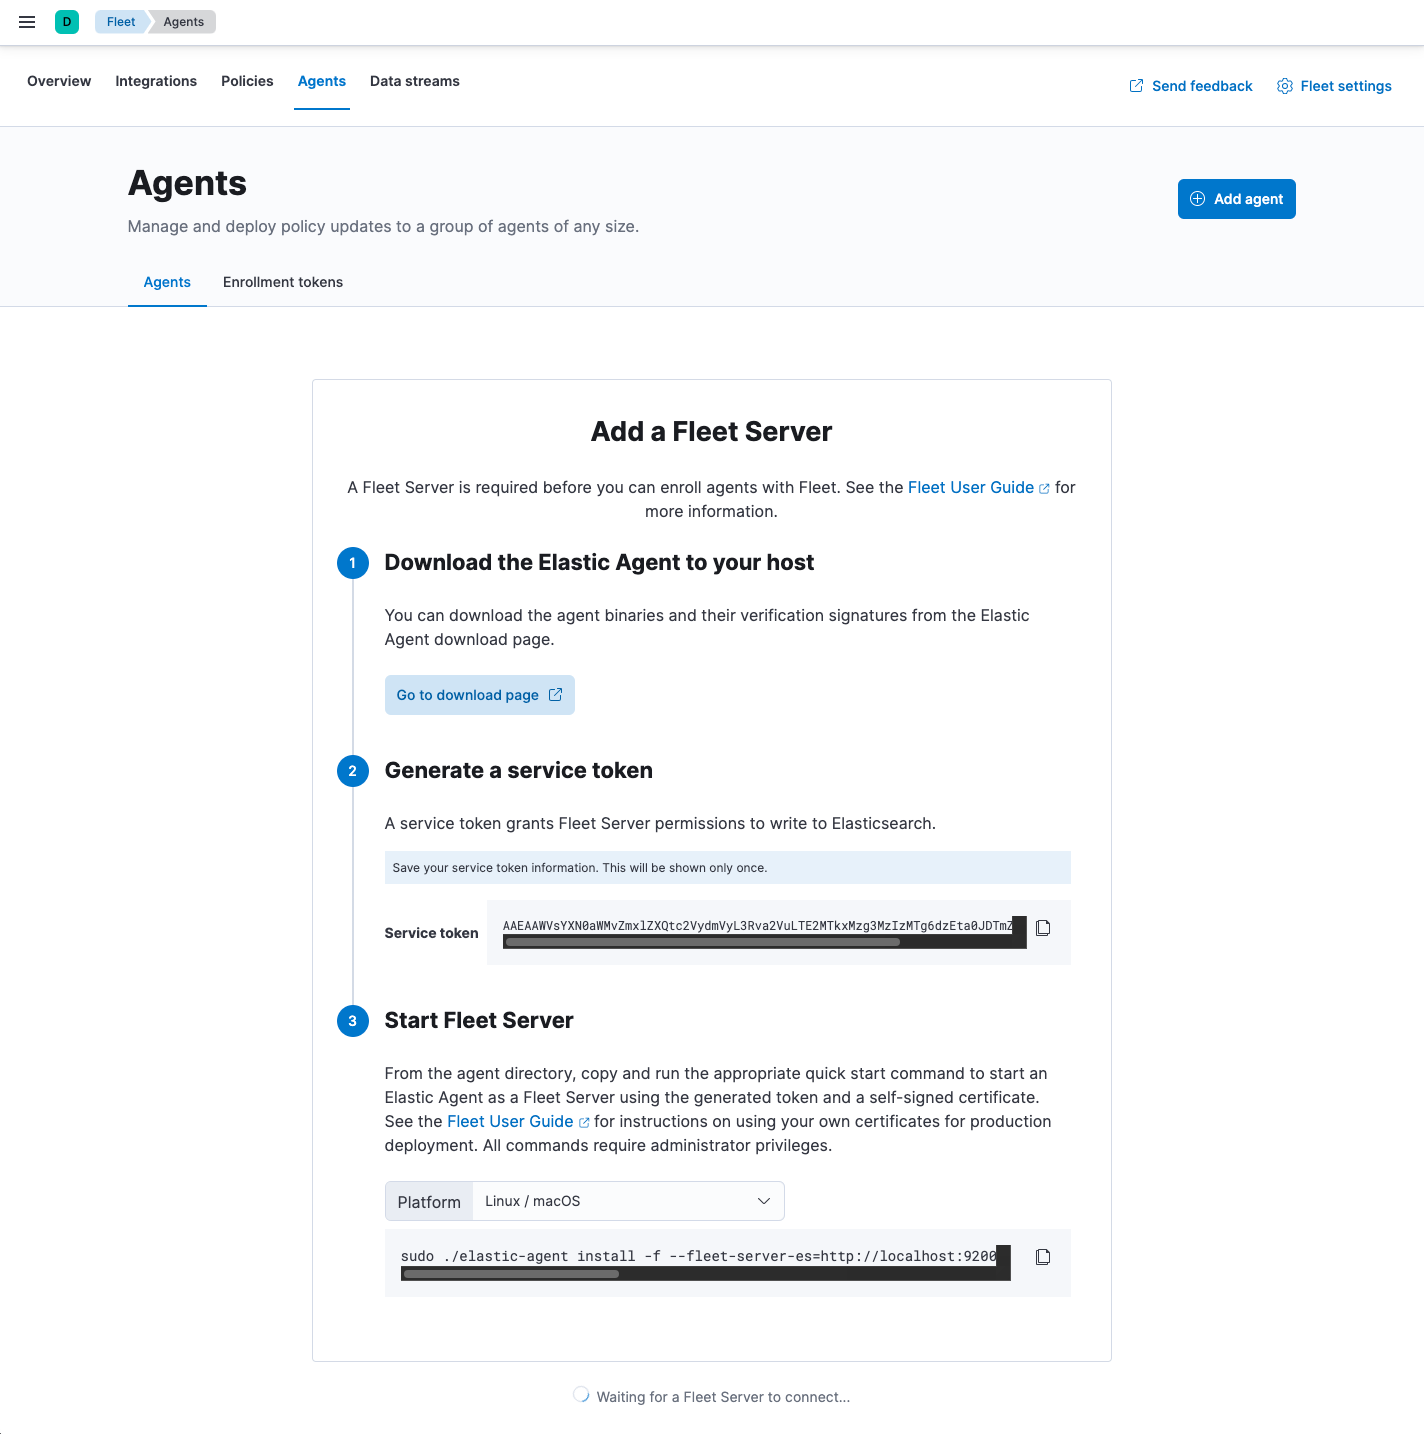
The
installcommand installs the Elastic Agent as a managed service and enrolls it in a Fleet Server policy. The example below is for Linux and MacOS hosts (Windows usage will be similar):sudo ./elastic-agent install -f --fleet-server-es=http://localhost:9200 \ --fleet-server-service-token=AAEAAWVsYXN0aWMvZmxlZXQtc2VydmVyL3Rva2VuLTE2MTkxMzg3MzIzMTg6dzEta0JDTmZUZGlDTjlwRmNVTjNVQQ
For DEB or RPM artifact usage, substitute the
installcommand forenroll. This is because DEB and RPM usage inherently include installing the Elastic Agent files to disk, and so theinstallcommand is incompatible with them.When the installation is successful, you’ll see the Fleet Server Elastic Agent on the Agents tab in Fleet.
Notice that the Default Fleet Server policy is assigned to the Elastic Agent. This policy is created when you run Fleet for the first time.
You now need to install and enroll your Elastic Agents.
Step 2: Install and enroll Elastic Agent on more hosts
editWhen you upgrade to 7.13 from 7.12 or lower, you may see the following error message in the Elasticsearch logs:
Authentication using apikey failed - api key has been invalidated
Before installing and enrolling your Elastic Agents, make sure to uninstall your previous Elastic Agents. See Uninstall Elastic Agent.
From the perspective of a host, Fleet Server will be running with the version of the installed Elastic Agent that started it. Any other Elastic Agents enrolling with Fleet Server must have an equal or lower version than that of the Fleet Server.
Starting from version 7.13.0 Fleet Server is required.
- On the Agents tab in Fleet, click Add agent.
-
Under Enroll in Fleet, follow the in-product installation steps.
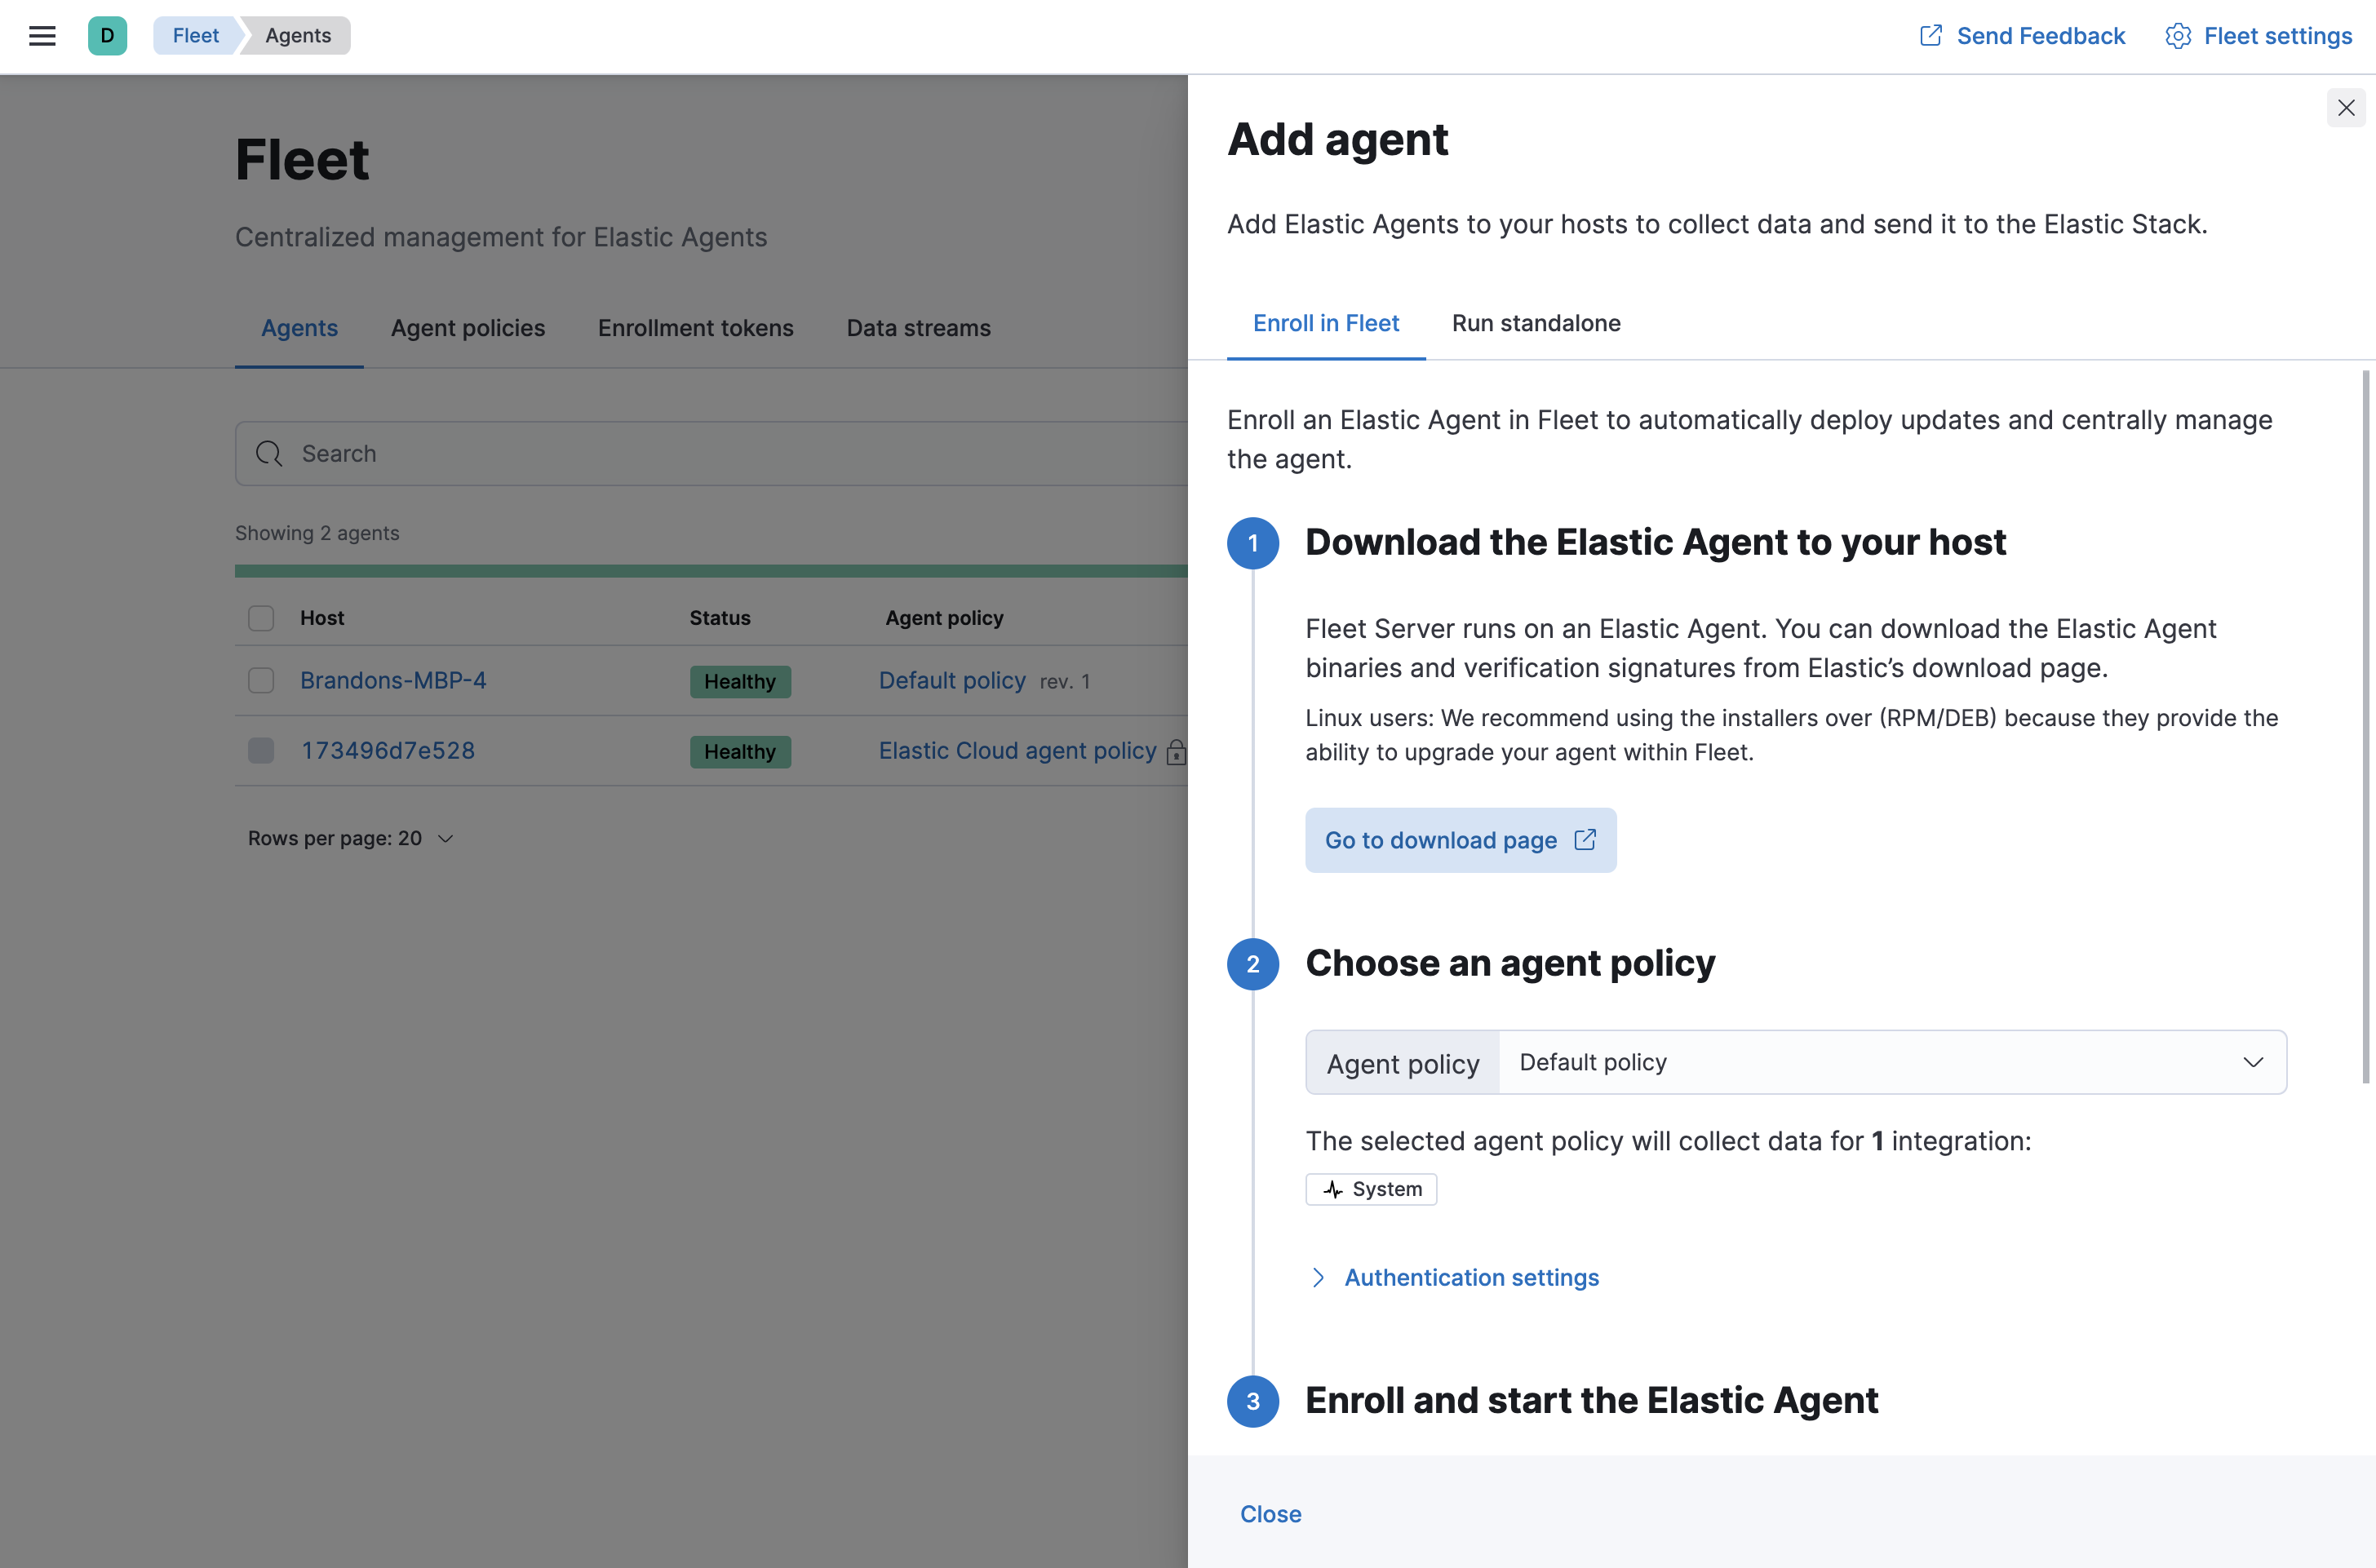
See the download page for other installation options.
Notes:
- Use the default agent policy to get started quickly. This policy includes a system integration for collecting logs and metrics from the host system. You can change the policy later.
-
The
installcommand installs the Elastic Agent as a managed service, enrolls it in the selected policy, and starts the service. For example:./elastic-agent install -f --url=https://10.0.2.2:8220 \ --enrollment-token=blJqaUdua0JqYXA0bmNscVVjUkE6ZGh4WWNRSHRRek9aSS1paEs2cHdFQQ==
If you see an "x509: certificate signed by unknown authority" error, you might be trying to enroll in a Fleet Server that uses self-signed certs. To fix this problem in a non-production environment, pass the
--insecureflag. For more information, refer to the troubleshooting guide. - Because Elastic Agent is installed as an auto-starting service, it will restart automatically if the system is rebooted.
- To see where files are installed, see Installation layout.
If installation is successful, you’ll see the agent on the Agents tab in Fleet. Notice that the Default policy is assigned to the agent.
If the status hangs at Enrolling, make sure the elastic-agent process
is running.
If you run into problems:
- Check the Elastic Agent logs. If you use the default policy, agent logs and metrics are collected automatically unless you change the default settings. For more information, refer to Configure logging for Fleet-managed Elastic Agents.
- Refer to Troubleshoot common problems.