Not enough nodes to allocate all shard replicas
editNot enough nodes to allocate all shard replicas
editDistributing copies of the data (index shard replicas) on different nodes can parallelize processing requests thus speeding up search queries. This can be achieved by increasing the number of replica shards up to the maximum value (total number of nodes minus one) which also serves the purpose to protect against hardware failure. If the index has a preferred tier, Elasticsearch will only place the copies of the data for that index on nodes in the target tier.
If a warning is encountered with not enough nodes to allocate all shard
replicas, you can influence this behavior by adding more nodes to the cluster
(or tier if tiers are in use), or by reducing the
index.number_of_replicas index setting.
In order to fix this follow the next steps:
One way to get the replica shards assigned is to add an availability zone. This will increase the number of data nodes in the Elasticsearch cluster so that the replica shards can be assigned. This can be done by editing your deployment. But first you need to discover which tier an index is targeting for assignment. Do this using Kibana.
Use Kibana
- Log in to the Elastic Cloud console.
-
On the Elasticsearch Service panel, click the name of your deployment.
If the name of your deployment is disabled your Kibana instances might be unhealthy, in which case please contact Elastic Support. If your deployment doesn’t include Kibana, all you need to do is enable it first.
-
Open your deployment’s side navigation menu (placed under the Elastic logo in the upper left corner) and go to Dev Tools > Console.
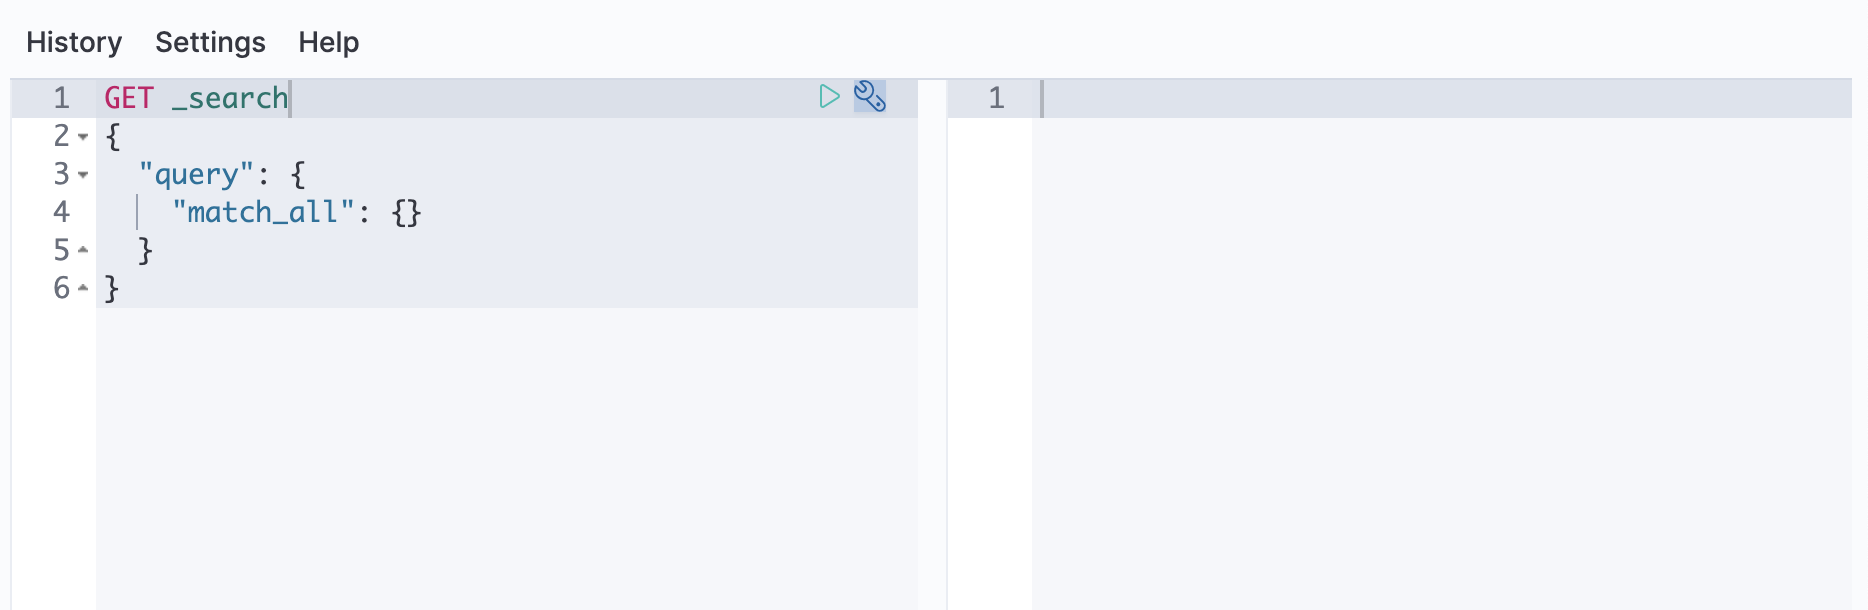
To inspect which tier an index is targeting for assignment, use the get index setting
API to retrieve the configured value for the index.routing.allocation.include._tier_preference
setting:
GET /my-index-000001/_settings/index.routing.allocation.include._tier_preference?flat_settings
The response will look like this:
{
  "my-index-000001": {
    "settings": {
      "index.routing.allocation.include._tier_preference": "data_warm,data_hot"
    }
  }
}
|
Represents a comma separated list of data tier node roles this index is allowed
to be allocated on, the first one in the list being the one with the higher priority
i.e. the tier the index is targeting.
e.g. in this example the tier preference is |
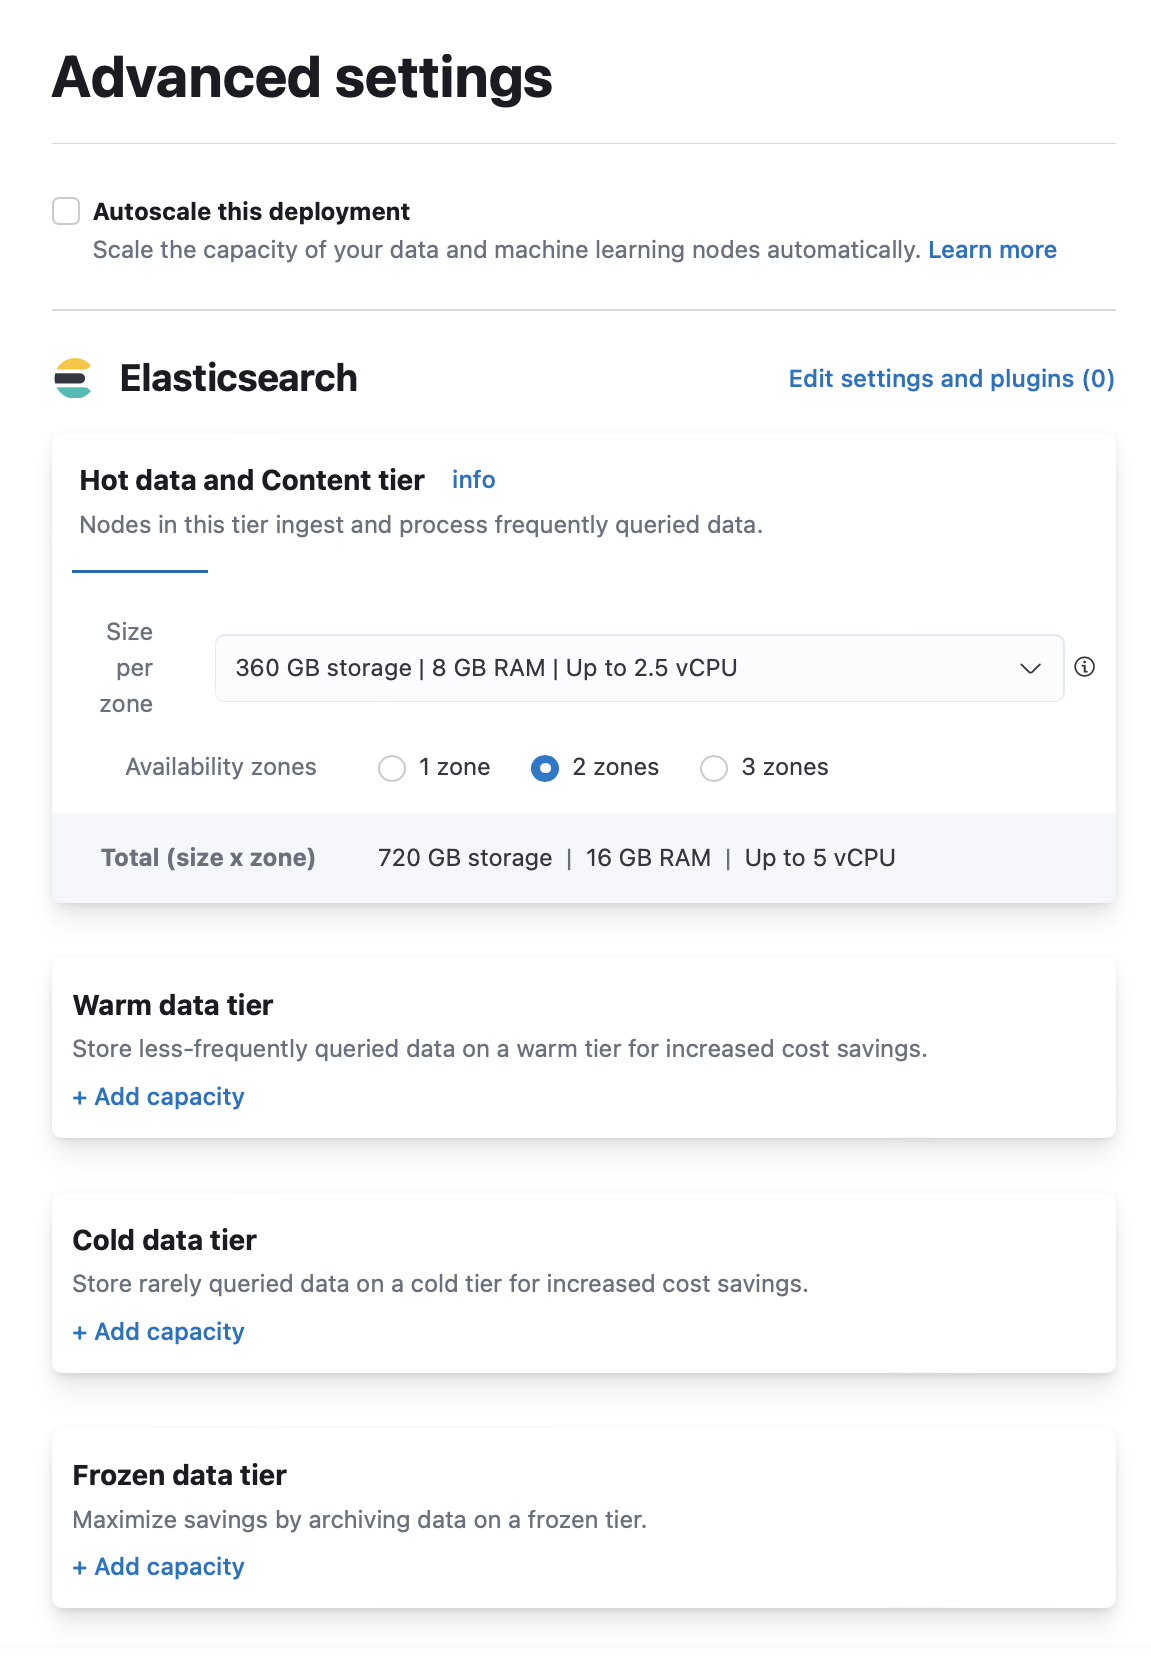
Now that you know the tier, you want to increase the number of nodes in that tier so that the replicas can be allocated. To do this you can either increase the size per zone to increase the number of nodes in the availability zone(s) you were already using, or increase the number of availability zones. Go back to the deployment’s landing page by clicking on the three horizontal bars on the top left of the screen and choosing Manage this deployment. On that page click the Manage button, and choose Edit deployment. Note that you must be logged in to https://cloud.elastic.co/ in order to do this. In the Elasticsearch section, find the tier where the replica shards could not be assigned.
-
Option 1: Increase the size per zone
- Look at the values in the Size per zone drop down. One node is created in each zone for every 64 GB of RAM you select here. If you currently have 64 GB RAM or less selected, you have one node in each zone. If you select 128 GB RAM, you will get 2 nodes per zone. If you select 192 GB RAM, you will get 3 nodes per zone, and so on. If the value is less than the maximum possible, you can choose a higher value for that tier to add more nodes.
-
Option 2: Increase the number of availability zones
- Find the Availability zones selection. If it is less than 3, you can select a higher number of availability zones for that tier.
If it is not possible to increase the size per zone or the number of availability zones, you can reduce the
number of replicas of your index data. We’ll achieve this by inspecting the
index.number_of_replicas index setting index setting and decreasing
the configured value.
- Access Kibana as described above.
-
Inspect the
index.number_of_replicasindex setting.GET /my-index-000001/_settings/index.number_of_replicas
The response will look like this:
-
Use the
_cat/nodesAPI to find the number of nodes in the target tier:GET /_cat/nodes?h=node.role
The response will look like this, containing one row per node:
himrst
mv
himrst
You can count the rows containing the letter representing the target tier to know how many nodes you have. See Query parameters for details. The example above has two rows containing
h, so there are two nodes in the hot tier. -
Decrease the value for the total number of replica shards required for this index. As replica shards cannot reside on the same node as primary shards for high availability, the new value needs to be less than or equal to the number of nodes found above minus one. Since the example above found 2 nodes in the hot tier, the maximum value for
index.number_of_replicasis 1.The new value for the
index.number_of_replicasindex configuration is decreased from the previous value of2to1. It can be set as low as 0 but configuring it to 0 for indices other than searchable snapshot indices may lead to temporary availability loss during node restarts or permanent data loss in case of data corruption.
In order to get the replica shards assigned you can add more nodes to your Elasticsearch cluster and assign the index’s target tier node role to the new nodes.
To inspect which tier an index is targeting for assignment, use the get index setting
API to retrieve the configured value for the index.routing.allocation.include._tier_preference
setting:
GET /my-index-000001/_settings/index.routing.allocation.include._tier_preference?flat_settings
The response will look like this:
{
  "my-index-000001": {
    "settings": {
      "index.routing.allocation.include._tier_preference": "data_warm,data_hot"
    }
  }
}
|
Represents a comma separated list of data tier node roles this index is allowed
to be allocated on, the first one in the list being the one with the higher priority
i.e. the tier the index is targeting.
e.g. in this example the tier preference is |
Alternatively, if adding more nodes to the Elasticsearch cluster is not desired,
inspect the index.number_of_replicas index setting and
decrease the configured value:
-
Inspect the
index.number_of_replicasindex setting for the index with unassigned replica shards:GET /my-index-000001/_settings/index.number_of_replicas
The response will look like this:
-
Use the
_cat/nodesAPI to find the number of nodes in the target tier:GET /_cat/nodes?h=node.role
The response will look like this, containing one row per node:
himrst
mv
himrst
You can count the rows containing the letter representing the target tier to know how many nodes you have. See Query parameters for details. The example above has two rows containing
h, so there are two nodes in the hot tier. -
Decrease the value for the total number of replica shards required for this index. As replica shards cannot reside on the same node as primary shards for high availability, the new value needs to be less than or equal to the number of nodes found above minus one. Since the example above found 2 nodes in the hot tier, the maximum value for
index.number_of_replicasis 1.The new value for the
index.number_of_replicasindex configuration is decreased from the previous value of2to1. It can be set as low as 0 but configuring it to 0 for indices other than searchable snapshot indices may lead to temporary availability loss during node restarts or permanent data loss in case of data corruption.