Access the ECE API using a REST application
You can interact with the full Elastic Cloud Enterprise API using a REST client application such as Postman. These steps show how to import the ECE OpenAPI specification into a client and then run API requests. This can be a convenient alternative to using either a terminal session or the Cloud UI to manage your deployments and the ECE platform.
Follow these steps to set up your REST application:
If you don't already have one, create an API key. If you are using a built-in account such as
admin, you can use your account username and password to authenticate instead.Open a terminal and set
$COORDINATOR_HOSTto the address for the host that holds the coordinator role in your ECE installation. For example, in an AWS environment your coordinator host address would be in a format likeec2-x-xx-xxx-xx.compute-1.amazonaws.com:export COORDINATOR_HOST="ec2-x-xx-xxx-xx.compute-1.amazonaws.com"Run the following
curlcommand to download the current API specification:If you are using an API key:
curl -o swagger.json -k -X GET -H "Authorization: ApiKey $ECE_API_KEY" https://$COORDINATOR_HOST:12443/api/v1/api-docs/swagger.jsonIf you are using a system account such as
admin:curl -o swagger.json -k -u admin:{yourpassword} https://$COORDINATOR_HOST:12443/api/v1/api-docs/swagger.json
Visit the Postman download page and follow the instructions to install the application version that matches your operating system.
Open Postman and select Import. Then, drag and drop your downloaded
swagger.jsonfile into the Upload Files field.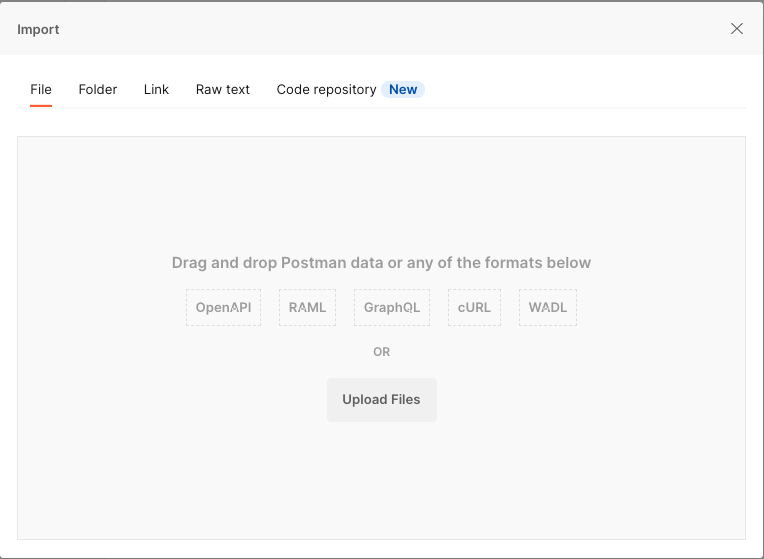
Leave all settings at the default values and select Import to add the API specification as a new collection. Since you're not saving the document as an API, you can ignore the warning about needing to be signed in.
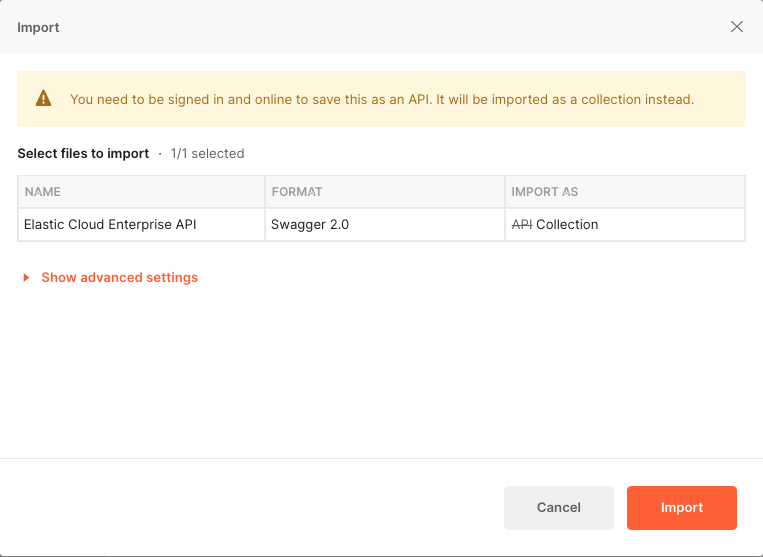
Optionally, you can open the contextual menu on the imported collection and rename it to indicate the version level of the collection, for example
Elastic Cloud Enterprise 2.8.0 API.
Open the
Environmentstab, select Create a new Environment, and rename it toECE API.Add a variable
hostnameand set the current value to your coordinator host, including the port number. For example,ec2-54-224-79-64.compute-1.amazonaws.com:12443.Select Save to apply the change. Note that in the following graphic, the Initial Value column is hidden for clarity. You need to set only the Current Value.

Open the
Collectionstab, hover over the Elastic Cloud Enterprise collection, and select View more actions → Edit.Under the Variables tab:
Confirm that
baseUrlis set tohttps://{{hostname}}/api/v1/. This variable should be set by default. Any other variables can be deselected.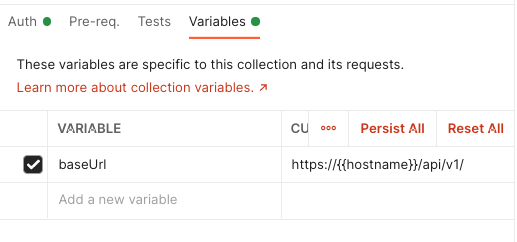
Under the Authorization tab:
If you are using an API key:
Set Type to API Key.
Set Key to
Authorization.Set Value to
ApiKeyplus the value of your key, for exampleApiKey V0VtQnEzY0Jpd2l6dk10RW9SeXQ6ajNjSDY2b0FUVldtVHJmTTgxQ2hKQQ==.Set Add to to
Header.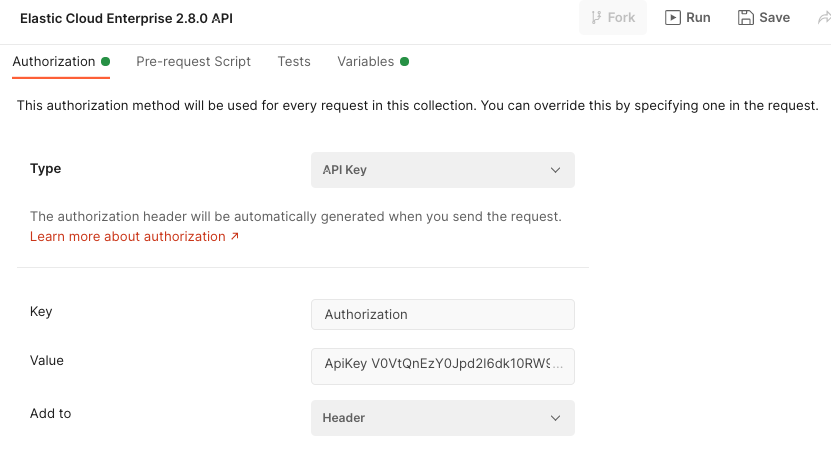
If you are using a system account such as
admin:Set Type to Basic Auth.
Set Username to
adminor your account username.Set Password to your account password.
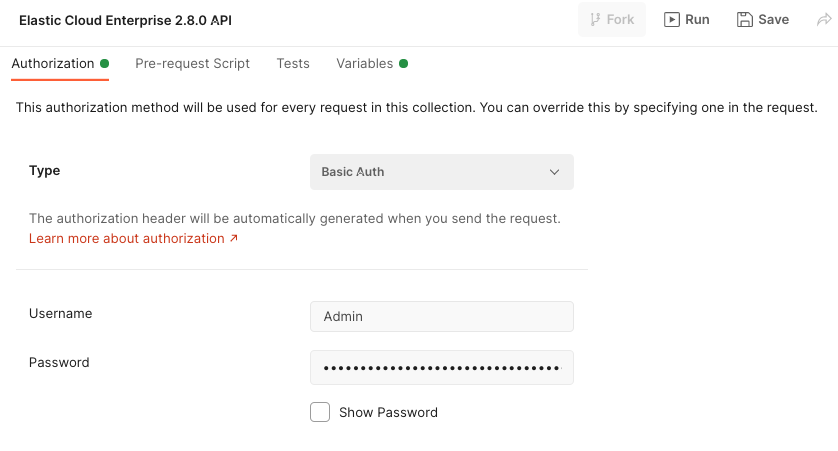
Save your settings.
Now that the Postman application has been configured to work with the Elastic Cloud Enterprise API, you can try a test API request:
Make sure that the drop-down box for your environment is set to
ECE API.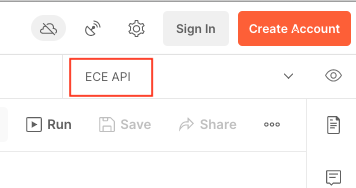
Expand the
Elastic Cloud Enterprisecollection, scroll to thedeploymentssection, and choose theList DeploymentsGET request.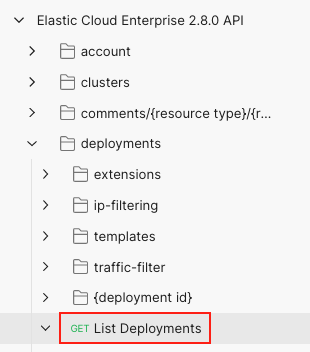
Select Send.
If the request connects successfully, the status pane shows a status of
200 OKalong with the response time and response size. TheBodytab displays the JSON response from the API.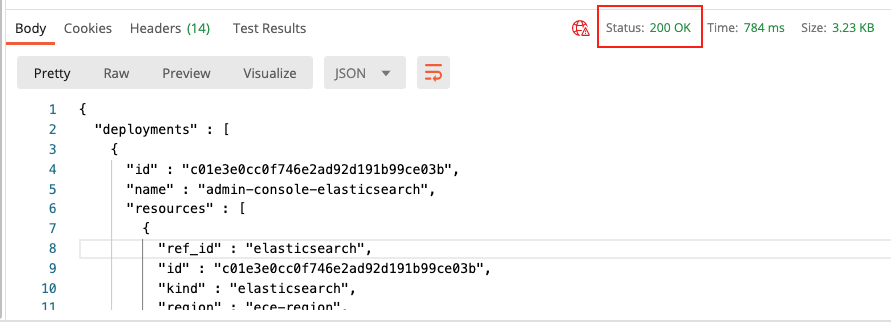
You'll use part of this JSON response for our next API request. Copy the value of
idfrom thedeploymentsinstance.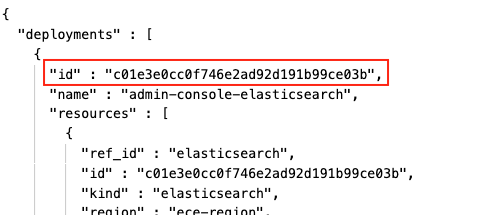
Expand the
Elastic Cloud Enterprisecollection, and underdeployments→{deployment id}choose theGet DeploymentGET request.Note that the request includes a
deployment_idpath variable.
You can try a test run of the Get Deployment request. The request should fail with a
requested resource could not be found errorbecause the requireddeployment_idvariable is not set.Under Path Variables:
Set
deployment_idto the value foridthat was returned in the previousList DeploymentsGET request.
Select Send.
If the request connects successfully, the status pane shows a status of
200 OKand theBodytab displays the JSON response from the API, with details about the deployment configuration and its current state.
You can now use all of the other requests available in the collection that you created from the Elastic Cloud Enterprise OpenAPI specification. To learn more about all of the available API endpoints, check the API reference and examples.