Creating and Managing Groups
editCreating and Managing Groups
editBefore you begin, you’ll need…
- Active content sources. Read the Content sources for more information.
- A working User invitations: SMTP setup so you can send invitations to your team mates.
This guide is to help you build customized groups then fill them up with people.
Bring the Team
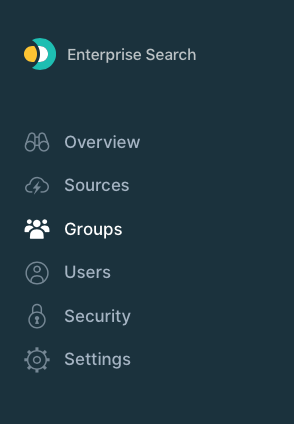
editWithin the administrative dashboard, click Groups:
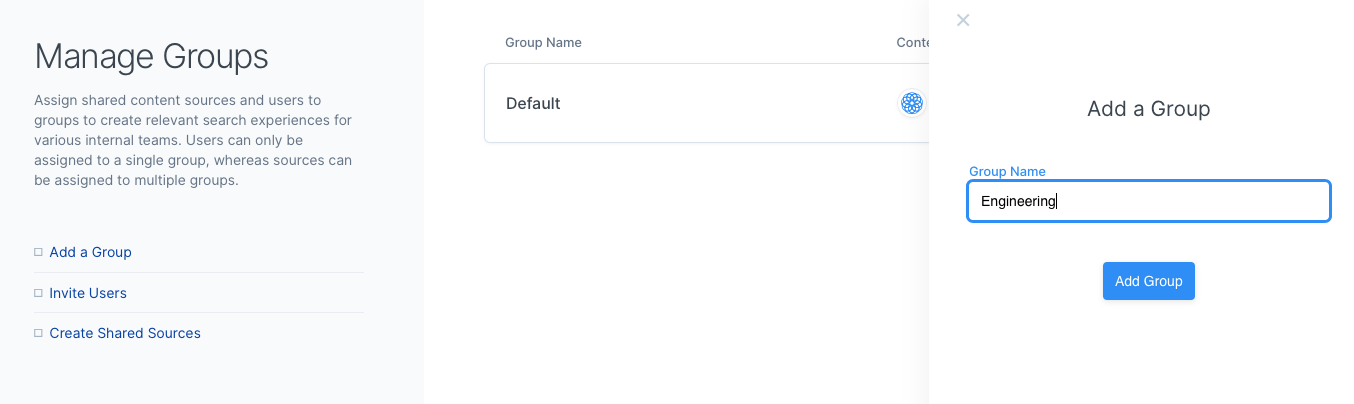
On the left side, click Add a Group.
Provide a name, like Marketing, Operations, Support – whatever fits best:
Once you have created your groups, click into them and add whichever content sources they’ll need.
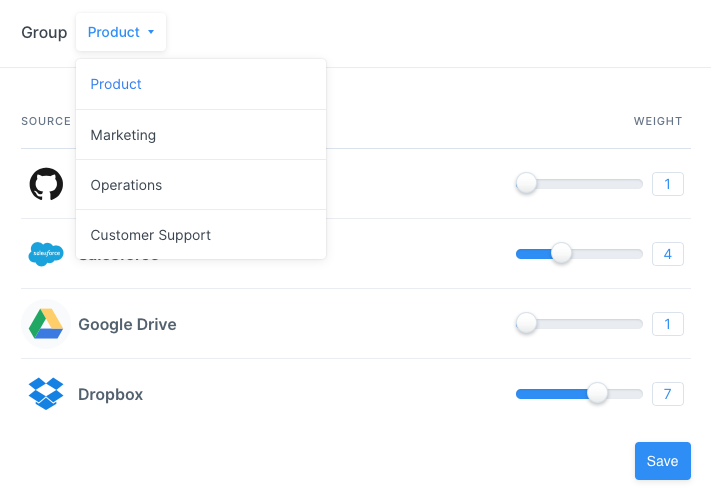
Before adding people, you will want to adjust your content source prioritization.
Click into Settings from on the side menu.
Select Source Prioritization.
Choose which group you’d like to tune, then drag the sliders to scale relevance.
Higher means those items will be considered more relevant when group members search:
We have content sources. We have groups. And now we need our team!
Within the side menu, click Users:
If you have the mailer configured, you will see the option to invite team members.
From there, you can add all the team mates you’d like – you can add manually or via .csv.
At any time, you can return to this menu and click Manage next a person to change their group and access level.
- An Admin can view and change administrative settings.
- A User can only access the search experience and their private dashboard.
As your invitations are accepted, your team mates will appear within their groups:
That’s it! Your organization is ready to go!
If you’d like to give your new team members something to help them get started, provide them the The searcher’s guide.