Blocklist
editBlocklist
editThe blocklist allows you to prevent specified applications from running on hosts, extending the list of processes that Elastic Defend considers malicious. This helps ensure that known malicious processes aren’t accidentally executed by end users.
The blocklist is not intended to broadly block benign applications for non-security reasons; only use it to block potentially harmful applications. To compare the blocklist with other endpoint artifacts, refer to Optimize Elastic Defend.
By default, a blocklist entry is recognized globally across all hosts running Elastic Defend. If you have a Platinum or Enterprise subscription, you can also assign a blocklist entry to specific Elastic Defend integration policies, which blocks the process only on hosts assigned to that policy.
- Go to Manage → Blocklist.
- Click Add blocklist entry. The Add blocklist flyout appears.
-
Fill in these fields in the Details section:
-
Name: Enter a name to identify the application in the blocklist. -
Description: Enter a description to provide more information on the blocklist entry (optional).
-
-
In the Conditions section, enter the following information about the application you want to block:
-
Select operating system: Select the appropriate operating system from the drop-down. -
Field: Select a field to identify the application being blocked:-
Hash: The MD5, SHA-1, or SHA-256 hash value of the application’s executable. -
Path: The full file path of the application’s executable. -
Signature: (Windows only) The name of the application’s digital signer.To find the signer’s name for an application, go to Kibana → Discover and query the process name of the application’s executable (for example,
process.name : "mctray.exe"for a McAfee security binary). Then, search the results for theprocess.code_signature.subject_namefield, which contains the signer’s name (for example,McAfee, Inc.).
-
-
Operator: The operator isis one ofand cannot be modified. -
Value: Enter the hash value, file path, or signer name. To enter multiple values (such as a list of known malicious hash values), you can enter each value individually or paste a comma-delimited list, then press Return.Hash values must be valid to add them to the blocklist.
-
-
Select an option in the Assignment section to assign the blocklist entry to a specific integration policy:
-
Global: Assign the blocklist entry to all Elastic Defend integration policies. -
Per Policy: Assign the blocklist entry to one or more specific Elastic Defend integration policies. Select each policy where you want the blocklist entry to apply.You can also select the
Per Policyoption without immediately assigning a policy to the blocklist entry. For example, you could do this to create and review your blocklist configurations before putting them into action with a policy.
-
- Click Add blocklist. The new entry is added to the Blocklist page.
-
When you’re done adding entries to the blocklist, ensure that the blocklist is enabled for the Elastic Defend integration policies that you just assigned:
- Go to Manage → Policies, then click on an integration policy.
- On the Policy settings tab, ensure that the Malware protections enabled and Blocklist enabled toggles are switched on. Both settings are enabled by default.
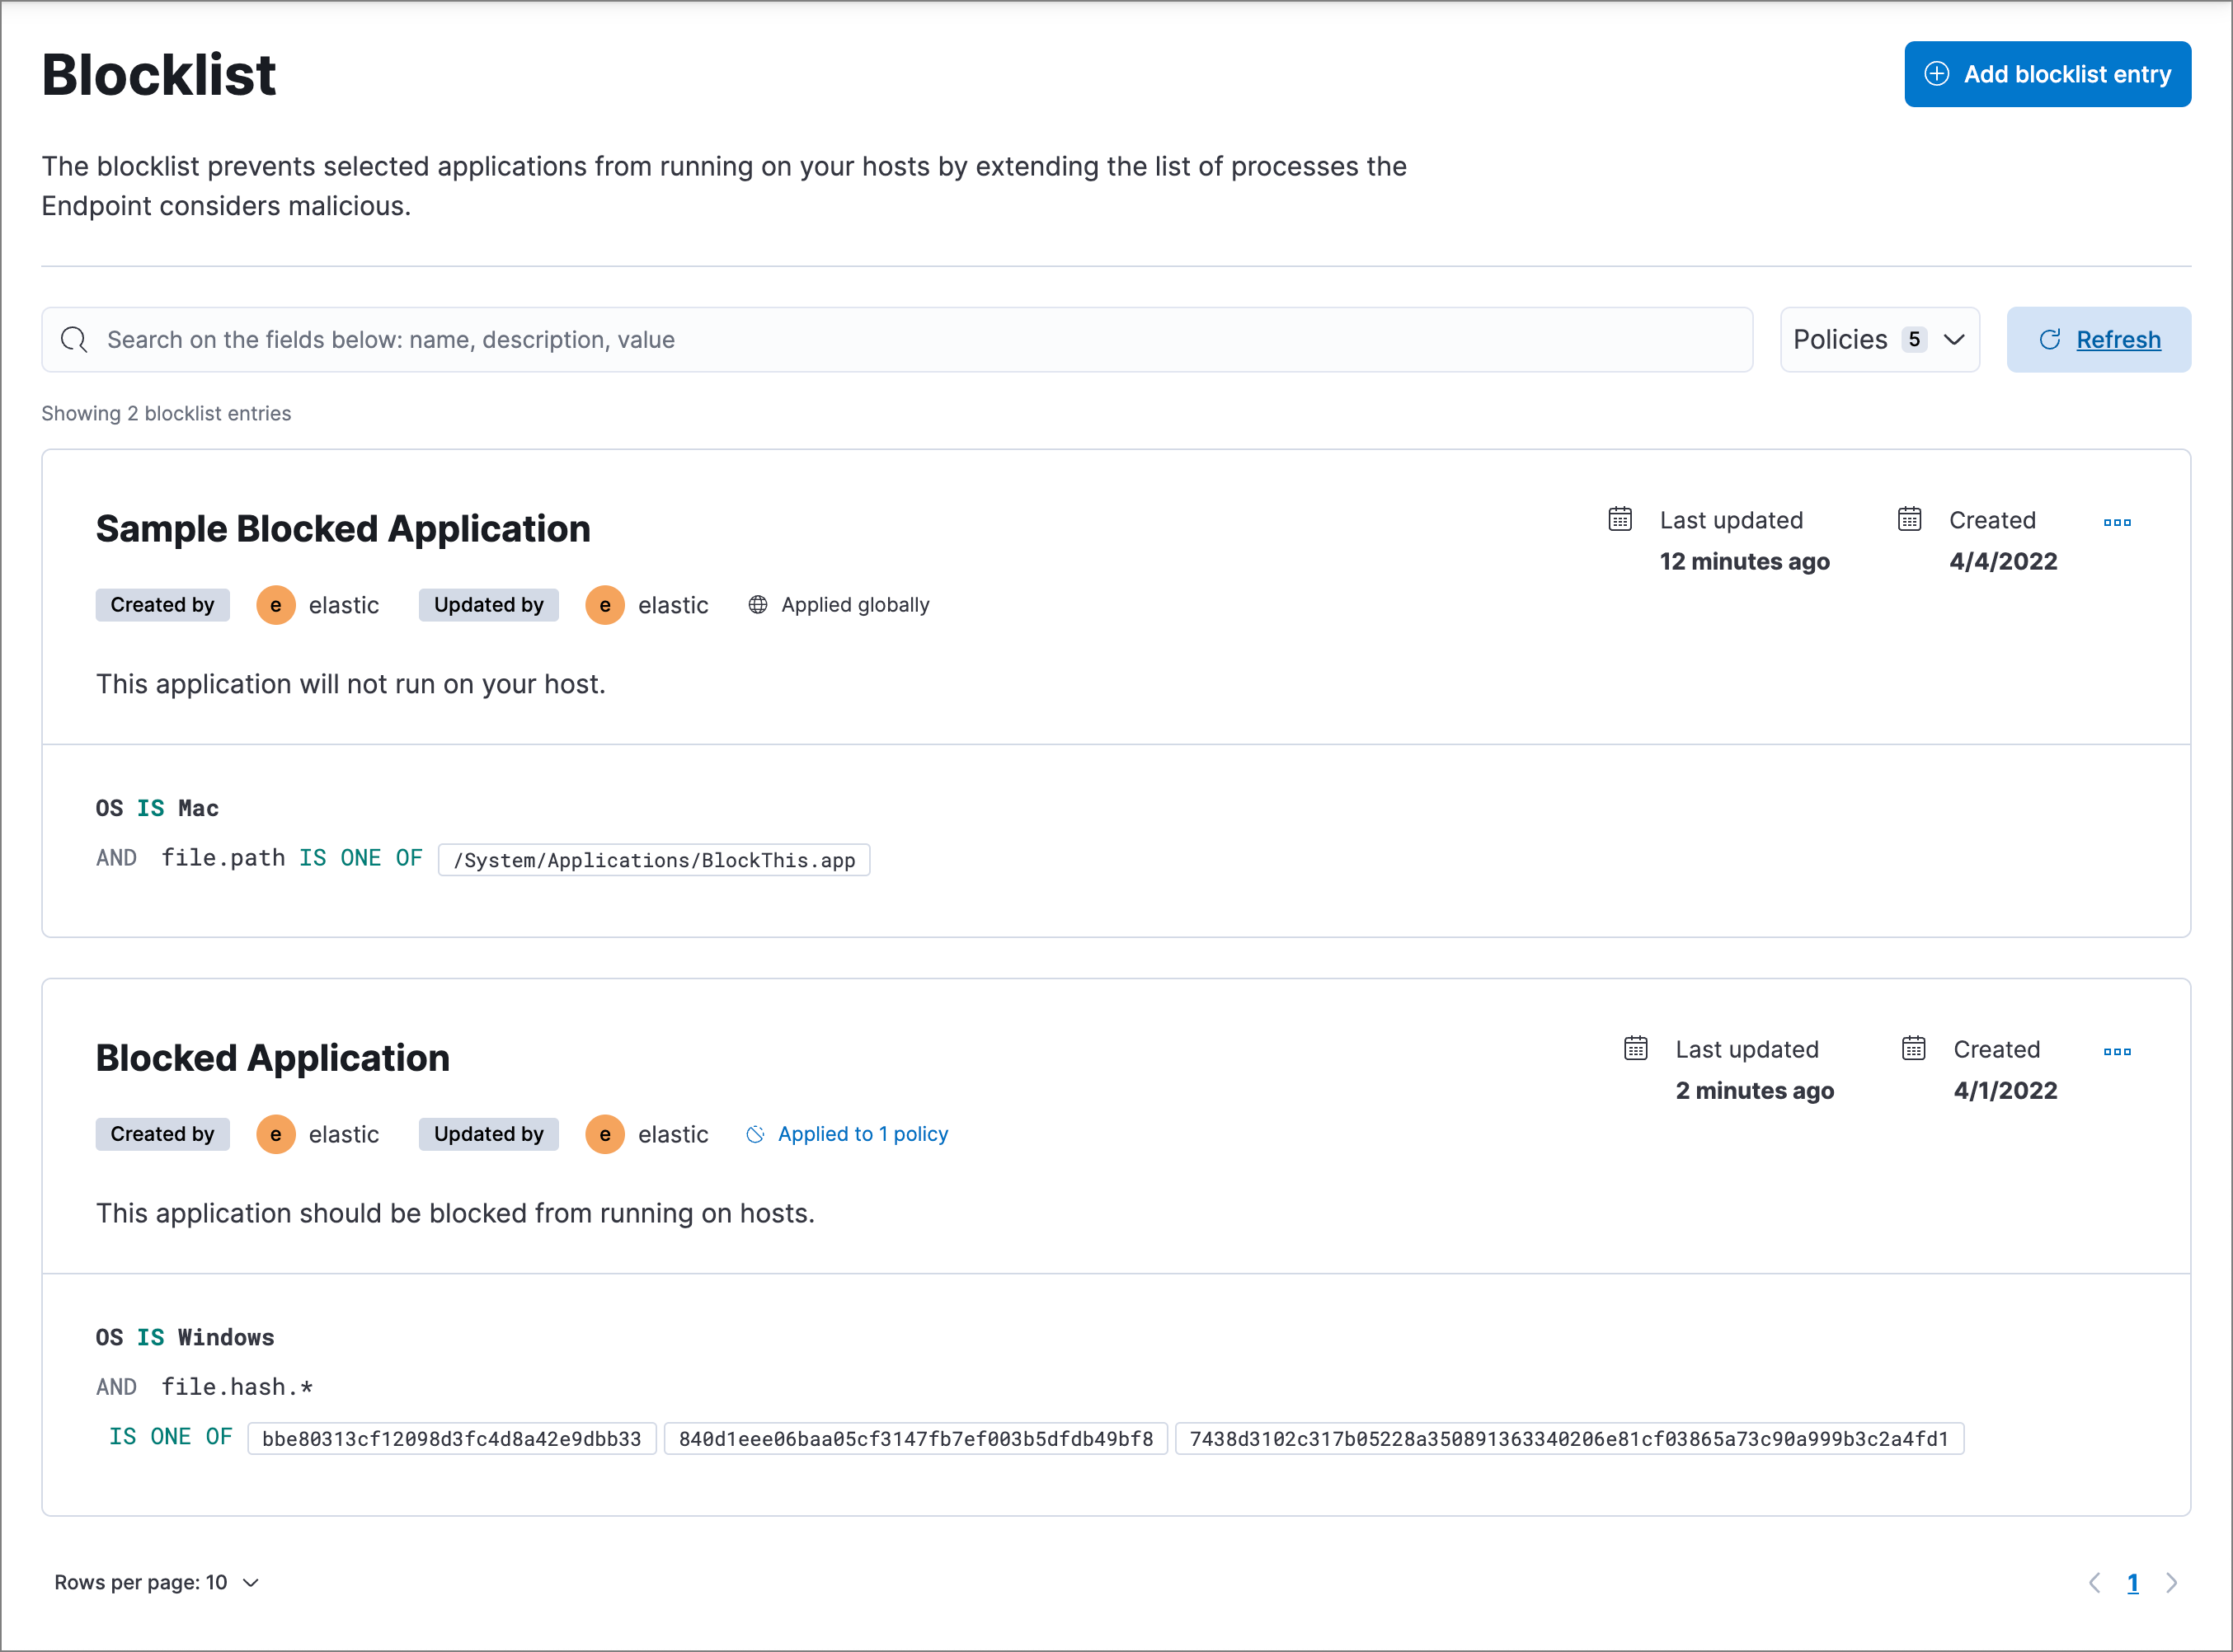
View and manage the blocklist
editThe Blocklist page displays all the blocklist entries that have been added to the Elastic Security app. To refine the list, use the search bar to search by name, description, or field value.
Edit a blocklist entry
editYou can individually modify each blocklist entry. With a Platinum or Enterprise subscription, you can also change the policies that a blocklist entry is assigned to.
To edit a blocklist entry:
- Click the actions menu (…) for the blocklist entry you want to edit, then select Edit blocklist.
- Modify details as needed.
- Click Save.
Delete a blocklist entry
editYou can delete a blocklist entry, which removes it entirely from all Elastic Defend policies. This allows end users to access the application that was previously blocked.
To delete a blocklist entry:
- Click the actions menu (…) for the blocklist entry you want to delete, then select Delete blocklist.
- On the dialog that opens, verify that you are removing the correct blocklist entry, then click Delete. A confirmation message displays.