Configure and install the Endpoint Security integration
editConfigure and install the Endpoint Security integration
editLike other Elastic integrations, Endpoint Security can be integrated into the Elastic Agent through Fleet. Upon configuration, the integration allows the Elastic Agent to monitor for events on your host and send data to the Elastic Security app.
To configure the Endpoint Security integration on the Elastic Agent, you must have permission to use Fleet in Kibana. You must also have admin permissions in Kibana to access the Endpoints page in the Elastic Security app.
Before you begin
editIf you’re using macOS, some versions may require you to grant Full Disk Access to different kernels, system extensions, or files. Refer to requirements for Elastic Endpoint if you’re installing the Elastic Endpoint or requirements for the Endgame sensor for more information.
Add the Endpoint Security integration
edit-
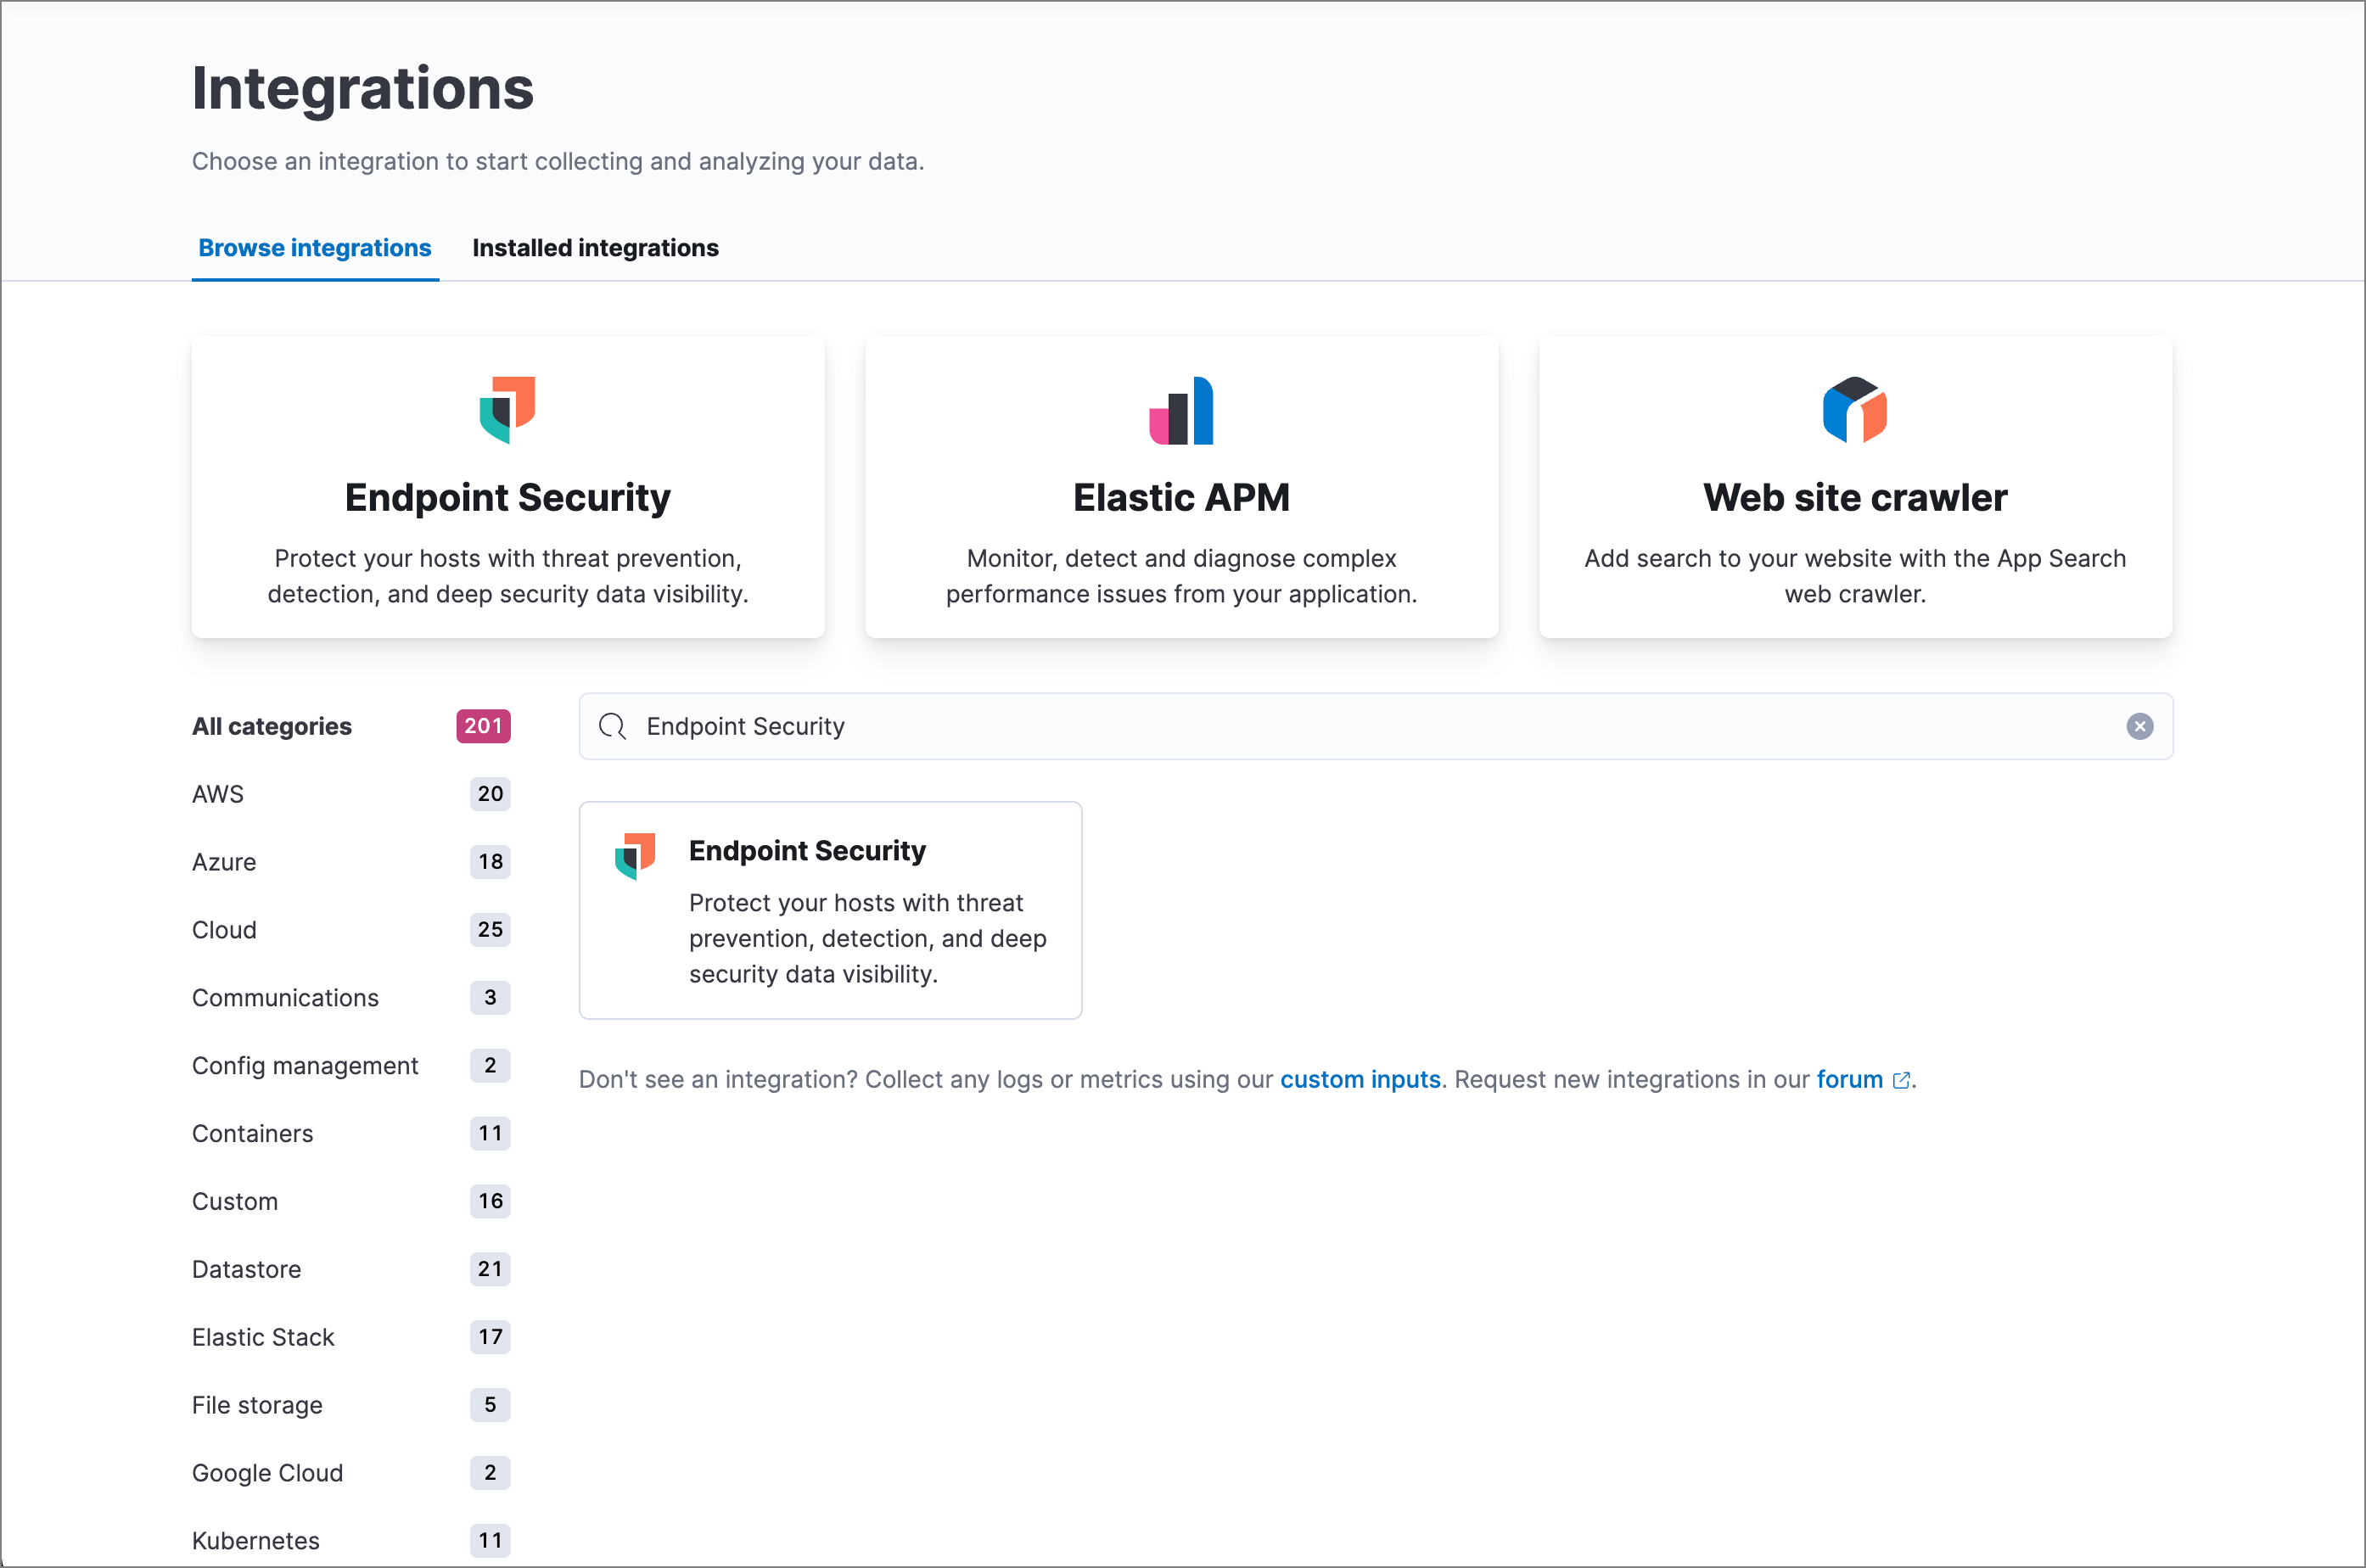
In Kibana, select Security → Endpoints. If this is not your first time using Elastic Security, select Management → Integrations, then search for and select Endpoint Security.
-
Select Add Endpoint Security on either the Endpoints page of the Elastic Security app or the Endpoint Security integration page (Management → Integrations). The integration configuration page appears.
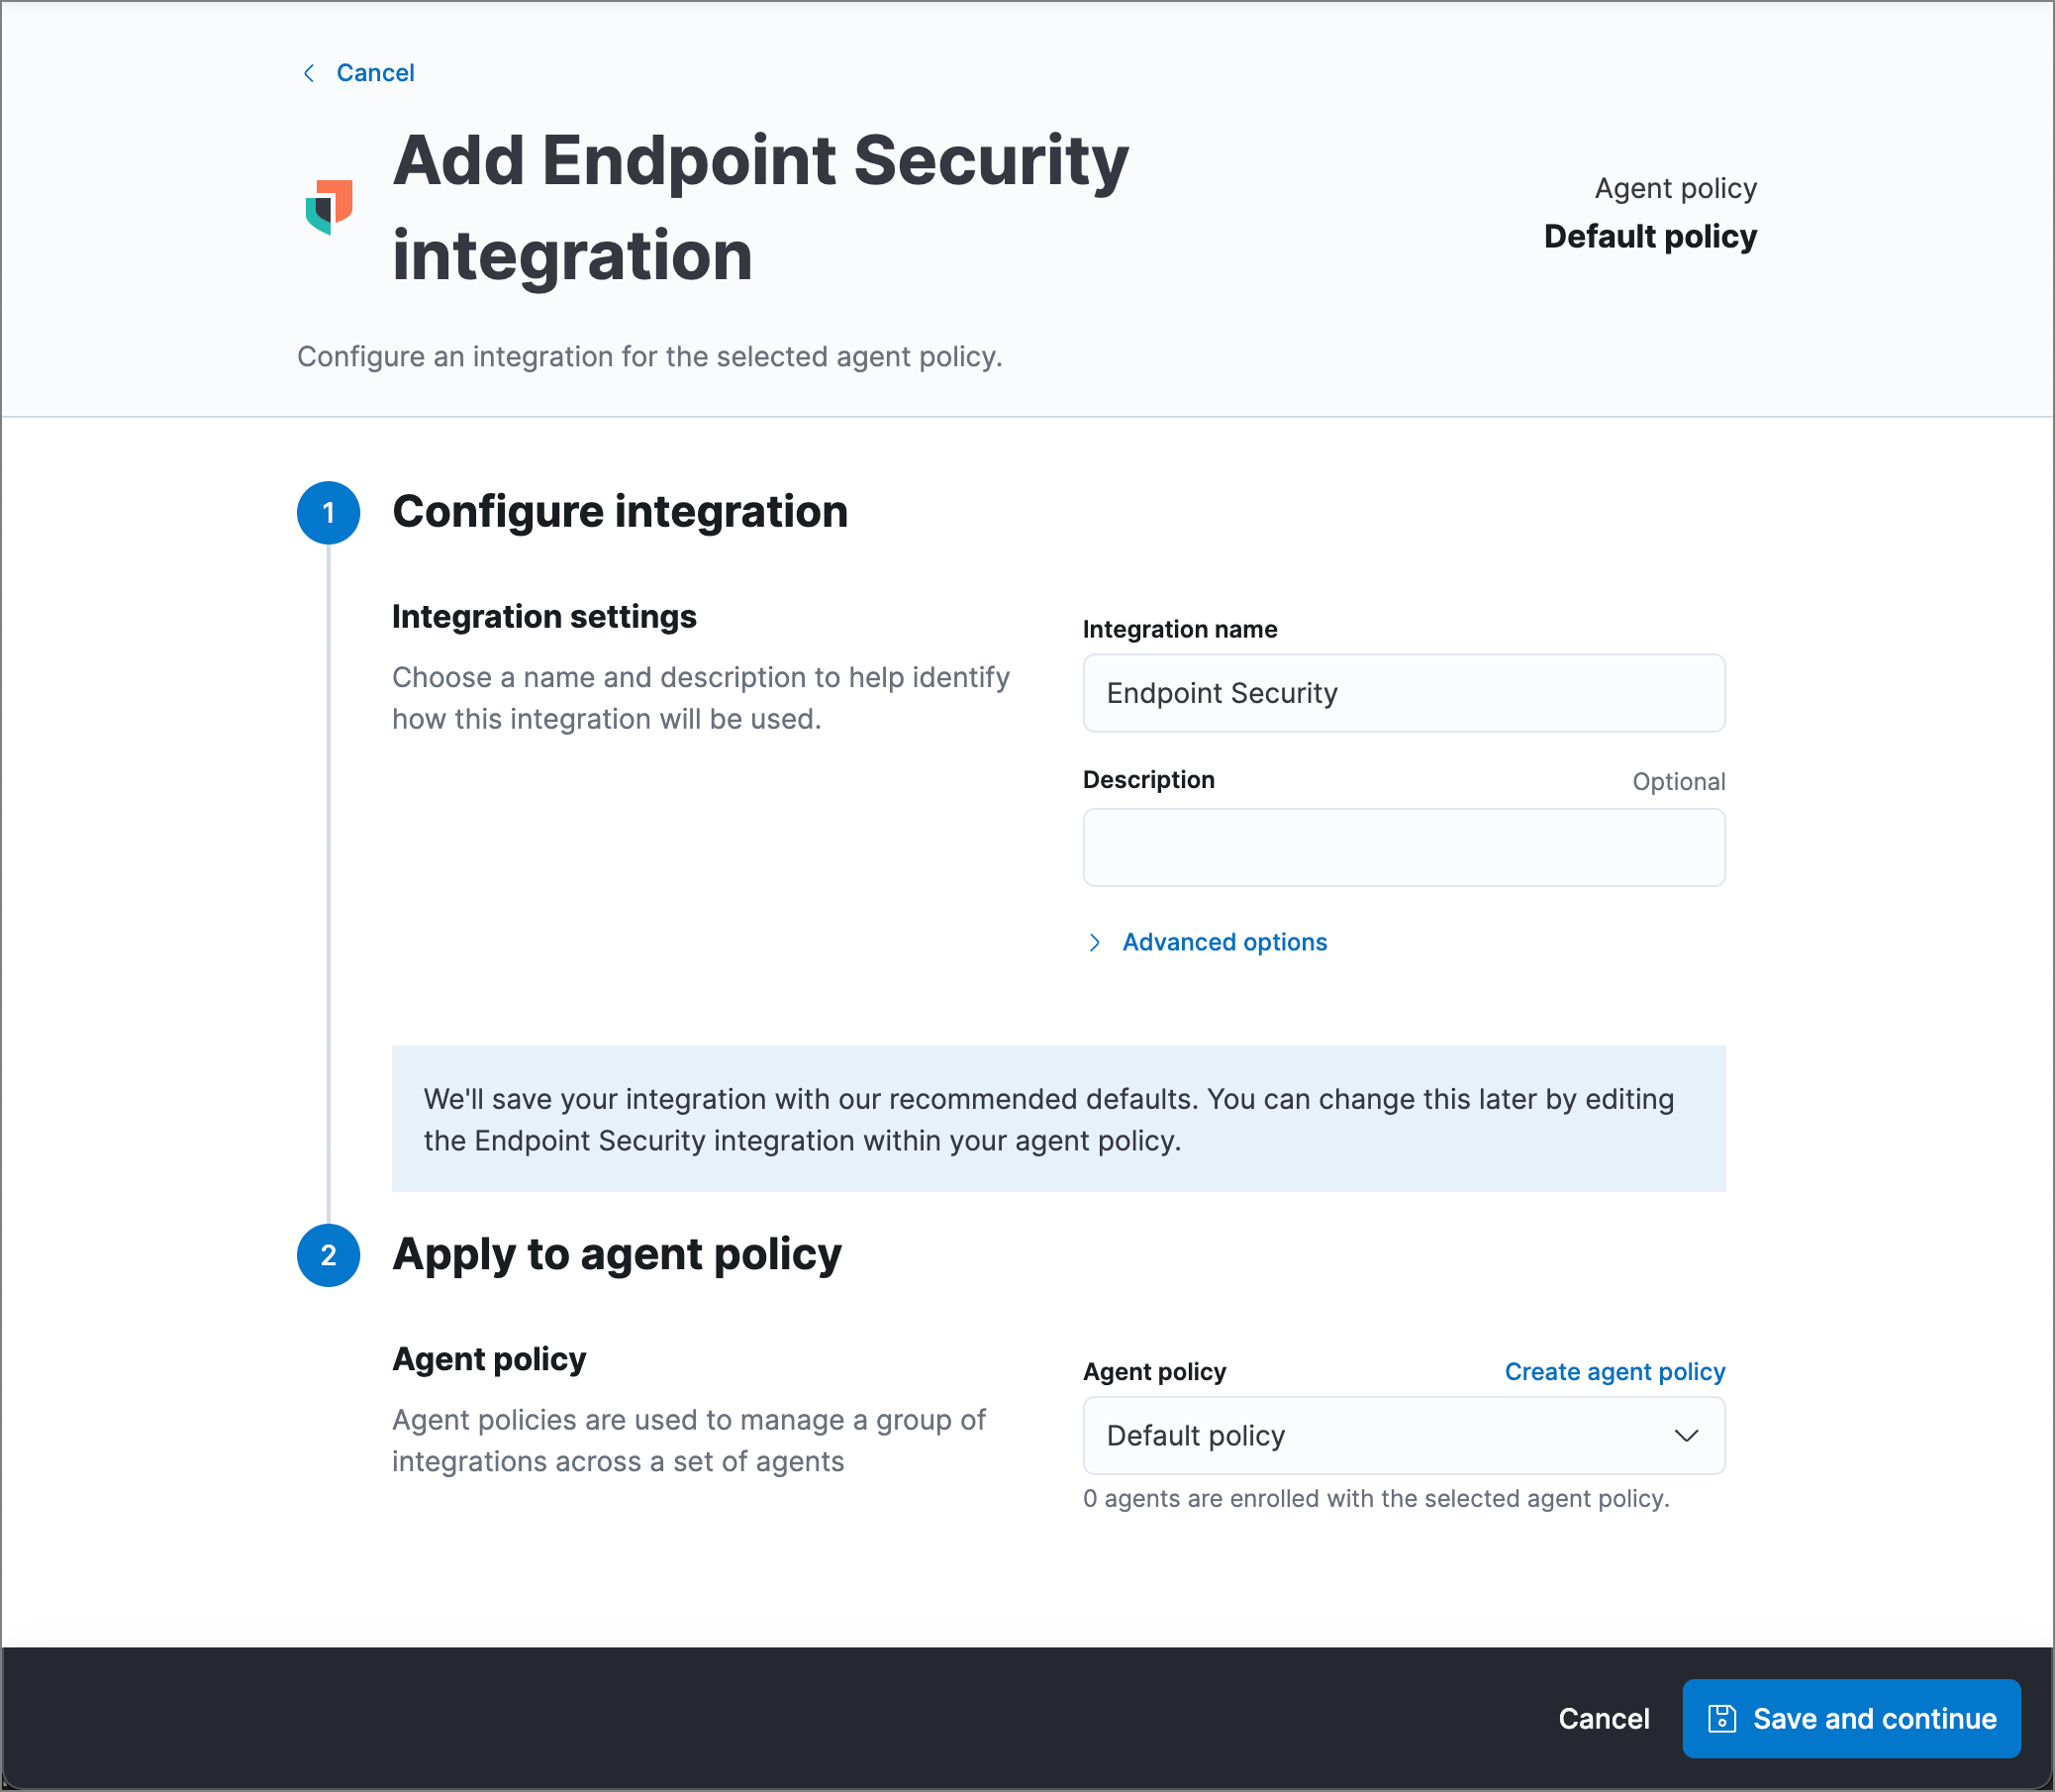
- Configure the Endpoint Security integration with a name and optional description.
- Select an agent policy for the Elastic Agent. You can select the default policy, an existing custom policy, or select Create agent policy to create a new one. For more details on Elastic Agent configuration settings, see Elastic Agent policies.
- When the configuration is complete, click Save and continue.
- To complete the integration, continue to the next section to install the Elastic Agent on your hosts.
Configure and enroll the Elastic Agent
editTo configure the Elastic Agent, Endpoint Security requires enrollment through Fleet to enable the integration.
Before you add an Elastic Agent, a Fleet Server must be running. See Add a Fleet Server.
Important information about the new Fleet Server
editIf you are running an Elastic Stack version earlier than 7.13.0, you can skip this section.
If you have upgraded to an Elastic Stack version that includes the new Fleet Server (>=7.13.0), you will need to redeploy your agents. Review the following scenarios to ensure you take the appropriate steps.
- If you redeploy the Elastic Agent to the same machine through the Fleet application after you upgrade, a new agent will appear.
- If you want to remove the Elastic Agent entirely without transitioning to the Fleet Server, then you will need to manually uninstall the agent on the machine. This will also uninstall the endpoint. See Uninstall Elastic Agent.
- In the rare event that the Elastic Agent fails to uninstall, you might need to manually uninstall the endpoint. See Uninstall an endpoint at the end of this topic.
Endpoint Security cannot be integrated with an Elastic Agent in Standalone mode.
-
Go to Fleet → Agents → Add agent.

- In the Add agent pane, download the Elastic Agent on your host’s machine.
-
After the download is complete, select the Endpoint Security integration.
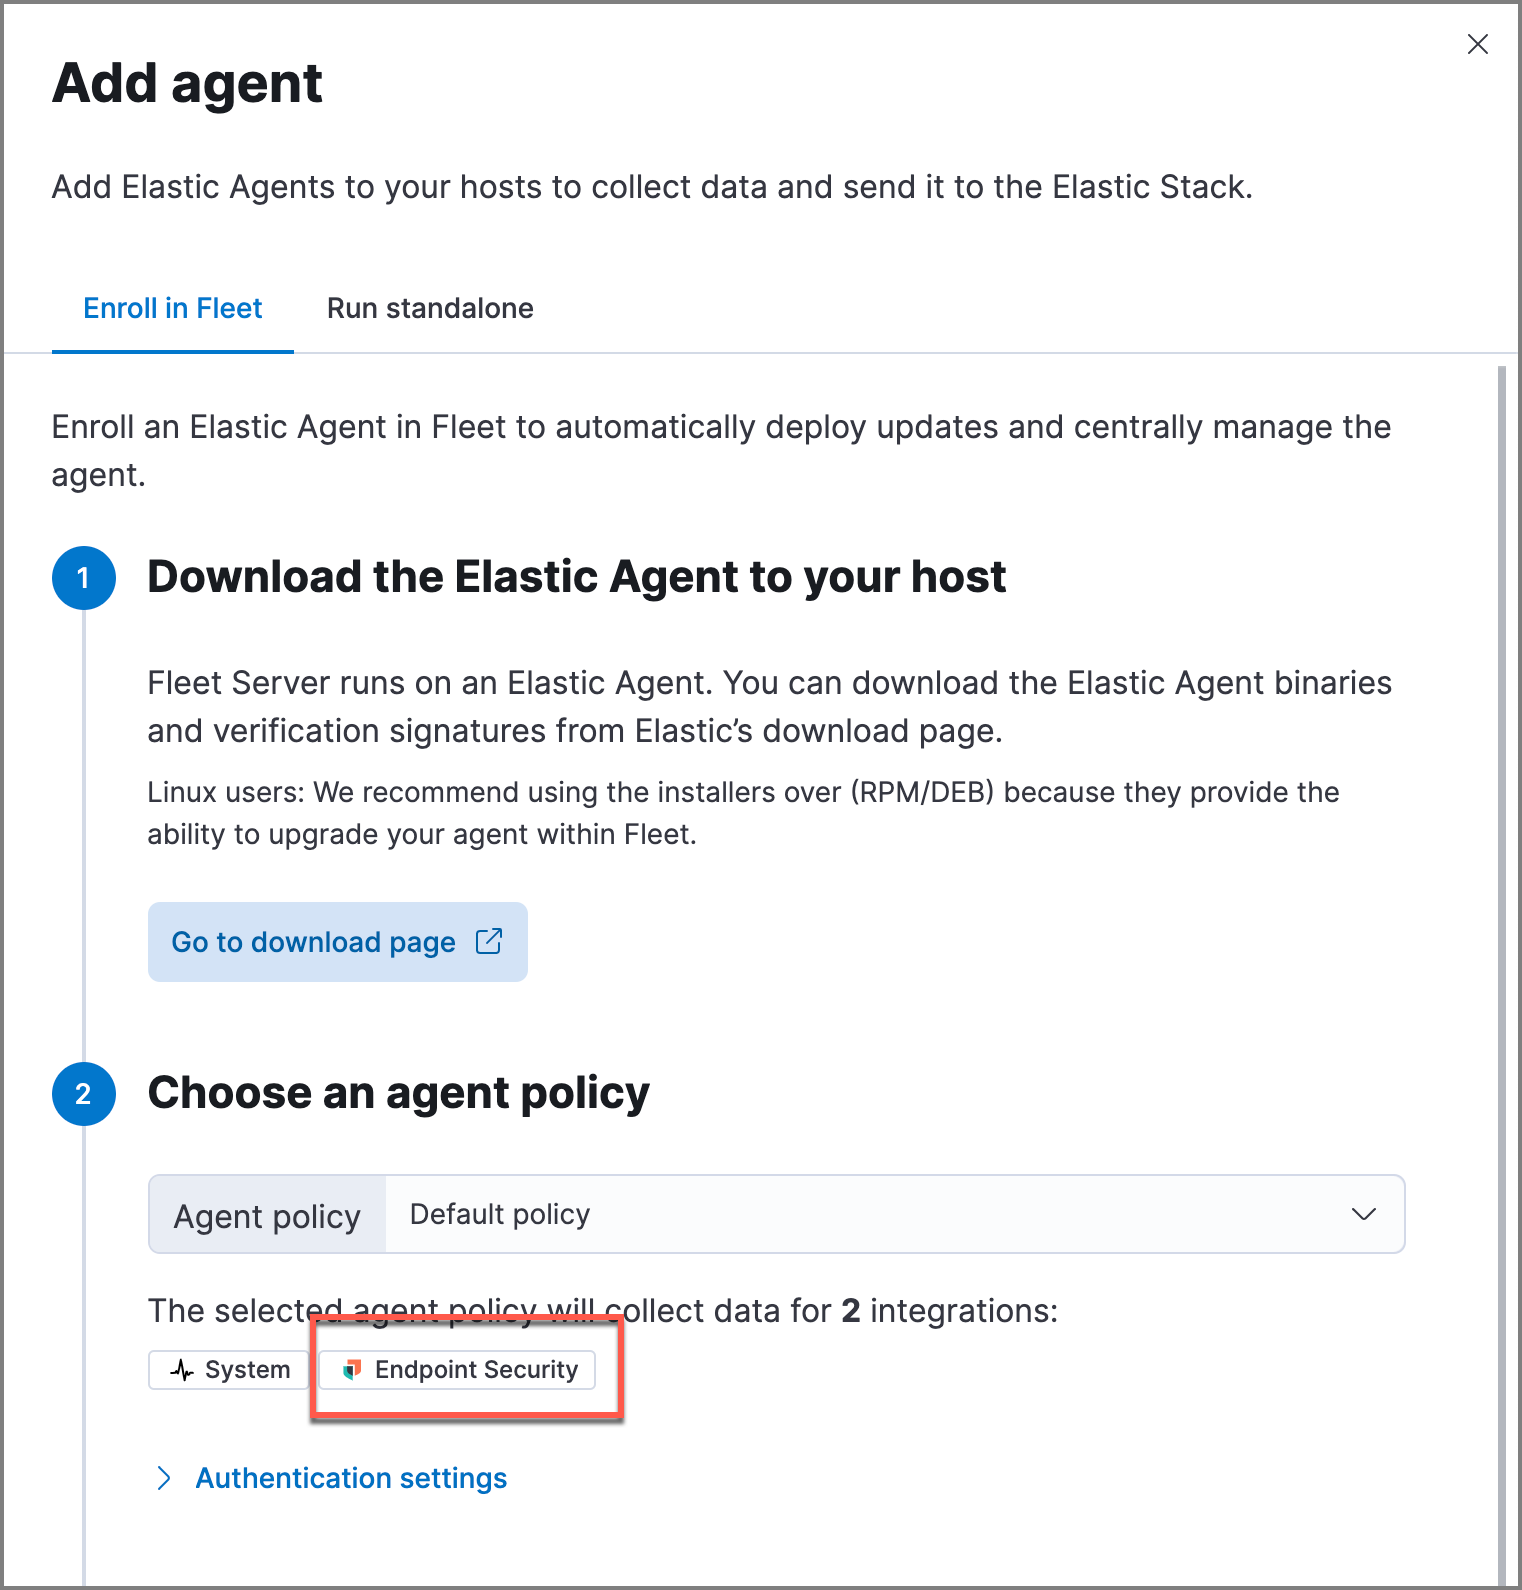
- After the Elastic Agent is installed on your host machine, open a command-line interface and navigate to the directory where the agent is located. Copy the commands from Fleet for your OS to enroll and run the agent.
- After you have enrolled the Elastic Agent on your host, select Close. The host now appears on the Endpoints page in the Elastic Security app.
For macOS, continue with these instructions to grant Elastic Endpoint the access it needs.