Grant standalone Elastic Agents access to Elasticsearch
editGrant standalone Elastic Agents access to Elasticsearch
editYou can use either API keys or user credentials to grant standalone Elastic Agents access to Elasticsearch resources. The following minimal permissions are required to send logs, metrics, traces, and synthetics to Elasticsearch:
-
monitorcluster privilege -
auto_configureandcreate_docindex privileges onlogs-*-*,metrics-*-*,traces-*-*, andsynthetics-*-*.
It’s recommended that you use API keys to avoid exposing usernames and passwords in configuration files.
If you’re using Fleet, refer to Fleet enrollment tokens.
Create API keys for standalone agents
editAPI keys are sent as plain-text, so they only provide security when used in combination with Transport Layer Security (TLS). Our hosted Elasticsearch Service on Elastic Cloud provides secure, encrypted connections out of the box! For self-managed Elasticsearch clusters, refer to Public Key Infrastructure (PKI) certificates.
You can set API keys to expire at a certain time, and you can explicitly
invalidate them. Any user with the manage_api_key or manage_own_api_key
cluster privilege can create API keys.
For security reasons, we recommend using a unique API key per Elastic Agent. You can create as many API keys per user as necessary.
To create an API key for Elastic Agent:
- In Kibana, navigate to Stack Management > API keys and click Create API key.
-
Enter a name for your API key and select Restrict privileges. In the role descriptors box, copy and paste the following JSON. This example creates an API key with privileges for ingesting logs, metrics, traces, and synthetics:
- To set an expiration date for the API key, select Expire after time and input the lifetime of the API key in days.
-
Click Create API key.
You’ll see a message indicating that the key was created, along with the encoded key. By default, the API key is Base64 encoded, but that won’t work for Elastic Agent.
-
Click the down arrow next to Base64 and select Beats.
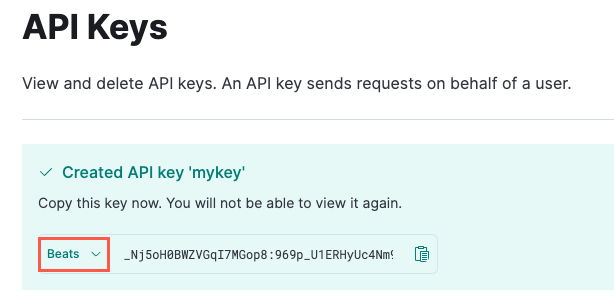
- Copy the API key. You will need this for the next step, and you will not be able to view it again.
-
To use the API key, specify the
api_keysetting in theelastic-agent.ymlfile. For example:
For more information about creating API keys in Kibana, see API Keys.
Create a standalone agent role
editAlthough it’s recommended that you use an API key instead of a username and
password to access Elasticsearch, you can create a role with the required privileges,
assign it to a user, and specify the user’s credentials in the
elastic-agent.yml file.
- In Kibana, go to Stack Management > Roles.
- Click Create role and enter a name for the role.
-
In Cluster privileges, enter
monitor. -
In Index privileges, enter:
-
logs-*-*,metrics-*-*,traces-*-*andsynthetics-*-*in the Indices field.Adjust this list to match the data you want to collect. For example, if you aren’t using APM or synthetics, remove
traces-*-*andsynthetics-*-*from this list. -
auto_configureandcreate_docin the Privileges field.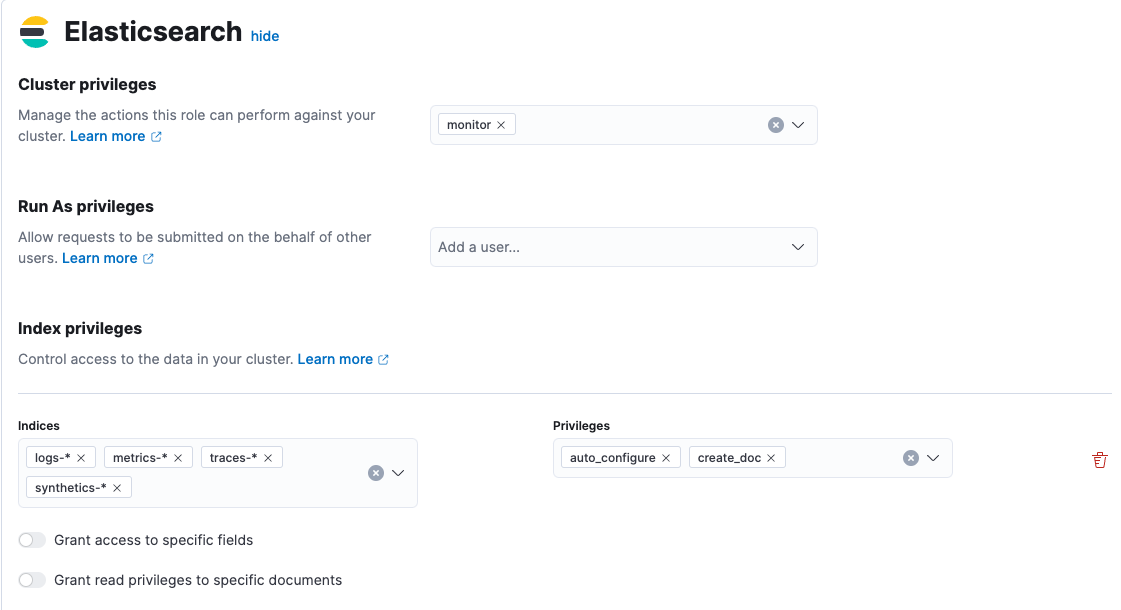
-
- Create the role and assign it to a user. For more information about creating roles, refer to Kibana role management.
-
To use these credentials, set the username and password in the
elastic-agent.ymlfile: