NOTE: You are looking at documentation for an older release. For the latest information, see the current release documentation.
Console
editConsole
editConsole enables you to interact with the REST API of Elasticsearch. Note: You cannot interact with Kibana API endpoints via Console.
Go to Dev Tools > Console to get started.
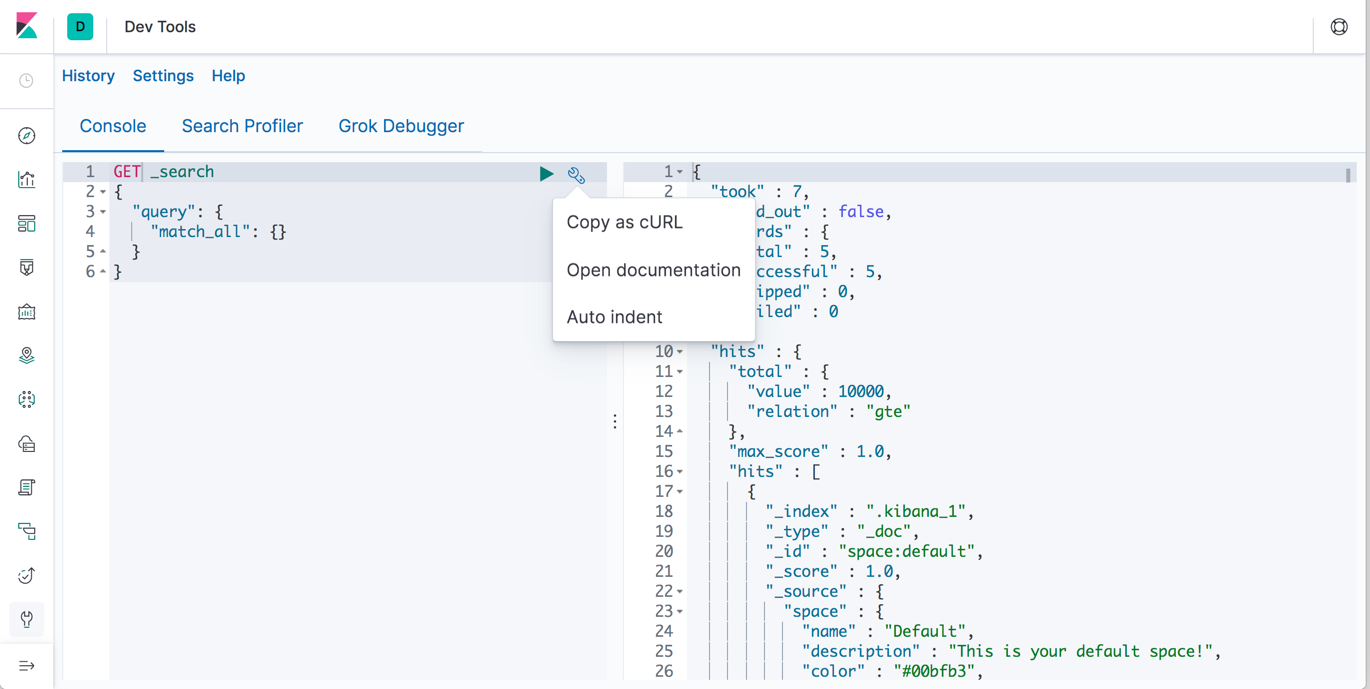
Console has two main areas:
- The editor, where you compose requests to send to Elasticsearch.
- The response pane, which displays the responses to the request.
Writing requests
editConsole understands commands in a cURL-like syntax.
For example, the following is a GET request to the Elasticsearch _search API.
GET /_search
{
  "query": {
    "match_all": {}
  }
}
Here is the equivalent command in cURL:
curl -XGET "http://localhost:9200/_search" -d'
{
  "query": {
    "match_all": {}
  }
}'
If you paste the above command into Console, Kibana automatically converts it
to Console syntax. Alternatively, if you want to want to see Console syntax in cURL,
click the action icon ( ) and select Copy as cURL.
For help with formatting requests, you can use Console’s auto formatting feature.
Submitting requests
editOnce you enter a command in the editor, click the green triangle to submit the request to Elasticsearch.
You can select multiple requests and submit them together. Console sends the requests to Elasticsearch one by one and shows the output in the response pane. Submitting multiple request is helpful when you’re debugging an issue or trying query combinations in multiple scenarios.
Using autocomplete
editWhen typing a command, Console makes context-sensitive suggestions. These suggestions can help you explore parameters for each API and speed up typing. To configure your preferences for autocomplete, go to Settings.
Viewing API docs
editYou can view the documentation for an API endpoint by clicking
the action icon () and selecting
Open documentation.
Getting your request history
editConsole maintains a list of the last 500 requests that Elasticsearch successfully executed. To view your most recent requests, click History. If you select a request and click Apply, Kibana adds it to the editor at the current cursor position.