Advanced Elastic Agent configuration managed by Fleet
For basic Elastic Agent managed by Fleet scenarios follow the steps in Run Elastic Agent on Kubernetes managed by Fleet.
On managed Elastic Agent installations it can be useful to provide the ability to configure more advanced options, such as the configuration of providers during the startup. Refer to Providers for more details.
Following steps demonstrate above scenario:
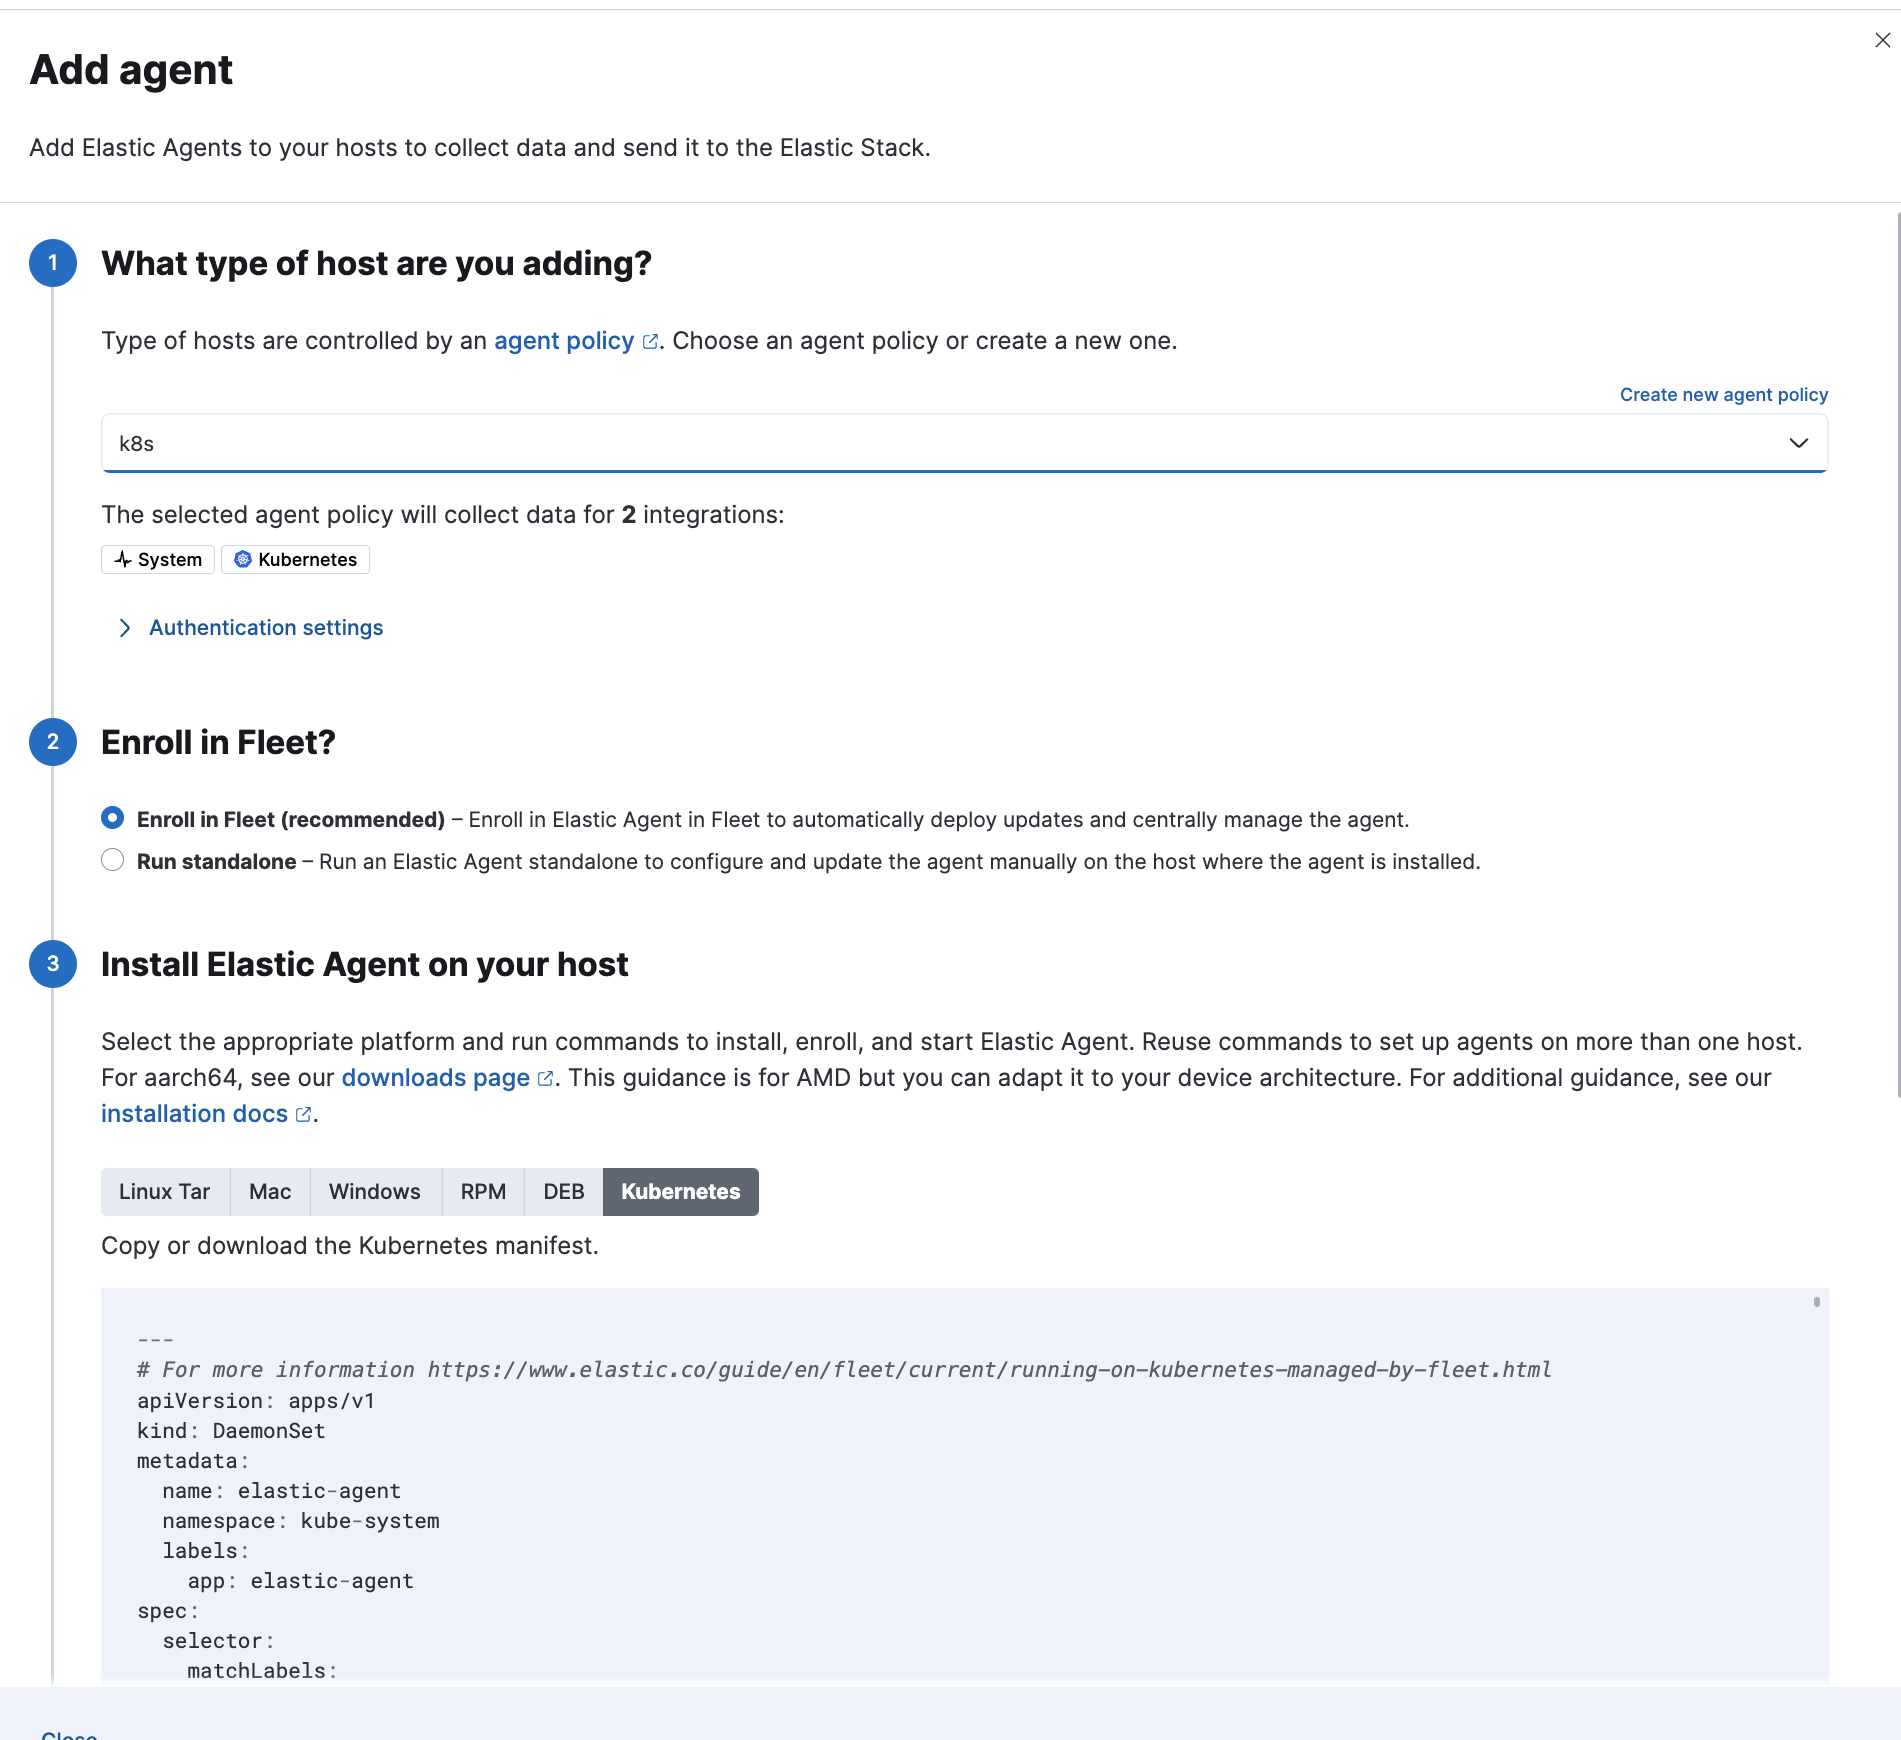
It is advisable to follow the steps of Install Fleet-managed Elastic Agents with Kubernetes Integration installed in your policy and download the Elastic Agent manifest from Kibana UI

- Notes
- Sample manifests can also be found here
apiVersion: v1
kind: ConfigMap
metadata:
  name: agent-node-datastreams
  namespace: kube-system
  labels:
    k8s-app: elastic-agent
data:
  agent.yml: |-
    providers.kubernetes_leaderelection.enabled: false
    fleet.enabled: true
    fleet.access_token: "<FLEET_ENROLLMENT_TOKEN>"
---
- Notes
-
- In the above example the disablement of
kubernetes_leaderelectionprovider is demonstrated. Same procedure can be followed for alternative scenarios.
- In the above example the disablement of
apiVersion: v1
kind: ConfigMap
metadata:
  name: agent-node-datastreams
  namespace: kube-system
  labels:
    k8s-app: elastic-agent
data:
  agent.yml: |-
    providers.kubernetes:
      add_resource_metadata:
        deployment: true
        cronjob: true
    fleet.enabled: true
    fleet.access_token: "<FLEET_ENROLLMENT_TOKEN>"
---
- Find more information about Enrollment Tokens.
Inside the downloaded manifest, update the Daemonset resource:
containers:
  - name: elastic-agent
    image: docker.elastic.co/elastic-agent/elastic-agent: <ImageVersion>
    args: ["-c", "/etc/elastic-agent/agent.yml", "-e"]
- Notes
- The <ImageVersion> is a placeholder for the elastic-agent image version that you will download in your manifest: eg.
image: docker.elastic.co/elastic-agent/elastic-agent: 8.11.0Important thing is to update your manifest with args details
volumeMounts:
  - name: datastreams
    mountPath: /etc/elastic-agent/agent.yml
    readOnly: true
    subPath: agent.yml
volumes:
  - name: datastreams
    configMap:
      defaultMode: 0640
      name: agent-node-datastreams
- By default the manifests for Elastic Agent managed by Fleet have
hostNetwork:true. In order to support multiple installations of Elastic Agents in the same node you should sethostNetwork:false. See this relevant example as described in Elastic Agent Manifests in order to support Kube-State-Metrics Sharding. - The volume
/usr/share/elastic-agent/statemust remain mounted in elastic-agent-managed-kubernetes.yaml, otherwise custom config map provided above will be overwritten. - If Elastic Agent is deployed through ECK, you can define the provider configuration in the
spec.configfield of the Kubernetes custom resource. Refer to Fleet-managed Elastic Agent on ECK for details.