


ChatGPT and Elasticsearch: OpenAI meets private data


Comparte en Twitter


Comparte en LinkedIn


Comparte en Facebook


Comparte por correo electrónico


Imprime
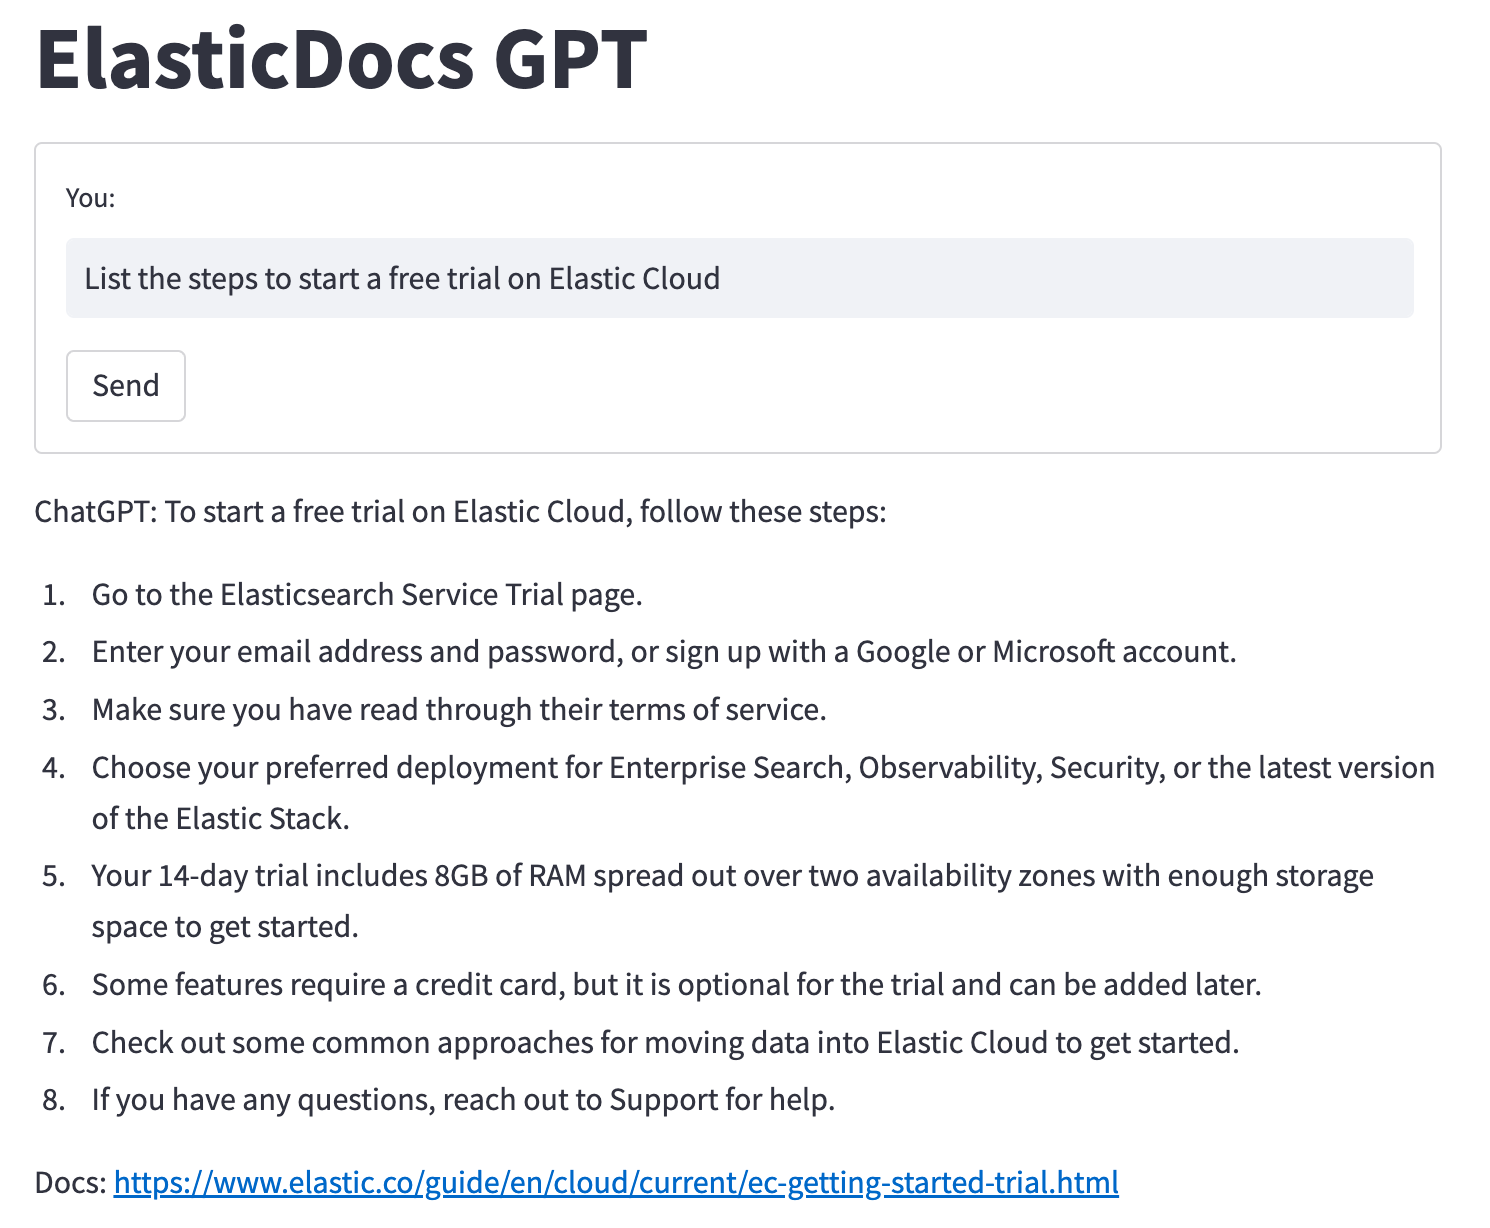
Combine Elasticsearch's search relevance with OpenAI's ChatGPT's question-answering capabilities to query your data. In this blog, you'll learn how to connect ChatGPT to proprietary data stores using Elasticsearch and build question/answer capabilities for your data.
What is ChatGPT?
In recent months, there has been a surge of excitement around ChatGPT, a groundbreaking AI model created by OpenAI. But what exactly is ChatGPT?
Based on the powerful GPT architecture, ChatGPT is designed to understand and generate human-like responses to text inputs. GPT stands for "Generative Pre-trained Transformer.” The Transformer is a cutting-edge model architecture that has revolutionized the field of natural language processing (NLP). These models are pre-trained on vast amounts of data and are capable of understanding context, generating relevant responses, and even carrying on a conversation. To learn more about the history of transformer models and some NLP basics in the Elastic Stack, be sure to check out the great talk by Elastic ML Engineer Josh Devins.
The primary goal of ChatGPT is to facilitate meaningful and engaging interactions between humans and machines. By leveraging the recent advancements in NLP, ChatGPT models can provide a wide range of applications, from chatbots and virtual assistants to content generation, code completion, and much more. These AI-powered tools have rapidly become an invaluable resource in countless industries, helping businesses streamline their processes and enhance their services.
However, despite the incredible potential of ChatGPT, there are certain limitations that users should be aware of. One notable constraint is the knowledge cutoff date. Currently, ChatGPT is trained on data up to September 2021, meaning it is unaware of events, developments, or changes that have occurred since then. Consequently, users should keep this limitation in mind while relying on ChatGPT for up-to-date information. This can lead to outdated or incorrect responses when discussing rapidly changing areas of knowledge such as software enhancements and capabilities or even world events.
ChatGPT, while an impressive AI language model, can occasionally hallucinate in its responses, often exacerbated when it lacks access to relevant information. This overconfidence can result in incorrect answers or misleading information being provided to users. It is important to be aware of this limitation and approach the responses generated by ChatGPT with a degree of skepticism, cross-checking and verifying the information when necessary to ensure accuracy and reliability.
Another limitation of ChatGPT is its lack of knowledge about domain-specific content. While it can generate coherent and contextually relevant responses based on the information it has been trained on, it is unable to access domain-specific data or provide personalized answers that depend on a user's unique knowledge base. For instance, it may not be able to provide insights into an organization’s proprietary software or internal documentation. Users should, therefore, exercise caution when seeking advice or answers on such topics from ChatGPT directly.
One way to minimize these limitations is by providing ChatGPT access to specific documents relevant to your domain and questions, and enabling ChatGPT’s language understanding capabilities to generate tailored responses.
This can be accomplished by connecting ChatGPT to a search engine like Elasticsearch.
Elasticsearch — you know, for search!
Elasticsearch is a highly effective search engine designed to deliver relevant document retrieval, ensuring that users can access the information they need quickly and accurately. Elasticsearch’s primary focus is on delivering the most relevant results to users, streamlining the search process, and enhancing user experience.
Elasticsearch boasts a myriad of features to ensure top-notch search performance, including support for traditional keyword and text-based search (BM25) and an AI-ready vector search with exact match and approximate kNN (k-Nearest Neighbor) search capabilities. These advanced features allow Elasticsearch to retrieve results that are not only relevant but also for queries that have been expressed using natural language. By leveraging traditional, vector, or hybrid search (BM25 + kNN), Elasticsearch can deliver results with unparalleled precision, helping users find the information they need with ease.
One of the key strengths of Elasticsearch is its robust API, which enables seamless integration with other services to extend and enhance its capabilities. By integrating Elasticsearch with various third-party tools and platforms, users can create powerful and customized search solutions tailored to their specific requirements. This flexibility and extensibility makes Elasticsearch an ideal choice for businesses looking to improve their search capabilities and stay ahead in the competitive digital landscape.
By working in tandem with advanced AI models like ChatGPT, Elasticsearch can provide the most relevant documents for ChatGPT to use in its response. This synergy between Elasticsearch and ChatGPT ensures that users receive factual, contextually relevant, and up-to-date answers to their queries. In essence, the combination of Elasticsearch's retrieval prowess and ChatGPT's natural language understanding capabilities offers an unparalleled user experience, setting a new standard for information retrieval and AI-powered assistance.


How to use ChatGPT with Elasticsearch
.png)
1. Python interface accepts user questions.
Generate a hybrid search request for Elasticsearch
- BM25 match on the title field
- kNN search on the title-vector field
- Boost kNN search results to align scores
- Set size=1 to return only the top scored document
2. Search request is sent to Elasticsearch.
3. Documentation body and original url are returned to python.
4. API call is made to OpenAI ChatCompletion.
- Prompt: "answer this question <question> using only this document <body_content from top search result>"
5. Generated response is returned to python.
6. Python adds on original documentation source url to generated response and prints it to the screen for the user.
The ElasticDoc ChatGPT process utilizes a Python interface to accept user questions and generate a hybrid search request for Elasticsearch, combining BM25 and kNN search approaches to find the most relevant document from the Elasticsearch Docs site, now indexed in Elasticsearch. However, you do not have to use hybrid search or even vector search. Elasticsearch provides the flexibility to use whichever search pattern best fits your needs and provides the most relevant results for your specific data sets.
After retrieving the top result, the program crafts a prompt for OpenAI's ChatCompletion API, instructing it to answer the user's question using only the information from the selected document. This prompt is key to ensuring the ChatGPT model only uses information from the official documentation, lessening the chance of hallucinations.
Finally, the program presents the API-generated response and a link to the source documentation to the user, offering a seamless and user-friendly experience that integrates front-end interaction, Elasticsearch querying, and OpenAI API usage for efficient question-answering.
Note that while we are only returning the top-scored document for simplicity, the best practice would be to return multiple documents to provide more context to ChatGPT. The correct answer could be found in more than one documentation page, or if we were generating vectors for the full body text, those larger bodies of text may need to be chunked up and stored across multiple Elasticsearch documents. By leveraging Elasticsearch's ability to search across numerous vector fields in tandem with traditional search methods, you can significantly enhance your top document recall.
Technical setup
The technical requirements are fairly minimal, but it takes some steps to put all the pieces together. For this example, we will configure the Elasticsearch web crawler to ingest the Elastic documentation and generate vectors for the title on ingest. You can follow along to replicate this setup or use your own data. To follow along we will need:
- Elasticsearch cluster
- Eland Python library
- OpenAI API account
- Somewhere to run our python frontend and api backend
Elastic Cloud setup
The steps in this section assume you don’t currently have an Elasticsearch cluster running in Elastic Cloud. If you do you, can skip to the next section.
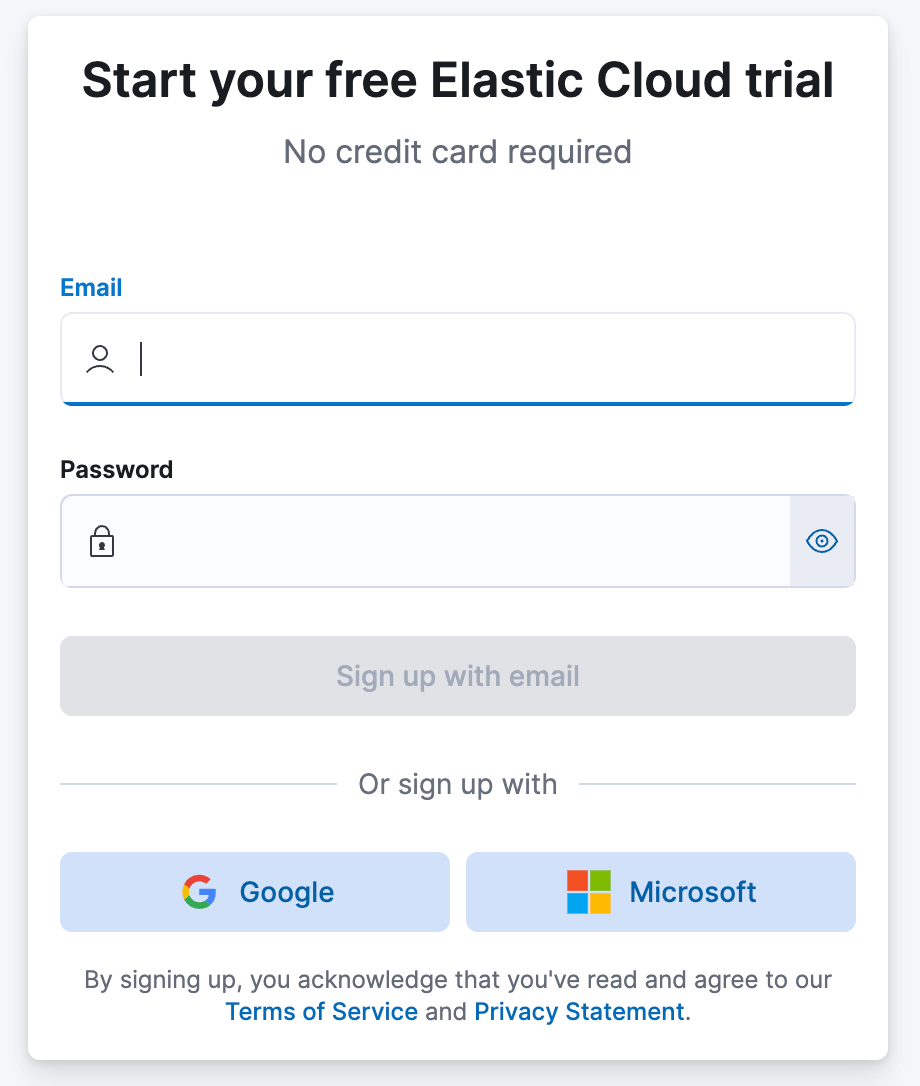
Sign up
If you don’t already have an Elasticsearch cluster, you can sign up for a free trial with Elastic Cloud.
Create deployment
After you sign up, you will be prompted to create your first deployment.
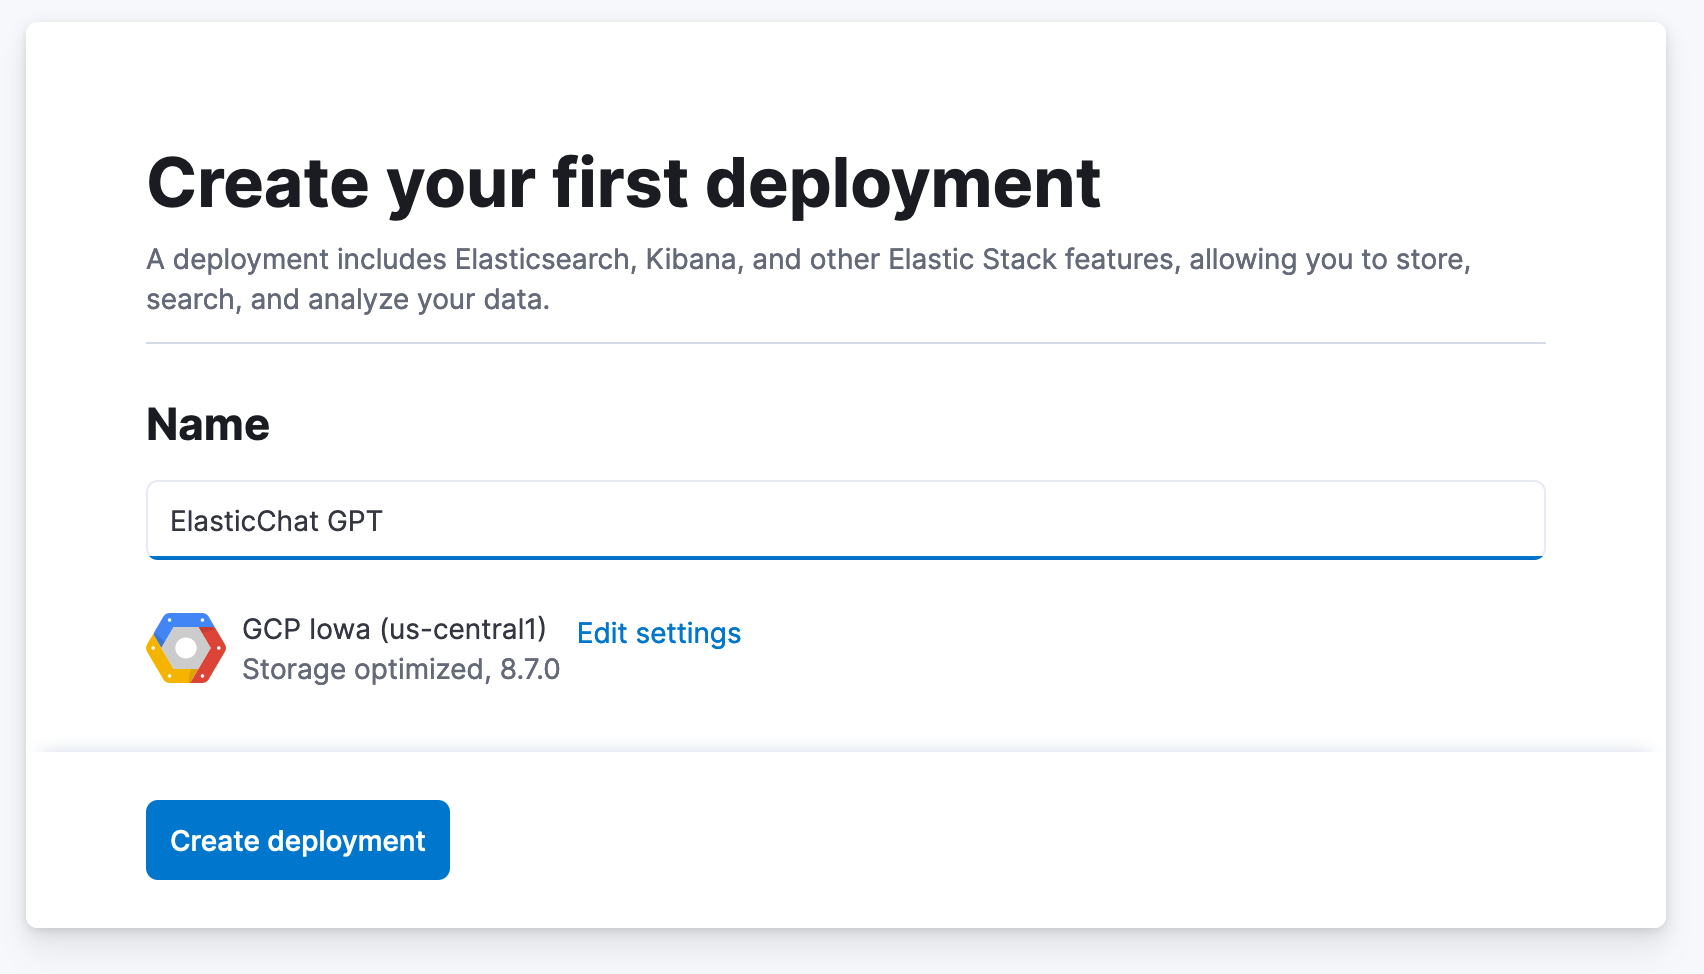
- Create a name for your deployment.
- You can accept the default cloud provider and region or click Edit Settings and choose another location.
- Click Create deployment. Shortly a new deployment will be provisioned for you and you will be logged in to Kibana.
Back to the Cloud
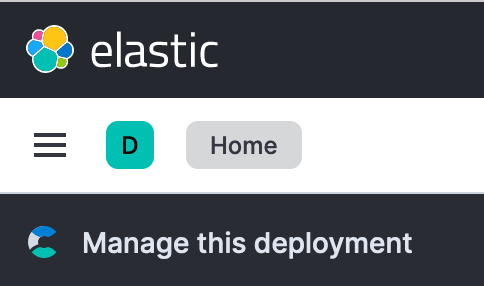
We need to do a couple of things back in the Cloud Console before we move on:
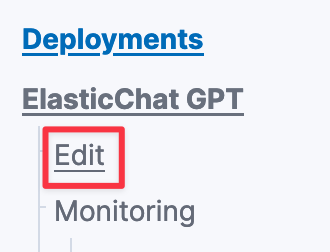
Click on the Navigation Icon in the upper left and select Manage this deployment.
Add a machine learning node.
- Back in the Cloud Console, click on Edit under your Deployment’s name in the left navigation bar.
- Scroll down to the Machine Learning instances box and click +Add Capacity.
- Under Size per zone, click and select 2 GB RAM.
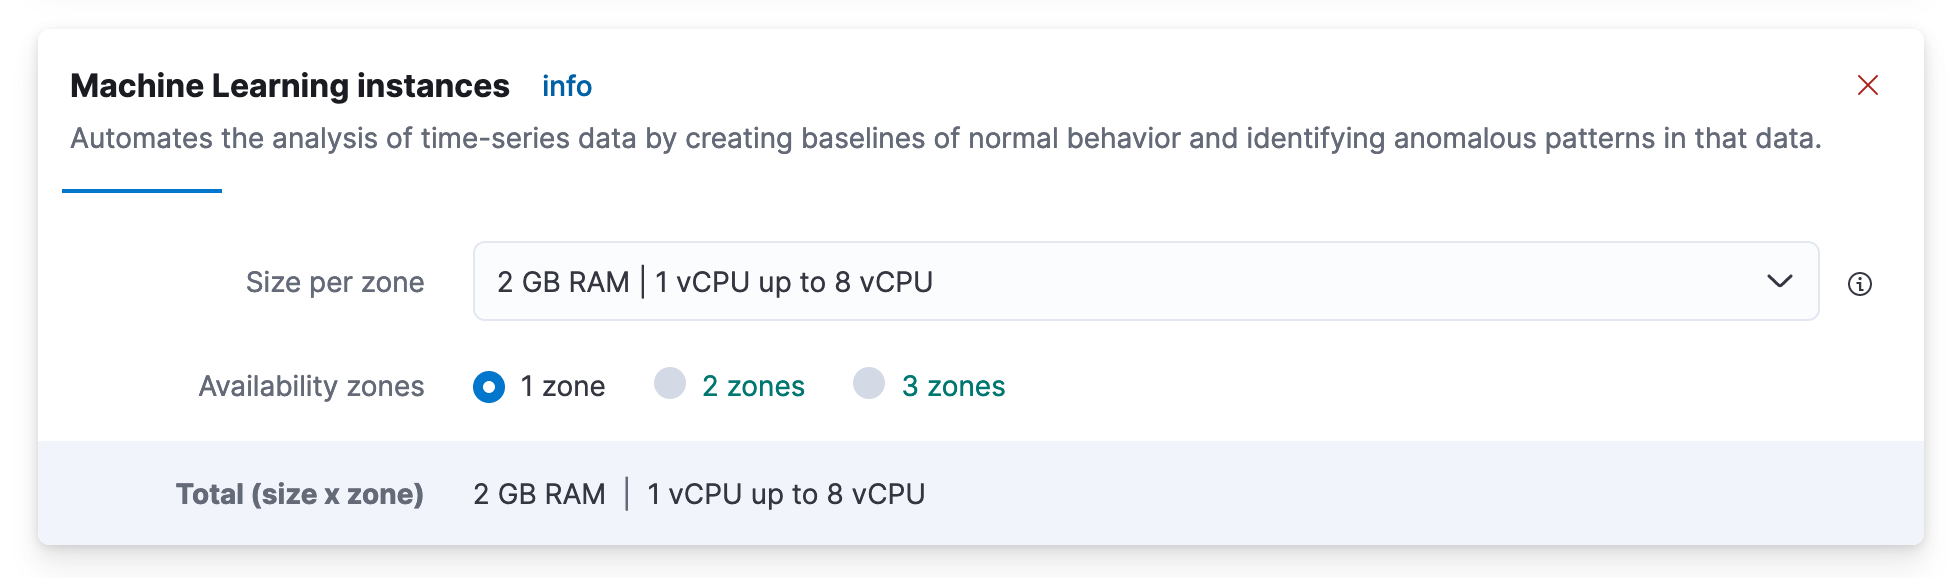
- Scroll down and click on Save.

- In the pop-up summarizing the architecture changes, click Confirm.

- In a few moments, your deployment will now have the ability to run machine learning models!

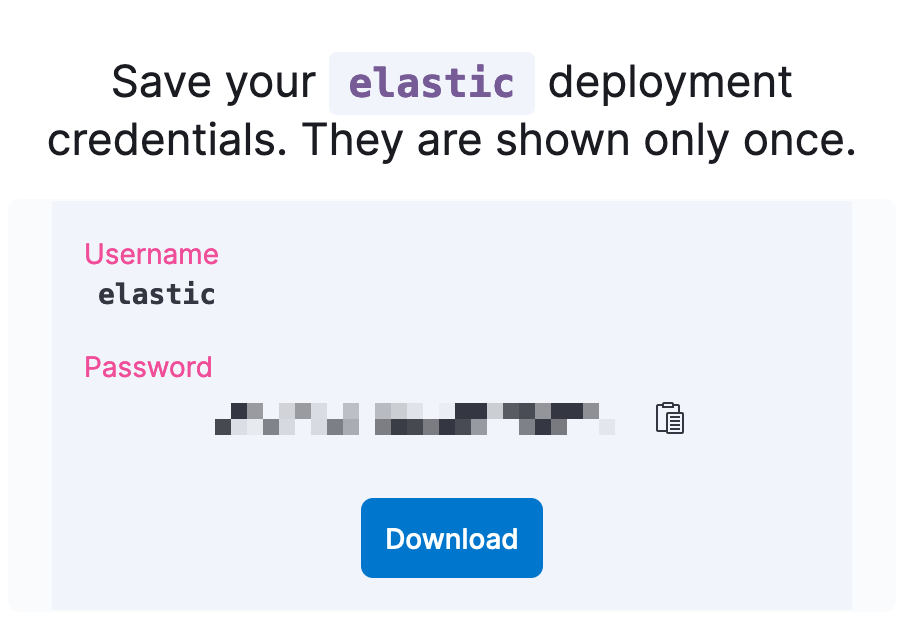
Reset Elasticsearch Deployment User and password:
- Click on Security on the left navigation under your deployment’s name.
- Click on Reset Password and confirm with Reset. (Note: as this is a new cluster nothing should be using this Elastic password.)
- Download the newly created password for the “elastic” user. (We will use this to load our model from Hugging Face and in our python program.)
Copy the Elasticsearch Deployment Cloud ID.
- Click on your Deployment name to go to the overview page.
- On the right-hand side click the copy icon to copy your Cloud ID. (Save this for use later to connect to the Deployment.)

Eland
We next need to load an embedding model into Elasticsearch to generate vectors for our blog titles and later for our user’s search questions. We will be using the all-distilroberta-v1 model trained by SentenceTransformers and hosted on the Hugging Face model hub. This particular model isn’t required for this setup to work. It is good for general use as it was trained on very large data sets covering a wide range of topics. However, with vector search use cases, using a model fine-tuned to your particular data set will usually provide the best relevancy.
To do this, we will use the Eland python library created by Elastic. The library provides a wide range of data science functions, but we will be using it as a bridge to load the model into Elasticsearch from the Hugging Face model hub so it can be deployed on machine learning nodes for inference use.
Eland can either be run as part of a python script or on the command line. The repo also provides a Docker container for users looking to go that route. Today we will run Eland in a small python notebook, which can run in Google’s Colab in the web browser for free.
Open the program link and click the “Open in Colab” button at the top to launch the notebook in colab.

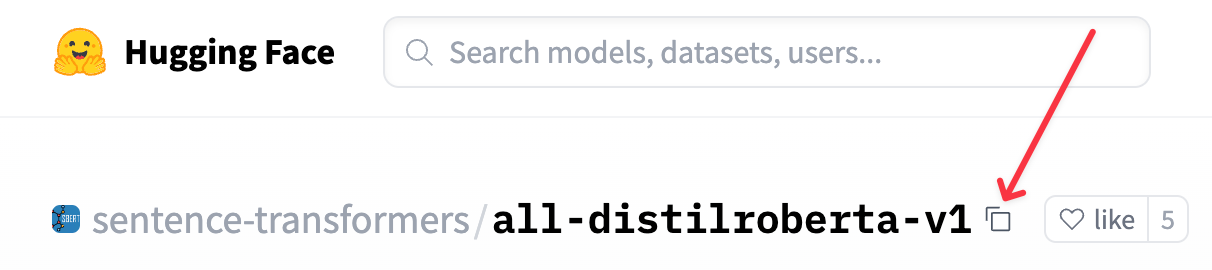
Set the variable hf_model_id to the model name. This model is set already in the example code but if you want to use a different model or just for future information:
- hf_model_id='sentence-transformers/all-distilroberta-v1'
- Copy model name from Hugging Face. The easiest way to do this is to click the copy icon to the right of the model name.
Run the cloud auth section, and you will be prompted to enter:
- Cloud ID (you can find this in the Elastic Cloud Console)
- Elasticsearch Username (easiest will be to use the “Elastic” user created when the deployment was created)
- Elasticsearch User Password
Run the remaining steps.
- This will download the model from Hugging face, chunk it up, and load it into Elasticsearch.
- Deploy (start) the model onto the machine learning node.
Elasticsearch Index and Web Crawler
Note that you can use your proprietary data for this step, to create a question/answer experience tailored to your domain.
- Open Kibana from the Cloud Console if you don’t already have it open.
- In Kibana, Navigate to Enterprise Search -> Overview. Click Create an Elasticsearch Index.

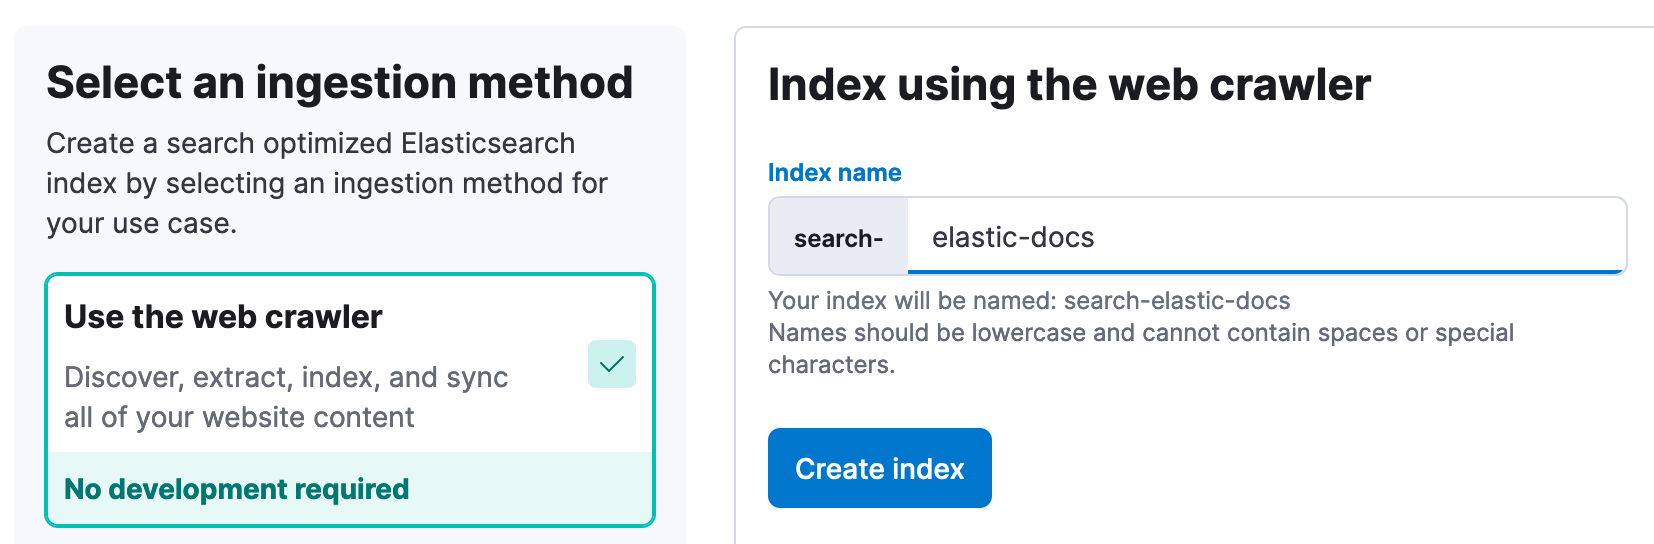
- Using the Web Crawler as the ingestion method, enter elastic-docs as the index name. Then, click Create Index.
- Click on the “Pipelines” tab.
- Click Copy and customize in the Ingest Pipeline Box.
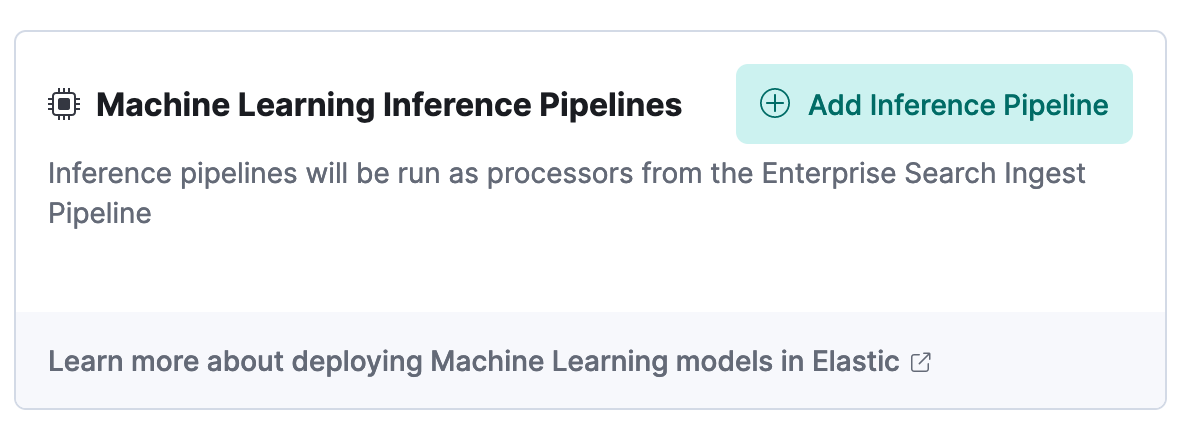
- Click Add Inference Pipeline in the Machine Learning Inference Pipelines box.
- Enter the name elastic-docs_title-vector for the New pipeline.
- Select the trained ML model you loaded in the Eland step above.
- Select title as the Source field.
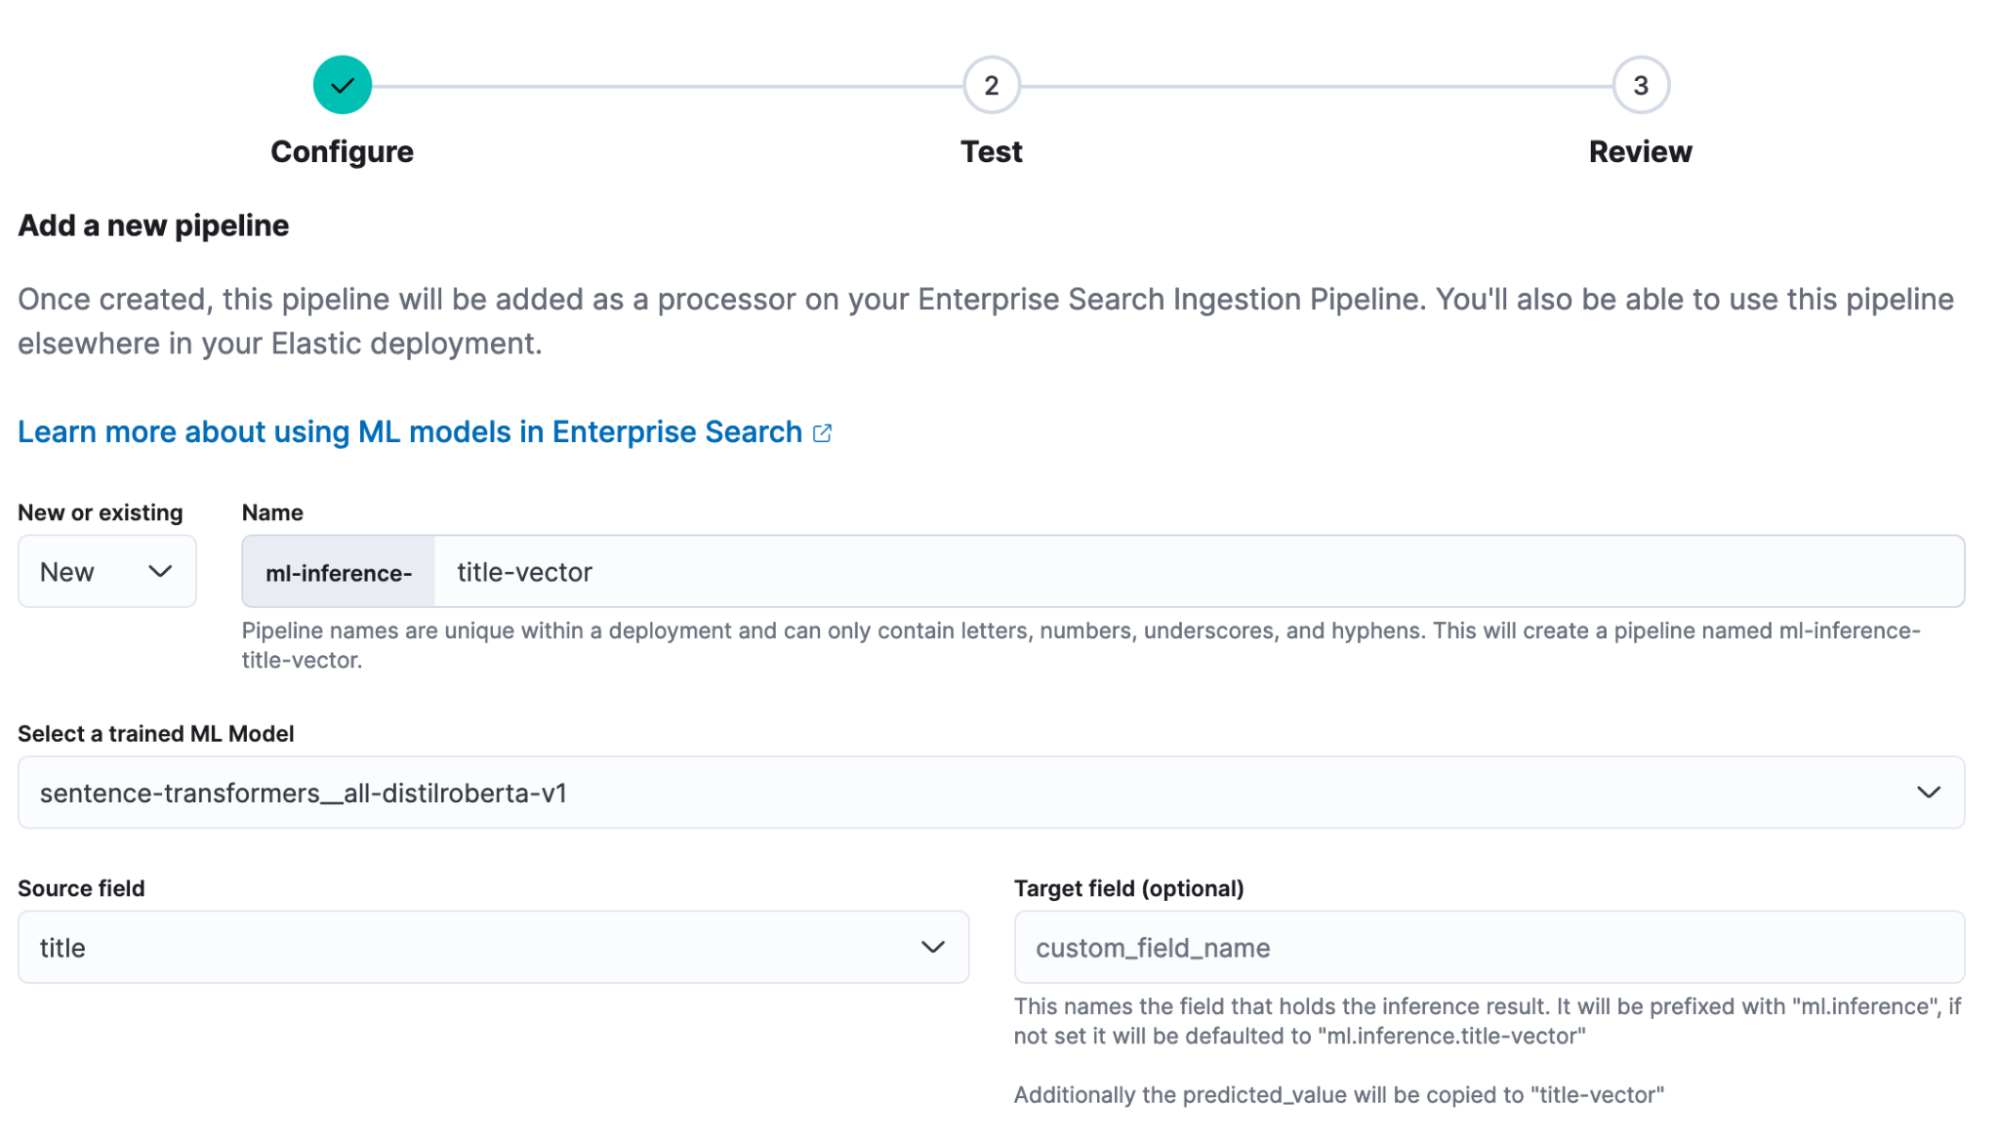
- Click Continue, then click Continue again at the Test stage.
- Click Create Pipeline at the Review stage.
Update mapping for dense_vector field. (Note: with Elasticsearch version 8.8+, this step should be automatic.)
- In the navigation menu, click on Dev Tools. You may have to click Dismiss on the flyout with documentation if this is your first time opening Dev Tools.
- In Dev Tools in the Console tab, update the mapping for our dense vector target field with the following code. You simply paste it in the code box and click the little arrow to the right of line 1.
POST search-elastic-docs/_mapping
{
  "properties": {
    "title-vector": {
      "type": "dense_vector",
      "dims": 768,
      "index": true,
      "similarity": "dot_product"
    }
  }
}- You should see the following response on the right half of the screen:
{
  "acknowledged": true
}- This will allow us to run kNN search on the title field vectors later on.
Configure web crawler to crawl Elastic Docs site:
- Click on the navigation menu one more time and click on Enterprise Search -> Overview.
- Under Content, click on Indices.
- Click on search-elastic-docs under Available indices.

- Click on the Manage Domains tab.
- Click “Add domain.”
- Enter https://www.elastic.co/guide/en, then click Validate Domain.
- After the checks run, click Add domain. Then click Crawl rules.
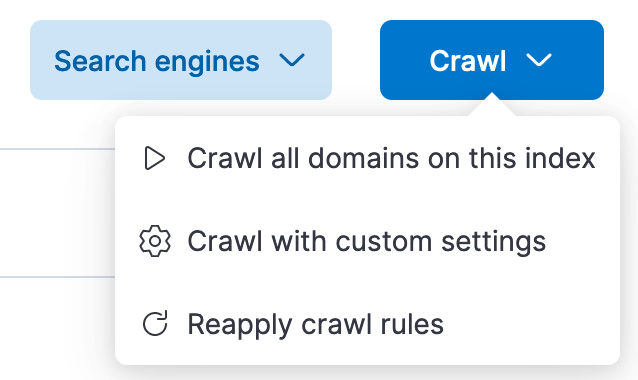
- Add the following crawl rules one at a time. Start with the bottom and work up. Rules are evaluated according to first match.
Disallow | Contains | release-notes |
Allow | Regex | /guide/en/.*/current/.* |
Disallow | Regex | .* |
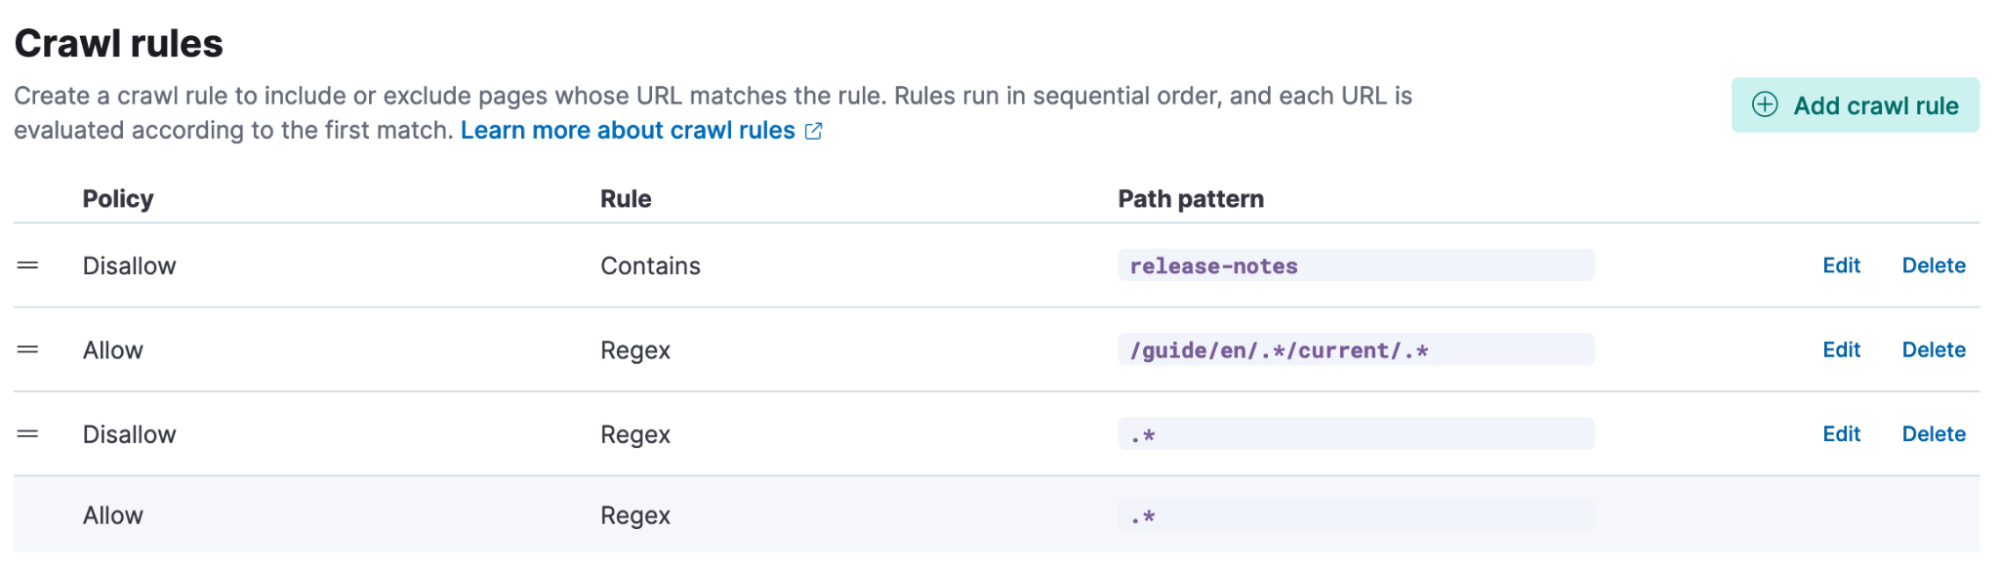
- With all the rules in place, click Crawl at the top of the page. Then, click Crawl all domains on this index.
Elasticsearch’s web crawler will now start crawling the documentation site, generating vectors for the title field, and indexing the documents and vectors.

The first crawl will take some time to complete. In the meantime, we can set up the OpenAI API credentials and the Python backend.
Connecting with OpenAI API
To send documents and questions to ChatGPT, we need an OpenAI API account and key. If you don’t already have an account, you can create a free account and you will be given an initial amount of free credits.
- Go to https://platform.openai.com and click on Signup. You can go through the process to use an email address and password or login with Google or Microsoft.
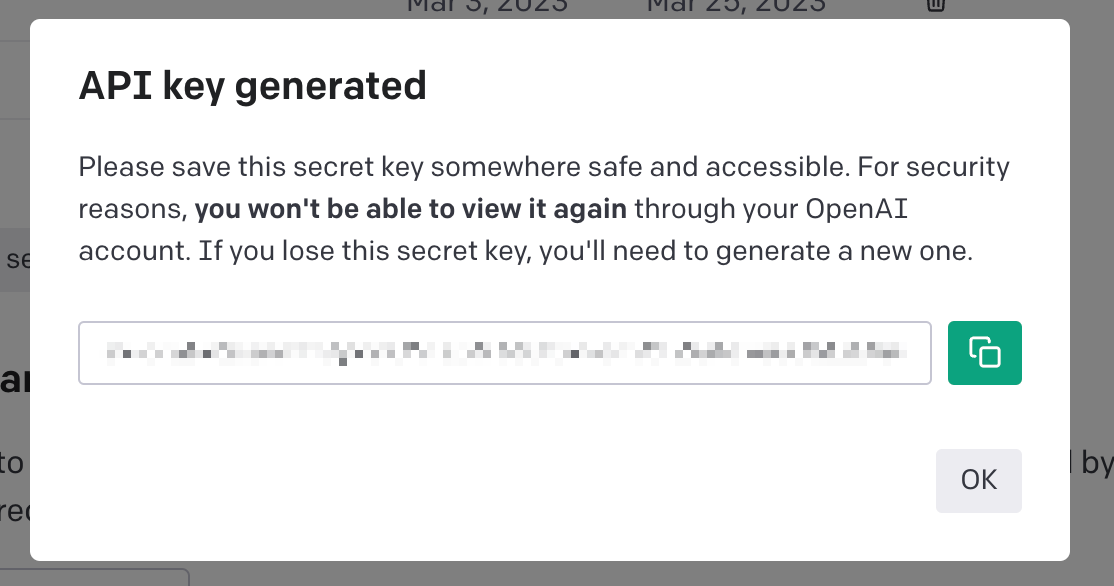
Once your account is created, you will need to create an API key:
- Click on API Keys.
- Click Create new secret key.
- Copy the new key and save it someplace safe as you won’t be able to view the key again.
Python backend setup
Clone or download the python program
1. Install required python libraries. We are running the example program in Replit, which has isolated environments. If you are running this on a laptop or VM, best practice is to set up a virtual ENV for python.
- Run pip install -r requirements.txt
2. Set authentication and connection environment variables (e.g., if running on the command line: export openai_api=”123456abcdefg789”)
- openai_api - OpenAI API Key
- cloud_id - Elastic Cloud Deployment ID
- cloud_user - Elasticsearch Cluster User
- cloud_pass - Elasticsearch User Password
3. Run the streamlit program. More info about streamlit can be found in its docs.
- Streamlit has its own command to start: streamlit run elasticdocs_gpt.py
4. This will start a web browser and the url will be printed to the command line.
Sample chat responses
With everything ingested and the front end up and running, you can start asking questions about the Elastic Documentations.
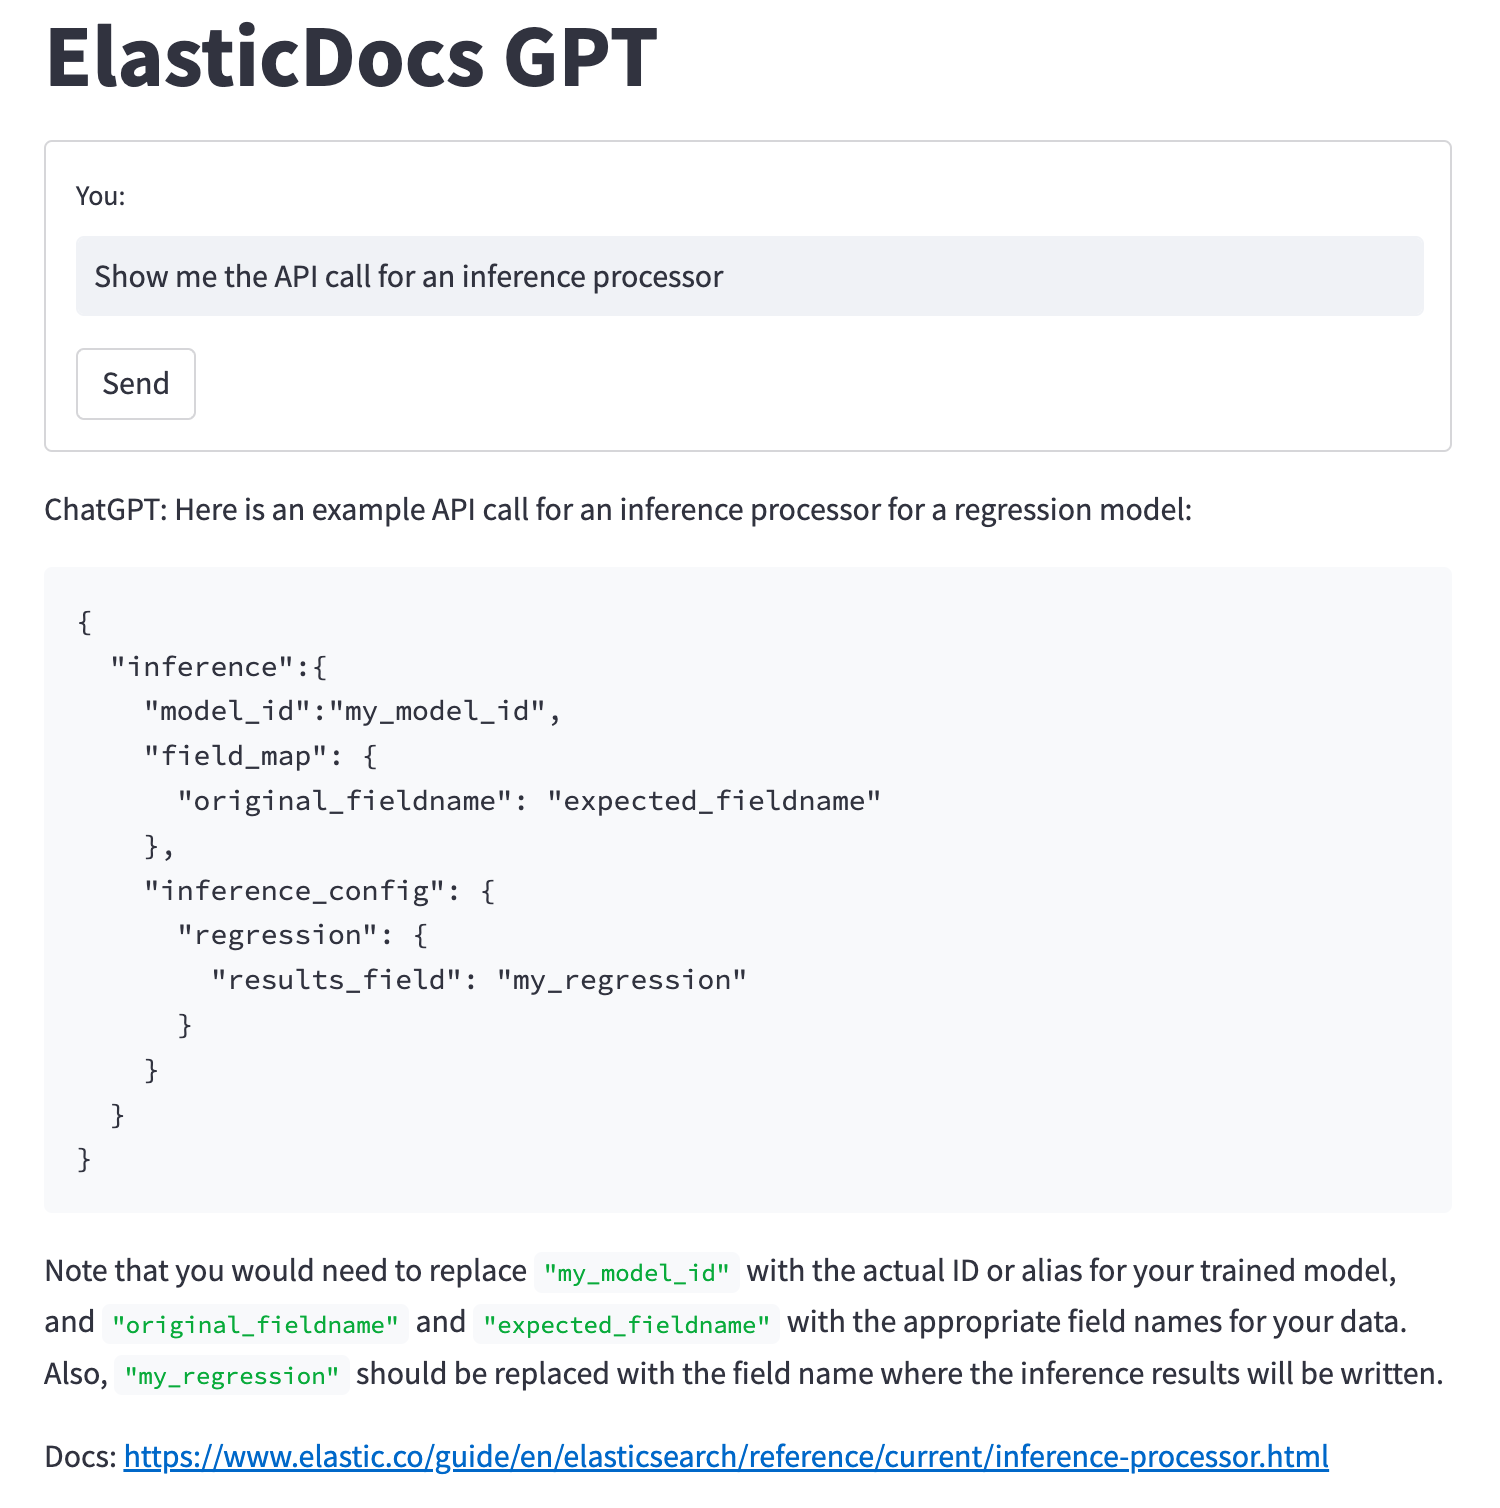
Asking “Show me the API call for an inference processor” now returns an example API call and some information about the configuration settings.
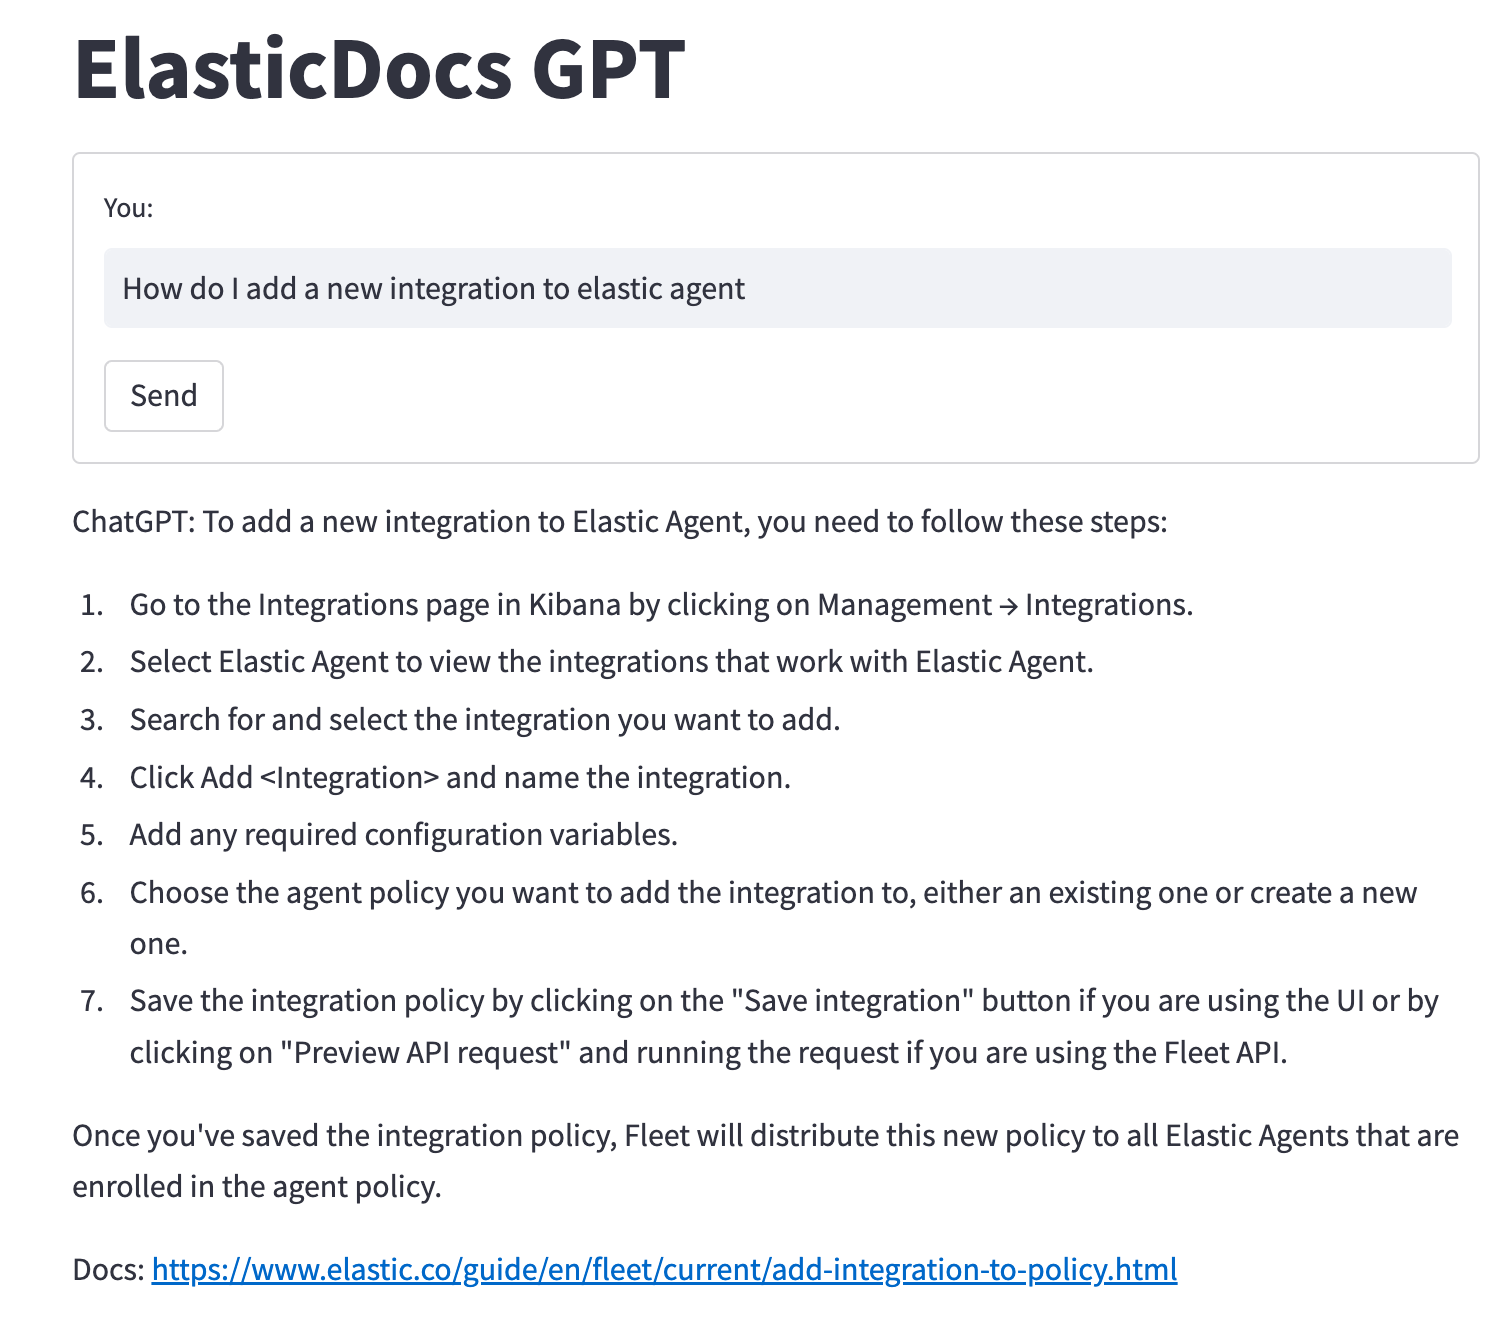
Asking for steps to add a new integration to Elastic Agent will return:
As mentioned earlier, one of the risks of allowing ChatGPT to answer questions based purely on data it has been trained on is its tendency to hallucinate incorrect answers. One of the goals of this project is to provide ChatGPT with the data containing the correct information and let it craft an answer.
So what happens when we give ChatGPT a document that does not contain the correct information? Say, asking it to tell you how to build a boat (which isn’t currently covered by Elastic’s documentation):
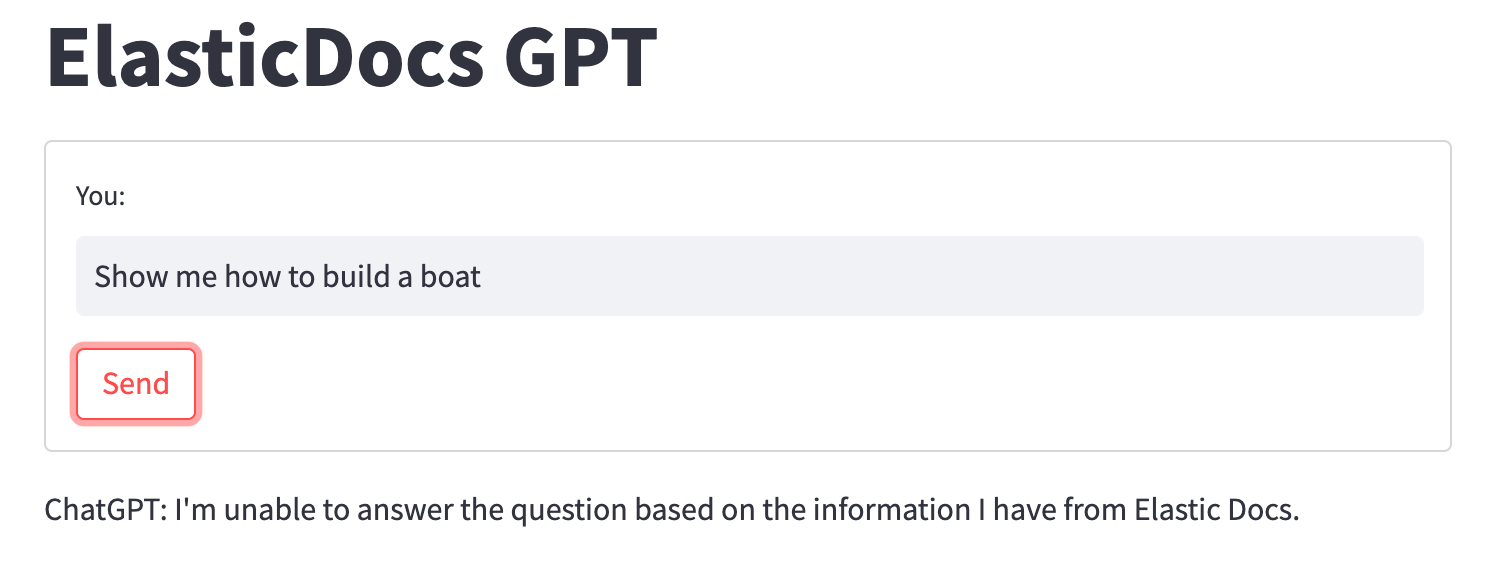
When ChatGPT is unable to find an answer to the question in the document we provided, it falls back on our prompt instruction simply telling the user it is unable to answer the question.
Elasticsearch’s robust retrieval + the power of ChatGPT
In this example, we've demonstrated how integrating Elasticsearch's robust search retrieval capabilities with cutting-edge advancements in AI-generated responses from GPT models can elevate the user experience to a whole new level.
The individual components can be tailored to suit your specific requirements and adjusted to provide the best results. While we used the Elastic web crawler to ingest public data, you're not limited to this approach. Feel free to experiment with alternative embedding models, especially those fine-tuned for your domain-specific data.
You can try all of the capabilities discussed in this blog today! To build your own ElasticDocs GPT experience, sign up for an Elastic trial account, and then look at this sample code repo to get started.
If you would like ideas to experiment with search relevance, here are two to try out:
- [BLOG] Deploy NLP text embeddings and vector search using Elasticsearch
- [BLOG] Implement image similarity search with Elastic
Also, check out our blog What is Generative AI?
In this blog post, we may have used third party generative AI tools, which are owned and operated by their respective owners. Elastic does not have any control over the third party tools and we have no responsibility or liability for their content, operation or use, nor for any loss or damage that may arise from your use of such tools. Please exercise caution when using AI tools with personal, sensitive or confidential information. Any data you submit may be used for AI training or other purposes. There is no guarantee that information you provide will be kept secure or confidential. You should familiarize yourself with the privacy practices and terms of use of any generative AI tools prior to use.
Elastic, Elasticsearch and associated marks are trademarks, logos or registered trademarks of Elasticsearch N.V. in the United States and other countries. All other company and product names are trademarks, logos or registered trademarks of their respective owners.
Comparte
Comparte en Twitter
Comparte en LinkedIn
Comparte en Facebook
Comparte por correo electrónico
Imprime

